1. Prepared and Compiled by: Bolaji Oladipo
ABISOLA CUBE
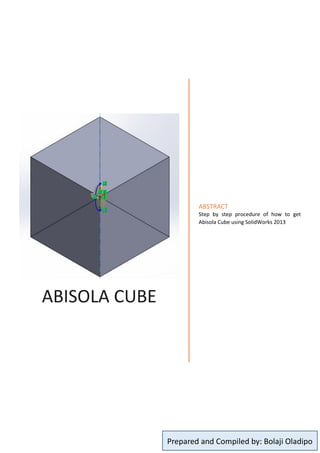
ABSTRACT
Step by step procedure of how to get
Abisola Cube using SolidWorks 2013
2. Prepared and Compiled by: Bolaji Oladipo
Note: This procedure also applies to other versions of SolidWorks beyond 2009
On the computer desktop, launch the SolidWorks application by double clicking on it icon
, a blank SolidWorks interface appears
From the top left corner of the interface, click on ‘File’ , a drop down menu appears,
select New OR (Ctrl N)
A dialog box shows with 3 options, choose the option ‘Part’ then click OK, a modelling
environment appears
Note: Before furthering, make sure that your unit dimension setting is on MMGS (millimetre, Gram,
Seconds). Check the down right corner of the interface to see if it’s on or click the arrow to
change to desired OR (Tools => Options => Document properties => Units => MMGS)
To model a cube
Notice that a ‘drawing tree’ displays at the left pane, select ‘Right Plane’
Select the option ‘Normal To’ from the not extreme top centre to enable the drawing
plane face you OR (Ctrl 8)
From the top left corner of the interface, click on Sketch , various sketch tools
display on a tray
Click the centre rectangle tool (Use the drop down arrow beside the rectangle to see
the preferred option)
Move the pointer of the mouse to snap at the centre of the ‘right plane’ , left click once
and release click, drag the mouse out then click again to complete a random rectangle.
To dimension the rectangle, click on ‘Smart Dimension’ (top left corner, beside the
rectangle option)
Left click on the length once, drag the mouse out the left click again. Type 15. Don’t bother
about including unit as the software assumes ‘mm’ (predefined)
Do the same for the breadth to make a square
Without closing nor cancelling the sketch, from the top right corner, click on ‘Features’
(beside Sketch), various solid features tools appear
Select ‘Extruded boss/Base’ option , a dialog box appears at the left pane of the
interface. Under the option of ‘Direction 1’, click on ‘Blind’ and change it to ‘Mid Plane’
The dimension bar that appears below direction 1, change it to 15
3. Prepared and Compiled by: Bolaji Oladipo
Click the ‘OK’ to exit the command
You should see this:
To model the elliptical void in the cube
From the left drawing tree (left pane of interface), select the ‘Right Plane’. To make your
view perpendicular to you, select ‘Normal To’ or ‘Ctrl 8’
Select the ‘Sketch’ option to display the sketch tools on a tray
Click the ellipse tool (Use the drop down arrow beside the to see the preferred
option)
Move the pointer of the mouse to snap at the centre of the ‘Right Plane’ , left click once
and release click, drag the mouse out, straighten your hand until you see a perfect vertical
broken virtual line, click to complete a random circle, appropriately move the mouse
pointer slightly to the right then click. This should give a vertical ellipse
To dimension the ellipse, take a look at the bottom of the Ellipse dialog box that appears at
the left pane. On the ‘Parameters’ type ‘1 and 2.5’ as appropriate.
While still on the Ellipse sketch, move the mouse to ‘Line’ option, just above
‘Rectangle’. Click on the arrow beside it to select a broken line. This shall be used to draw
the reference centre line for a revolve cut
From the line option that appears on the left pane, select Orientation => Vertical and
Option => For construction and Infinite length
Move the pointer of the mouse to snap at the centre of the ‘Ellipse’ , left click once. A
vertical construction line that cuts through the centre of the Ellipse appears. Draw the line.
4. Prepared and Compiled by: Bolaji Oladipo
While the ‘Line’ command is still active, select ‘Trim Entities’ , Power trim should
automatically select
Move the mouse pointer to the right half of the ellipse, left click and drag outward to
remove a half of it
Draw a line to close the ellipse
While the ‘Line’ command is still active, select the ‘Features’ (top left), on the tray, select
‘Revolved Cut’
Move the mouse to the inside of the closed half ellipse loop and select (left click), a preview
of and ellipse appears.
At the left pane, make sure you see ‘Line 1’ as Axis of Revolution ‘360.00deg’ as the angle.
To view the above in Isometric, Select the option ‘View Orientation’ carrying the arrow
pointer (as shown below) from the not extreme top centre of the drawing interface.
5. Prepared and Compiled by: Bolaji Oladipo
Click the ‘OK’ to exit the command
Exiting all commands at this stage will make you see a cube without a sign of the presence of
an elliptical void.
To see void, you could section the model by selecting ‘Section View’ the option carrying the
arrow pointer (as shown below) from the not extreme top centre of the drawing interface.
To deactivate the sectioned view, uncheck the ‘Section View’ option
I hope this helps, good luck