
Recommended
More Related Content
What's hot
What's hot (20)
Viewers also liked
Viewers also liked (20)
Similar to Production process of my School Magazine
Similar to Production process of my School Magazine (20)
Recently uploaded
Recently uploaded (20)
Production process of my School Magazine
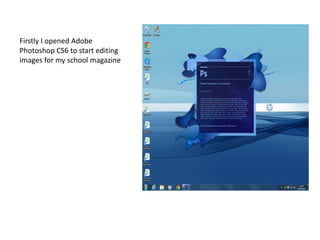
- 1. Firstly I opened Adobe Photoshop CS6 to start editing images for my school magazine
- 2. I created a template for the size I want the magazine to be.
- 3. To change the background of my magazine cover I pressed the “gradient tool” I then pressed on the “colour picker” option and chose my colour for the background and once that is done the background will fade from the colour I chose to white
- 4. I used two different text tools to create my masthead. One of the layers for “THE” and another for “School Update”. I could then choose the font I wanted and the colour of the text
- 5. I then inserted the image I was going to use for the front cover of the magazine and then dragged it on to the canvas.
- 6. To get rid of the background surrounding the image I used the lasso tool which allowed me to draw around the image and cut out anything that was unwanted. This meant I could re-scale and resize the image to what I wanted
- 7. I then used the text tool to create the coverline for the magazine and changed the font colour to white
- 8. To make a graphic feature for the front cover I used the shape tool to insert a star shape and then entered a new layer using the text tool to right inside the shape saying “its a new term”
- 9. I then made four more shapes using the shape tool of a normal square for the other coverlines that will be in the magazines. After I had done this I made four different layers for the boxes to have their other coverlines using the text tool
- 10. Then I entered a image of a barcode to place at the bottom left hand side of the magazine