Download as PDF, PPTX


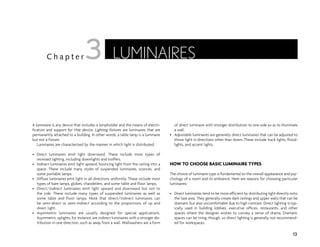
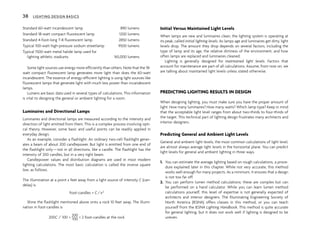
![Point Source, Line Source, or Area Source
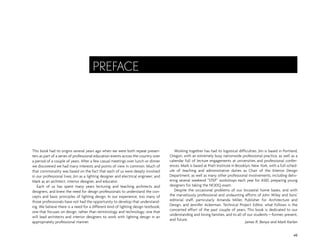
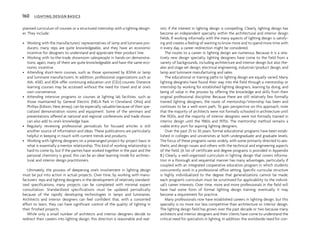
Light sources vary in shape. The three basic shape types are point sources, line
sources, and area sources. Each radiates light differently, thus causing distinc-
tive effects.
Ballast or Transformer
In order to operate correctly, many electric light sources require an auxiliary
electric device, such as a transformer or ballast. This device is often physically
large and unattractive and can create an audible hum or buzz when operating.
Lamp Size
The physical size of the lamp affects the size of the luminaire and, in turn,
determines how some sources might be used. Small, low-wattage lamps permit
small luminaires, such as undercabinet lights and reading lights; large, high-
powered lamps, such as metal halide stadium lamps, require a large luminaire,
both for heat and for the reflector needed to aim the light properly.
Voltage
The electric power needed to operate a lamp is measured first by voltage. In
the United States, the standard voltage services are 120 volts, 240 volts, 277
volts, and 480 volts. The standard 120-volt service is available in all building
types; 240-, 277-, and 480-volt services are available only in large industrial and
commercial buildings. Service voltage varies from country to country.
Many types of low-voltage lamps, operating at 6, 12, or 24 volts, are used
throughout the world. Transformers are used to alter the service voltage to
match the lamp voltage.
Bulb Temperature
The bulb of a lamp can get quite hot. The bulb temperature of incandescent
and halogen lamps and most high-intensity discharge (HID) lamps is sufficient-
ly high to cause burns and, in the case of halogen lamps, extremely severe
burns and fires. Fluorescent lamps, while warm, are generally not too hot to
touch when operating, although contact is not advised.
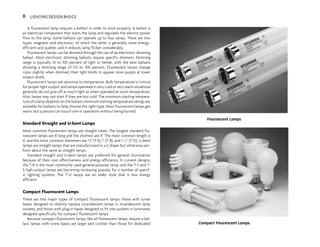
Operating Temperature
Fluorescent lamps are sensitive to temperature caused by the ambient air. If the
bulb of the lamp is too cool or too hot, the lamp will give off less light than
when operated at its design temperature. Most other lamps give off the same
amount of light at the temperatures encountered in normal applications.
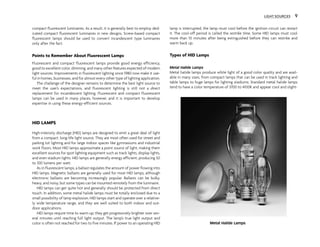
Operating Position
Some lamps produce more light or have longer lamp life when operated in spe-
cific positions with respect to gravity. Metal halide lamps are especially sensi-
tive; some versions will not operate unless in the specified position.
Starting, Warming Up, and Restarting
Some lamps, especially incandescent, start operating as soon as power is
applied, but most other types, especially discharge lamps, like fluorescent and
metal halide lamps, require the lamp to be started by a high-energy pulse. The
LIGHT SOURCES 5
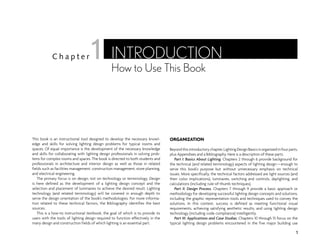
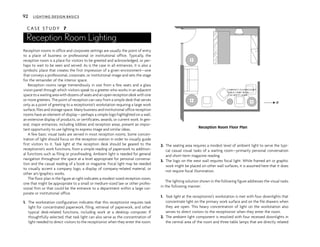
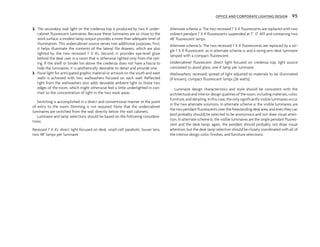
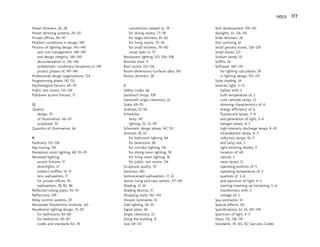
Color Temperature
(Kelvins or K) Applications
2500 Bulk industrial and security High Pressure Sodium (HPS) lighting.
2700–3000 Low light levels in most spaces [10 foot candles (FC)]. General resi-
dential lighting. Hotels, fine dining and family restaurants, theme
parks.
2950–3500 Display lighting in retail and galleries; feature lighting.
3500–4100 General lighting in offices, schools, stores, industry, medicine;
display lighting; sports lighting.
4100–5000 Special-application lighting where color discrimination is very
important; uncommon for general lighting.
5000–7500 Special-application lighting where color discrimination is critical;
uncommon for general lighting.
Minimum Lamp CRI Applications
50 Noncritical industrial, storage, and security lighting.
50–70 Industrial and general illumination where color is not important.
70–79 Most office, retail, school, medical, and other work and recreational
spaces.
80–89 Retail, work, and residential spaces where color quality is important.
90–100 Retail and work spaces where color rendering is critical.
Color Classification of Light Sources](https://image.slidesharecdn.com/lightingdesignbasics-220801075549-797c862b/85/Lighting-Design-Basics-pdf-18-320.jpg)


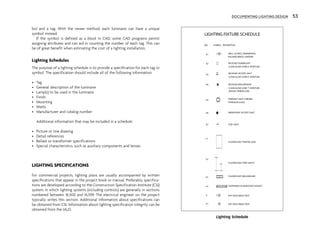


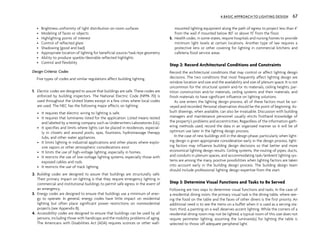


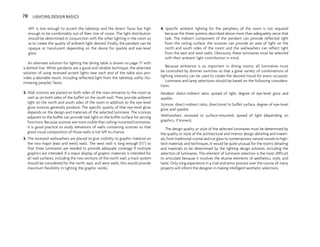


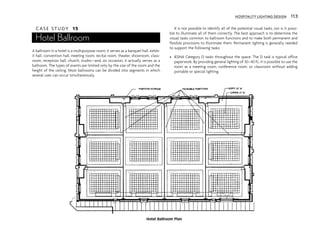


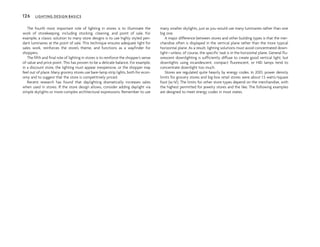


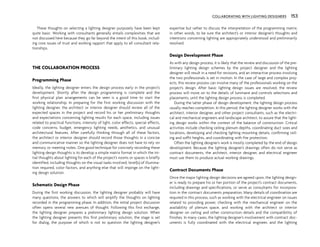


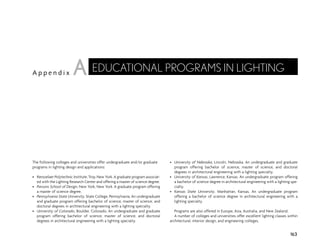


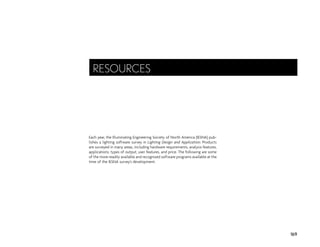


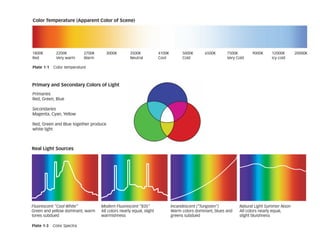

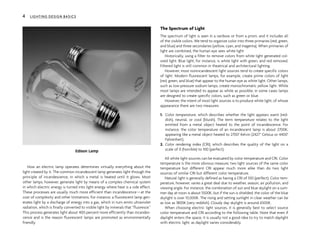
This chapter discusses the qualities of light sources that are important for lighting design. It explains that electric lamps have largely replaced other man-made light sources for lighting buildings. The chapter describes how different types of lamps generate light, the visible spectrum of light, and how the color qualities of light sources are measured in terms of color temperature and color rendering index. Natural light is defined as having a color rendering index of 100, while the color temperature of sunlight varies depending on conditions.


![74676371-Coagulation-and-Flocculation[1].ppt](https://cdn.slidesharecdn.com/ss_thumbnails/74676371-coagulation-and-flocculation1-260116154109-a3cbf55e-thumbnail.jpg?width=640&height=640&fit=bounds)


