Downloaded 57 times


![References
323
Namibian Vegetable Gardener Course, by Frank Wertheim, University of Maine
Cooperative Extension, York County Office, Springvale, Maine, USA [and
Food and Agriculture Organization of the United Nations (FAO) Rural Youth
Development project in Namibia]. (2003)
Naiveté: Native American Technology and Art.
On-line: http://www.nativetech.org/cornhusk/threesisters.html
Nutrition Education in the Primary Schools: A planning Guide for Curriculum
Development (vol.1—The Reader; vol.2—The Activities). Food and Agriculture
Organization of the United Nations (FAO), Rome, Italy. (2006)
Postharvest Handling. Integrated Crop Pest Management Guidelines for
Commercial Vegetable Production. Cornell Cooperative Extension, Ithaca,
New York, USA (2008).
On-line: http://www.nysaes.cornell.edu/recommends/
Postharvest Handling and Cooling of Fresh Fruits, Vegetables, and Flowers
for Small Farms, by L.G. Wilson, M.D. Boyette, and E.A. Estes, Department of
Horticultural Science, North Carolina Cooperative Extension Service, Raleigh,
North Carolina, USA (1995).
On-line: http://www.ces.ncsu.edu/depts/hort/hil/post-index.html
Pumpkin: Winter Squash—Recommendations for Maintaining Postharvest
Quality, by Marita Cantwell and Trevor V. Suslow. Postharvest Technology
Research Information Center, Department of Plant Sciences, University of
California, Davis, California, USA (2006).
On-line: http://postharvest.ucdavis.edu/Produce/ProduceFacts/
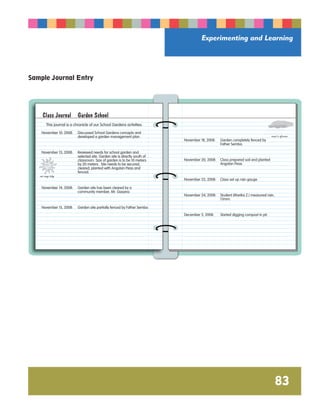
School Gardens Concept Paper, Special Programme for Food Security.
Document # 31, Food and Agriculture Organization of the United Nations
(FAO), Rome, Italy. (2004)
Science In Your World textbook series, by Jay K. Hackett and Richard H.
Moyer. MacMillan-McGraw-Hill School Publishing Company, New York, New
York, USA. (1991)](https://image.slidesharecdn.com/zq4u-140906131414-phpapp02/85/Secondary-School-Cultivating-Learning-with-School-Gardens-Teachers-Handbook-325-320.jpg)


The document outlines a project funded by various U.S. governmental and educational institutions aimed at integrating school gardens into curricula to enhance experiential learning, improve food security, and boost community involvement in education. It details the development of a manual for teachers, providing guidance on establishing and maintaining school gardens, and emphasizes the educational, psychological, vocational, and physical benefits for students. The primary objectives include increasing teachers' capacity to utilize gardens as learning laboratories and improving students' knowledge and skills relating to agriculture and nutrition.


![Castillo2023 [article].pdf](https://cdn.slidesharecdn.com/ss_thumbnails/castillo2023article-230409202844-c162ed15-thumbnail.jpg?width=640&height=640&fit=bounds)


