Download to read offline

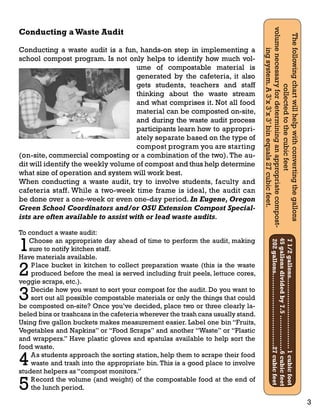


This document provides guidance for implementing cafeteria composting programs in schools. It discusses the benefits of composting at schools and strategies for building support among students, teachers, and staff. Options for composting include on-site bin systems, commercial compost pickup through the City of Eugene's program, or a combination. Conducting a waste audit helps determine the appropriate system based on waste volume. Instructions are provided for setting up and maintaining different composting methods.


![Press release sustainability2 a[1]](https://cdn.slidesharecdn.com/ss_thumbnails/pressreleasesustainability2a1-111006200049-phpapp01-thumbnail.jpg?width=640&height=640&fit=bounds)


