Download to read offline
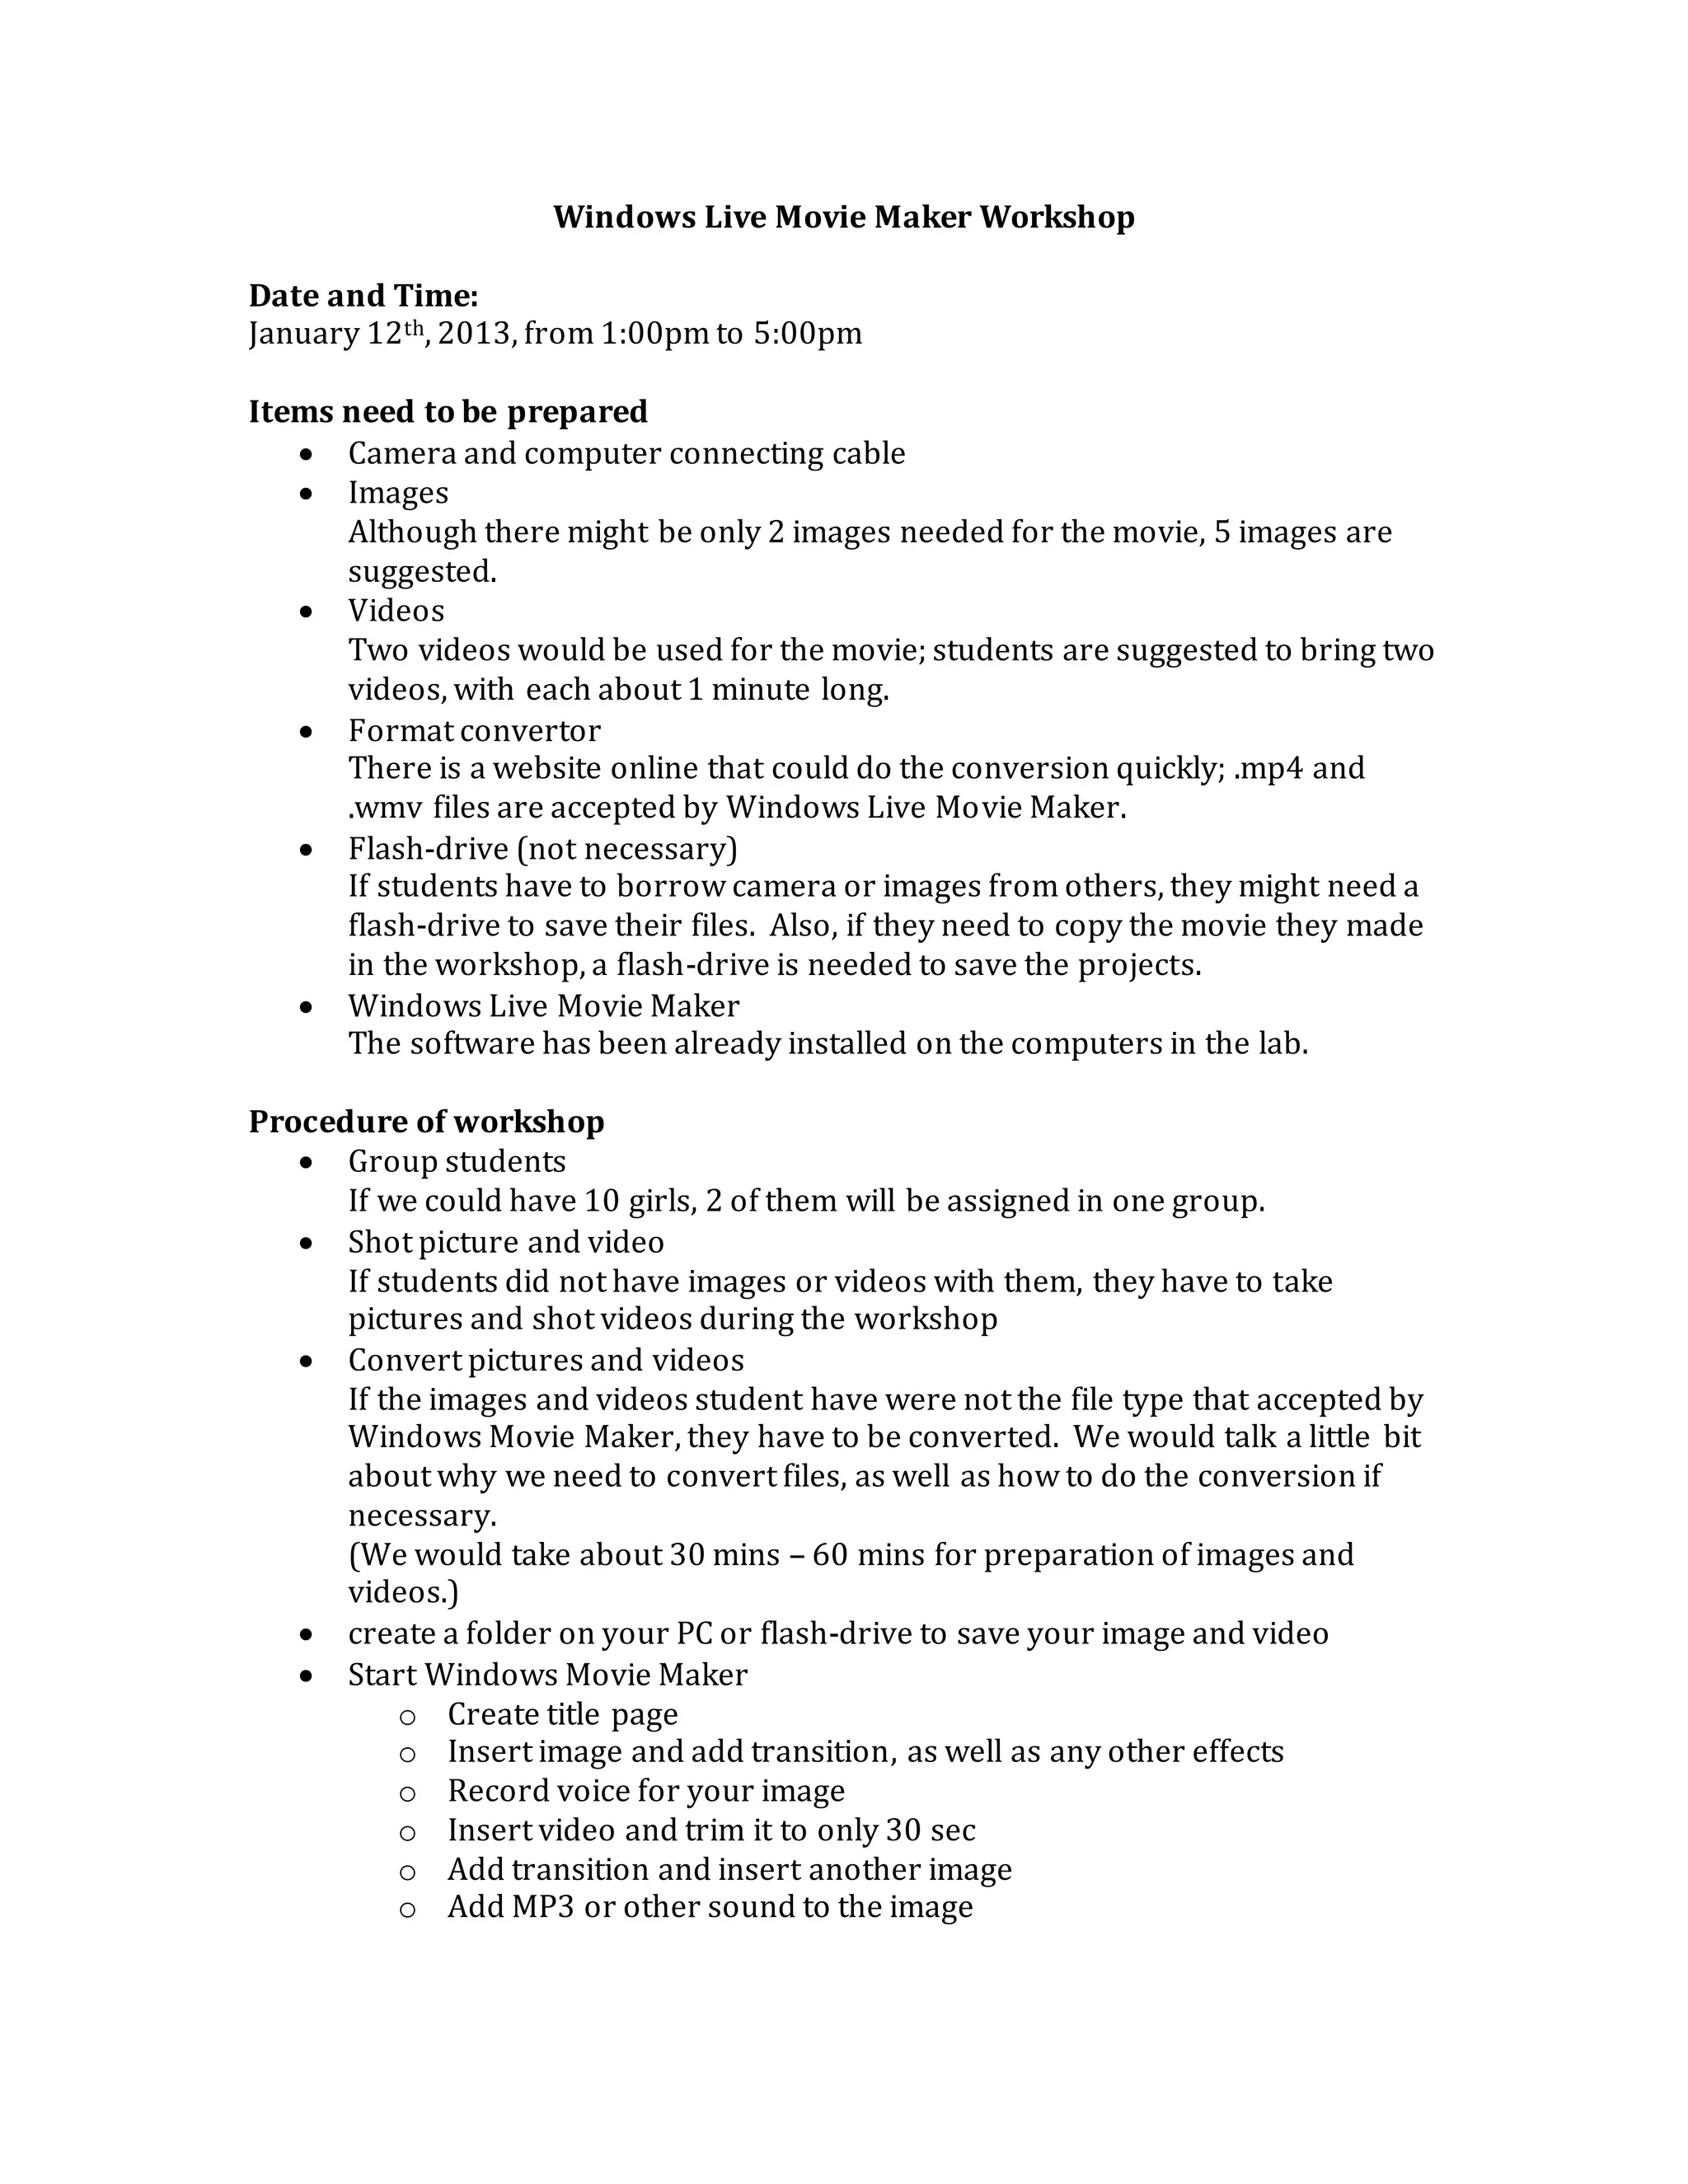
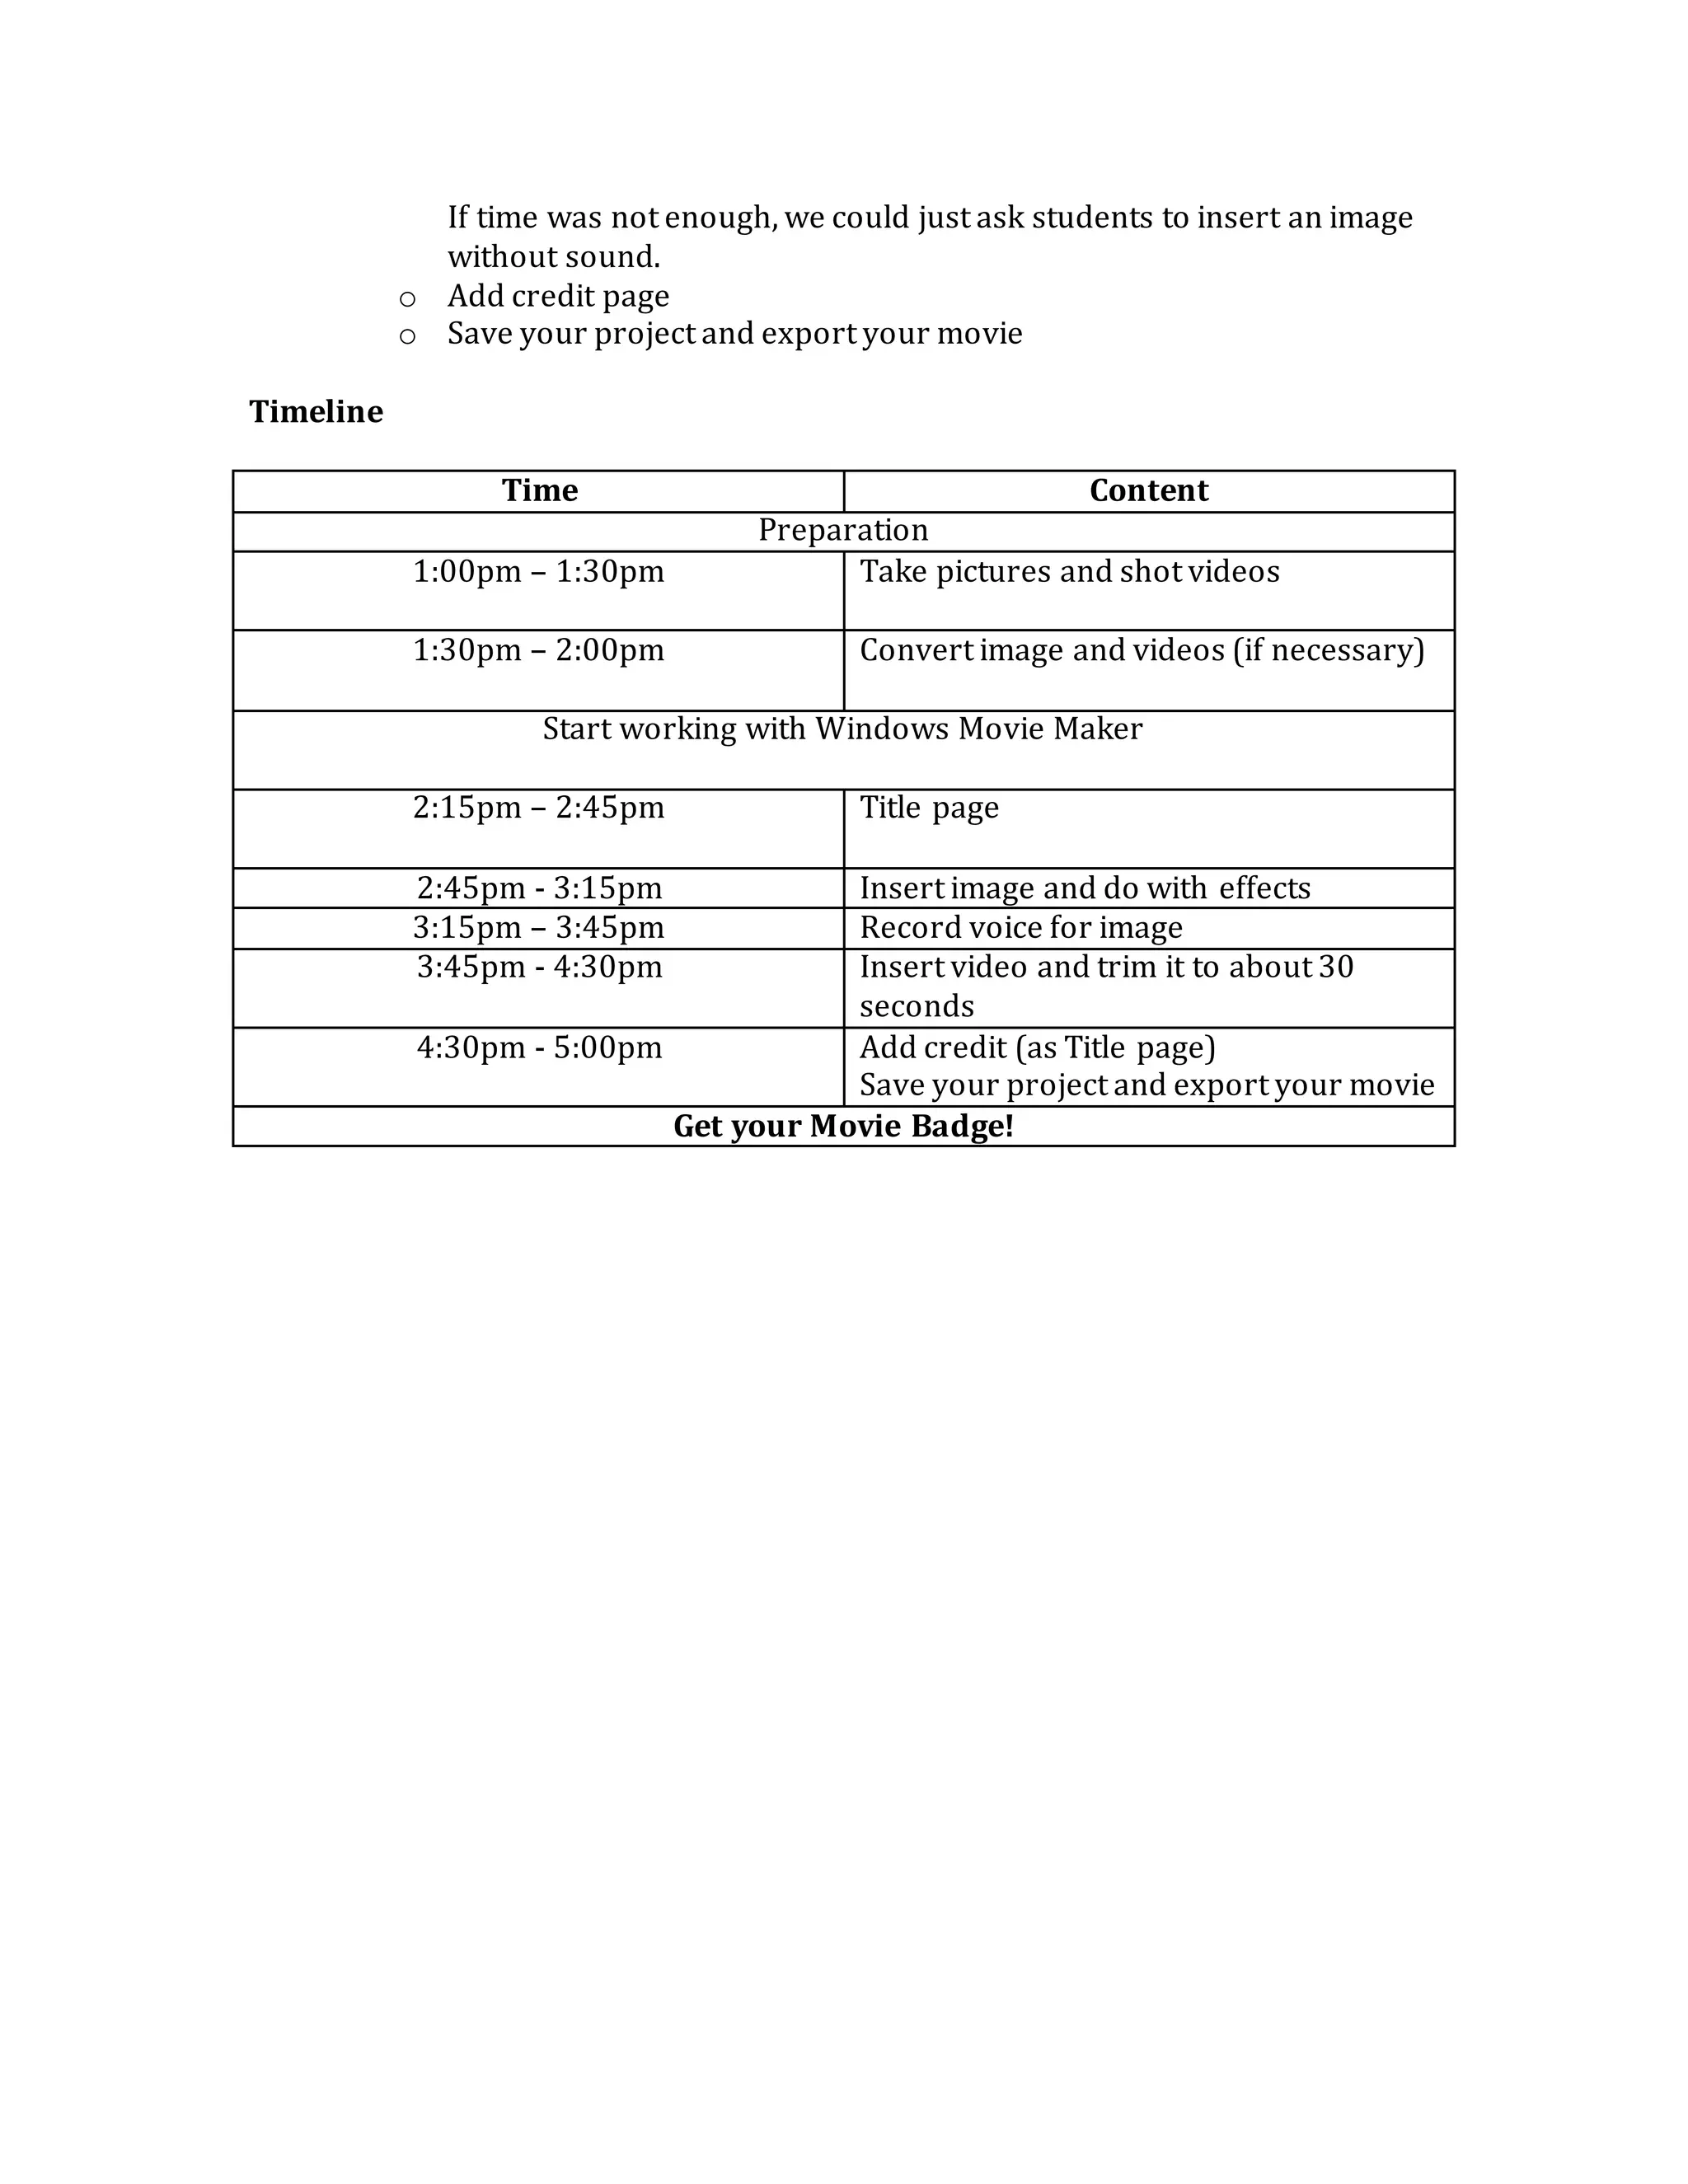

The document provides details for a Windows Live Movie Maker workshop to be held on January 12th from 1-5pm. Attendees should bring a camera, computer cable, 2-5 images, 2 videos around 1 minute each in .mp4 or .wmv format, and optionally a flash drive. The workshop will include taking photos and videos, converting formats, making a movie project with title page, images with transitions and effects, voice recording, trimmed video clips, and saving the finished project. Students will be grouped and guided through the Movie Maker software and processes over the 4 hour period.