This document is the user manual for VMware Workstation 7.1. It provides information on installing, configuring, and using VMware Workstation and virtual machines. The manual covers topics such as system requirements, installing on Windows and Linux hosts, creating and configuring virtual machines, installing VMware Tools in guest operating systems, transferring files between host and guest machines, snapshots and cloning, and using disks and drives.


![VMware, Inc. 35
Chapter 2 Installing and Upgrading VMware Workstation
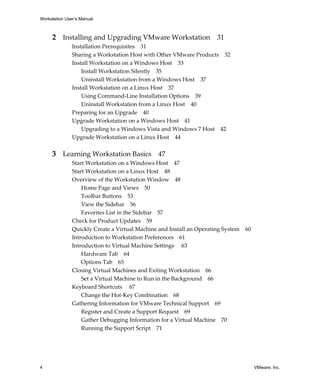
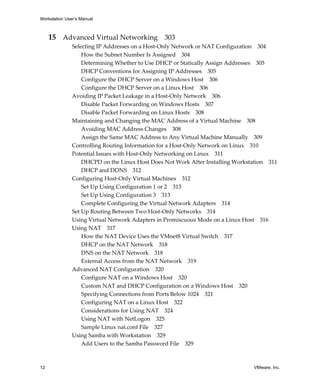
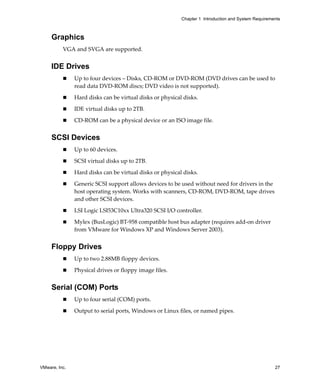
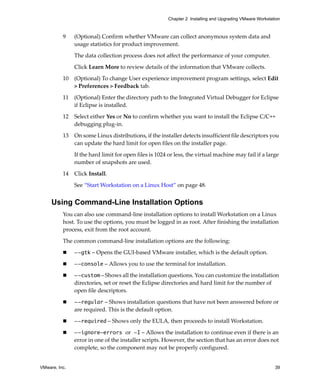
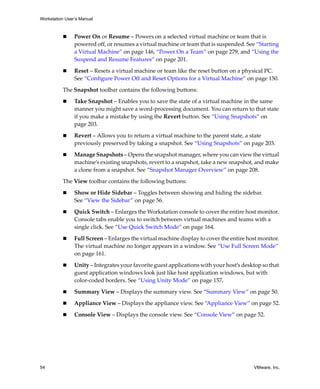
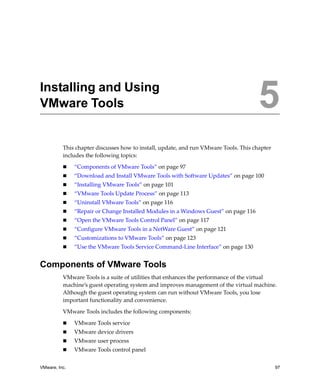
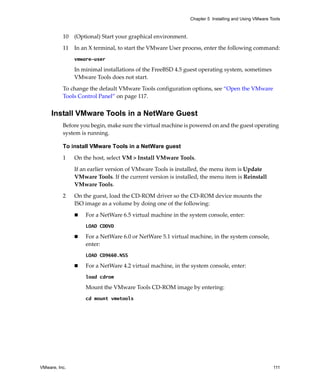
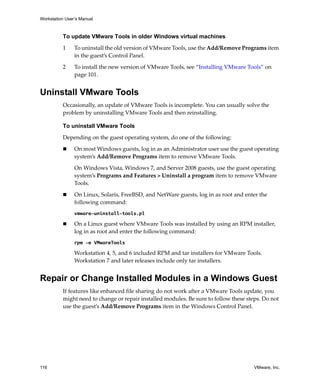
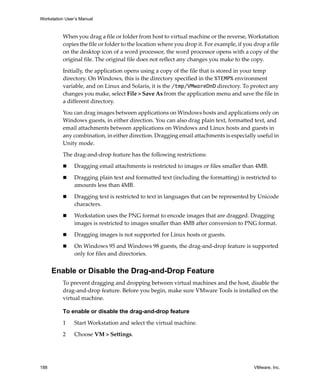
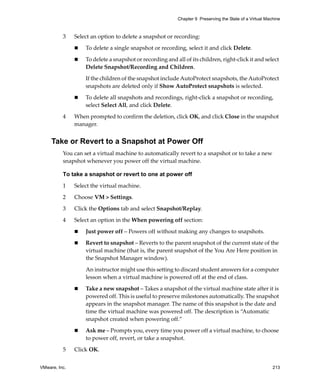
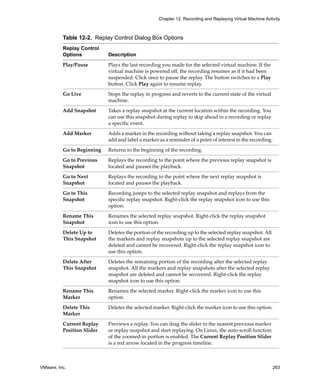
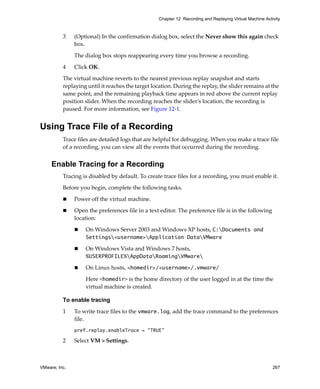
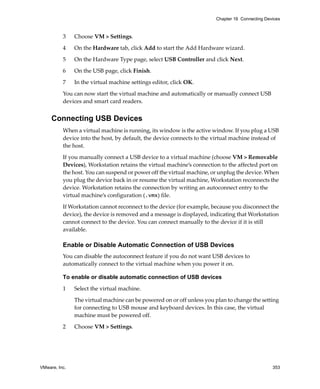
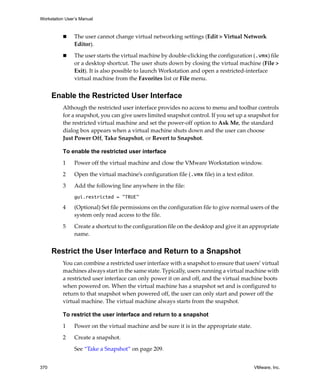
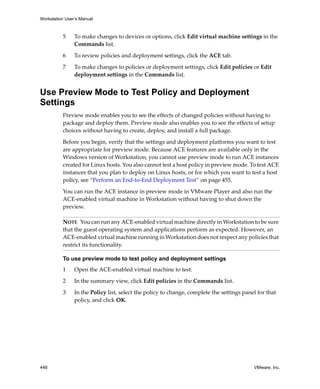
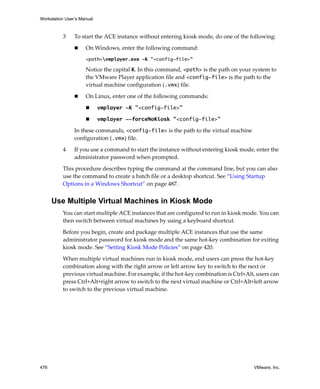
Install Workstation Silently
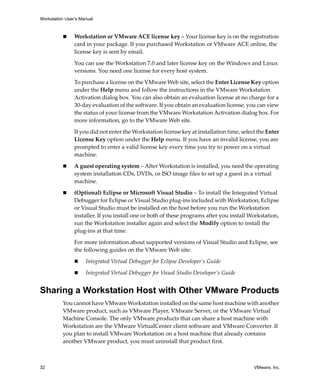
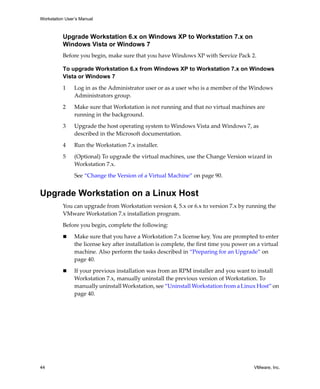
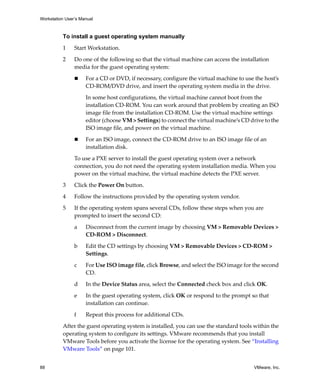
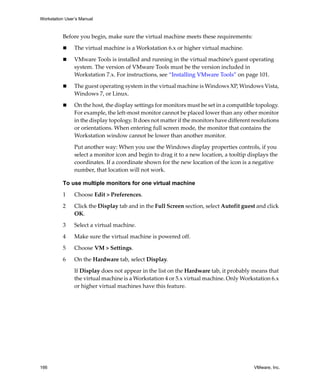
If you are installing Workstation on several Windows host computers and do not want
to respond to wizard prompts, you can use the silent installation feature of the
Microsoft Windows Installer (MSI). This feature is convenient, for example, in a large
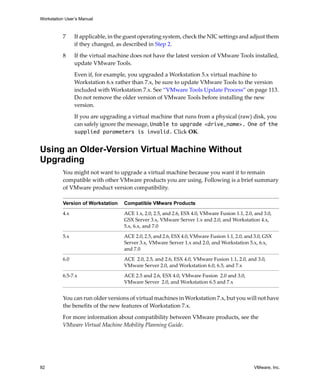
enterprise.
Before you begin, ensure that the host computer has version 2.0 or higher of the MSI
runtime engine. This version of the installer is available in versions of Windows
beginning with Windows XP and is available separately from Microsoft. For additional
details on using the Microsoft Windows Installer, see the Microsoft Web site.
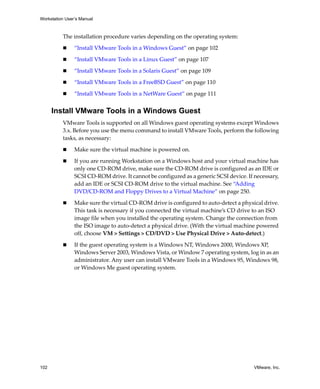
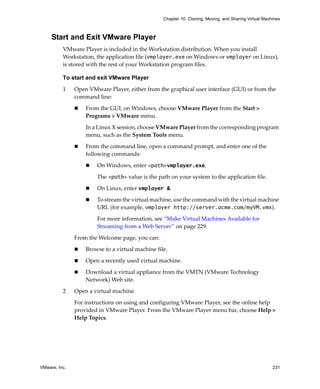
To install Workstation silently
1 Open a command prompt and enter the following command to silently extract the
administrative installation image from the VMware Workstation installer:
setup.exe /s /e <install_temp_path>
setup.exe is the name of the installer on the installation media. If you are using a
downloaded installer, the filename is similar to
VMwareWorkstation-<xxxx>.exe, where <xxxx> is a series of numbers
representing the version and build numbers.
<install_temp_path> is the full path to the folder where you want to store the
administrative installation image.
2 Enter the following command on one line to run a silent installation using msiexec
and the administrative installation image you extracted in the previous step:
msiexec -i "<install_temp_path>VMware Workstation.msi"
[INSTALLDIR="<path_to_program_directory>"] ADDLOCAL=ALL
[REMOVE=<feature_name,feature_name>] /qn
To install Workstation in a location other than the default, change the path that
follows INSTALLDIR= to specify the location.](https://image.slidesharecdn.com/ws71manual-150723141600-lva1-app6892/85/vmware-workstation-7-1-35-320.jpg)
![Workstation User’s Manual
38 VMware, Inc.
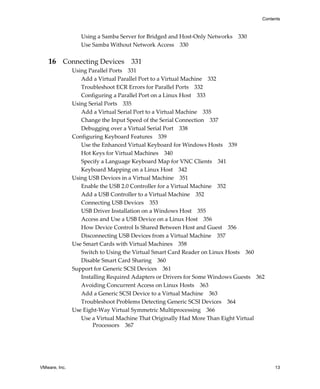
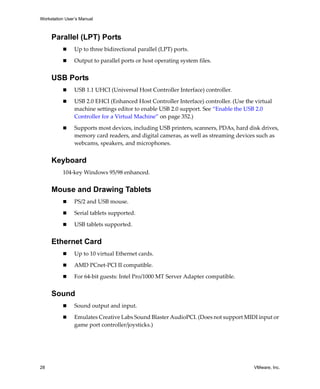
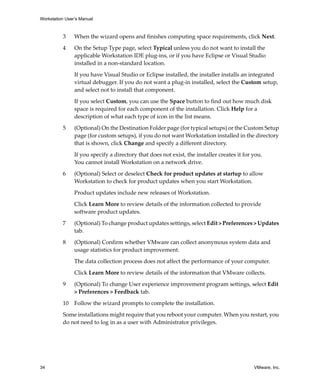
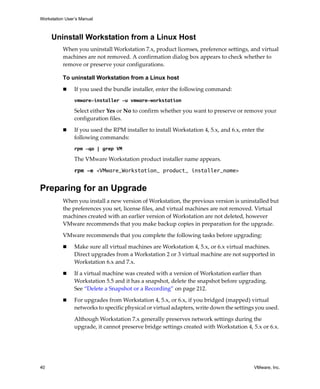
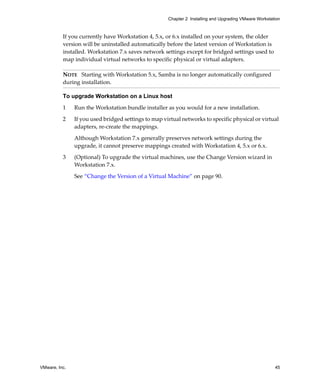
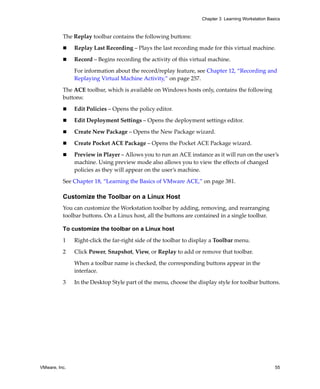
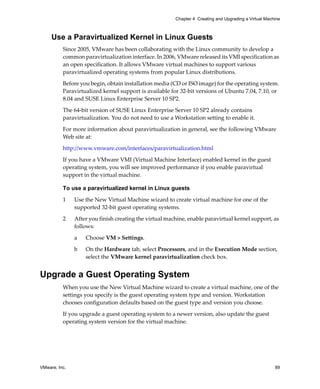
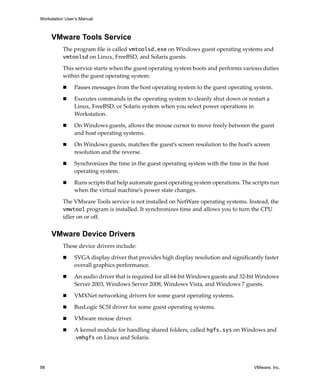
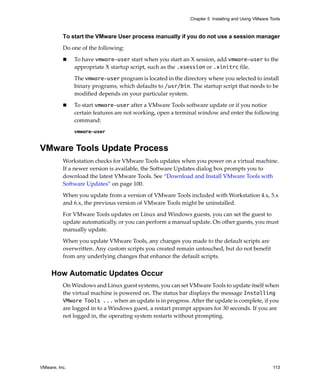
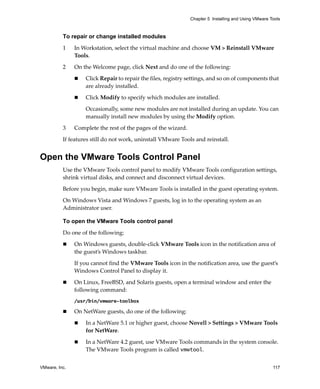
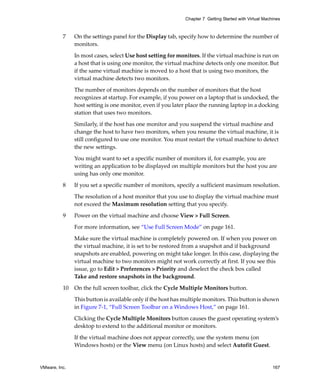
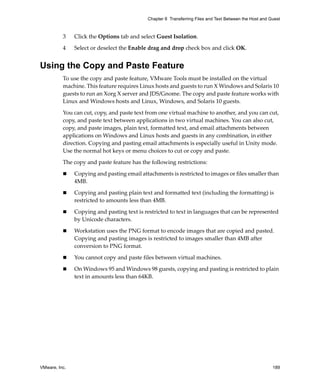
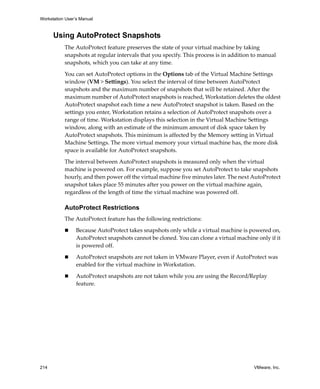
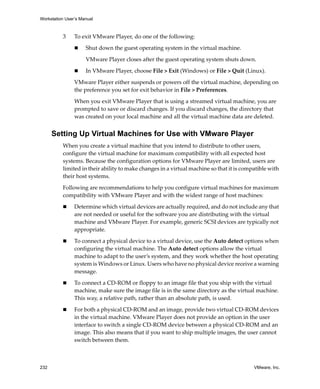
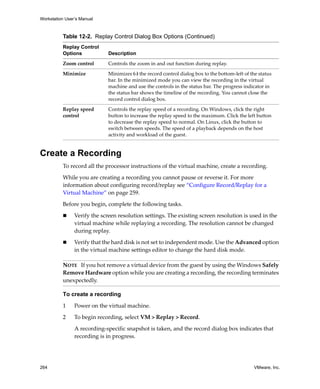
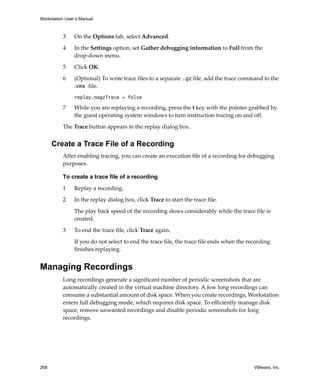
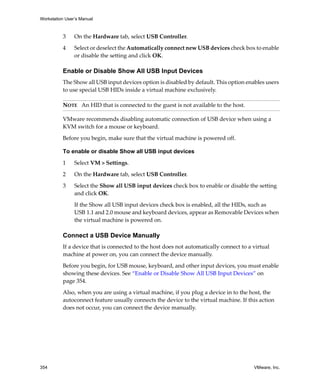
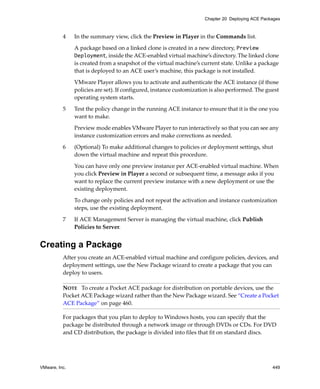
VMware-Workstation-<xxxx-xxxx>.<architecture>.bundle is the name of the
installer file. In the name, <xxxx-xxxx> is a series of numbers that represent the version
and build numbers, and <architecture> is i386 or x86_64.
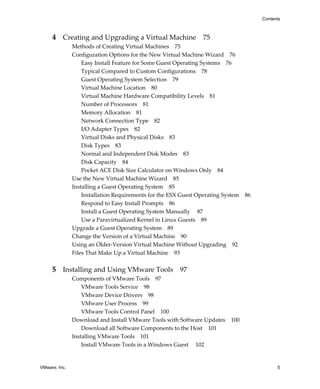
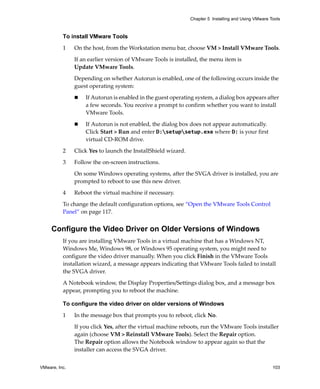
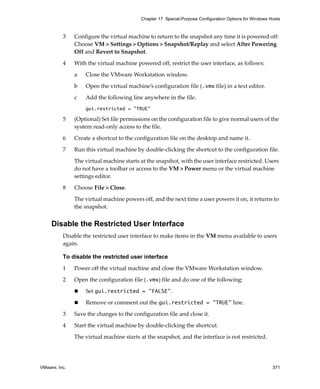
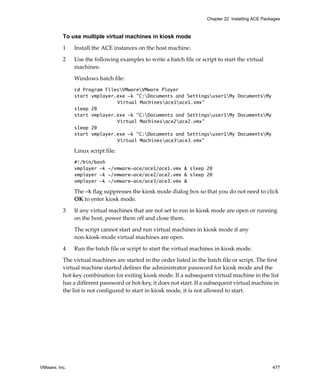
To install Workstation on a Linux host
1 Log in to your Linux host with the user name you plan to use when running
Workstation.
2 In a terminal window, become root to perform the initial installation steps:
su or sudo
The command you use depends on your Linux distribution and configuration.
3 If you are installing from the installation media instead of a downloaded file,
mount the Workstation installation media.
4 Change directories to the directory where the installer file is located and run the
following command:
sh VMware-Workstation-<xxxx-xxxx>.<architecture>.bundle
If you are using the Workstation installation media, this file is in the Linux
directory.
5 Accept the VIX EULA to continue.
6 (Optional) If you are using the --console option or running a host that does not
support the GUI installation do one of the following:
To scroll through the VIX EULA, press spacebar and at the end of EULA the
Do you agree? [yes/no] prompt appears.
To exit the VIX EULA, press q. The Do you agree? [yes/no] prompt appears.
7 (Optional) Select either Yes or No to allow Workstation to check for product
updates when you start Workstation.
Product updates include new releases of Workstation.
Click Learn More to review details of the information collected to provide product
updates.
8 (Optional) To change product updates settings, select Edit > Preferences > Updates
tab.](https://image.slidesharecdn.com/ws71manual-150723141600-lva1-app6892/85/vmware-workstation-7-1-38-320.jpg)


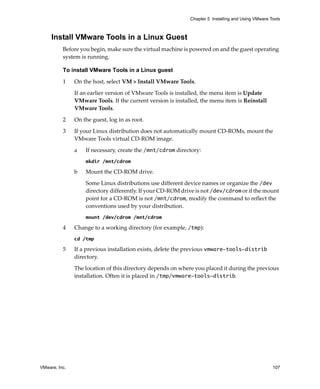
![VMware, Inc. 105
Chapter 5 Installing and Using VMware Tools
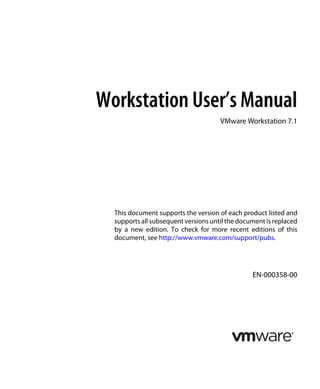
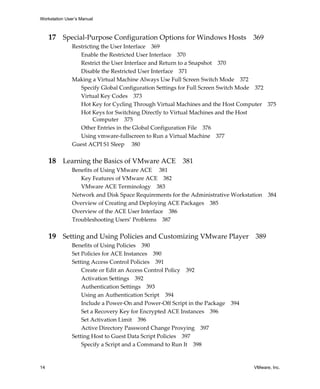
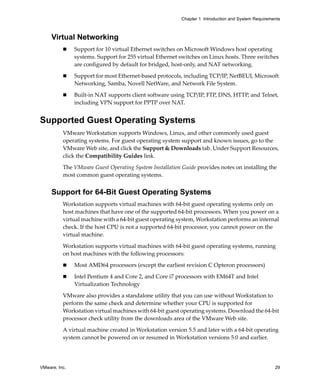
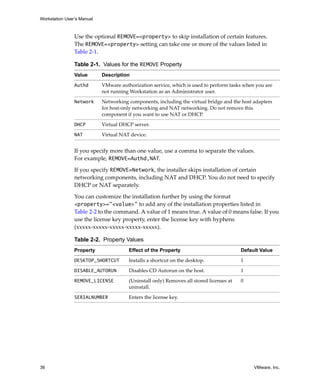
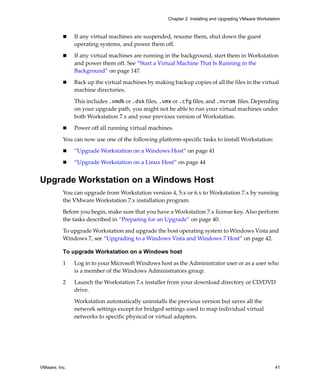
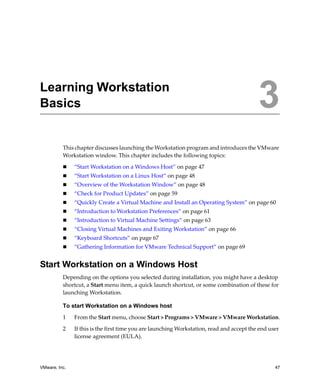
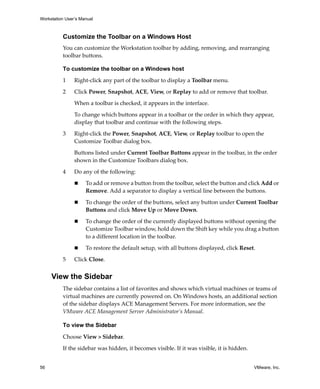
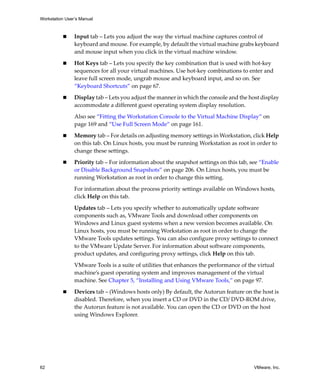
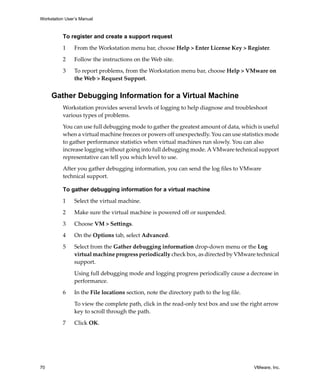
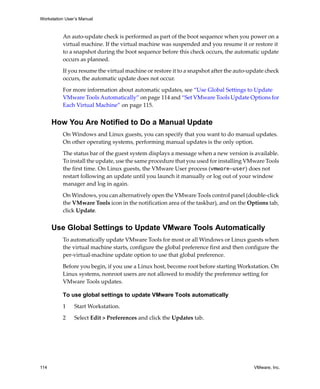
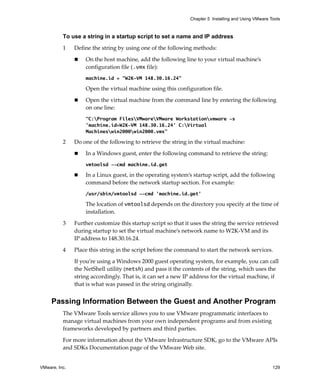
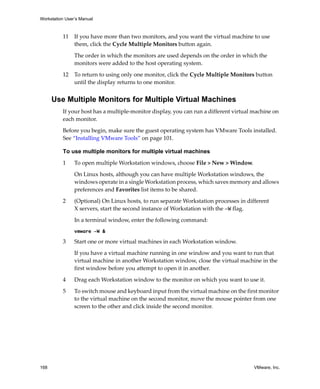
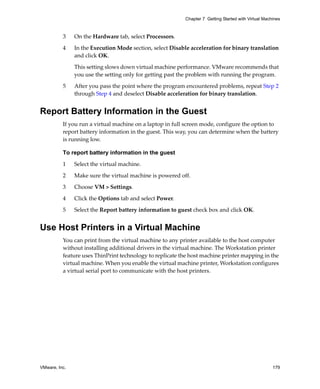
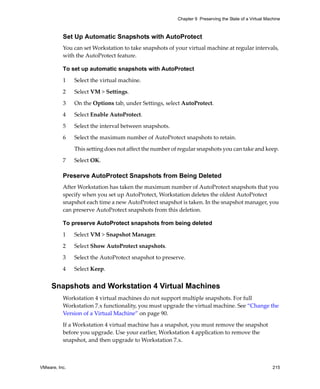
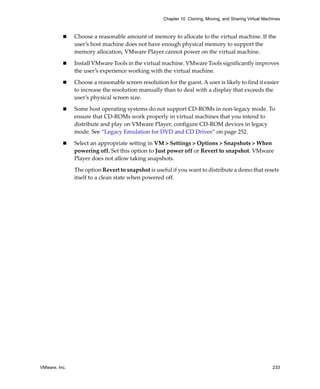
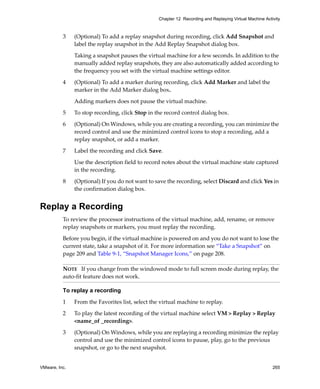
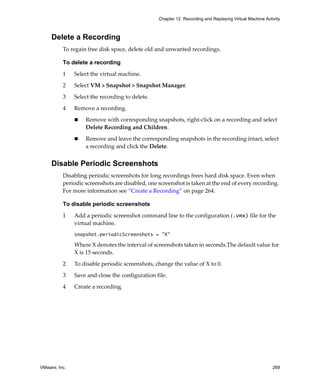
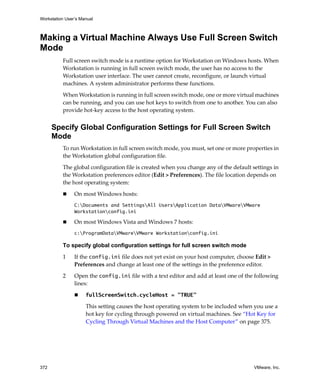
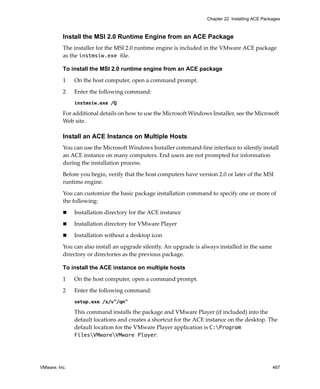
2 (Optional) In the guest operating system, suppress prompts about installing
unsigned drivers.
If you are installing VMware Tools from a beta or release candidate version of
Workstation, you are asked to confirm the installation of unsigned drivers. Follow
these steps to suppress these confirmation prompts.
For all Windows systems except Windows Vista and Windows 7:
a On the virtual machine’s desktop or Start menu, right‐click My Computer and
choose Properties.
b Click the Hardware tab and click Driver Signing.
c In the Driver Signing Options dialog box, click Ignore and click OK.
d Click OK in the System Properties dialog box.
For Windows Vista:
a On the Start menu, right‐click Computer and choose Properties.
b Select Advanced system settings > Hardware > Windows Update Driver
Settings.
c Click Never check for drivers when I connect a device and click OK.
d Click OK in the System Properties dialog box.
For Windows 7:
a On the Start menu, right‐click Computer and choose Properties.
b Select Advanced system settings > Hardware > Device Installation Settings
> No, let me choose what to do > Never install driver software from
Windows Update.
c Click Save Changes.
d Click OK in the System Properties dialog box.
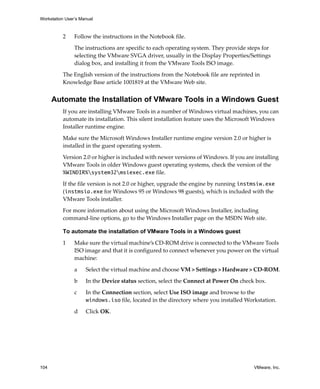
3 Open a command prompt and use the following command to install some or all of
the VMware Tools components:
msiexec -i "D:VMware Tools.msi" ADDLOCAL=ALL [REMOVE=<component>] /qn
TRANSFORMS= <path>1041.msi
In this command, you can optionally use REMOVE=<component> if you do not
want to install a particular component.](https://image.slidesharecdn.com/ws71manual-150723141600-lva1-app6892/85/vmware-workstation-7-1-105-320.jpg)
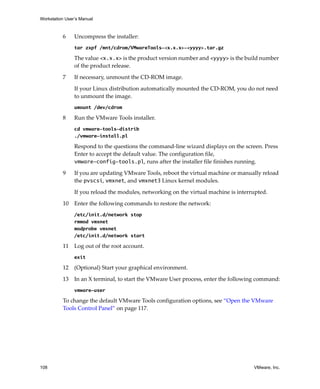

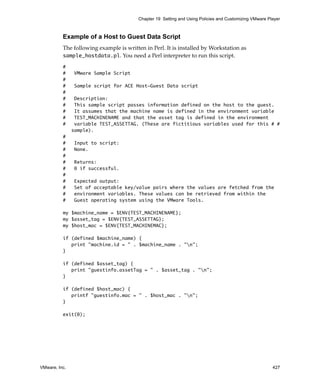
![Workstation User’s Manual
122 VMware, Inc.
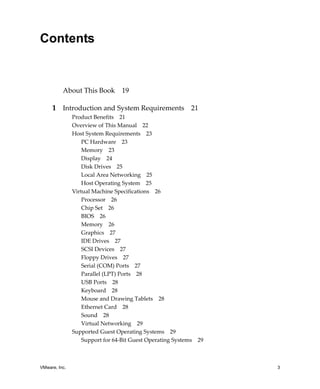
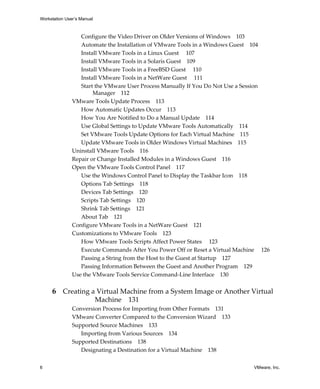
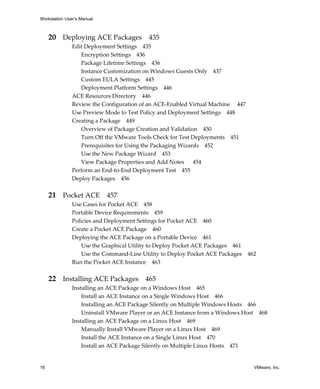
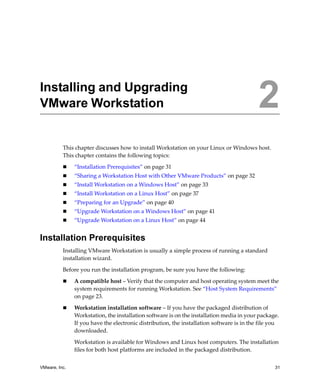
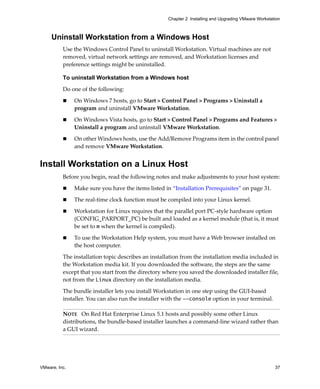
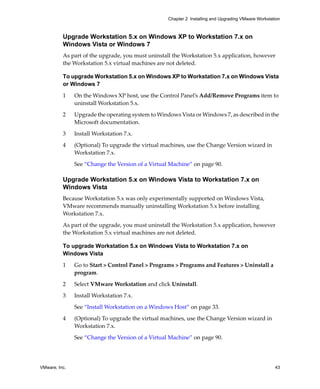
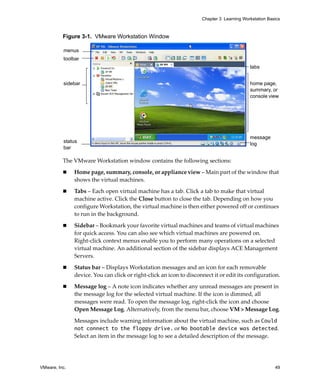
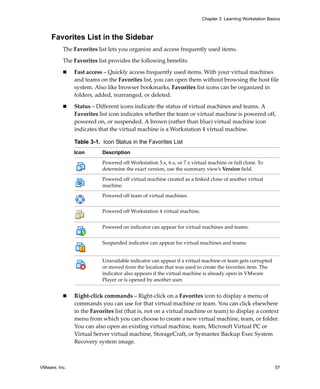
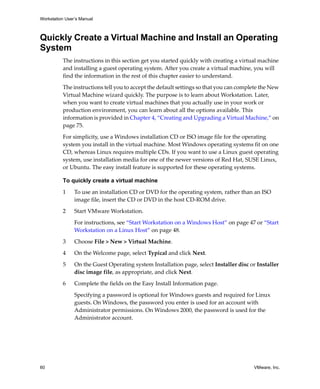
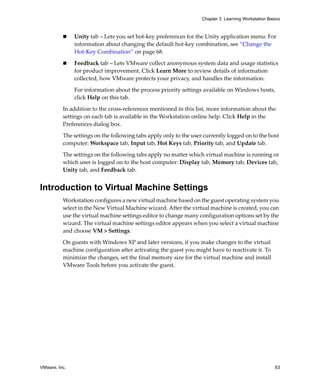
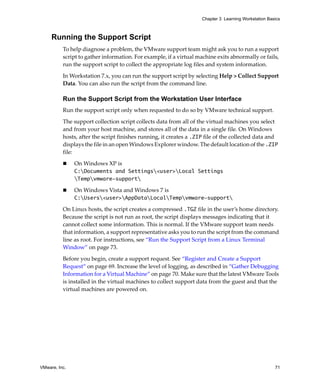
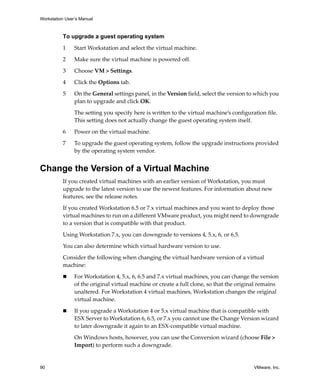
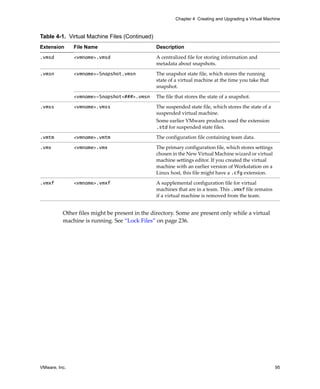
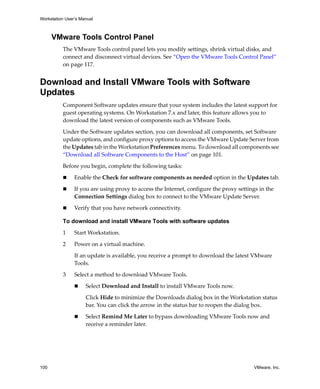
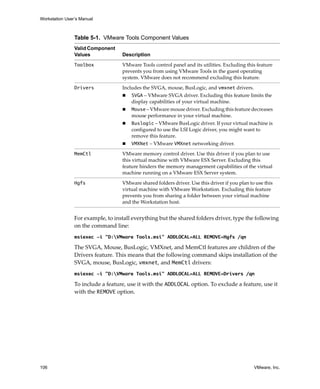
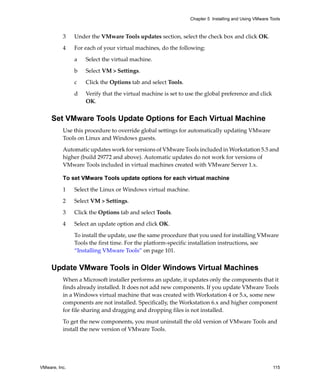
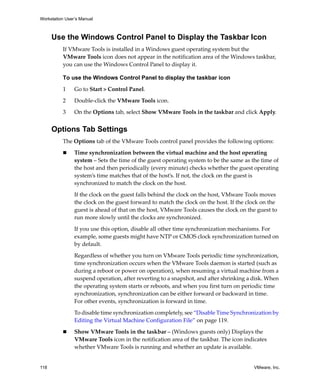
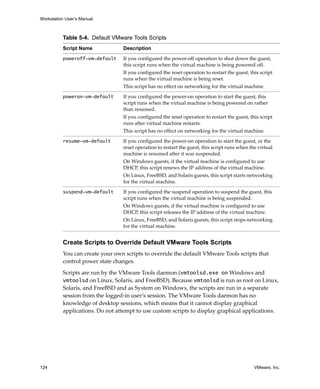
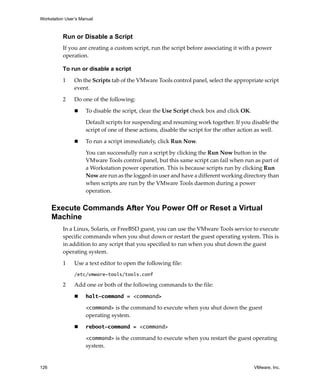
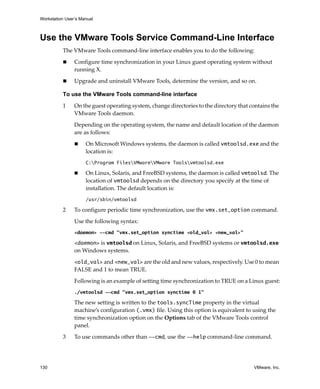
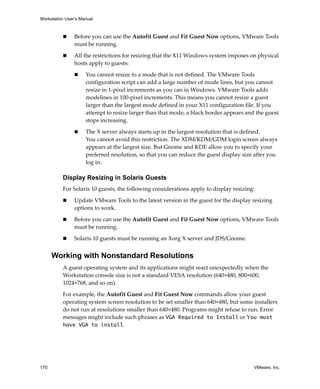
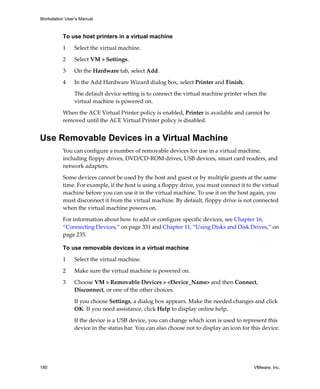
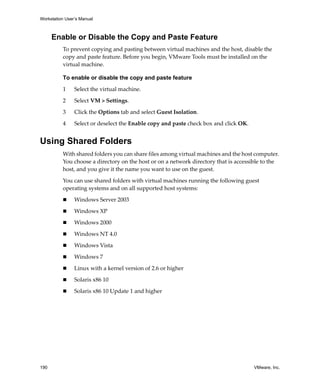
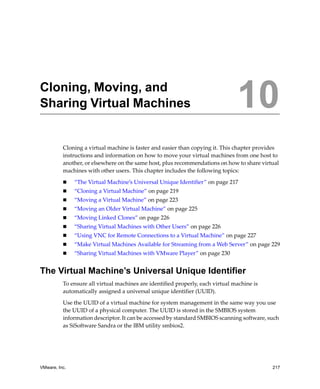
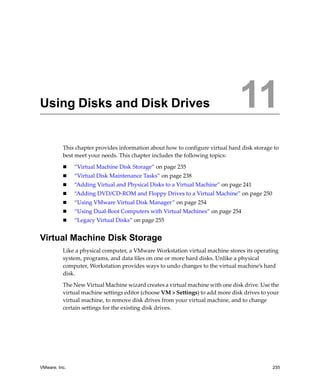
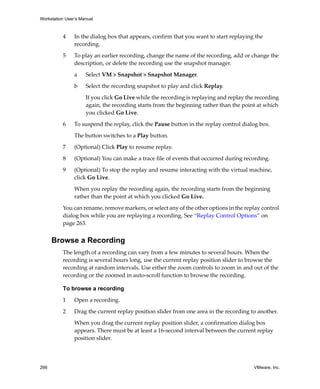
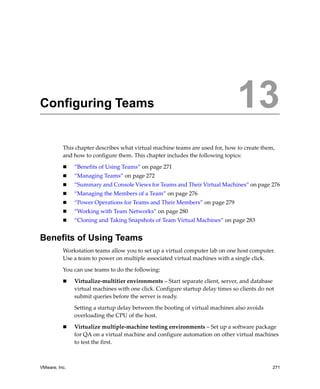
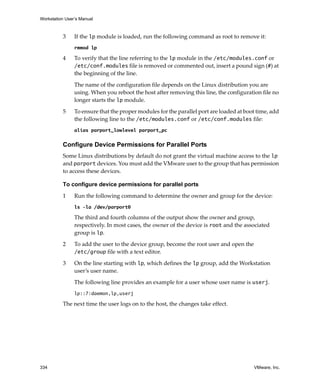
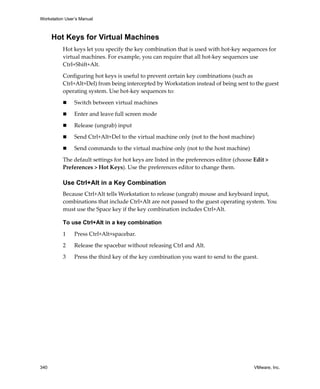
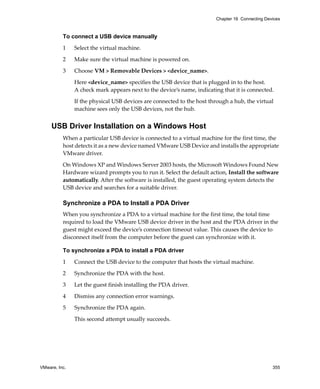
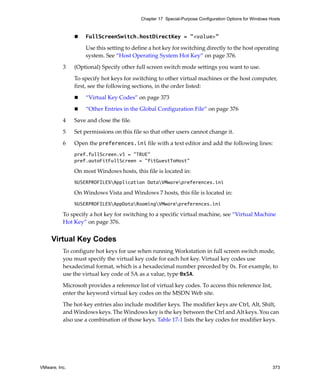
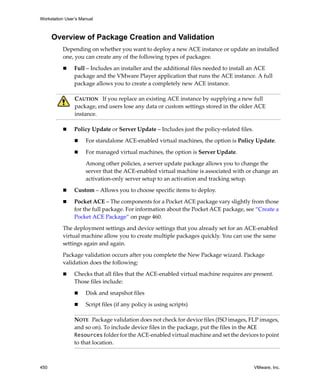
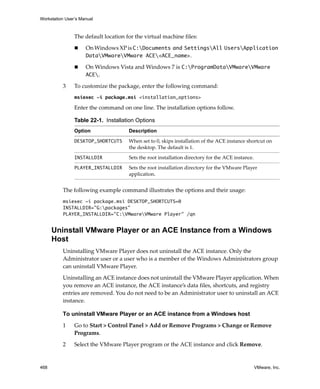
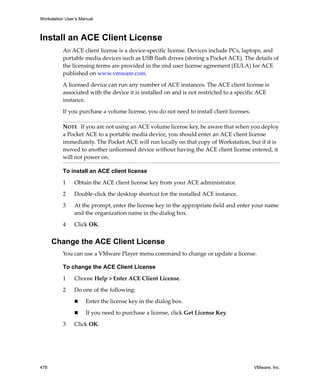
Table 5-3. vmwtool Commands
vmwtool Command Description
help Displays a summary of VMware Tools commands and
options in a NetWare guest.
partitonlist Displays a list of all disk partitions in the virtual disk
and whether or not a partition can be shrunk.
shrink [<partition>] Shrinks the listed partitions. If no partitions are
specified, all partitions in the virtual disk are shrunk.
The status of the shrink process appears at the bottom
of the system console.
devicelist Lists each removable device in the virtual machine, its
device ID, and whether the device is enabled or
disabled. Removable devices include the virtual
network adapter, CD‐ROM, and floppy drives. By
default, floppy drive is not connected when the virtual
machine powers on.
disabledevice [<device
name>]
Disables the specified device or devices in the virtual
machine. If no device is specified, all removable devices
in the virtual machine are disabled.
enabledevice [<device
name>]
Enables the specified device or devices in the virtual
machine. If no device is specified, all removable devices
in the virtual machine are enabled.
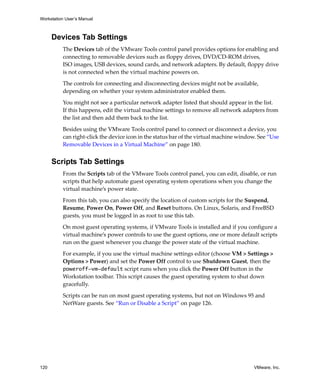
synctime [on|off] Lets you turn on or off synchronization of time in the
guest operating system with time on the host operating
system. By default, time synchronization is turned off.
Use this command without any options to view the
current time synchronization status.
idle [on|off] Lets you turn the CPU idler on or off. By default, the
idler is turned on. The CPU idler program is included
in VMware Tools for NetWare guests.
The idler program is needed because NetWare servers
do not idle the CPU when the operating system is idle.
As a result, a virtual machine takes CPU time from the
host regardless of whether the NetWare server
software is idle or busy.](https://image.slidesharecdn.com/ws71manual-150723141600-lva1-app6892/85/vmware-workstation-7-1-122-320.jpg)
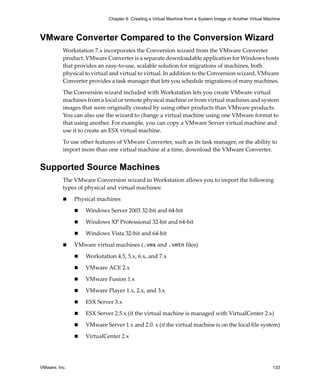


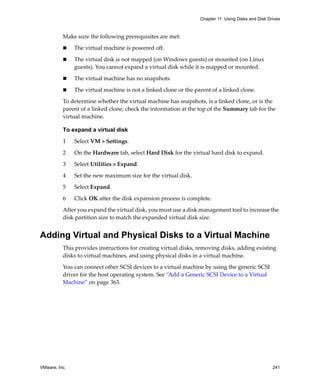
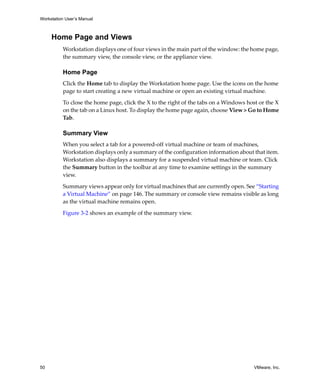
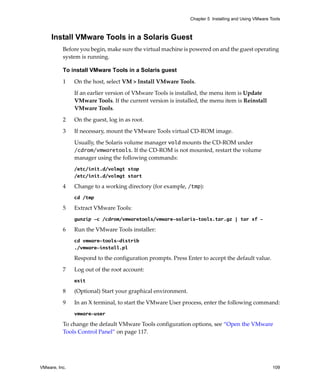
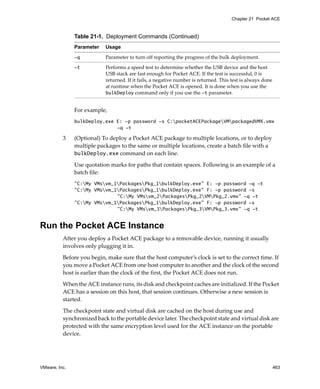
![VMware, Inc. 247
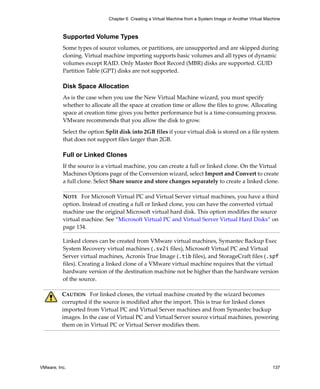
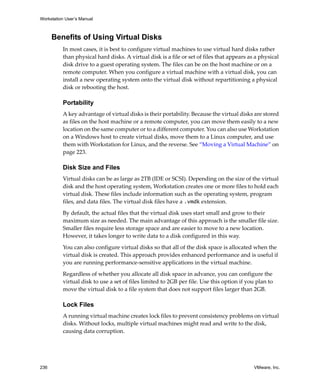
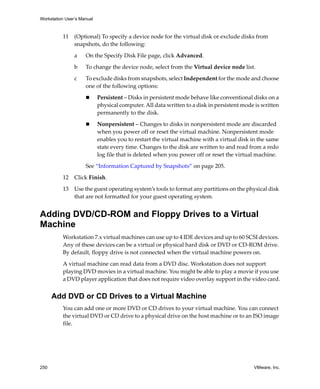
Chapter 11 Using Disks and Disk Drives
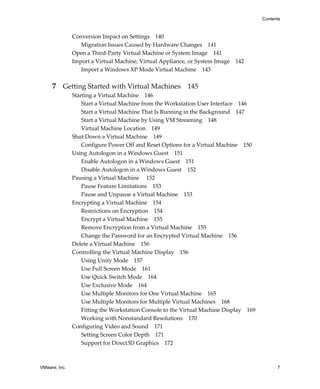
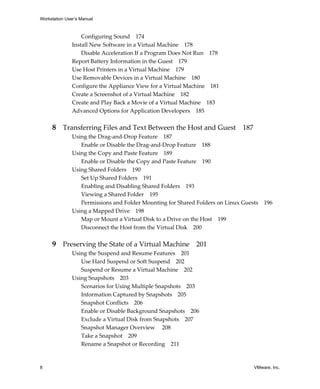
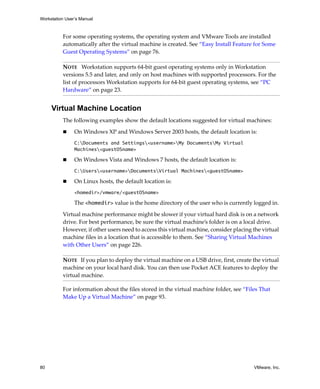
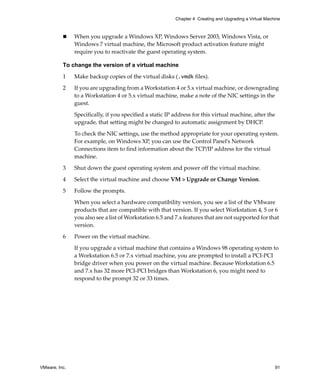
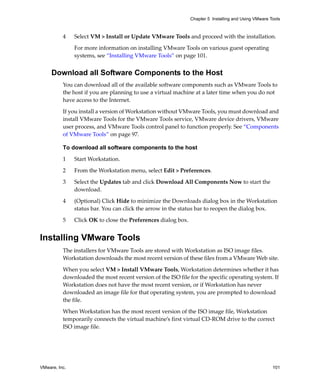
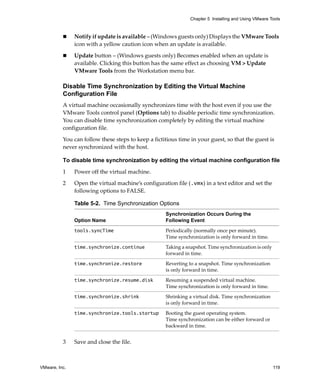
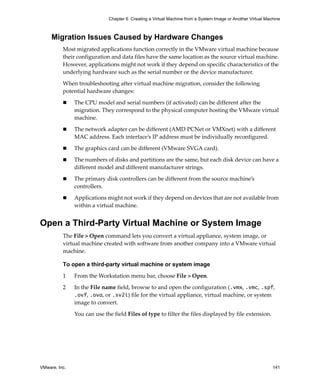
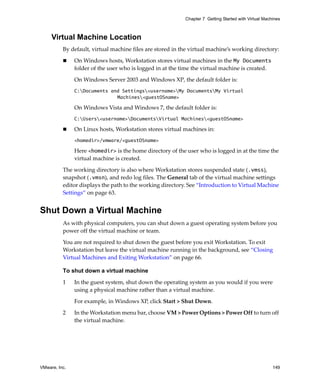
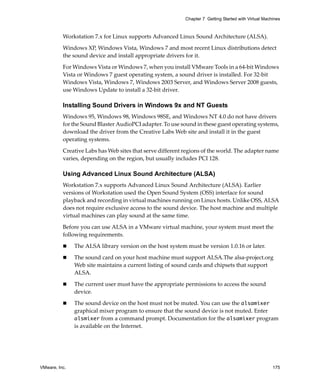
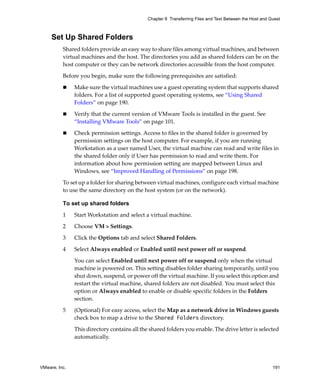
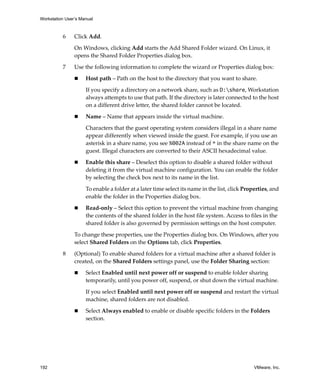
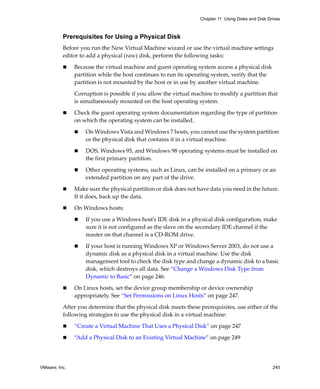
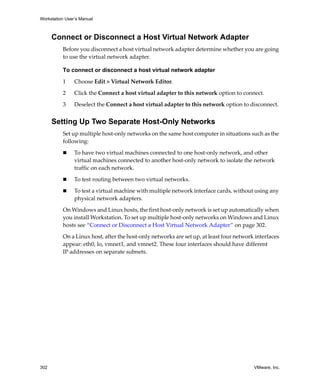
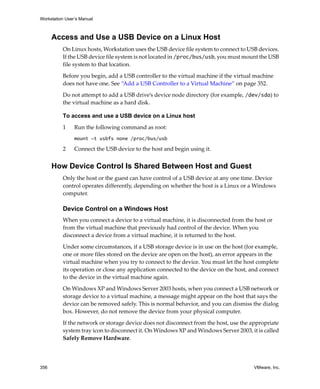
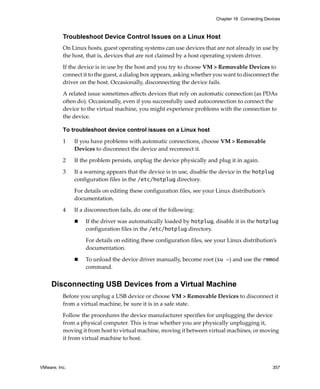
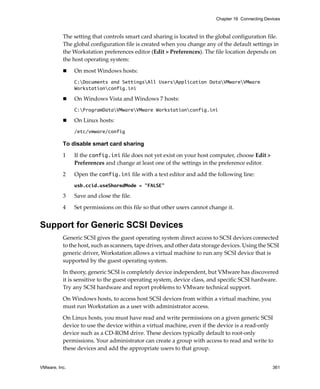
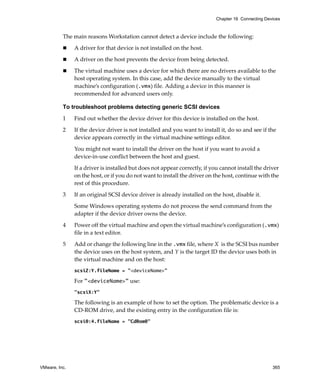
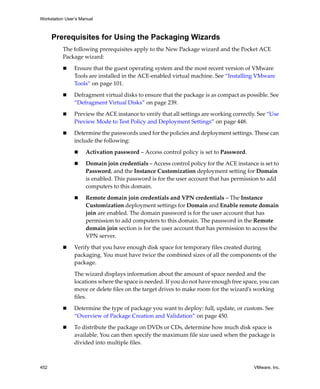
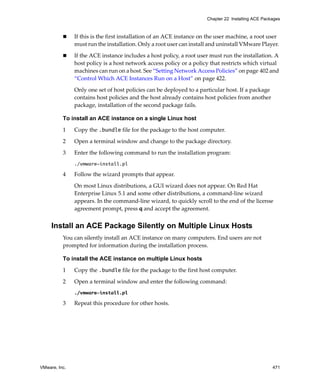
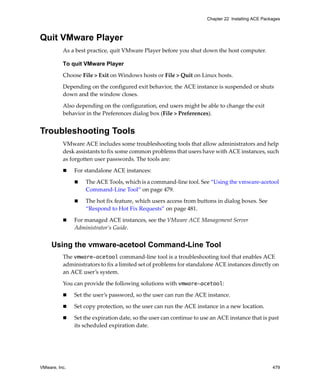
Unmap a Partition That Is Mapped to a Windows 7 Host
Corruption can occur if you allow the virtual machine to modify a physical disk
partition that is simultaneously used as a mapped drive on the host.
To unmap a partition that is mapped to a Windows 7 host
1 Select Start > Control Panel.
2 In the menu bar, click the arrow next to Control Panel.
3 From the drop‐down menu, select All Control Panel Items > Administrative
Tools > Computer Management > Storage > Disk Management(Local).
4 Right‐click a partition and choose Change Drive Letter and Paths.
5 Click Remove and OK.
Set Permissions on Linux Hosts
If permissions are set correctly, the physical disk configuration files in Workstation
control access. This reliability provides boot managers access to configuration files and
other files they might need to boot operating systems. For example, LILO needs to read
/boot on a Linux partition to boot a non‐Linux operating system that might be on
another drive.
To set permissions on Linux hosts
1 Make sure the master physical disk device or devices are readable and writable by
the user who runs Workstation.
Physical devices, such as /dev/hda (IDE physical disk) and /dev/sdb (SCSI
physical disk), belong to group‐id disk on most distributions. If this is the
case, you can add VMware Workstation users to the disk group.
Another option is to change the owner of the device. Consider all the security
issues involved in this option.
2 Grant VMware Workstation users access to all /dev/hd[abcd] physical devices
that contain operating systems or boot managers.
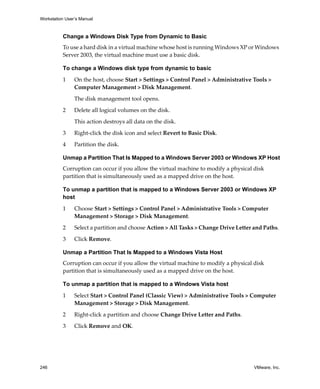
Create a Virtual Machine That Uses a Physical Disk
Use the New Virtual Machine wizard to create a new virtual machine that uses a
physical disk rather than adding a physical disk to an existing virtual machine.
Before you begin, complete the tasks described in “Prerequisites for Using a Physical
Disk” on page 245.](https://image.slidesharecdn.com/ws71manual-150723141600-lva1-app6892/85/vmware-workstation-7-1-247-320.jpg)


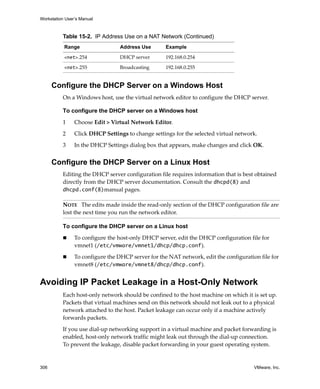
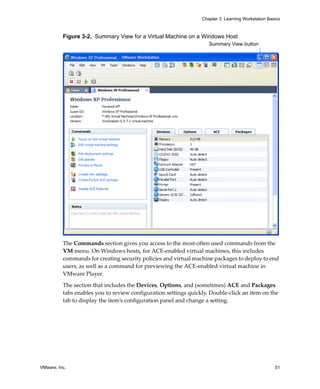
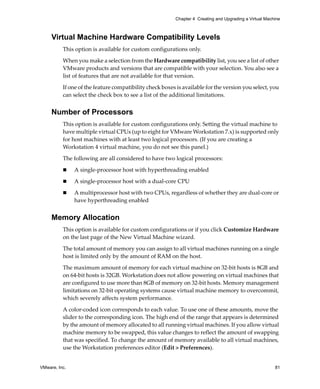
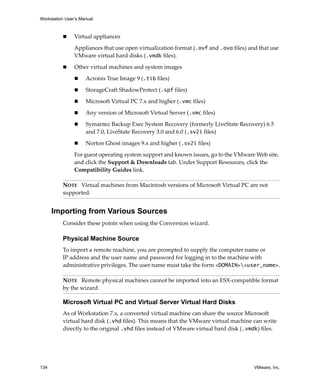
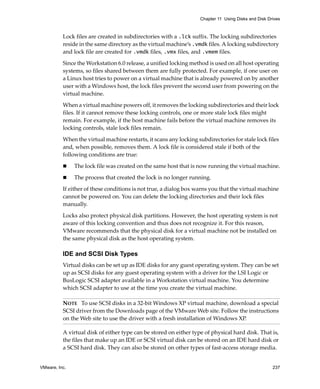
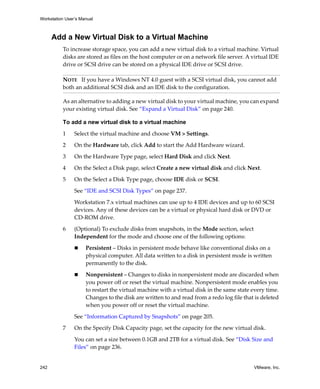
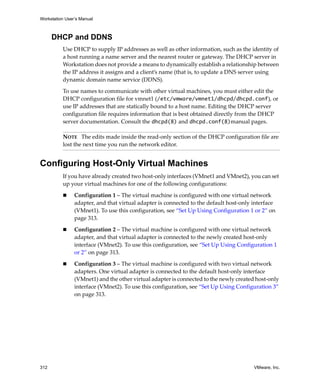
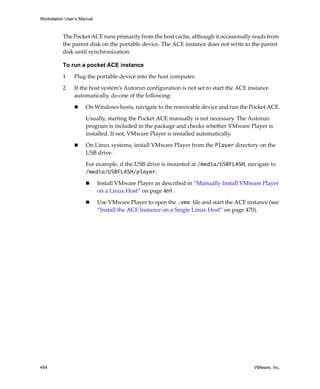
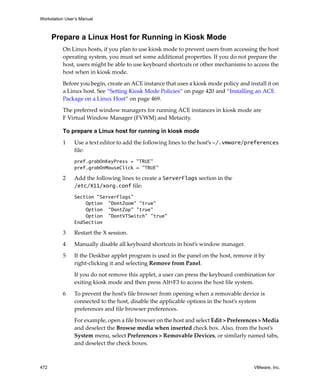
![VMware, Inc. 309
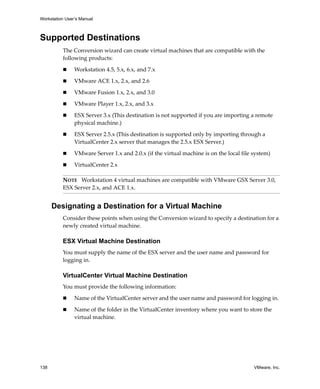
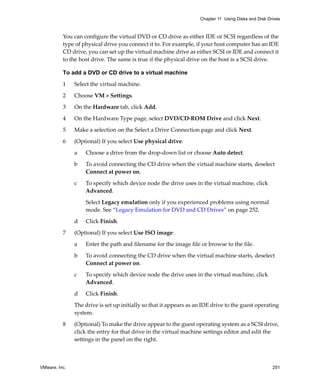
Chapter 15 Advanced Virtual Networking
Do not change certain settings in the virtual machine’s configuration (.vmx) file. If you
never edit the configuration file by hand and do not remove the virtual network
adapter, these settings remain unchanged. If you do edit the configuration file by hand,
do not remove or change the following options:
ethernet[n].generatedAddress
ethernet[n].addressType
ethernet[n].generatedAddressOffset
uuid.location
uuid.bios
ethernet[n].present
In these options, [n] is the number of the virtual network adapter, for example 0.
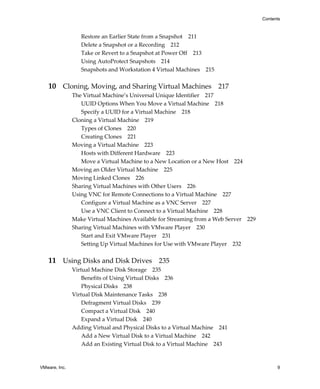
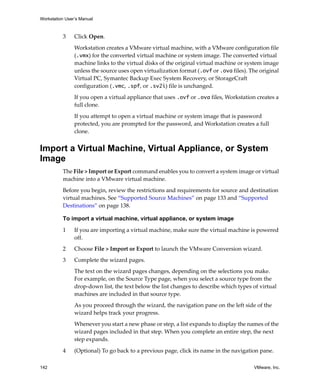
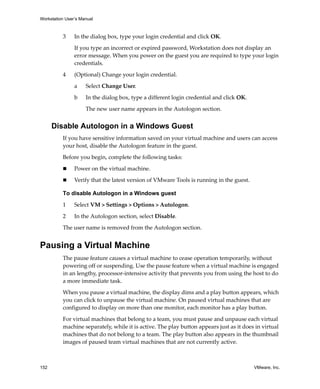
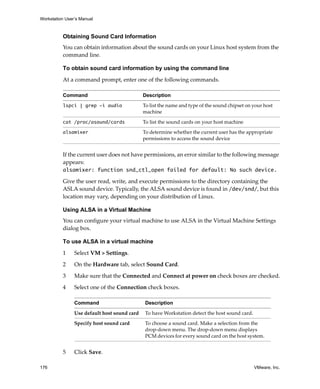
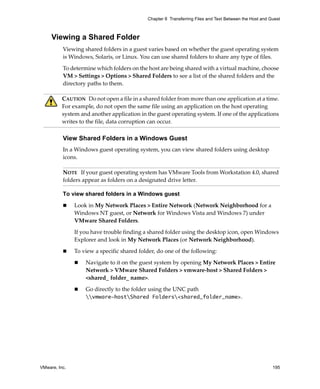
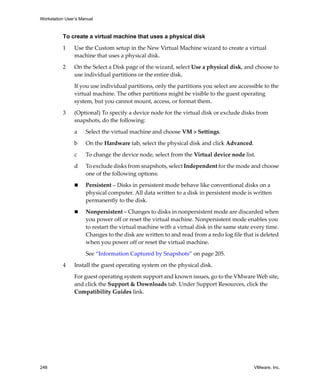
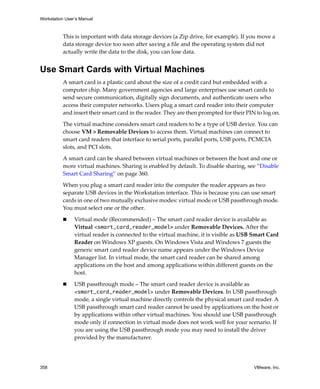
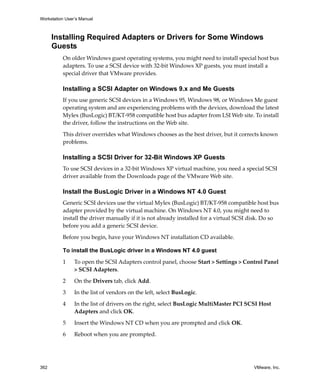
Assign the Same MAC Address to Any Virtual Machine Manually
Assign the MAC address manually instead of allowing Workstation to assign it to
guarantee the following:
The same MAC address is assigned to a given virtual machine every time you
power it on, even if the virtual machine is moved.
A unique MAC address is provided for each virtual machine within a networked
environment.
To assign the same MAC address to any virtual machine manually
1 Use a text editor to remove from the configuration (.vmx) file the three lines that
begin with the following:
ethernet[n].generatedAddress
ethernet[n].addressType
ethernet[n].generatedAddressOffset
In these options, [n] is the number of the virtual network adapter, for example, 0.
On a Linux host, a virtual machine created with an earlier VMware product might
have a configuration file with a .cfg extension.
NOTE To preserve a virtual network adapter’s MAC address, you must be careful not
to remove the adapter. If you remove the adapter but later re‐create it, the adapter
might receive a different MAC address.](https://image.slidesharecdn.com/ws71manual-150723141600-lva1-app6892/85/vmware-workstation-7-1-309-320.jpg)
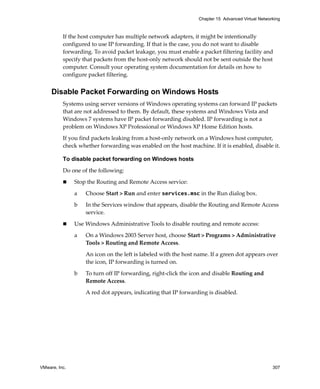
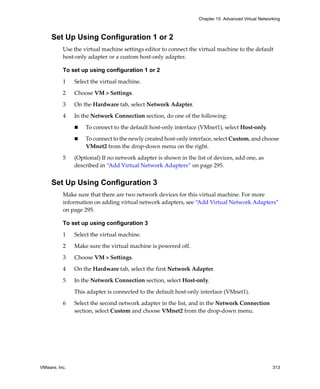
![Workstation User’s Manual
310 VMware, Inc.
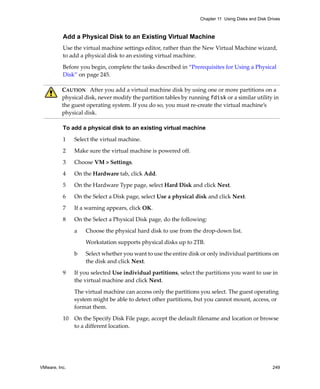
2 Add the following line to the configuration file above the UUID lines in the file:
ethernet[n].address = 00:50:56:XX:YY:ZZ
In this line, the fourth pair of numbers, XX, must be a valid hexadecimal number
between 00h and 3Fh, and YY and ZZ must be valid hexadecimal numbers between
00h and FFh. You must use the above format because Workstation virtual
machines do not support arbitrary MAC addresses.
A value for XX:YY:ZZ that is unique among your hard‐coded addresses avoids
conflicts between the automatically assigned MAC addresses and the manually
assigned addresses.
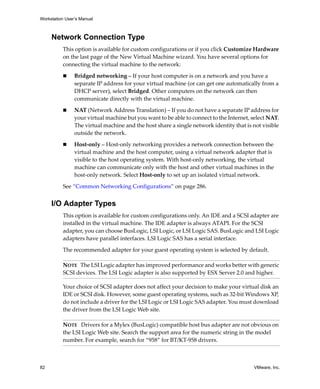
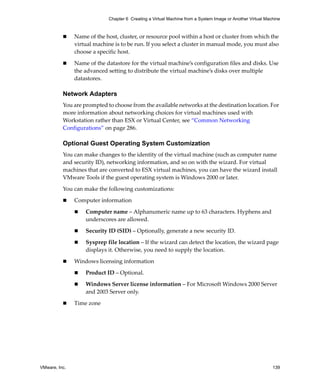
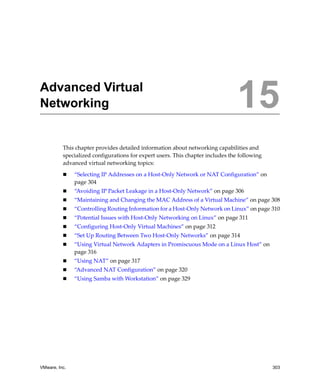
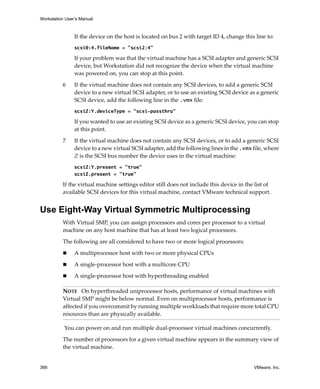
Controlling Routing Information for a Host-Only Network
on Linux
A host‐only network is a full‐fledged network. It has a network interface associated
with it (vmnet1) that is marked up at the time the host operating system is booted.
Routing server processes that operate on the host operating system, such as routed and
gated, automatically discover the host‐only network and propagate information on
how to reach the network unless you explicitly configure them not to do so.
If either of these processes is being run only to receive routing information, the easiest
solution is to run the routing configuration with a -q option so that the host‐only
network does not supply but only receives routing information.
If, however, routing services are running because they are to supply routing
information, configure them so that they do not advertise routes to the host‐only
network.
The version of routed included with many distributions of Linux has no support for
specifying that an interface should not be advertised. Consult the routed(8) manual
page for your system.
For gated, configuration you must explicitly exclude the vmnet1 interface from any
protocol activity. If you need to run virtual machines on a host‐only network on a
multihomed system where gated is used and have problems doing so, contact VMware
technical support by submitting a support request on the VMware Web site.](https://image.slidesharecdn.com/ws71manual-150723141600-lva1-app6892/85/vmware-workstation-7-1-310-320.jpg)

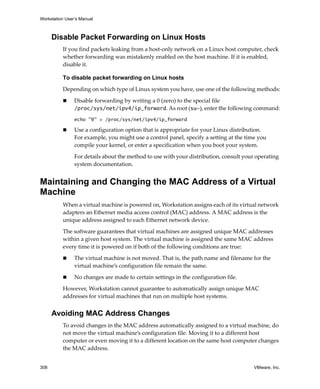
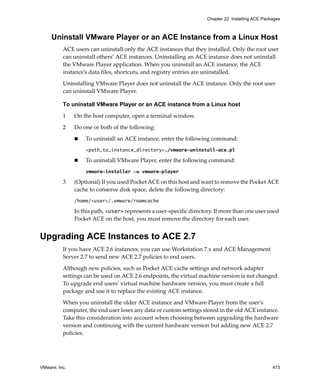
![VMware, Inc. 321
Chapter 15 Advanced Virtual Networking
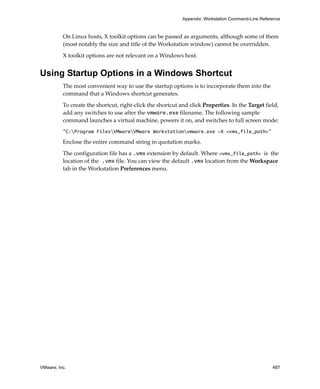
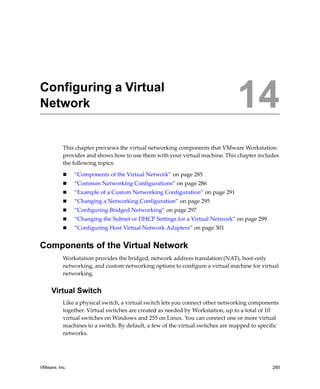
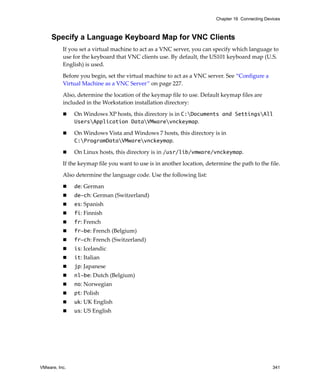
Use the virtual network editor (Edit > Virtual Network Editor) to change many key
NAT and DCHP settings.
If you make manual changes to the configuration files, those changes might be lost
when you use the virtual network editor. Make backup copies of the files before you
change any settings in the virtual network editor. You can then copy your manual
changes back into the appropriate configuration files.
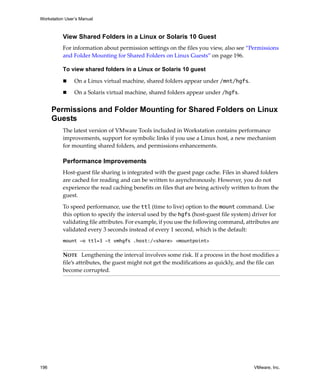
Specifying Connections from Ports Below 1024
When a client machine makes a TCP or UDP connection to a server, the connection
comes from a particular port on the client (the source port) and connects to a particular
port on the server (the destination port). For security reasons, some servers accept
connections only from source ports below 1024. You might see this configuration on
machines used as NFS file servers, for example.
If a virtual machine using NAT attempts to connect to a server that requires the client
to use a source port below 1024, the NAT device must forward the request from a port
below 1024. You can specify this behavior in the vmnetnat.conf file.
This behavior is controlled by entries in sections headed [privilegedUDP] and
[privilegedTCP]. You might need to add settings to or modify settings in either or
both of these sections, depending on the kind of connection you need to make.
You can set two parameters, each of which appears on a separate line.
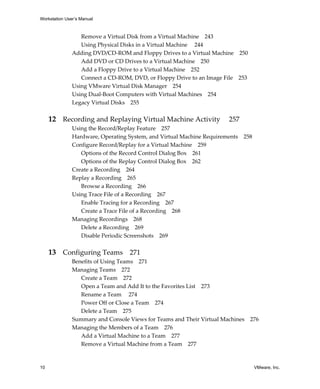
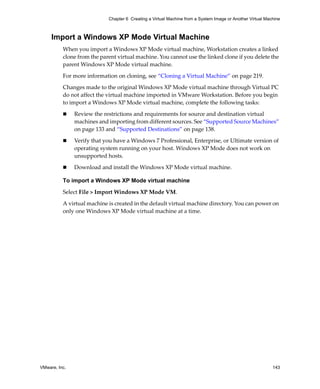
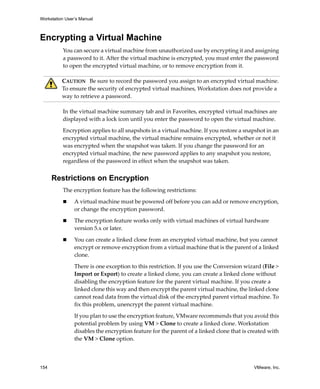
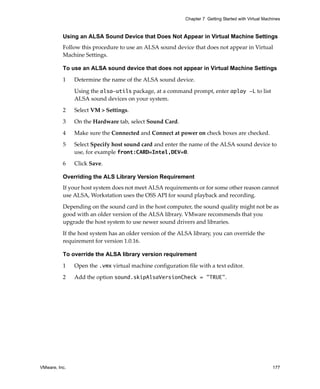
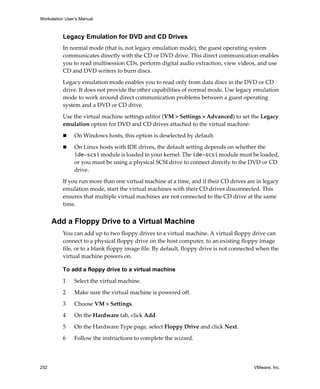
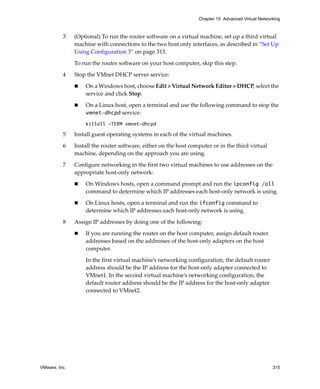
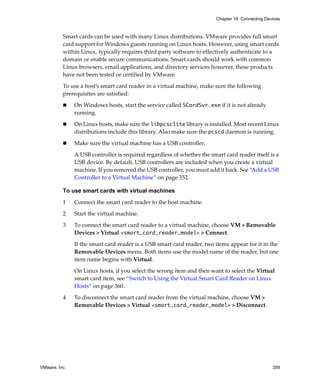
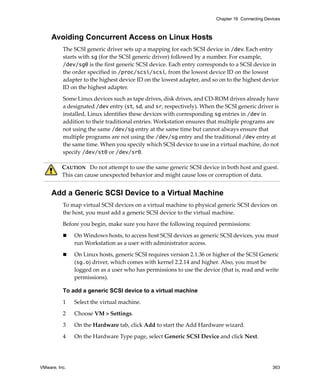
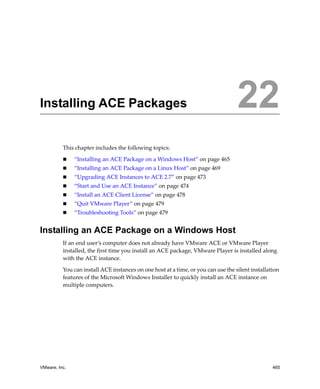
Table 15-4. Parameters to Map Virtual Machine Source and Destination Ports
Parameter Description
autodetect = <n> The autodetect setting determines whether the VMware NAT device
automatically attempts to map virtual machine source ports below
1024 to NAT source ports below 1024. A setting of 1 means true. A
setting of 0 means false. On a Windows host, the default is 1 (true).
On a Linux host, the default is 0 (false).
port = <n> The port setting specifies a destination port (where <n> is the port on
the server that accepts the connection from the client). Whenever a
virtual machine connects to the specified port on any server, the NAT
device attempts to make the connection from a source port below
1024. You can include one or more port settings in the
[privilegedUDP] or [privilegedTCP] section or in both sections,
as required for the connections you need to make. Enter each port
setting on a separate line.](https://image.slidesharecdn.com/ws71manual-150723141600-lva1-app6892/85/vmware-workstation-7-1-321-320.jpg)
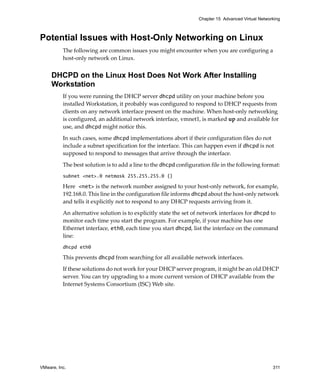
![Workstation User’s Manual
322 VMware, Inc.
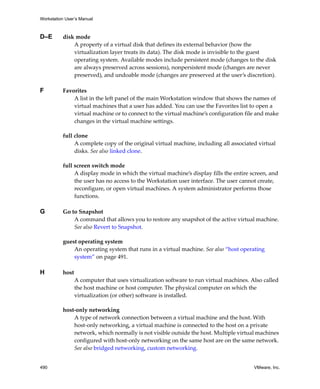
Configuring NAT on a Linux Host
Use the default NAT configuration file on the host to configure the NAT device.
This file is located in /etc/vmware/vmnet8/nat/nat.conf.
For an example of a NAT configuration file, see “Sample Linux nat.conf File” on
page 327.
Contents of the NAT Configuration File
The NAT configuration file is in the following locations:
On a Windows host:
C:Documents and SettingsAll UsersApplication DataVMwarevmnetnat.conf
If you edit this file and then use the virtual network editor (Edit > Virtual Network
Editor) your edits might be lost.
On a Linux host:
/etc/vmware/vmnet8/nat/nat.conf
The NAT configuration file is divided into sections. Each section configures a part of the
NAT device. Text surrounded by square brackets, such as [dns], marks the beginning
of a section. In each section is a configuration parameter that can be set.
The configuration parameters take the form ip = 192.168.27.1/24. The NAT
configuration file contains the following sections.
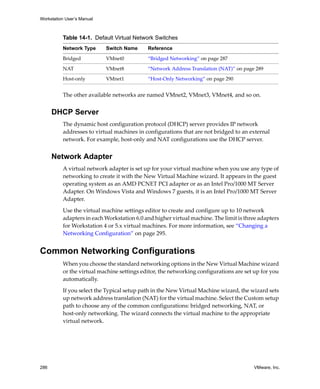
The [host] Section
The [host] section includes parameters to configure the NAT connection.
ip – The IP address that the NAT device should use. It can be followed by a slash
and the number of bits in the subnet.
netmask – The subnet mask to use for the NAT network. DHCP addresses are
allocated from this range of addresses.
configport – A port that can be used to access status information about the NAT
device.
device – The VMnet device to use. Windows devices are of the form vmnet<x>
where <x> is the number of the VMnet. Linux devices are of the form
/dev/vmnet<x>.
activeFTP – Flag to indicate if active FTP is to be allowed. Active FTP allows
incoming connections to be opened by the remote FTP server. Turning this off
means that only passive mode FTP works. Set this flag to 0 to turn it off.](https://image.slidesharecdn.com/ws71manual-150723141600-lva1-app6892/85/vmware-workstation-7-1-322-320.jpg)
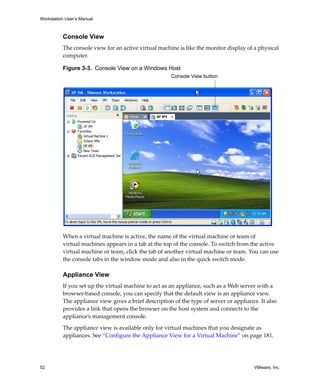
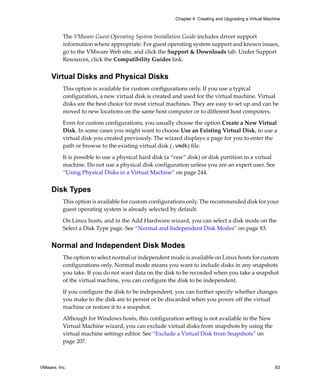
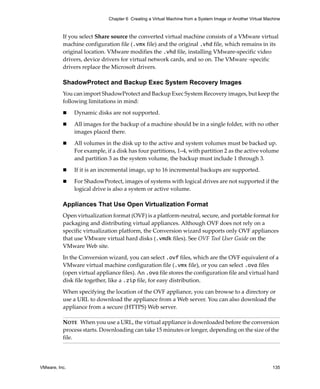
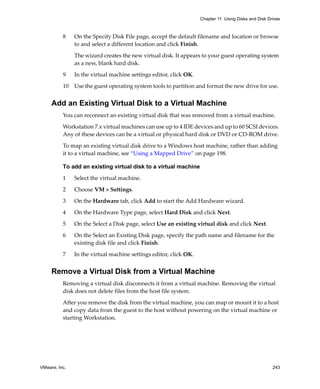
![VMware, Inc. 323
Chapter 15 Advanced Virtual Networking
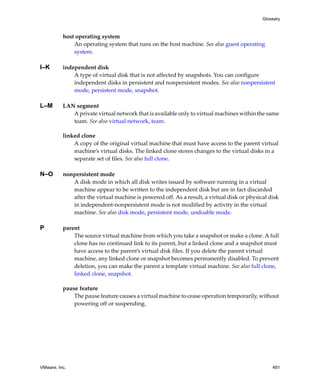
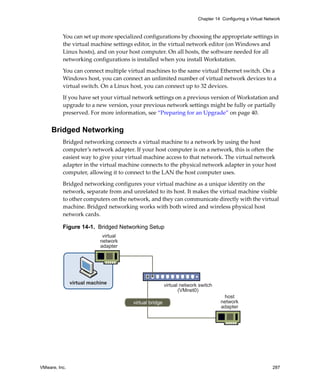
The [udp] Section
timeout – Number of seconds to keep the UDP mapping for the NAT network.
The [dns] Section
The [dns] section is for Windows hosts only. Linux does not use this section.
policy – Policy to use for DNS forwarding. Accepted values include:
order – Send one DNS request at a time in the order of the name servers.
rotate – Send one DNS request at a time and rotate through the DNS servers.
burst – Send to three servers and wait for the first one to respond.
timeout – Time in seconds before retrying a DNS request.
retries – Number of retries before the NAT device stops trying to respond to a
DNS request.
autodetect – Flag to indicate whether the NAT device should detect the DNS
servers available to the host.
nameserver1 – IP address of a DNS server to use.
nameserver2 – IP address of a DNS server to use.
nameserver3 – IP address of a DNS server to use.
If autodetect is on and some name servers are specified, the DNS servers specified
in nameserver1, nameserver2, and nameserver3 are added before the list of
detected DNS servers.
The [netbios] Section
The [netbios] section applies to Windows hosts only. Linux does not use this section.
nbnsTimeout = 2 – Timeout, in seconds, for NBNS queries.
nbnsRetries = 3 – Number of retries for each NBNS query.
nbdsTimeout = 3 – Timeout, in seconds, for NBDS queries.
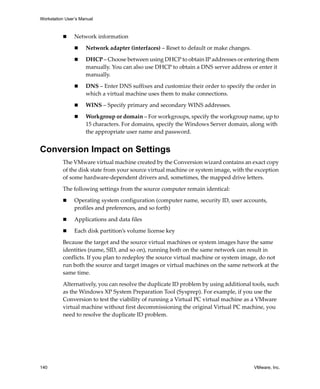
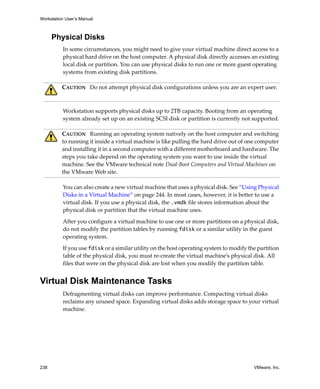
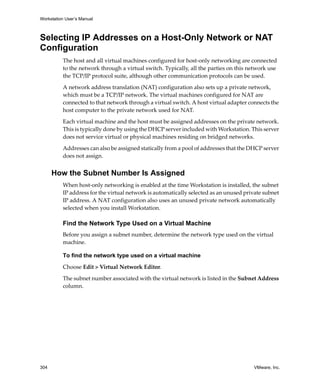
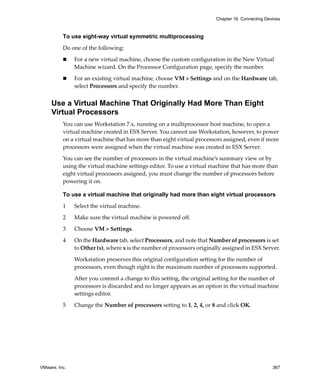
The [incomingtcp] Section
Use the [incomingtcp] section to configure TCP port forwarding for NAT. In this
section, you can assign a port number to an IP address and port number on a virtual
machine.](https://image.slidesharecdn.com/ws71manual-150723141600-lva1-app6892/85/vmware-workstation-7-1-323-320.jpg)
![Workstation User’s Manual
324 VMware, Inc.
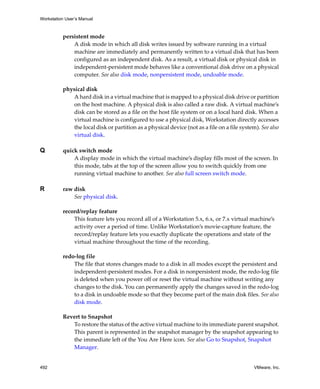
The following line shows the format used in this section:
8887 = 192.168.27.128:21
This example creates a map from port 8887 on the host to the IP address 192.168.27.128
and port 21. When this map is set and an external machine connects to the host at port
8887, the network packets are forwarded to port 21 (the standard port for FTP) on the
virtual machine with IP address 192.168.27.128.
The [incomingudp] Section
Use the [incomingudp] section to configure UDP port forwarding for NAT. In this
section, you can assign a port number to an IP address and port number on a virtual
machine.
The following line shows the format used in this section. It illustrates a way to forward
X server traffic from the host port 6000 to the virtual machine’s port 6001:
6000 = 192.168.27.128:6001
This example creates a map from port 6000 on the host to the IP address 192.168.27.128
and port 6001. When this map is set and an external machine connects to the host at port
6000, the network packets are forwarded to port 6001 on the virtual machine with
IP address 192.168.27.128.
Considerations for Using NAT
Consider the following items when you use NAT:
NAT causes some performance loss.
Because NAT requires that every packet sent to and received from a virtual
machine must be in the NAT network, an unavoidable performance penalty
occurs.
NAT is not perfectly transparent.
NAT does not usually allow connections to be initiated from outside the network,
although you can manually configure the NAT device to set up server connections.
The practical result is that some TCP and UDP protocols that require a connection
be initiated from the server machine, some peer to peer applications, for example,
do not work automatically, and some might not work at all.
NAT provides some firewall protection.
A standard NAT configuration provides basic‐level firewall protection because the
NAT device can initiate connections from the private NAT network, but devices on
the external network usually cannot initiate connections to the private NAT
network.](https://image.slidesharecdn.com/ws71manual-150723141600-lva1-app6892/85/vmware-workstation-7-1-324-320.jpg)
![VMware, Inc. 327
Chapter 15 Advanced Virtual Networking
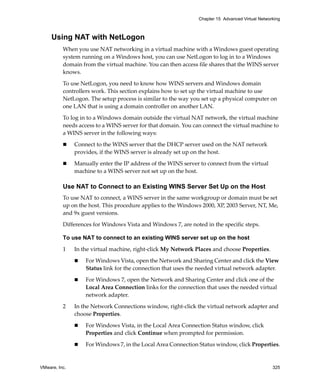
8 Click OK twice and click Close.
Now that the virtual machine has an IP address for a WINS server, you can use
NetLogon in the virtual machine to log in to a domain and access shares in that
domain. However, your access is limited to shares of virtual machines that are on
the same NAT network or are bridged on the same domain.
For example, if the WINS server covers a domain with a domain controller, you can
access that domain controller from the virtual machine and add the virtual
machine to the domain. You need the Administrator user ID and password for the
domain controller.
Sample Linux nat.conf File
# Linux NAT configuration file
[host]
# NAT gateway address
ip = 192.168.237.2/24
hostMAC = 00:50:56:C0:00:08
# enable configuration; disabled by default for security reasons
#configport = 33445
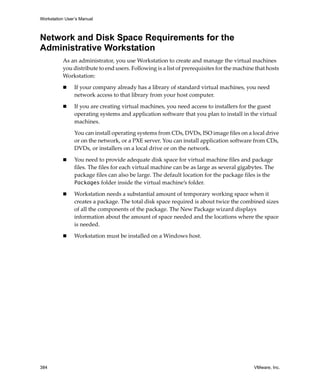
# vmnet device if not specified on command line
device = vmnet8
# Allow PORT/EPRT FTP commands (they need incoming TCP stream...)
activeFTP = 1
# Allows the source to have any OUI. Turn this one if you change the OUI
# in the MAC address of your virtual machines.
#allowAnyOUI = 1
[udp]
# Timeout in seconds, 0 = no timeout, default = 60; real value might
# be up to 100% longer
timeout = 30
[dns]
# This section applies only to Windows.
#
# Policy to use for DNS forwarding. Accepted values include order,
# rotate, burst.
#](https://image.slidesharecdn.com/ws71manual-150723141600-lva1-app6892/85/vmware-workstation-7-1-327-320.jpg)
![Workstation User’s Manual
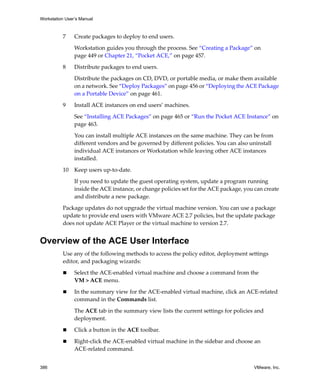
328 VMware, Inc.
# order: send one DNS request at a time in order of the name servers
# rotate: send one DNS request at a time, rotate through the DNS servers
# burst: send to three servers and wait for the first one to respond
policy = order;
# Timeout in seconds before retrying DNS request.
timeout = 2
# Retries before giving up on DNS request
retries = 3
# Automatically detect the DNS servers (not supported in Windows NT)
autodetect = 1
# List of DNS servers to use. Up to three may be specified
#nameserver1 = 208.23.14.2
#nameserver2 = 63.93.12.3
#nameserver3 = 208.23.14.4
[netbios]
# This section applies only to Windows.
# Timeout for NBNS queries.
nbnsTimeout = 2
# Number of retries for each NBNS query.
nbnsRetries = 3
# Timeout for NBDS queries.
nbdsTimeout = 3
[incomingtcp]
# Use these with care - anyone can enter into your virtual machine through
# these...
# FTP (both active and passive FTP is always enabled)
# ftp localhost 8887
#8887 = 192.168.27.128:21
# WEB (make sure that if you are using named webhosting, names point to
# your host, not to guest... And if you are forwarding port other
# than 80 make sure that your server copes with mismatched port
# number in Host: header)
# lynx http://localhost:8888
#8888 = 192.168.27.128:80
# SSH
# ssh -p 8889 root@localhost
#8889 = 192.168.27.128:22](https://image.slidesharecdn.com/ws71manual-150723141600-lva1-app6892/85/vmware-workstation-7-1-328-320.jpg)
![VMware, Inc. 329
Chapter 15 Advanced Virtual Networking
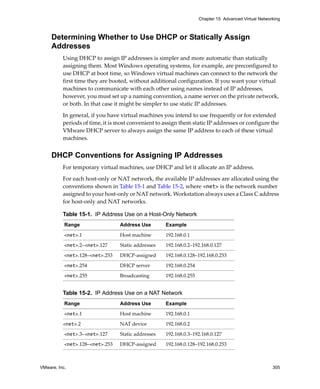
[incomingudp]
# UDP port forwarding example
#6000 = 192.168.27.128:6001
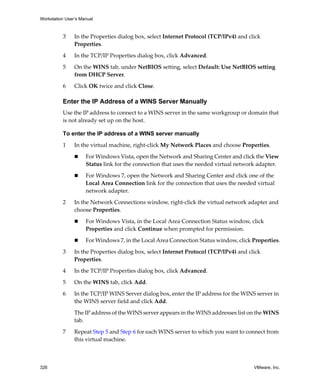
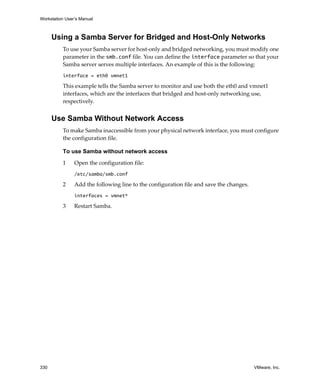
Using Samba with Workstation
If you have Samba on your Linux host, you can configure Samba so that it works with
Workstation.
Modify your Samba configuration so that it includes the IP subnet that the vmnet1
Workstation virtual network adapter uses. To determine which subnet vmnet1 is using,
run the following command:
/sbin/ifconfig vmnet1
Make sure the Samba password file includes entries for all users of the virtual machine
who will access the host’s file system. The user names and passwords in the Samba
password file must match those used for logging on to the guest operating system.
Add Users to the Samba Password File
You can add user names and passwords to the Samba password file at any time from a
terminal window on your Linux host computer.
To add users to the Samba password file
1 Log in to the root account:
su
2 Run the Samba password command:
smbpasswd -a <username>
Here <username> is the user name to add.
3 Follow the instructions on the screen.
4 Log out of the root account:
exit](https://image.slidesharecdn.com/ws71manual-150723141600-lva1-app6892/85/vmware-workstation-7-1-329-320.jpg)


![Workstation User’s Manual
348 VMware, Inc.
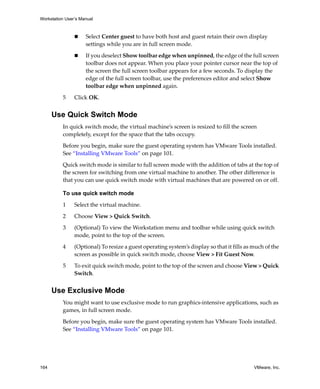
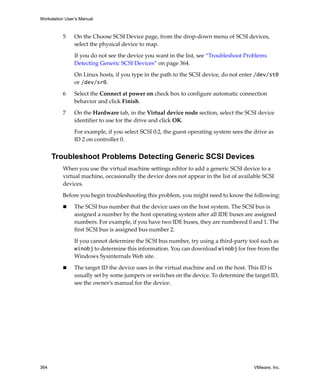
T 0x014
Y 0x015
U 0x016
I 0x017
O 0x018
P 0x019
[ { 0x01a
] } 0x01b
Enter 0x01c
Ctrl left 0x01d
A 0x01e
S 0x01f
D 0x020
F 0x021
G 0x022
H 0x023
J 0x024
K 0x025
L 0x026
; 0x027
ʹ 0x028
` 0x029
Shift left 0x02a
| 0x02b
Z 0x02c
X 0x02d
C 0x02e
V 0x02f
B 0x030
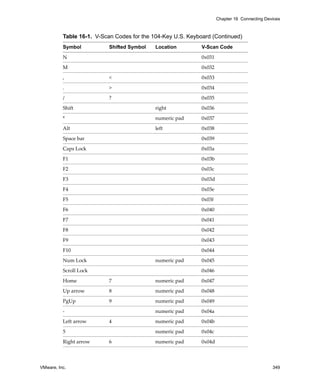
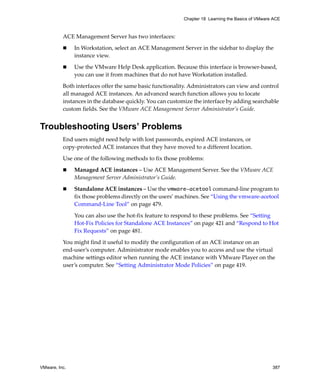
Table 16-1. V-Scan Codes for the 104-Key U.S. Keyboard (Continued)
Symbol Shifted Symbol Location V-Scan Code](https://image.slidesharecdn.com/ws71manual-150723141600-lva1-app6892/85/vmware-workstation-7-1-348-320.jpg)

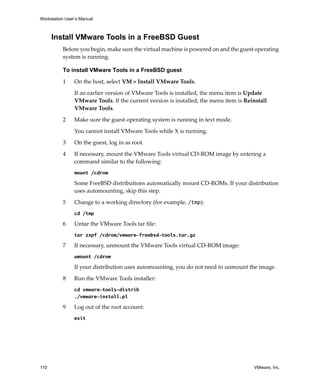
![Workstation User’s Manual
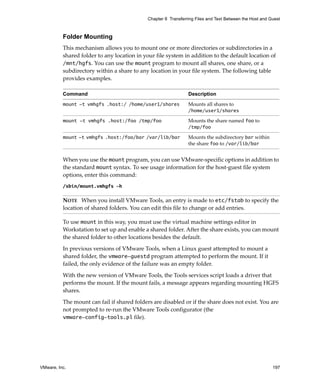
378 VMware, Inc.
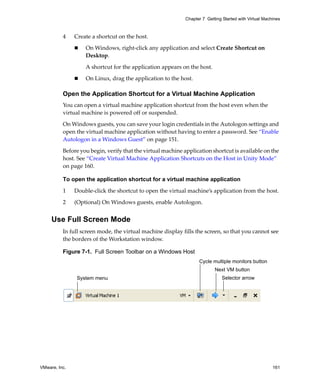
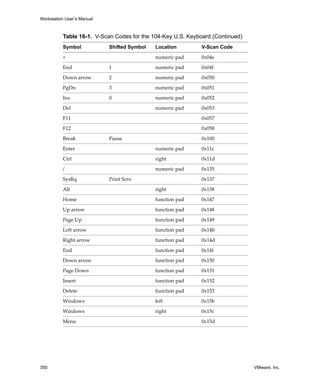
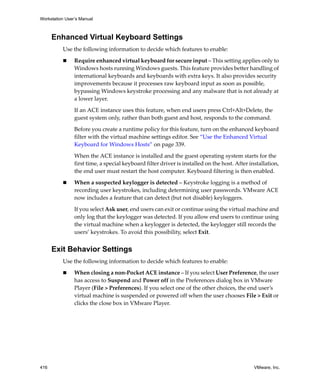
Issue the vmware-fullscreen command once for each virtual machine you want to
start or stop. The syntax for this command is:
C:Program FilesVMwareVMware Workstationvmware-fullscreen.exe [-poweron
<parameters> | -poweroff <parameters> | -exit | -switchto
<paramters> | -query | -listvms]
You can type these commands at the Windows command prompt or create scripts to
run multiple commands.
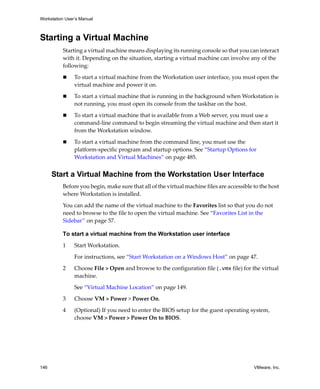
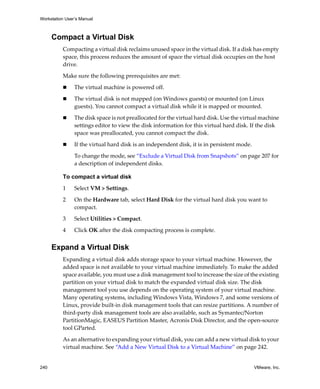
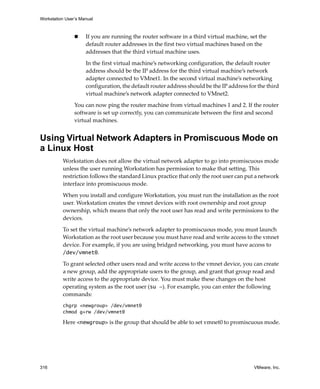
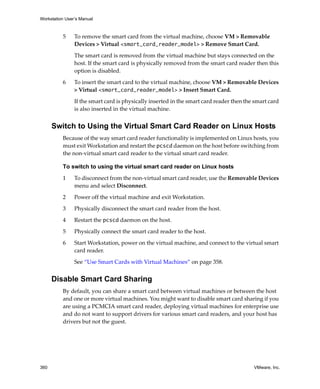
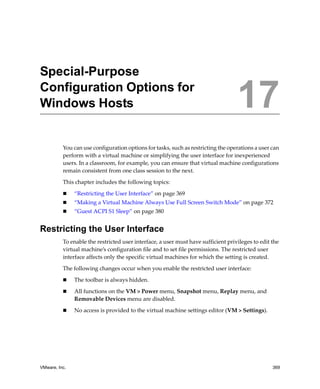
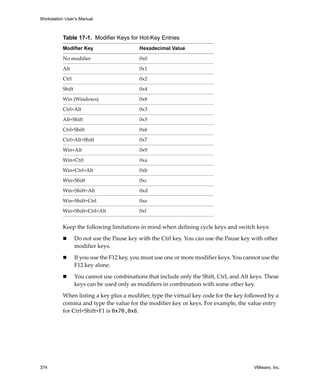
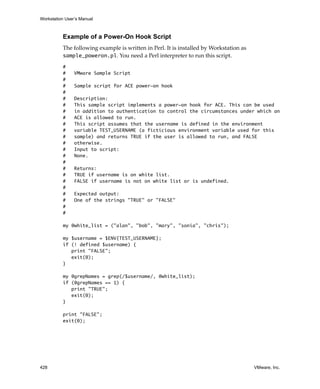
Table 17‐3 describes the available options and parameters.
Table 17-3. Command-Line Options for the vmware-fullscreen Program
Option Parameters Description
-poweron
or
-fullscreen
"<config-file>" Powers on the virtual machine, where "<config-file>"
is required and specifies the full path to the virtual
machine’s configuration (.vmx) file.
With -poweron, the user sees no immediate indication
when the virtual machine starts, but the user can switch to
the virtual machine with its direct‐switch key or with the
cycle key.
With -fullscreen, the virtual machine goes to full screen
mode immediately instead of running invisibly until the
user switches to it later.
-s <variable>=<value> (Optional) Sets the specified variable to the specified
value. Any variable names and values that are valid in the
configuration file can be specified on the command line
with the -s switch.
-name=<alias> (Optional) Gives an alias to the virtual machine. You can
the use that alias in -switchto and -poweroff
commands.
-directkey=<keyspec> (Optional) Specifies the virtual machine’s direct‐switch
key. If a direct‐switch key is specified in the virtual
machine’s configuration file, the command line overrides
the configuration file. The following is an example of this
switch:
‐directkey=0x70,0x6
-poweroff "<config-file>"
or
<alias>
Powers off the specified virtual machine. To specify the
virtual machine, use either the full path to the virtual
machine’s configuration (.vmx) file or the alias if you
defined one by using the -name switch.
-exit Powers off all virtual machines and exits Workstation.](https://image.slidesharecdn.com/ws71manual-150723141600-lva1-app6892/85/vmware-workstation-7-1-378-320.jpg)


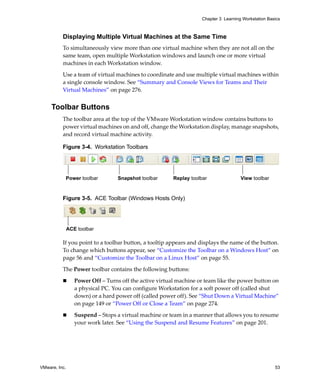
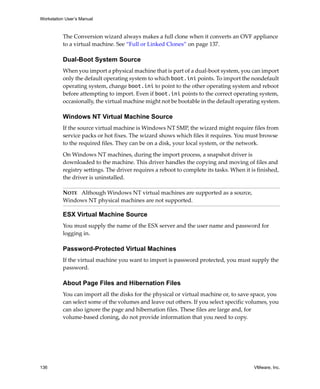
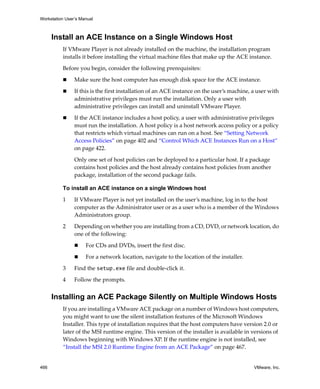
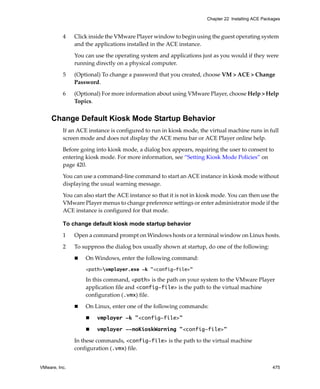
![VMware, Inc. 431
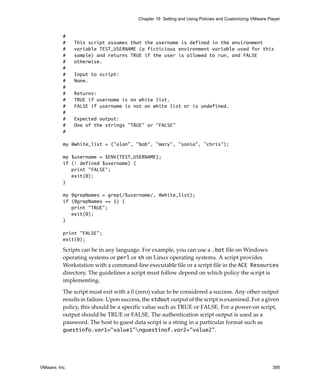
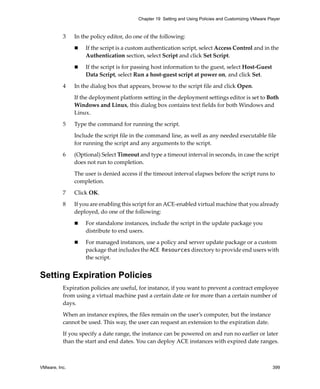
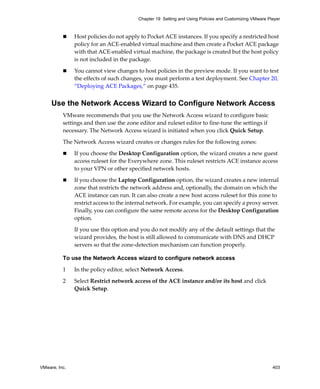
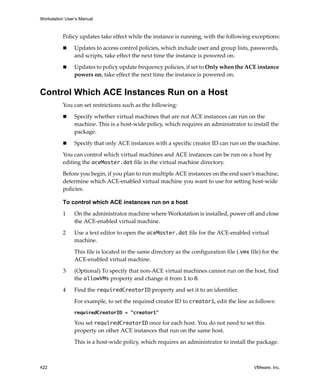
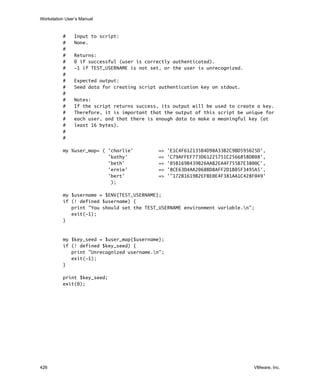
Chapter 19 Setting and Using Policies and Customizing VMware Player
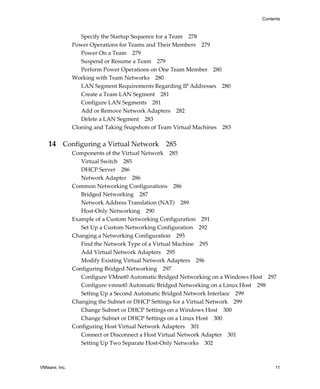
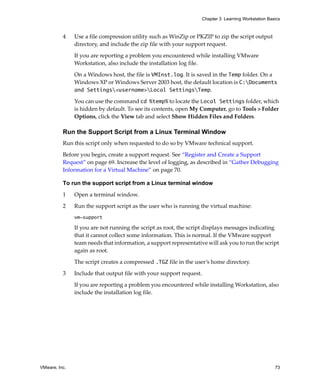
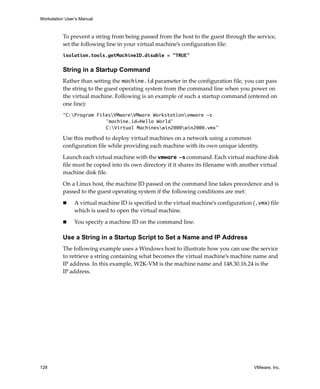
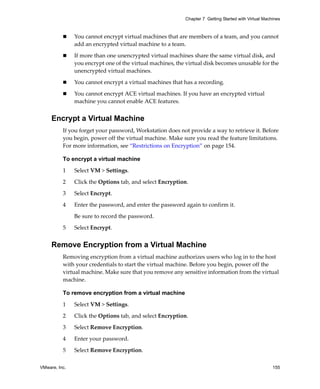
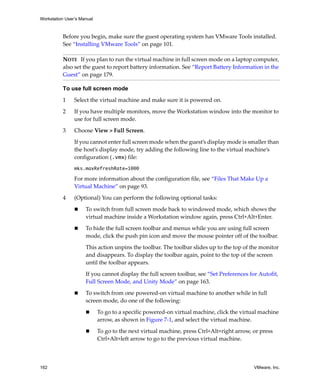
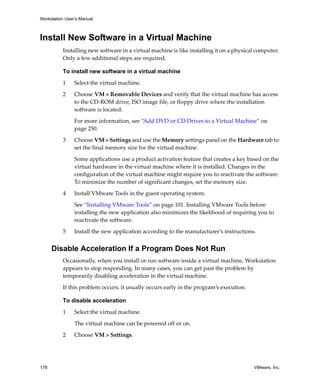
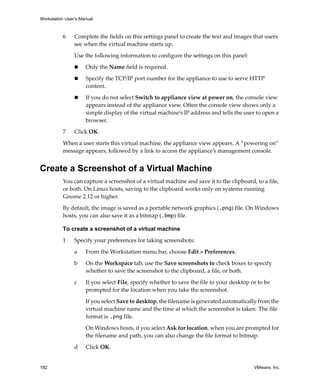
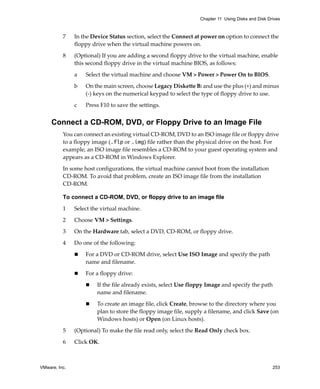
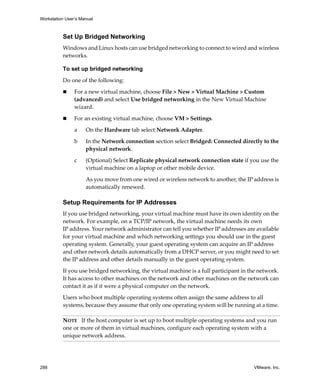
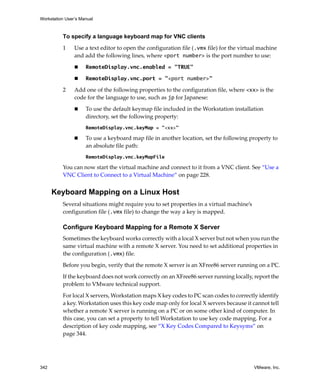
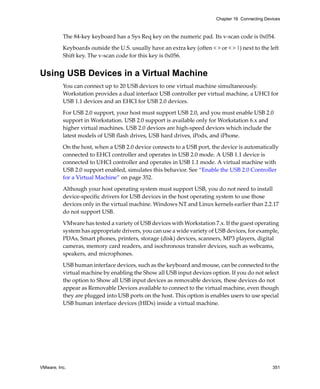
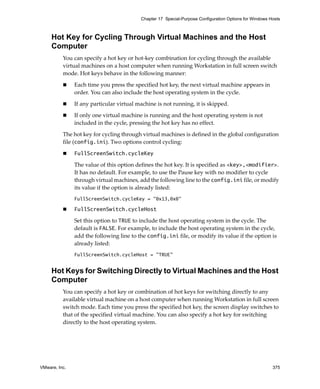
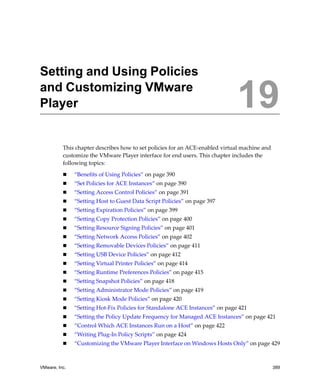
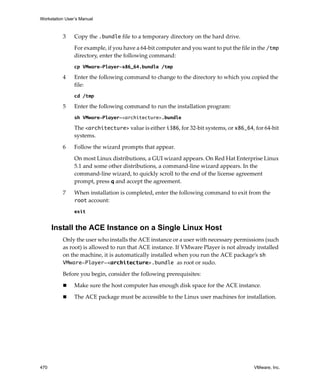
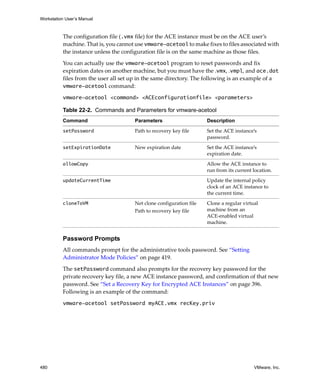
Table 19‐2 describes the VMware Player title text parameters.
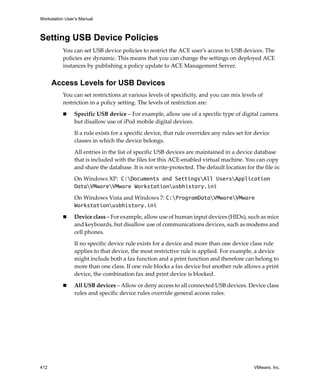
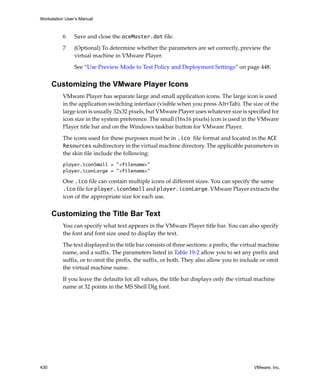
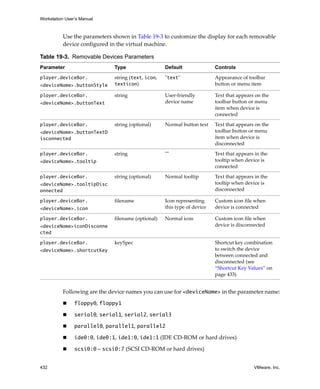
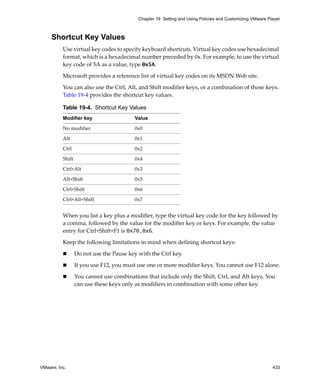
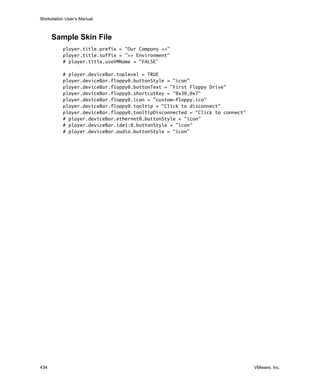
Customizing the Removable Device Display
Removable devices are represented in the VMware Player interface either by buttons
on a toolbar or by menu items on a Devices menu. You can specify the type of display.
You can also specify text, icon, or a combination of the two and specify custom icons.
If you use custom icons, copy the icon files to the ACE Resources directory in the
virtual machine directory for the ACE‐enabled virtual machine.
Settings you make in the skin file override any settings the user makes in the VMware
Player preferences dialog box.
Use the following parameter to control whether devices are shown as toolbar items:
player.deviceBar.toplevel = [TRUE | FALSE]
Set the parameter to TRUE for a toolbar or FALSE for a menu.
Table 19-2. VMware Player Title Text Parameters
Parameter Type Default Controls
player.title.prefix string ʺʺ Title bar prefix
player.title.useVMName Boolean ʺTRUEʺ Whether the virtual
machine name is displayed
player.title.suffix string ʺʺ Title bar suffix
player.title.font.face string ʺMS Shell Dlgʺ Font name (the font must be
on the user’s computer)
player.title.font.size integer 32 Point size for the text](https://image.slidesharecdn.com/ws71manual-150723141600-lva1-app6892/85/vmware-workstation-7-1-431-320.jpg)
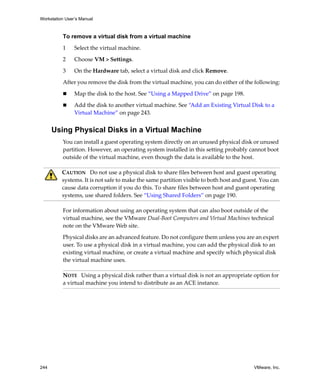
![VMware, Inc. 443
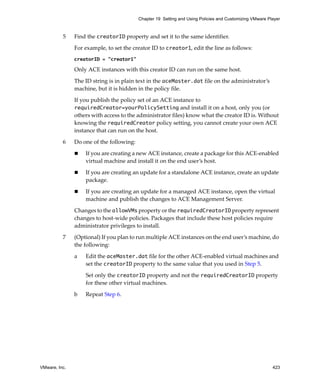
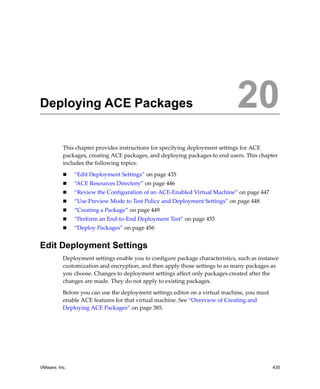
Chapter 20 Deploying ACE Packages
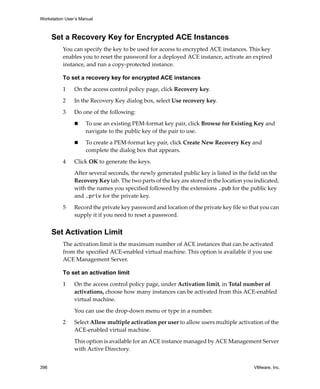
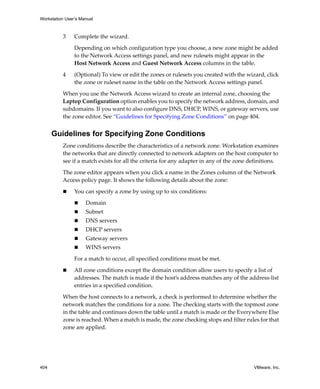
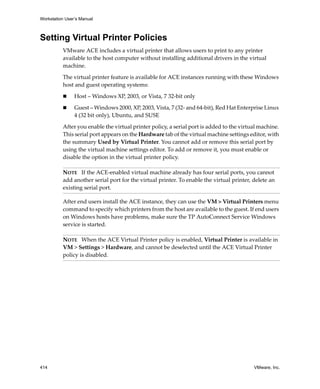
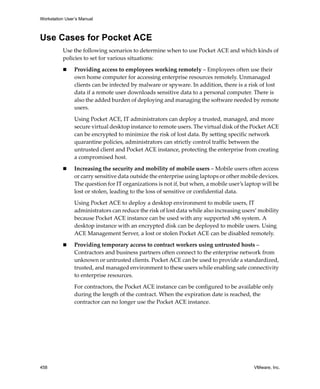
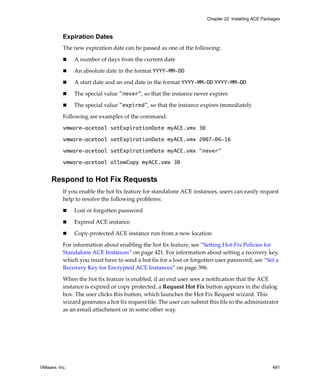
Specify Additional License Information for Windows Server Products
To supply additional license information for Windows Server products, you can add a
file named sysprep_license.txt to the ACE‐enabled virtual machine directory.
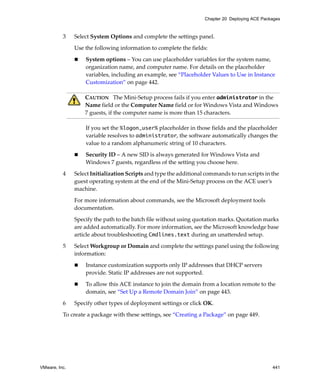
To specify additional license information for Windows Server products
1 Use a text editor to create a file named sysprep_license.txt in the virtual
machine directory for the ACE‐enabled virtual machine.
2 Add the following line to the file:
AutoMode=[PerSeat | PerServer]
This line indicates whether the license is for one client license or for a certain
number of client licenses for a server.
3 If AutoMode is set to PerServer, add the following line to the file, where <n>
indicates the number of client licenses for the server:
AutoUsers=<n>
4 Save and close the file.
For more information, go to the Microsoft TechNet Web site and in the Windows Server
Library, search for [LicenseFilePrintData] (Sysprep).
If this file is not found in the virtual machine directory, a default is used. AutoMode is
set to PerServer with 5 client licenses.
If you supply this file, the license portion of the Mini‐Setup process appears unchanged
during preview. You always see AutoMode=PerServer and AutoUsers=5 in the
Mini‐Setup user interface. The license information you supply is nevertheless set
correctly by the Mini‐Setup process.
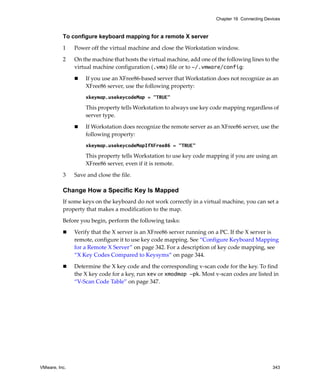
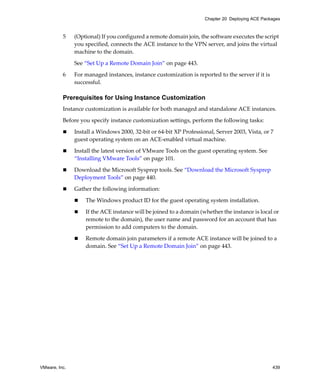
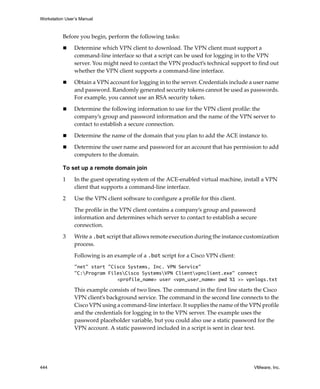
Set Up a Remote Domain Join
The remote domain join feature provides an automated way to join ACE instances to a
domain from a remote site.
After the ACE package is installed on the end user’s machine and the ACE instance is
activated and authenticated, the Microsoft Mini‐Setup process runs. The script for
joining the remote ACE instance to the domain executes at the end of that process, and
the machine is joined to the domain.](https://image.slidesharecdn.com/ws71manual-150723141600-lva1-app6892/85/vmware-workstation-7-1-443-320.jpg)


![Workstation User’s Manual
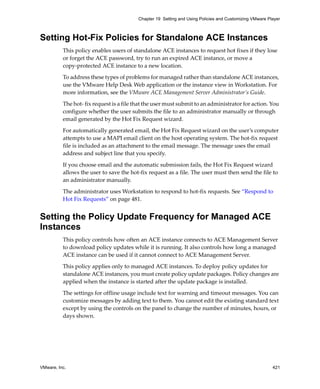
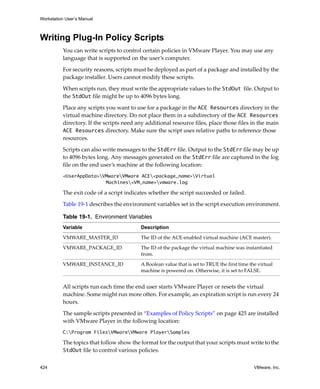
486 VMware, Inc.
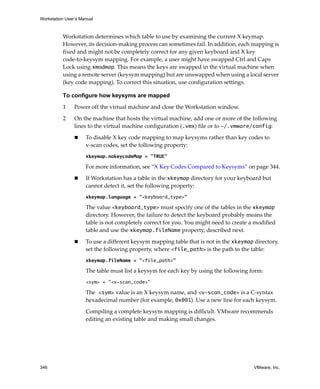
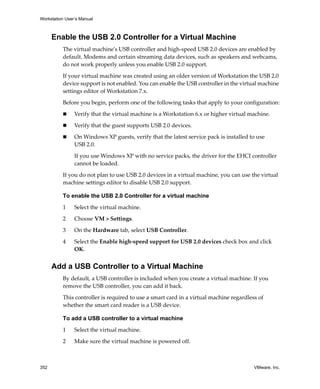
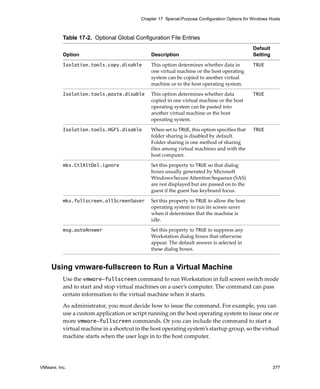
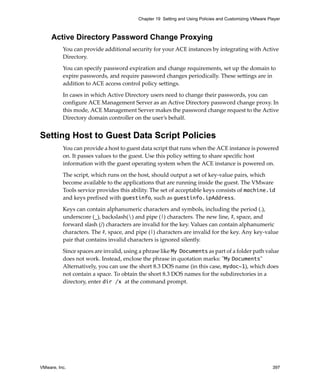
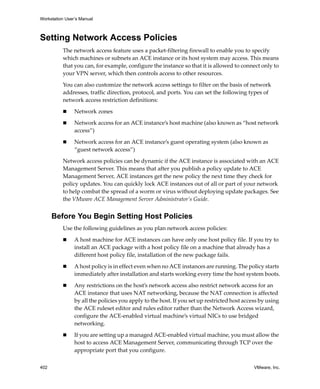
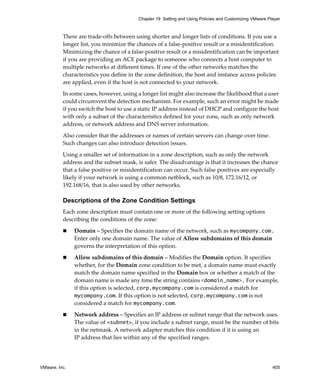
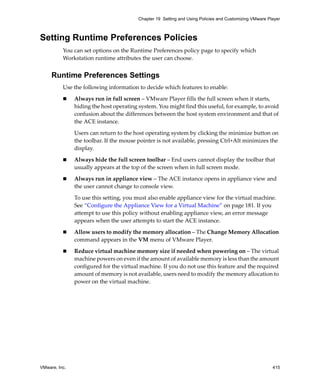
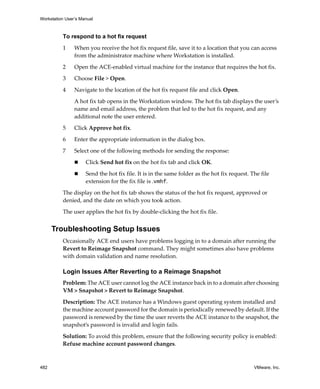
The syntax for this command is:
On a Linux host operating system:
/usr/bin/vmware [-n] [-x] [-X] [-m] [-t] [-q] [-s <variablename>=<value>]
[-v]
[/<path_to_virtual_machine>/<virtual_machine_name>.vmx]
[X toolkit options]
On a Windows host operating system:
C:Program FilesVMwareVMware Workstationvmware.exe [-B] [-n] [-x] [-X]
[-t] [-q] [-s <variablename>=<value>] [-v]
[<path_to_virtual_machine><virtual_machine_name>.vmx]
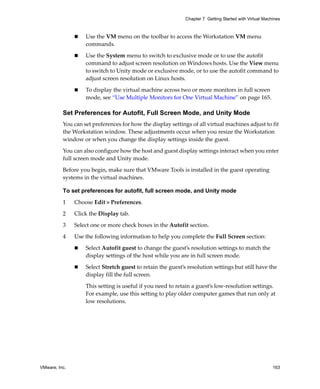
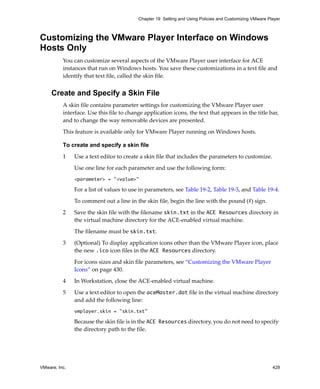
Table A-1. Command-Line Options for the vmware Program
Option Description
-n Opens a new Workstation window.
-B (Windows hosts only) Opens a new Workstation window but
hides the sidebar and toolbars. Only the tabs of open virtual
machines are shown. Using this option has the same effect as
clicking the Workstation icon in the upper‐left corner of the
Workstation window and choosing Hide Controls from the
menu that appears.
-t Opens a virtual machine or team in a new tab in the existing
Workstation window.
-x Powers on the virtual machine when Workstation starts. This
is equivalent to clicking the Power On button in the
Workstation toolbar.
-X Powers on the virtual machine and switches the Workstation
window to full screen mode.
-m Starts the program in quick switch mode.
-q Closes the virtual machine’s tab when the virtual machine
powers off. If no other virtual machine is open, it also exits
Workstation. This option is useful when the guest operating
system can power off the virtual machine.
-s Sets the specified variable to the specified value. Any variable
names and values that are valid in the configuration file can
be specified on the command line with the -s switch.
-v Displays the product name, version, and build number.
<path_to_VM_or_team> Launches a virtual machine by using the specified virtual
machine or team configuration file (.vmx or .vmtm file).](https://image.slidesharecdn.com/ws71manual-150723141600-lva1-app6892/85/vmware-workstation-7-1-486-320.jpg)