Downloaded 83 times


This document covers the graphical user interface (GUI) fundamentals and the .NET framework features, explaining user interfaces, controls, and Windows environments. It details the components of the .NET framework, including the Common Language Runtime (CLR) and code execution process, as well as the Visual Studio .NET Integrated Development Environment (IDE) for creating applications. Key topics include the different types of dialog boxes, event-driven programming, dynamic linking, and the organizational structure within Visual Studio, such as projects and solutions.
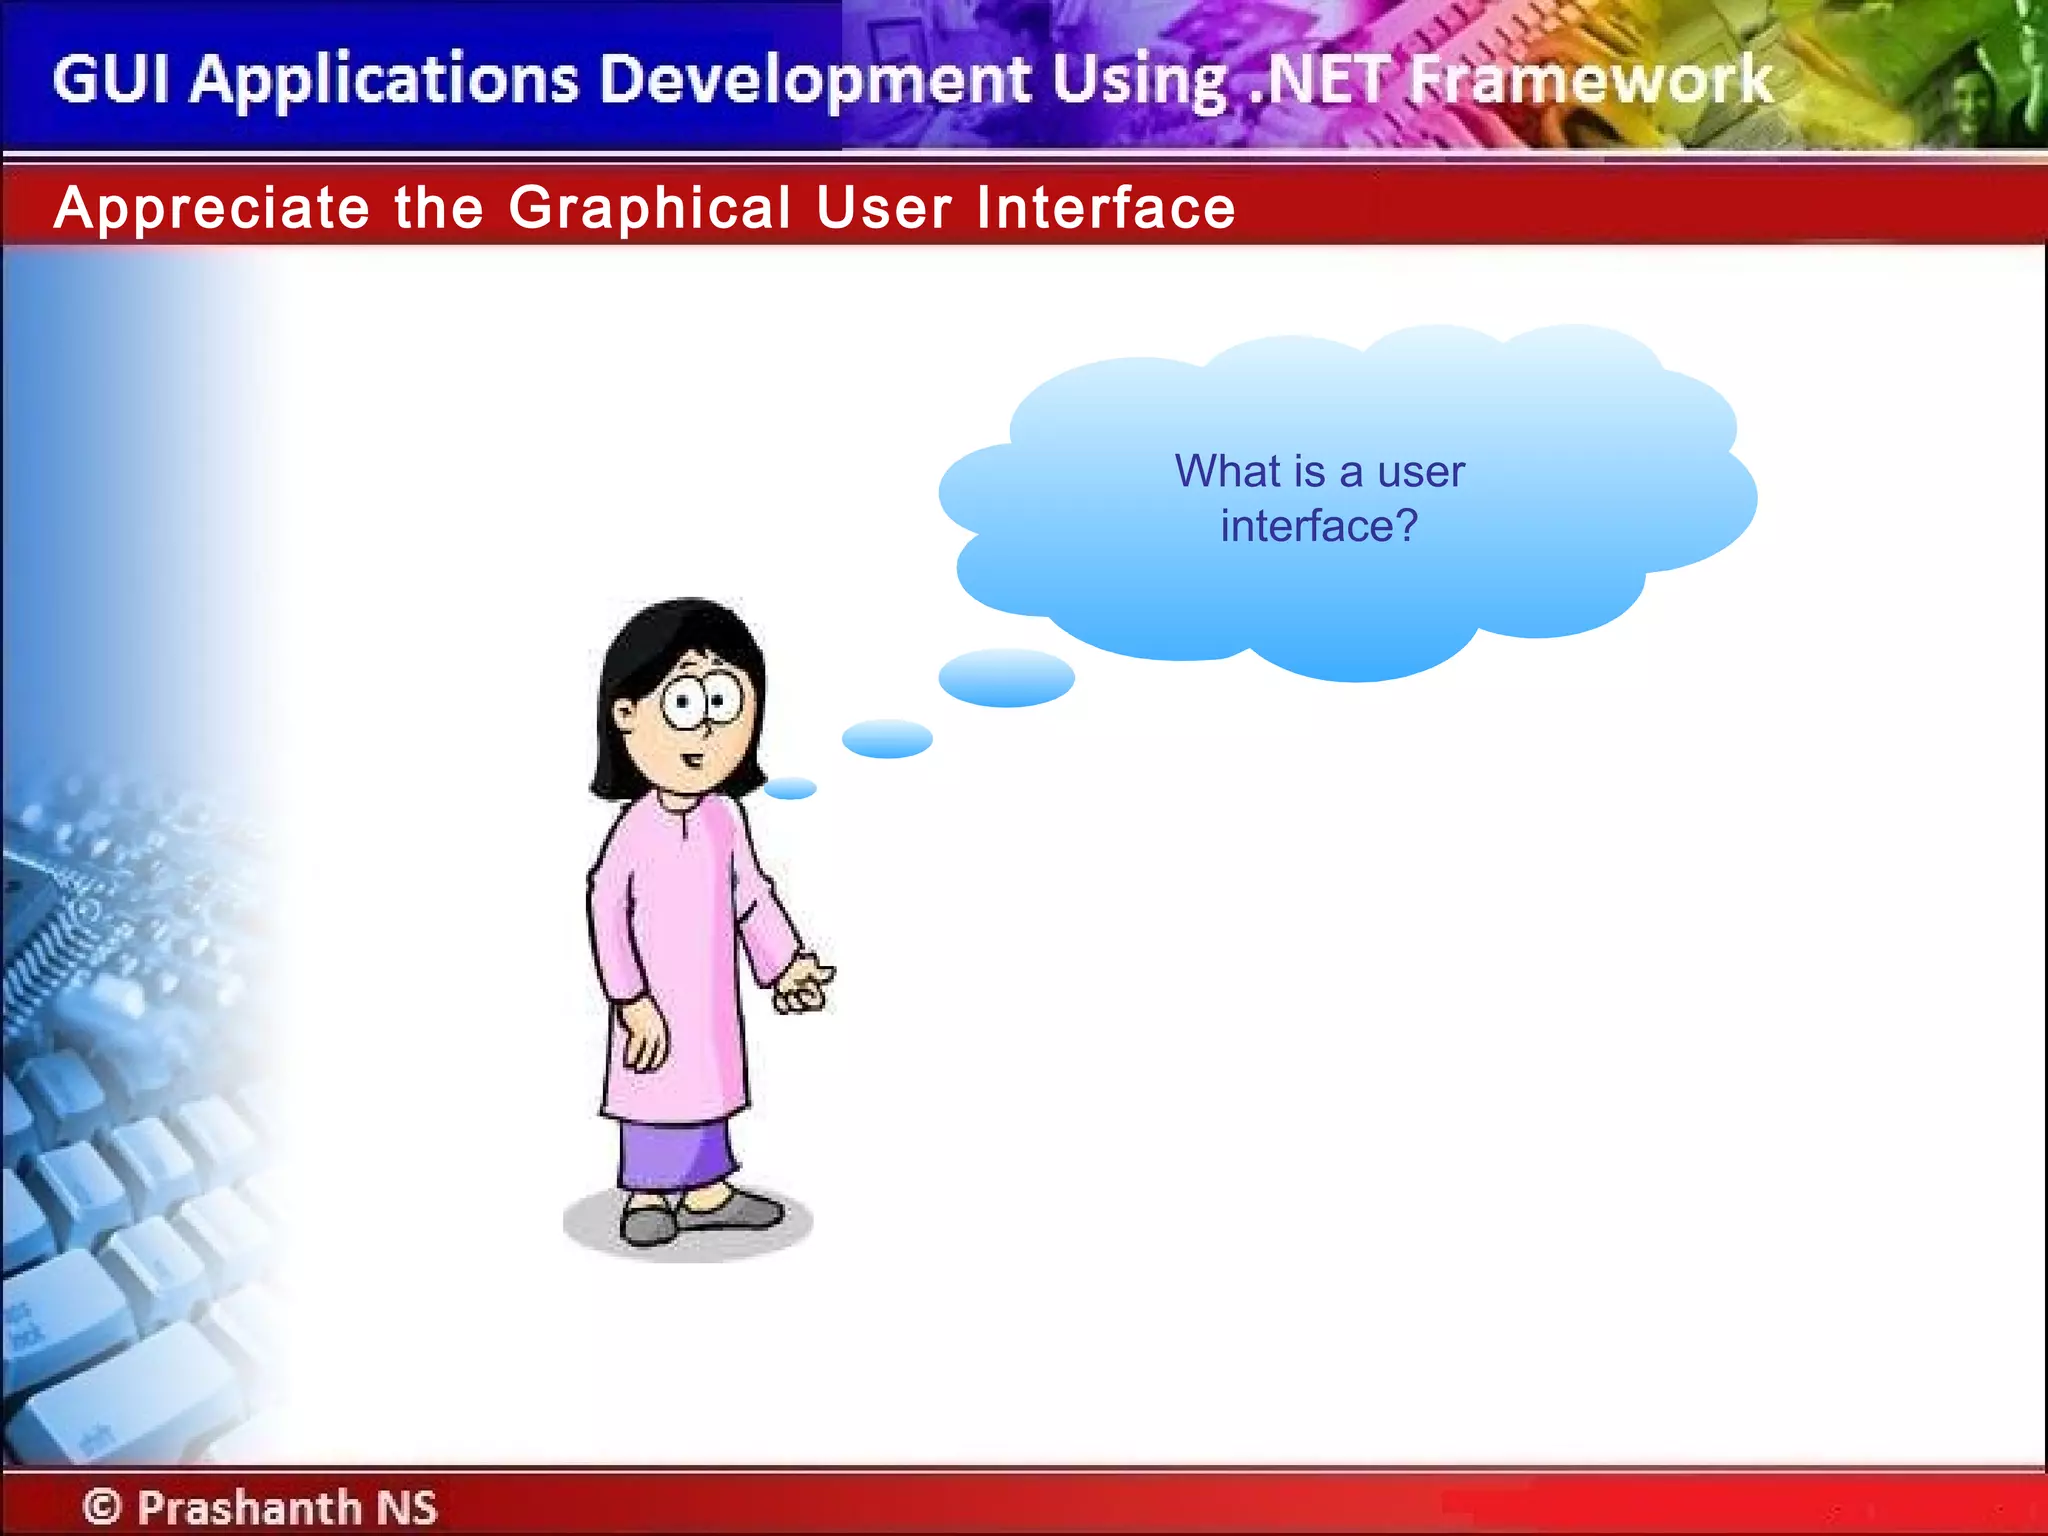
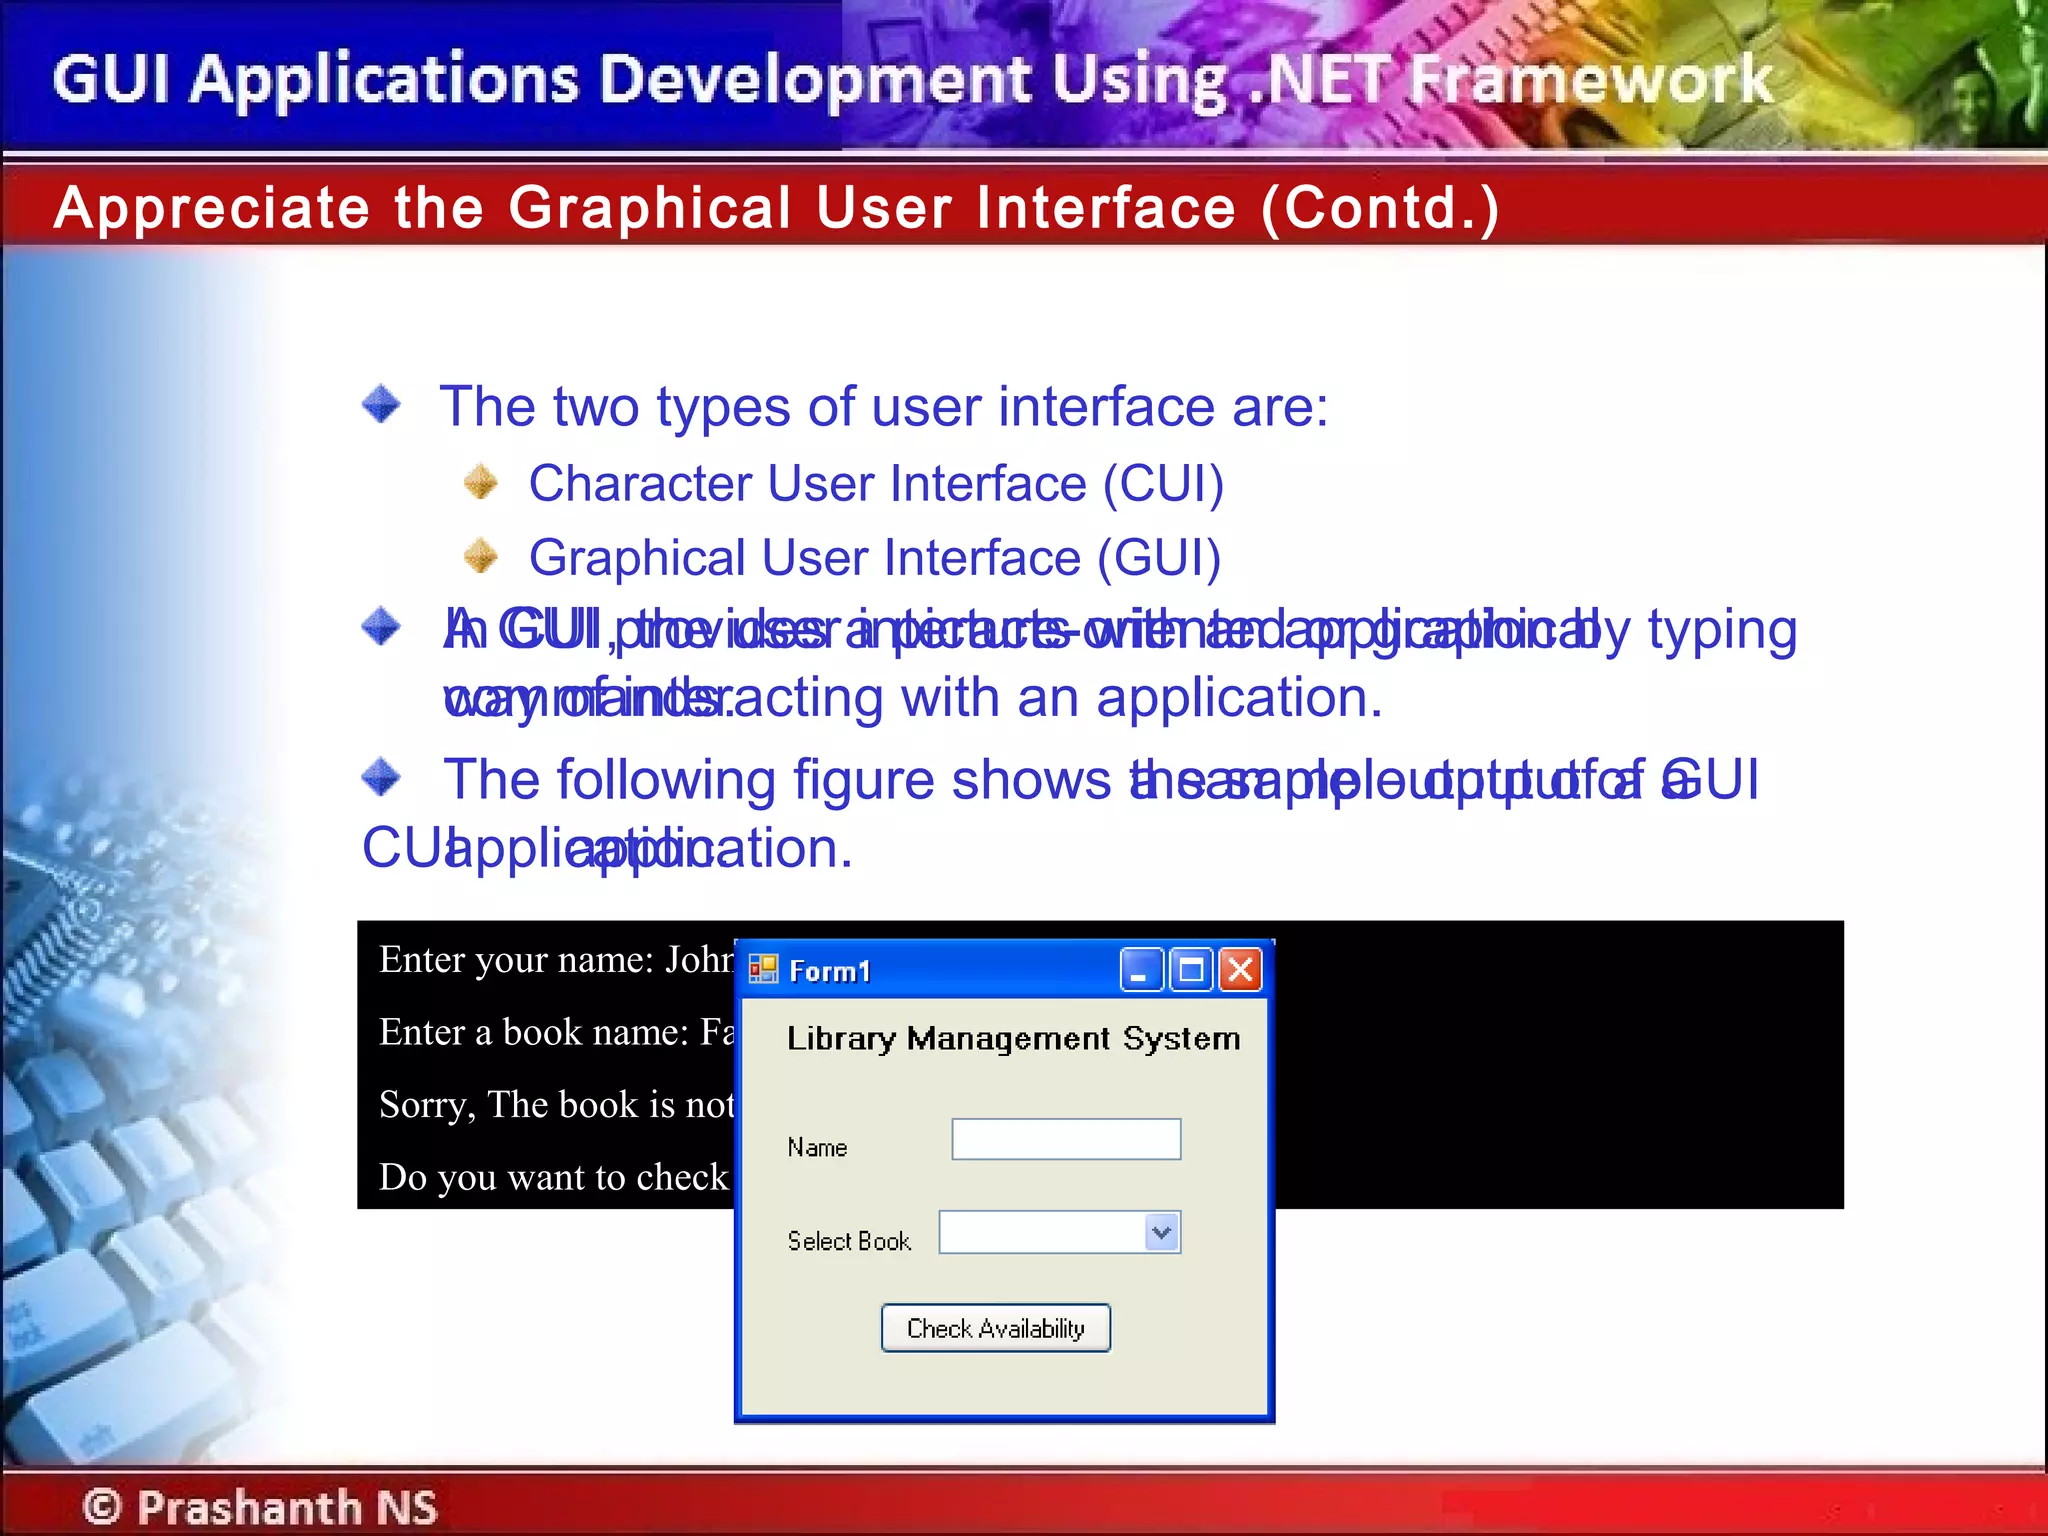
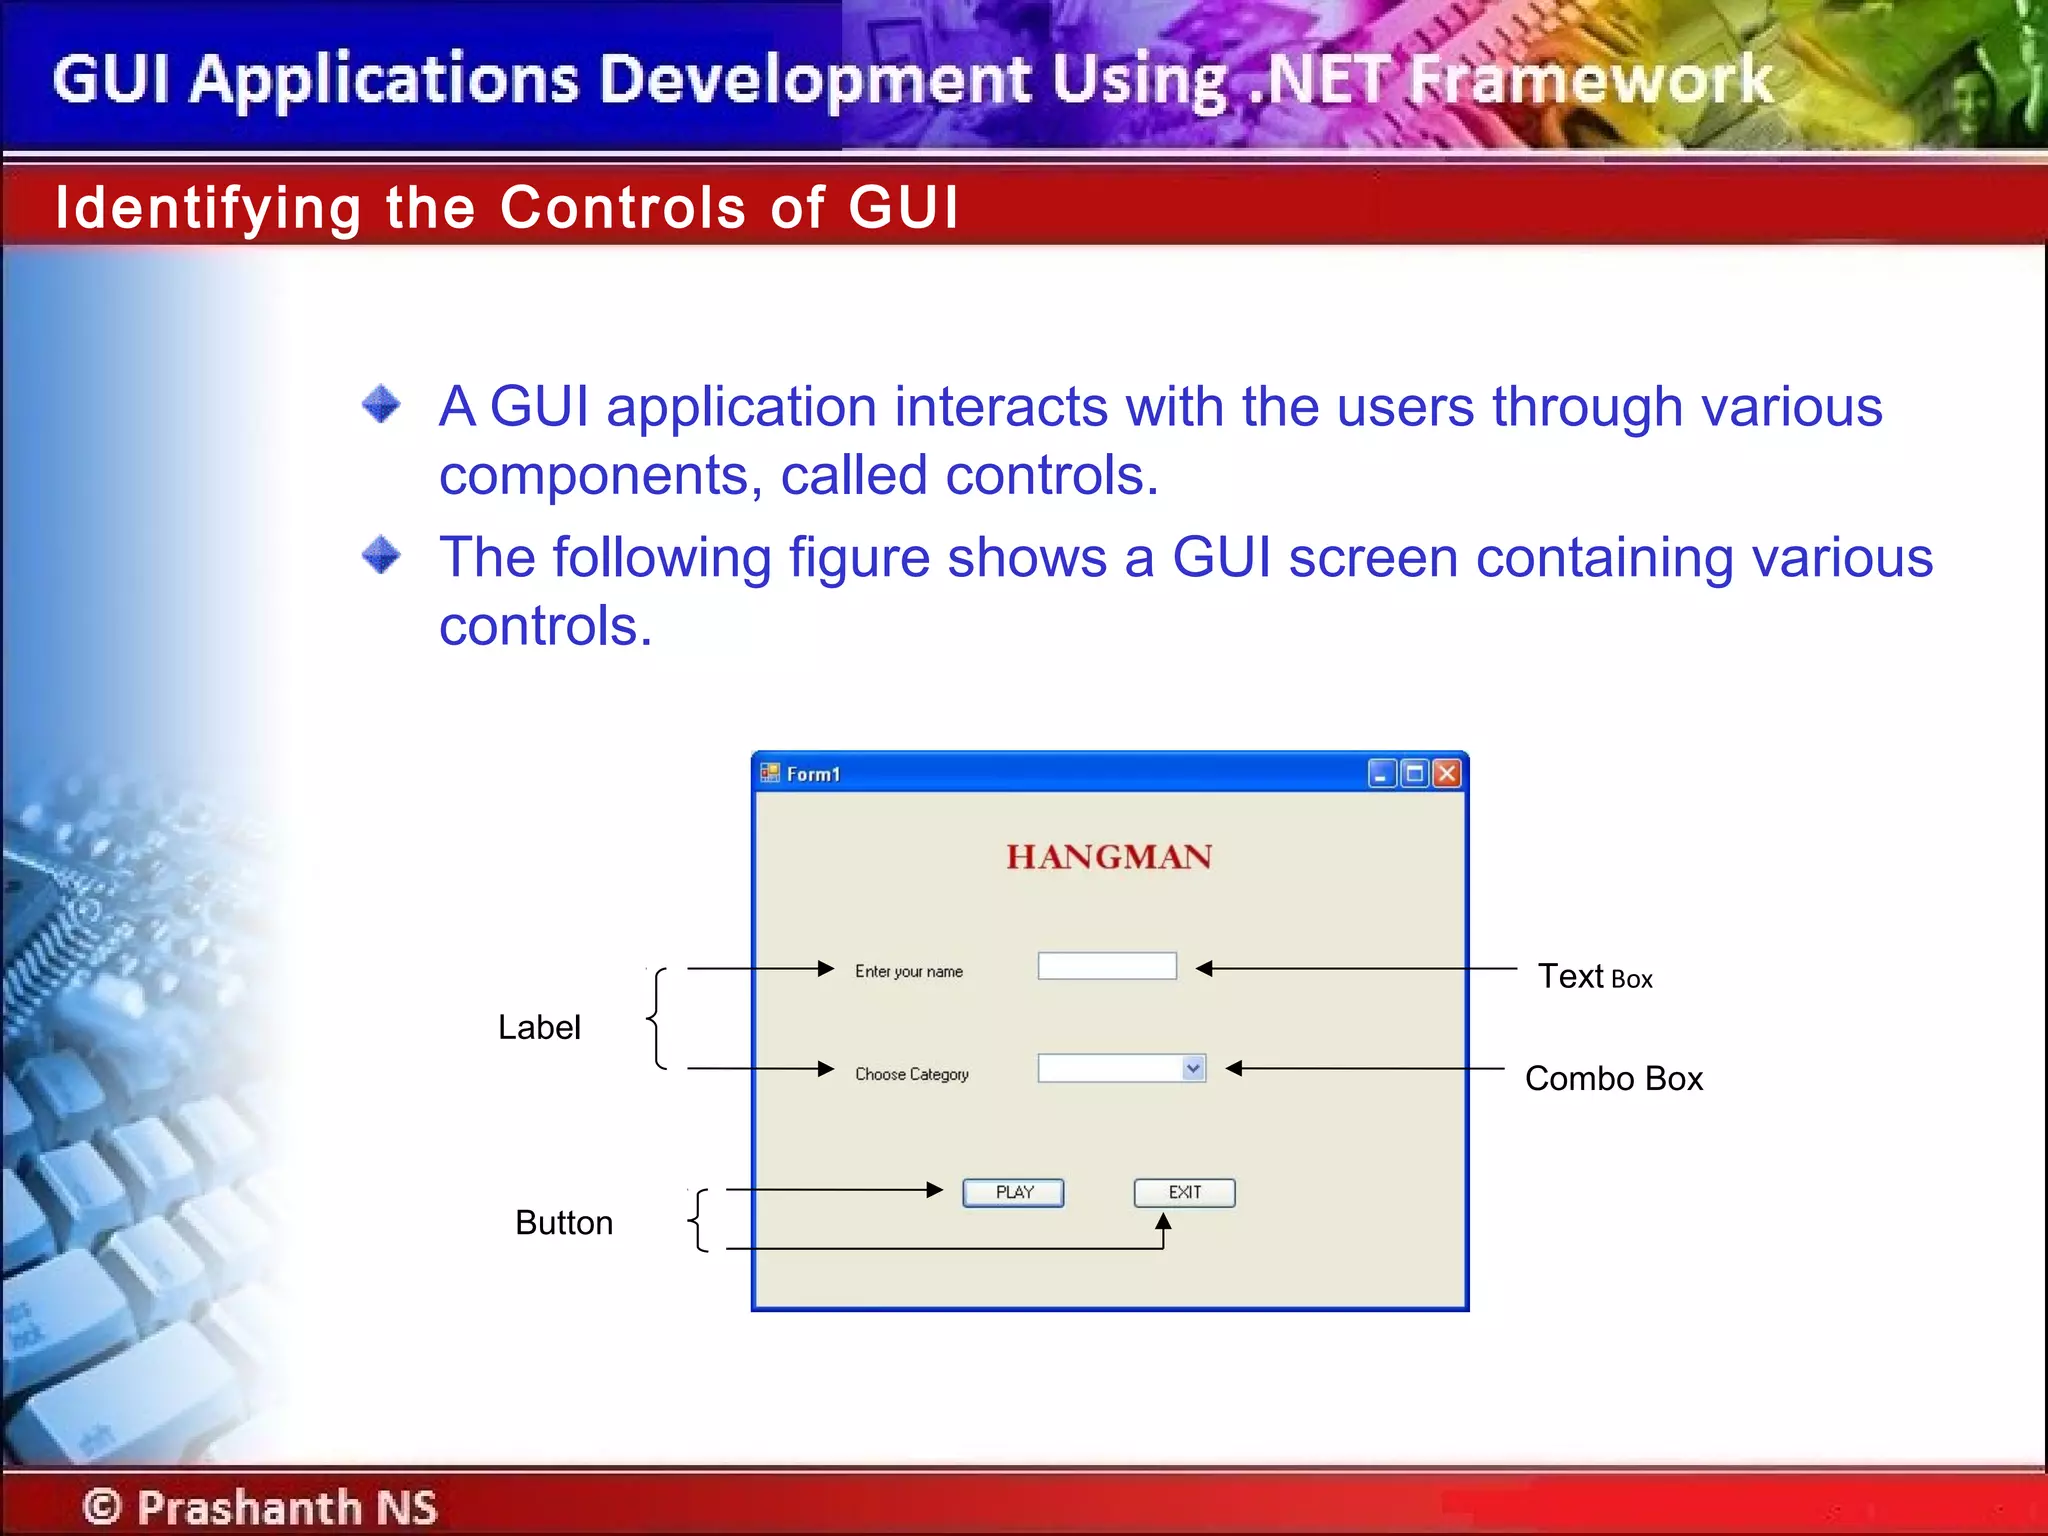
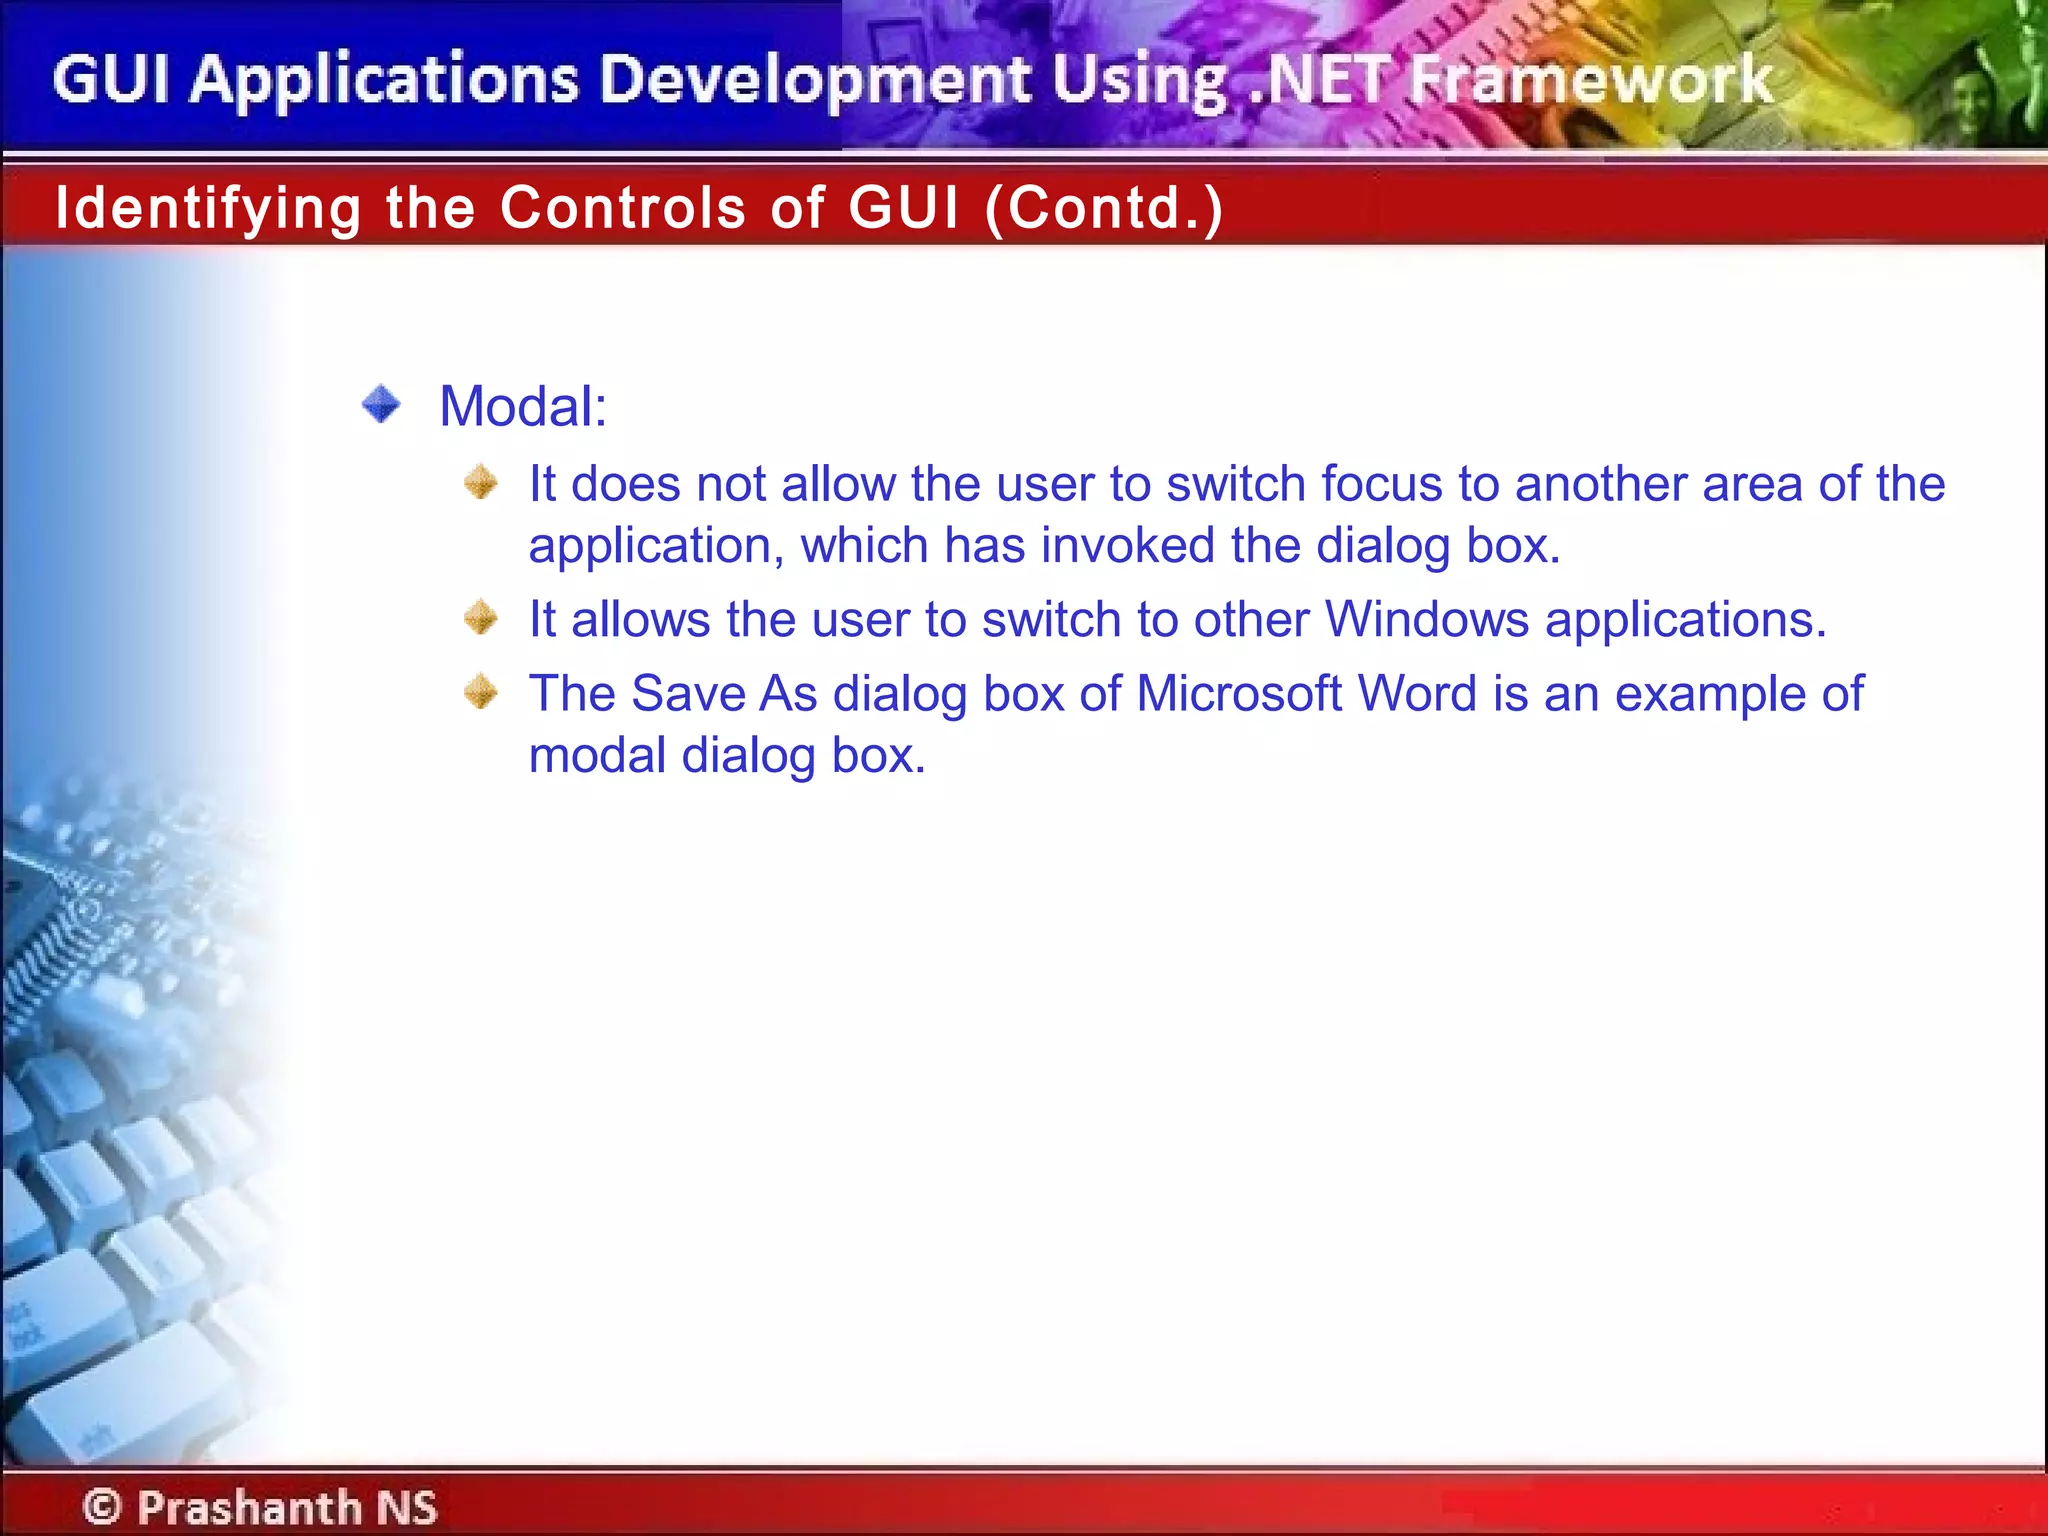
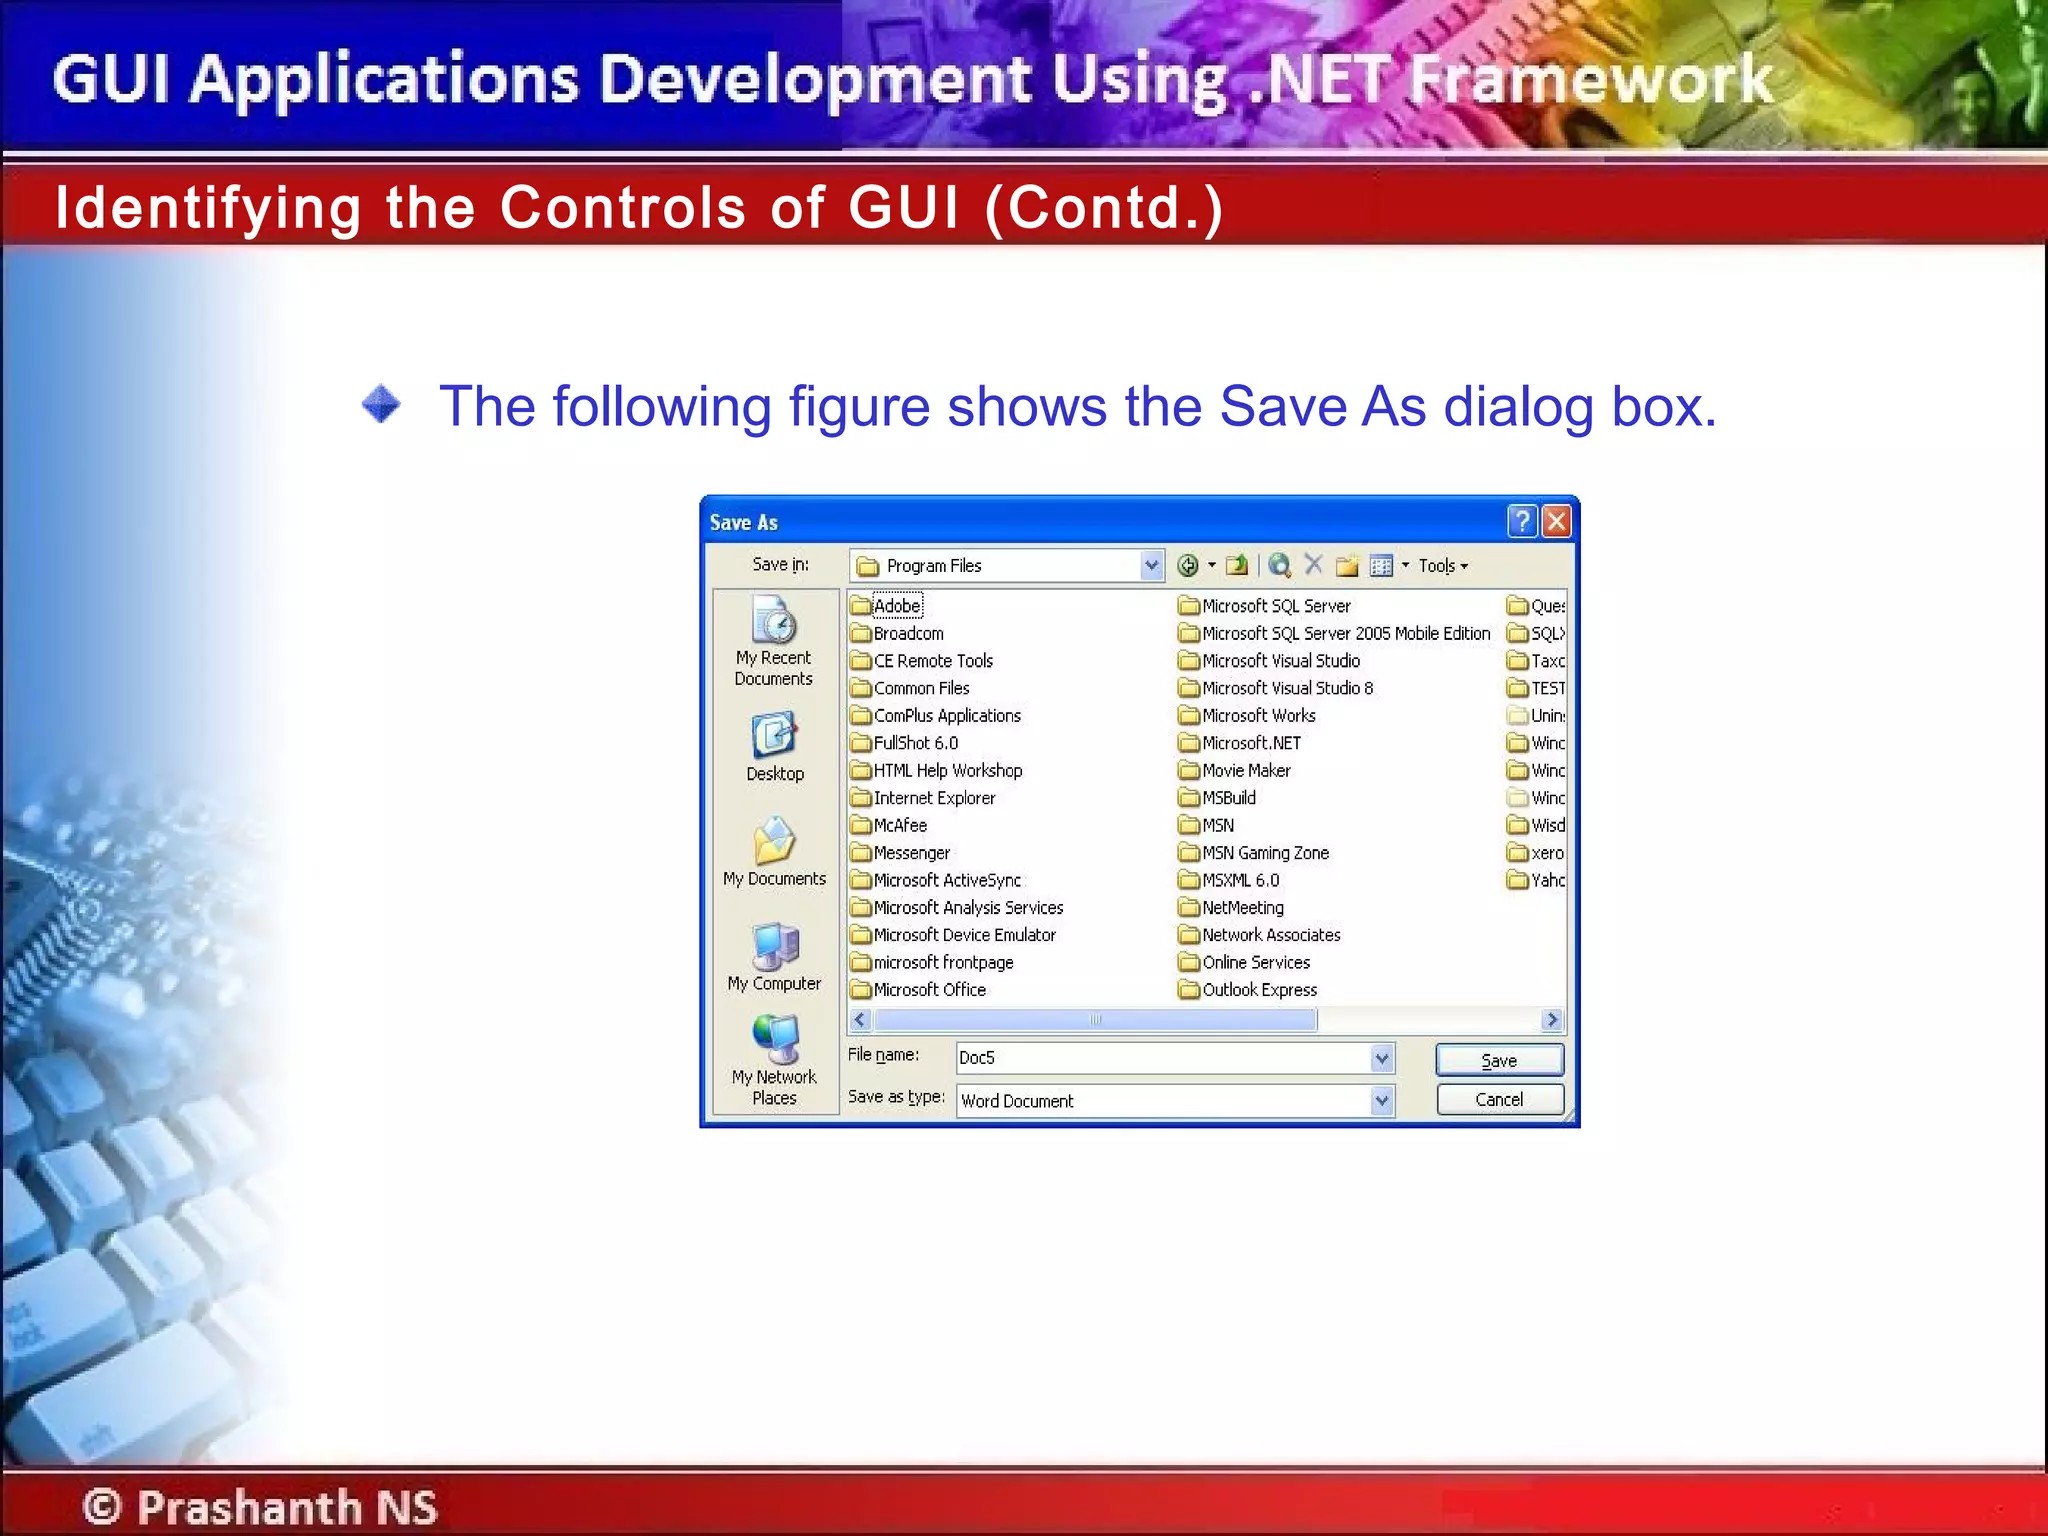
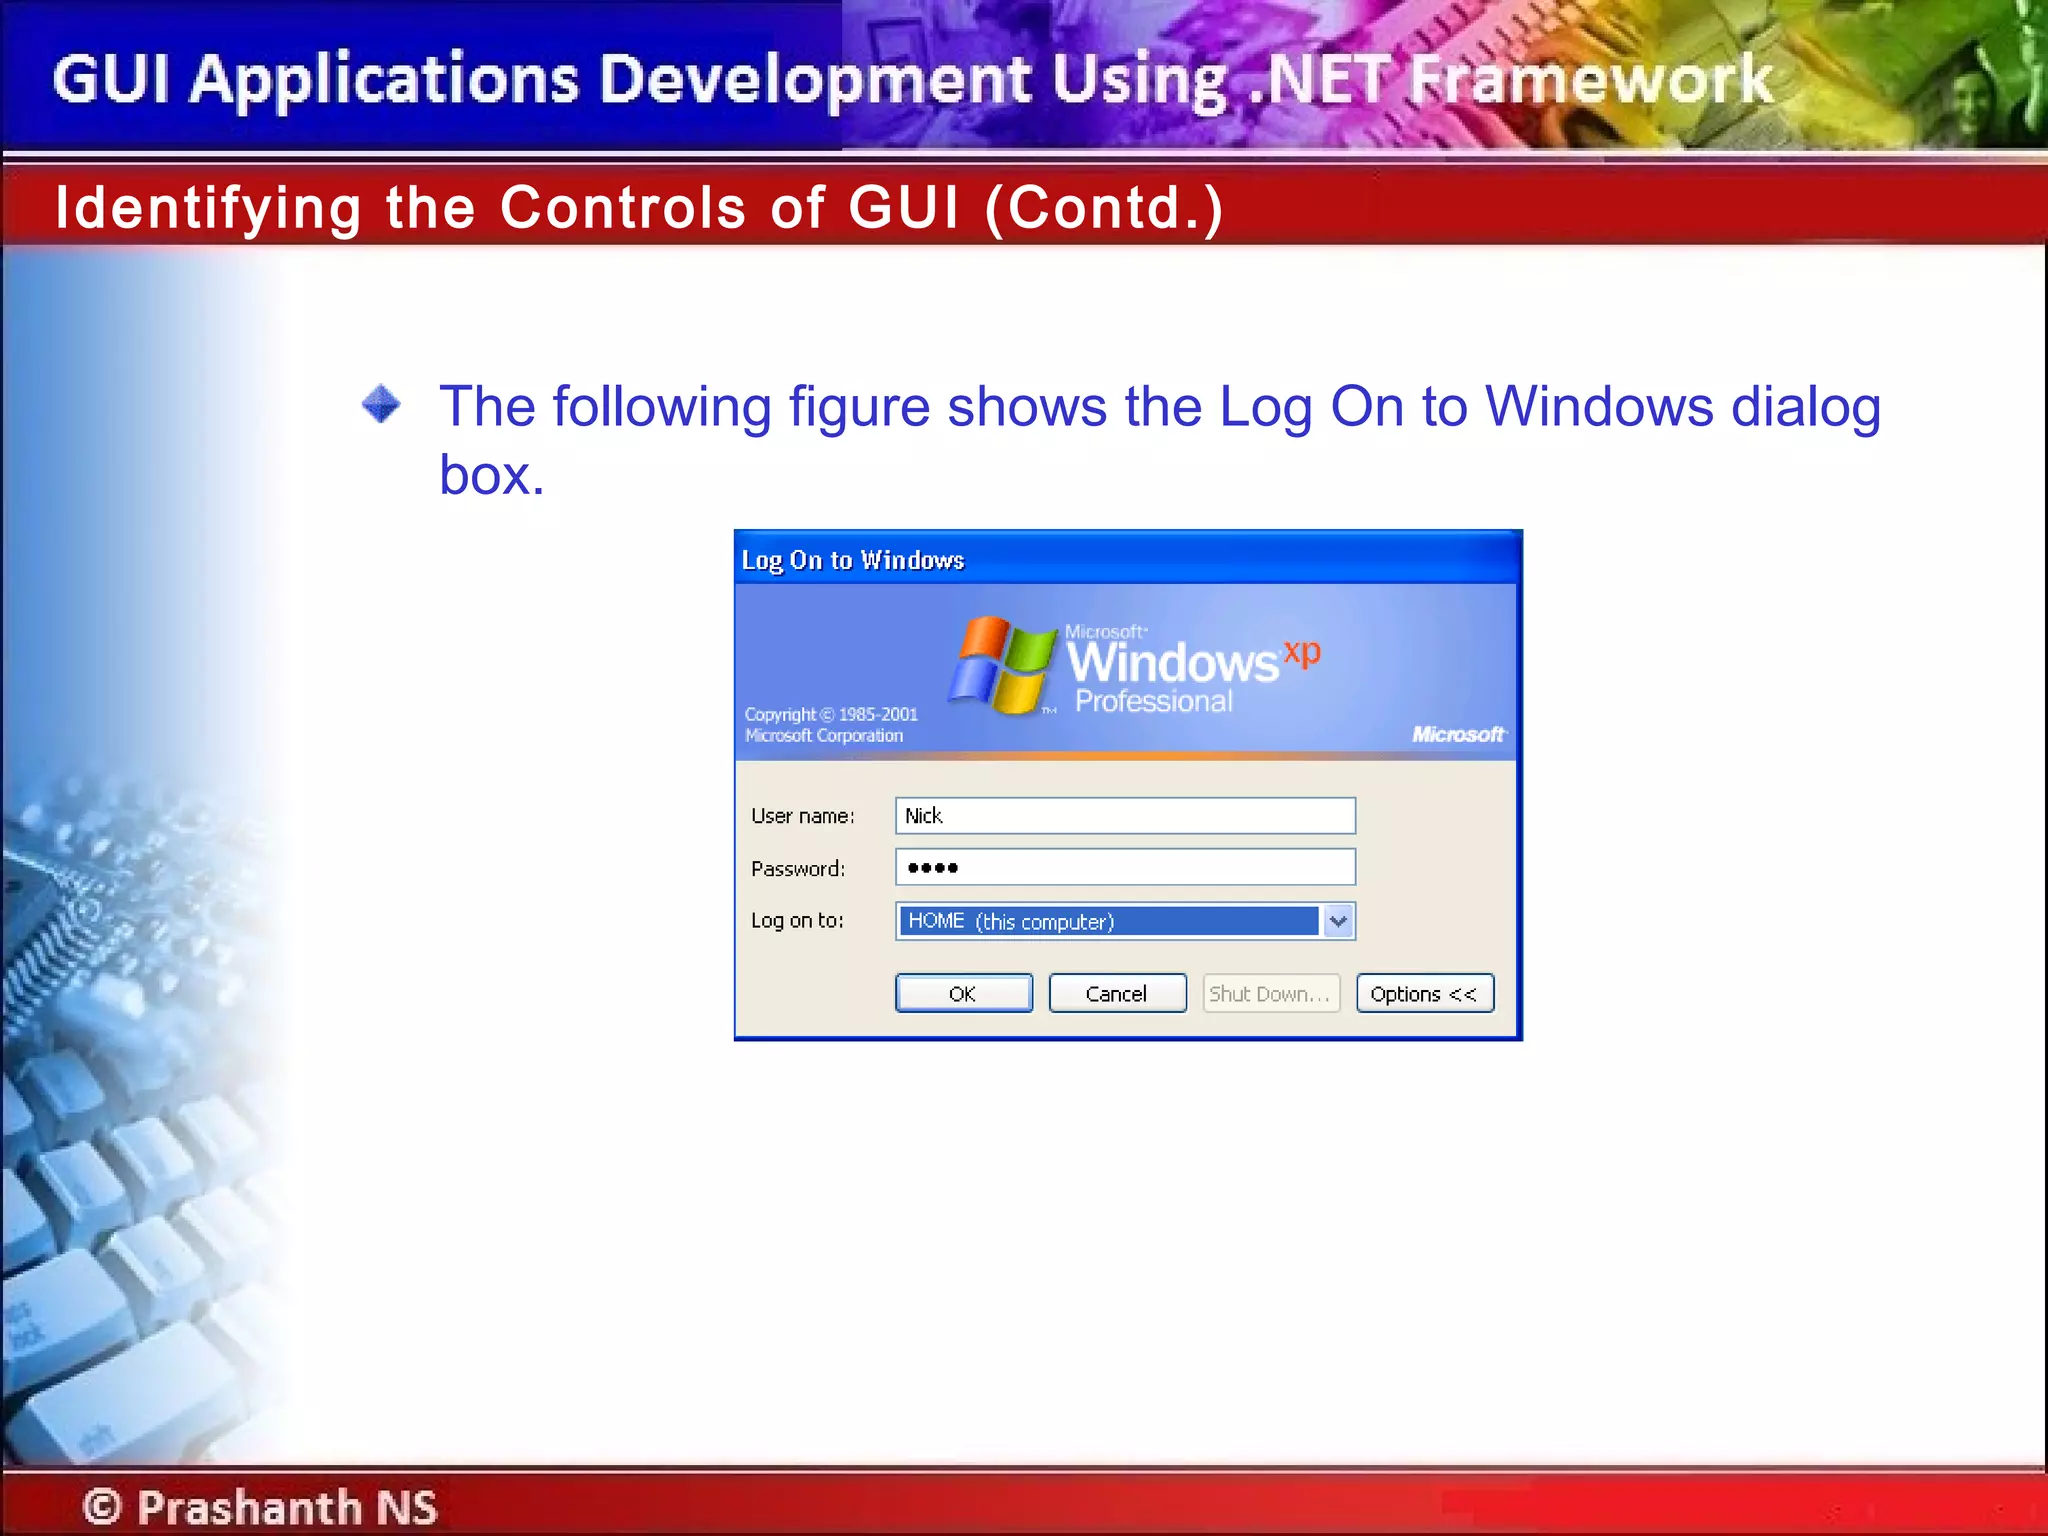
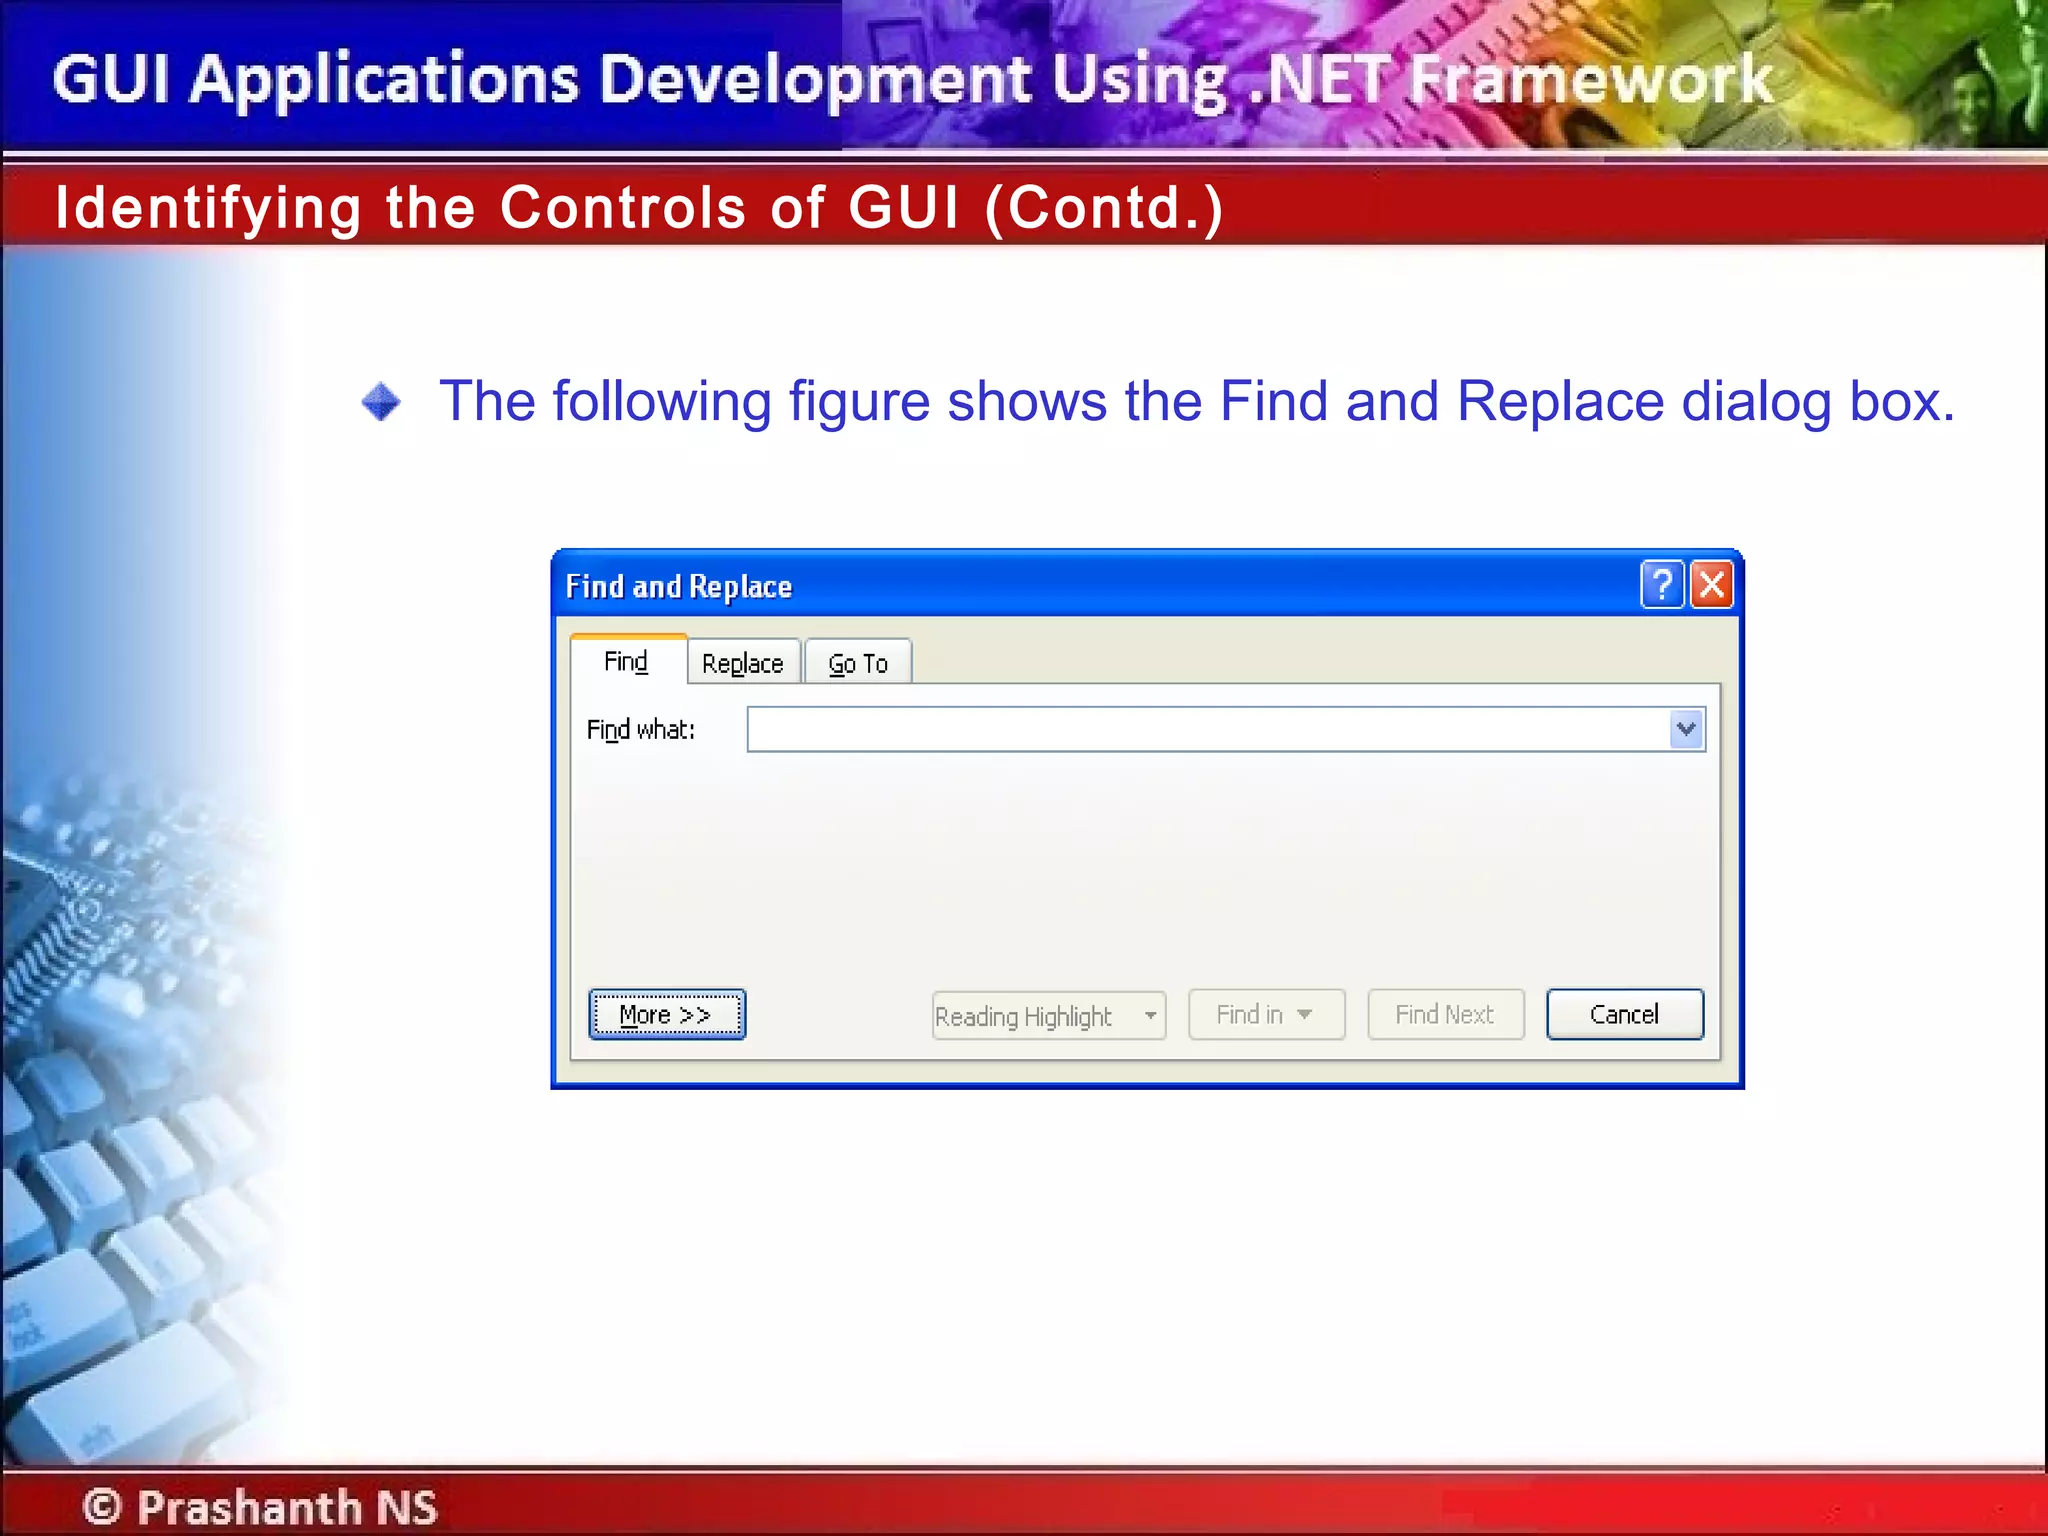
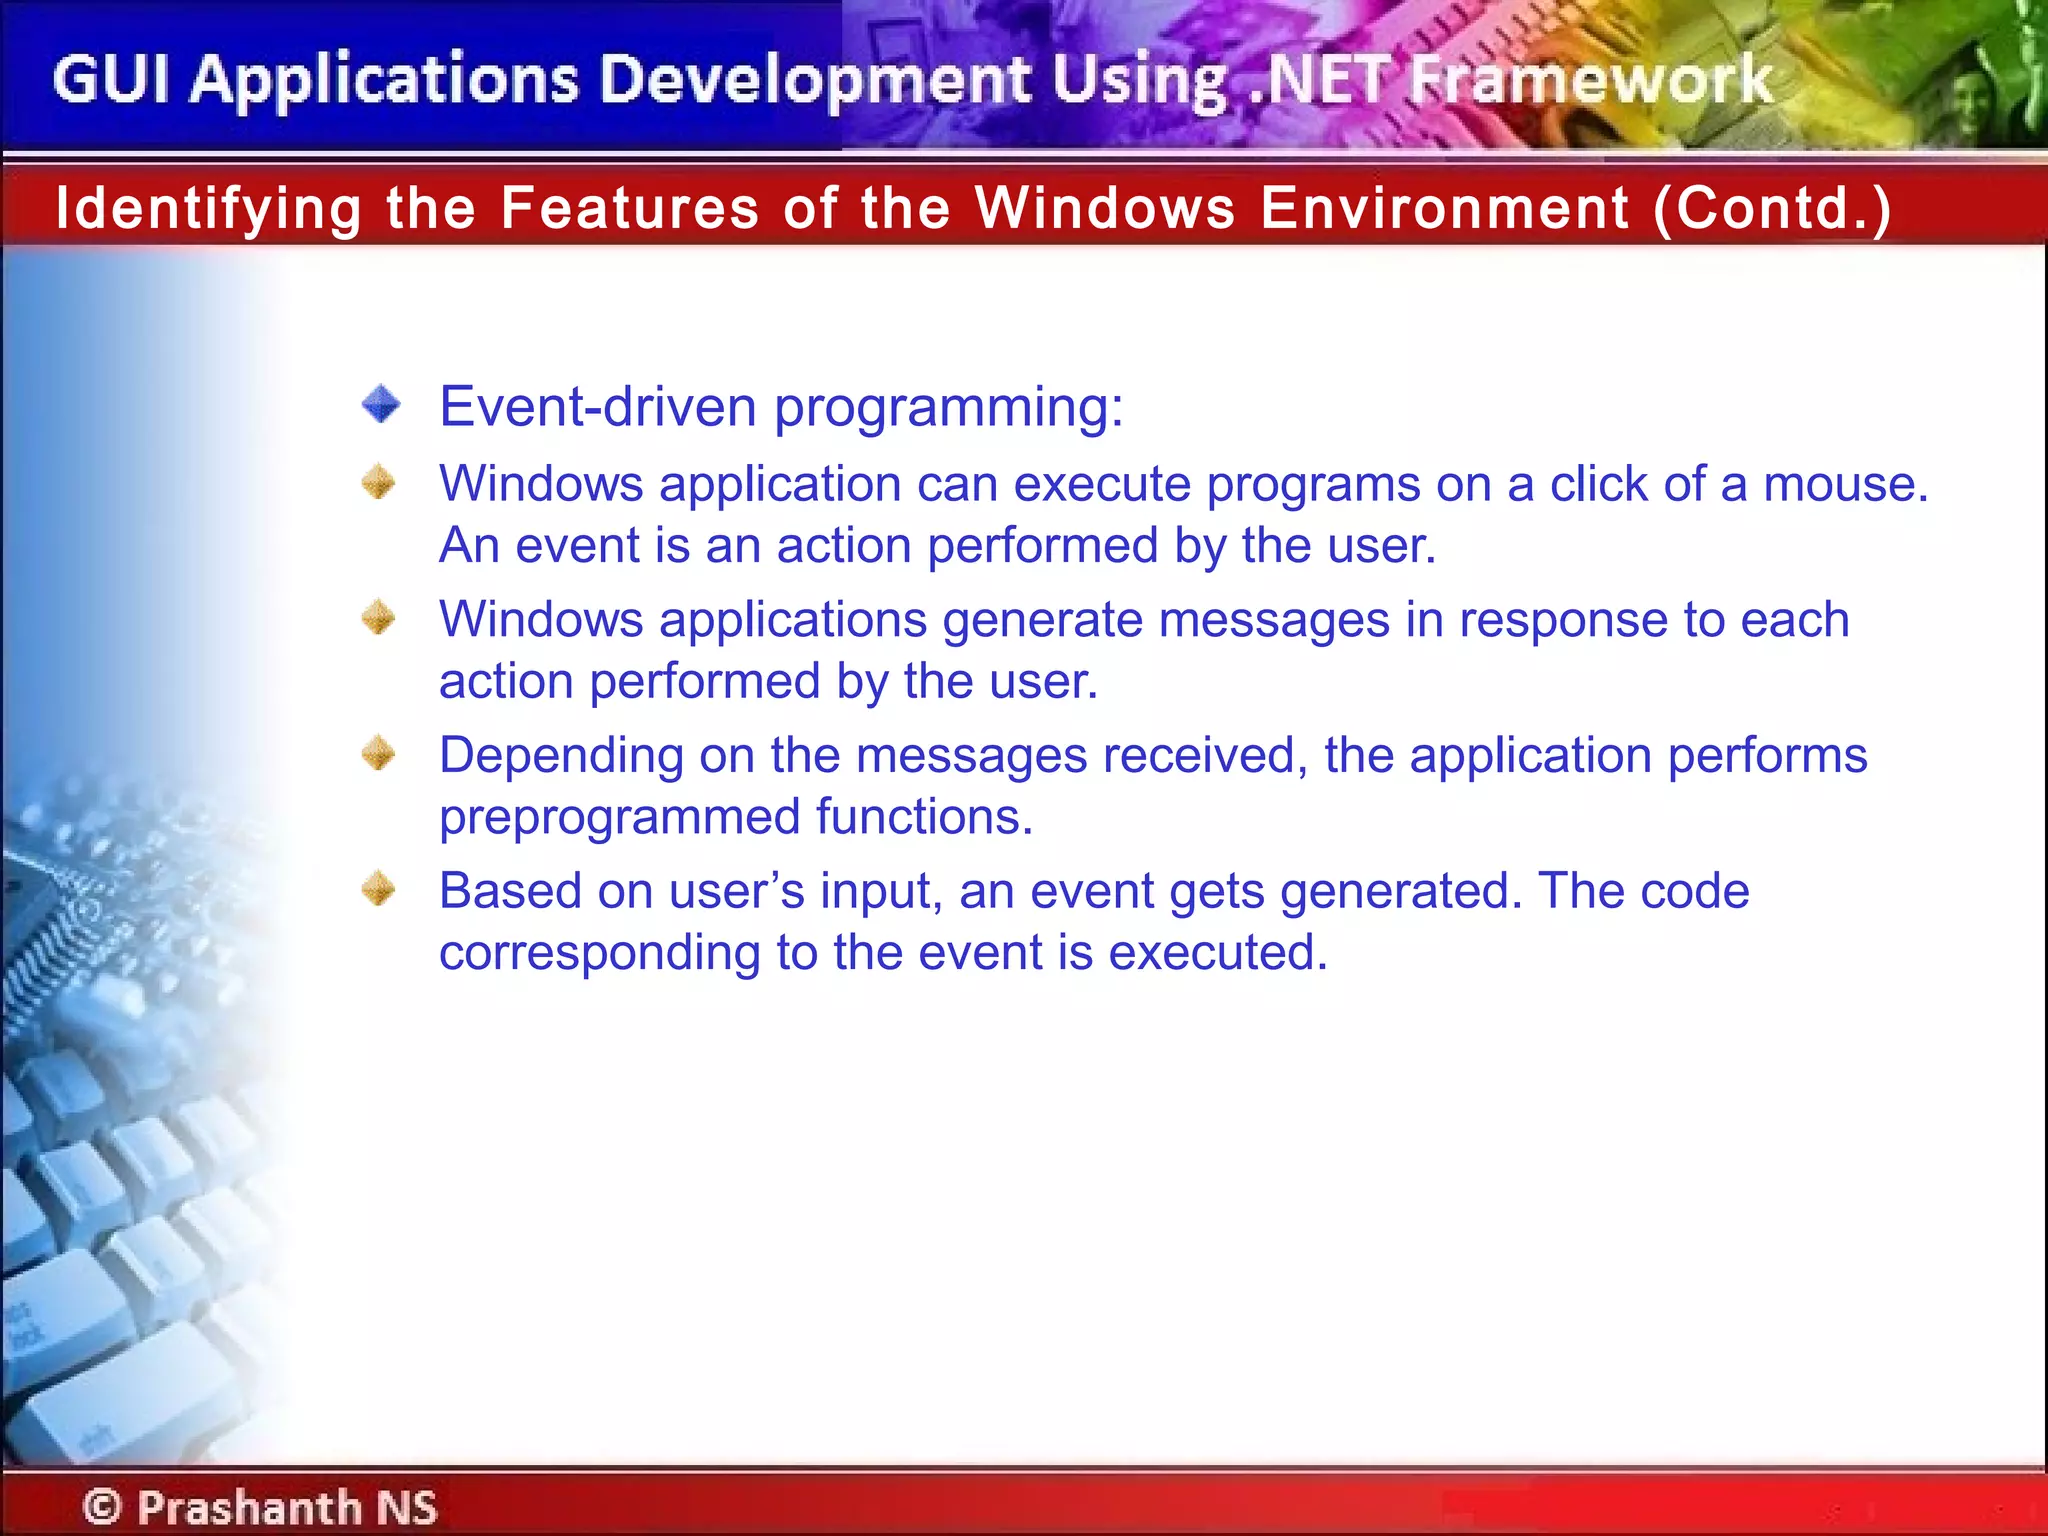
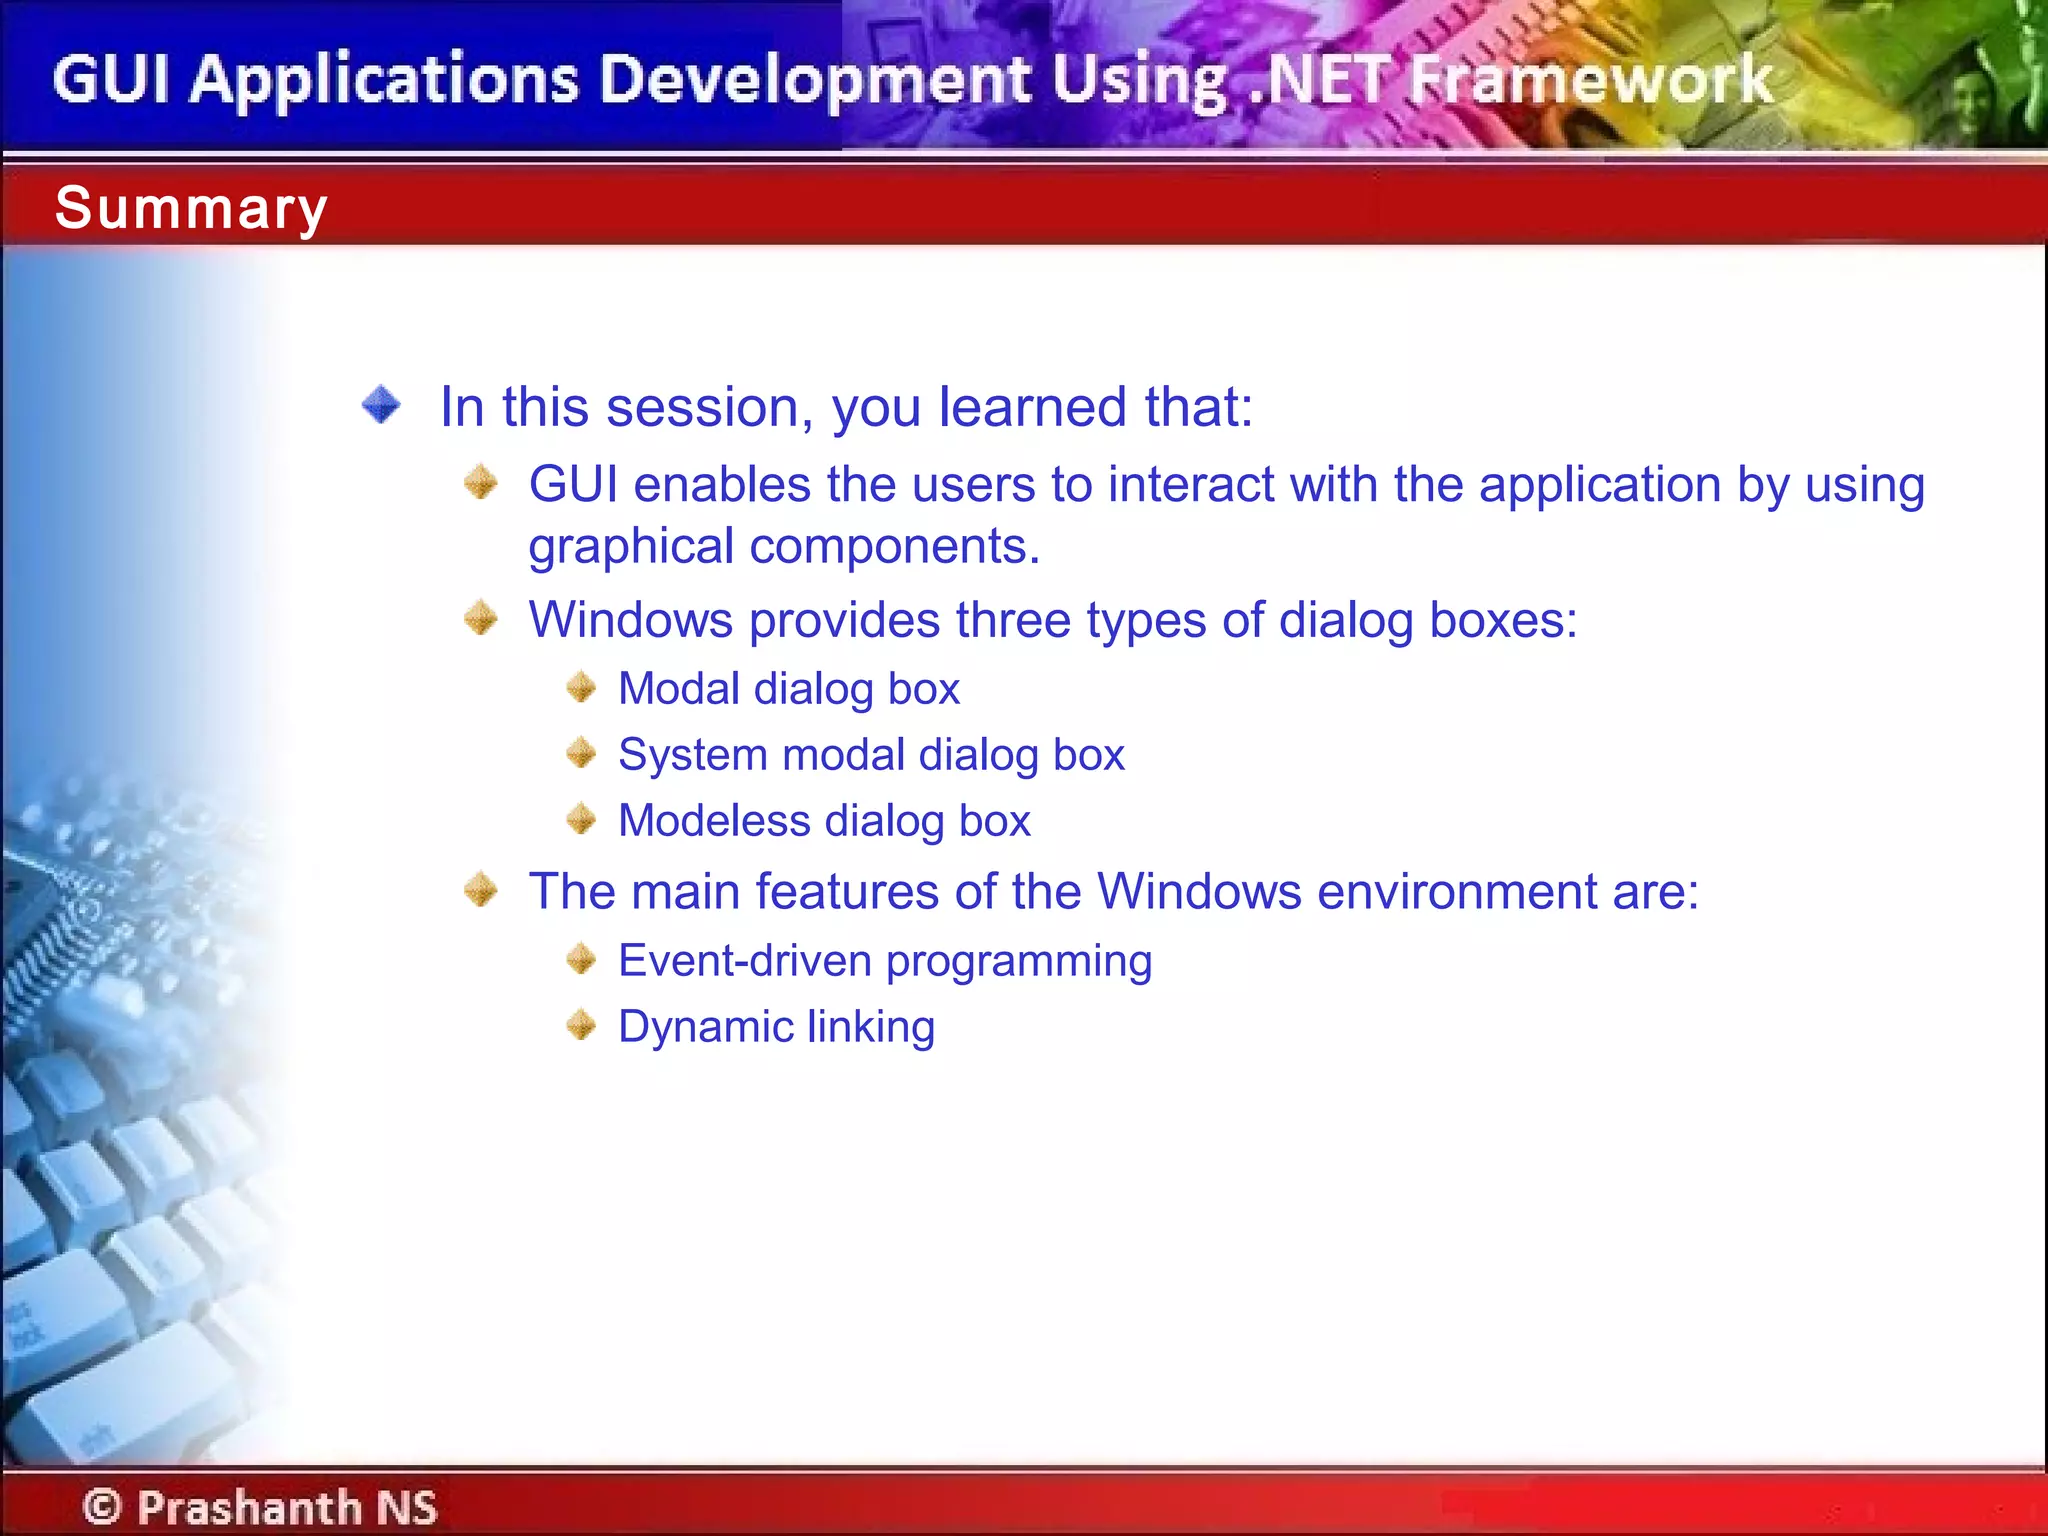
Learn about GUI objectives, types (CUI & GUI), advantages, controls, and Windows dialog box types: modal, system modal, modeless.
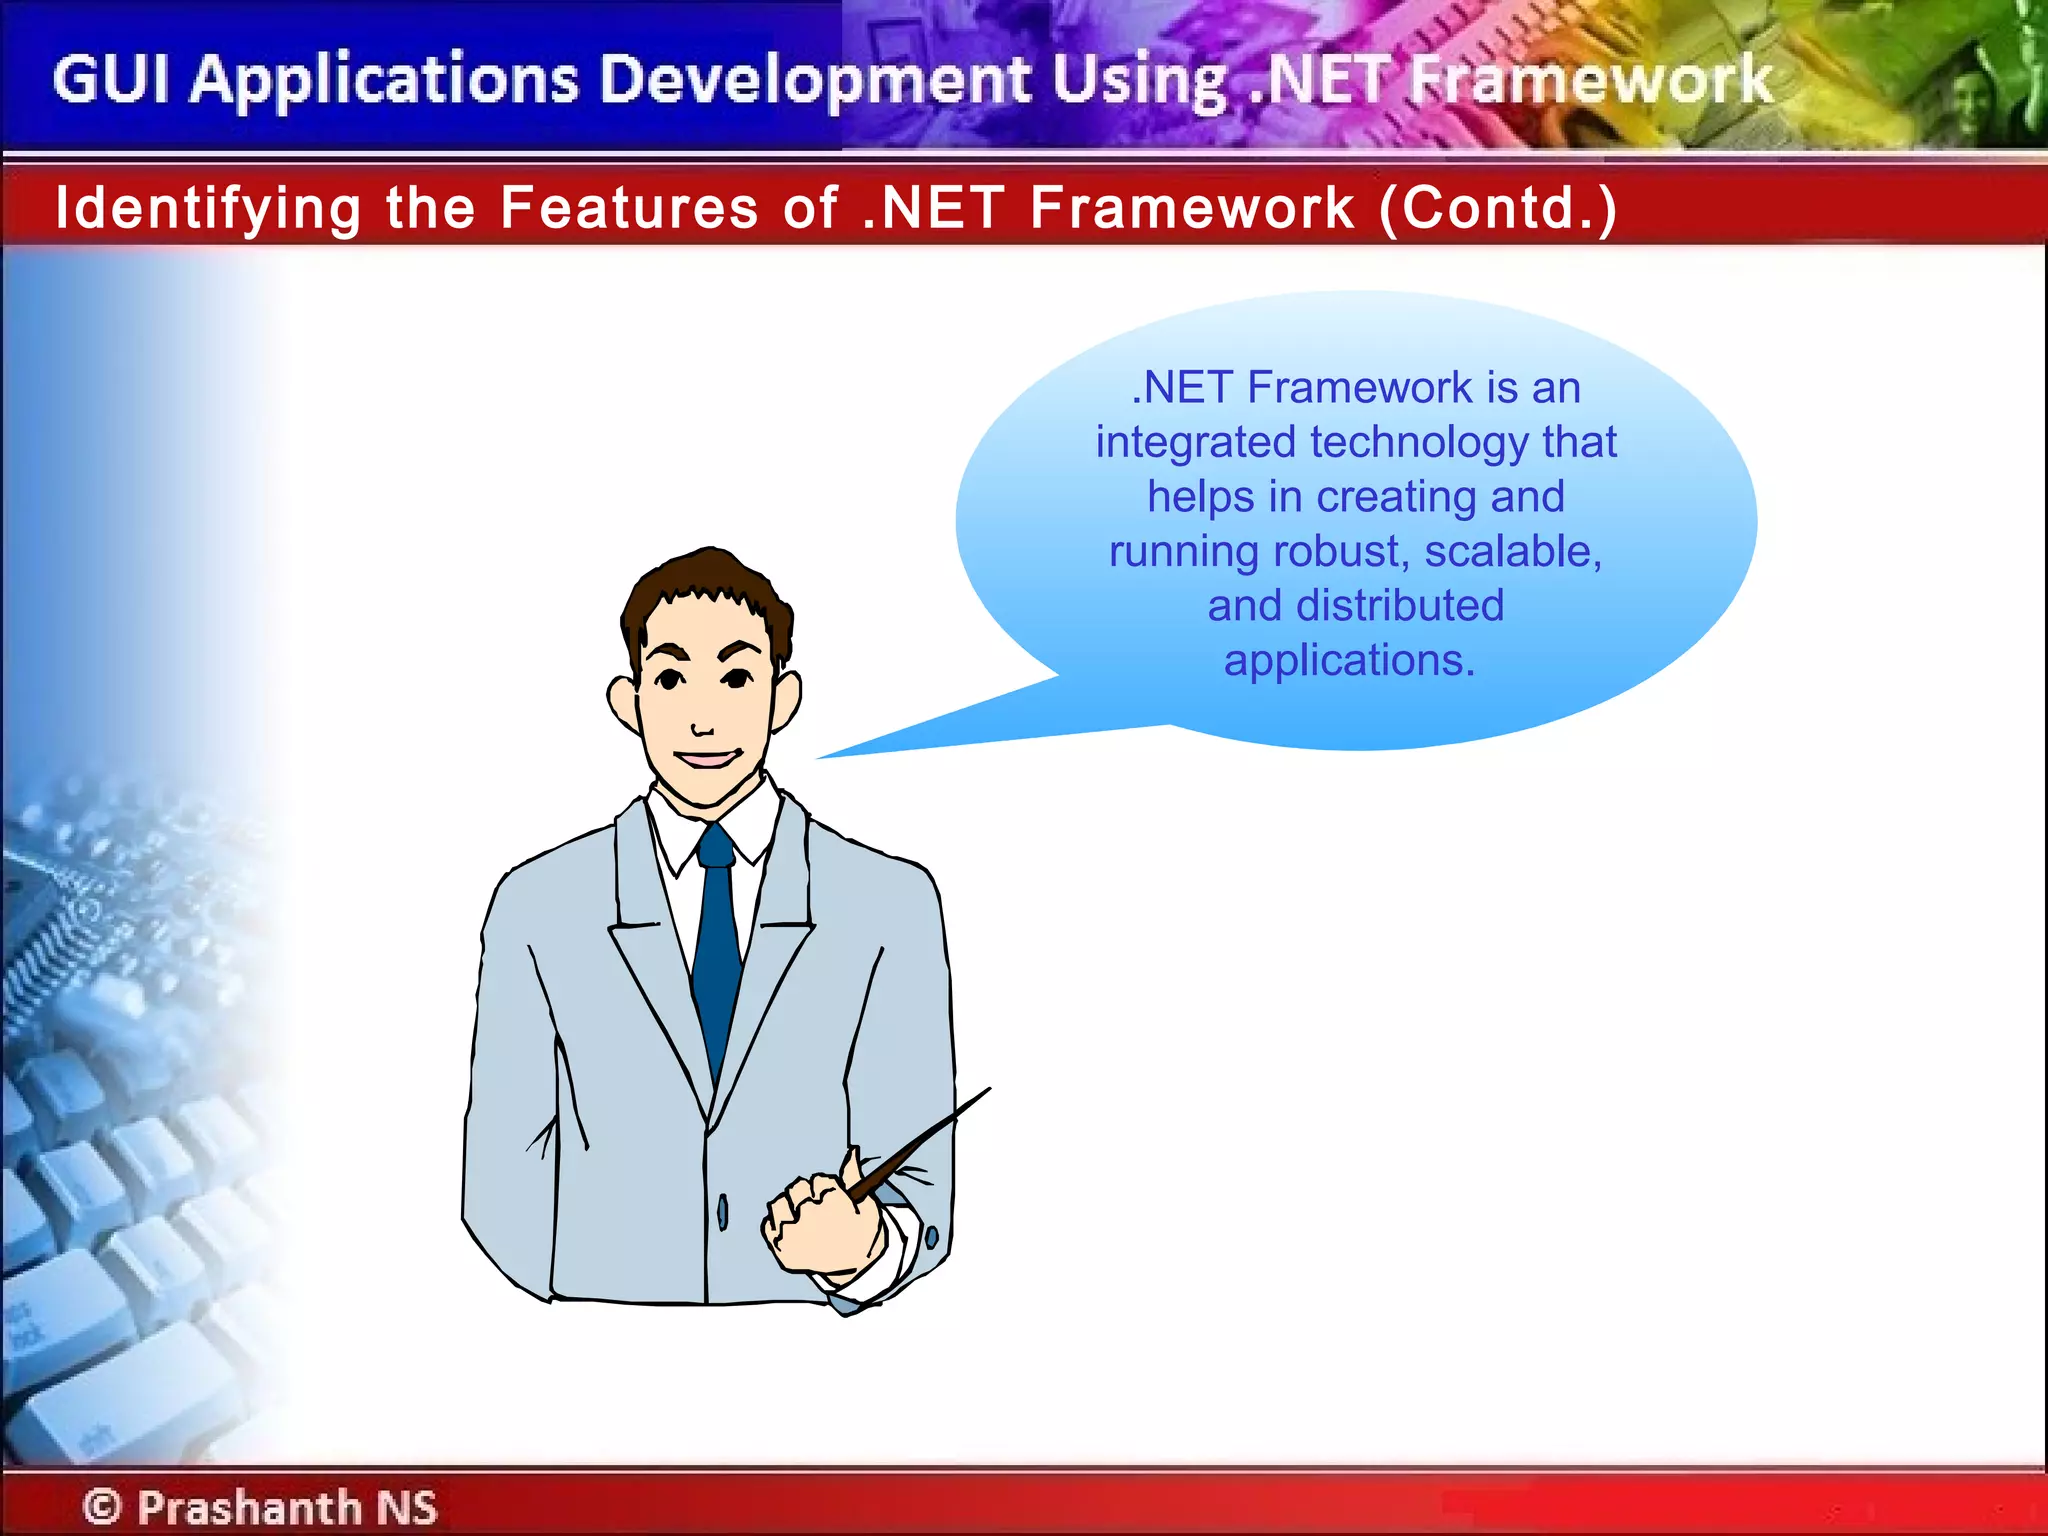
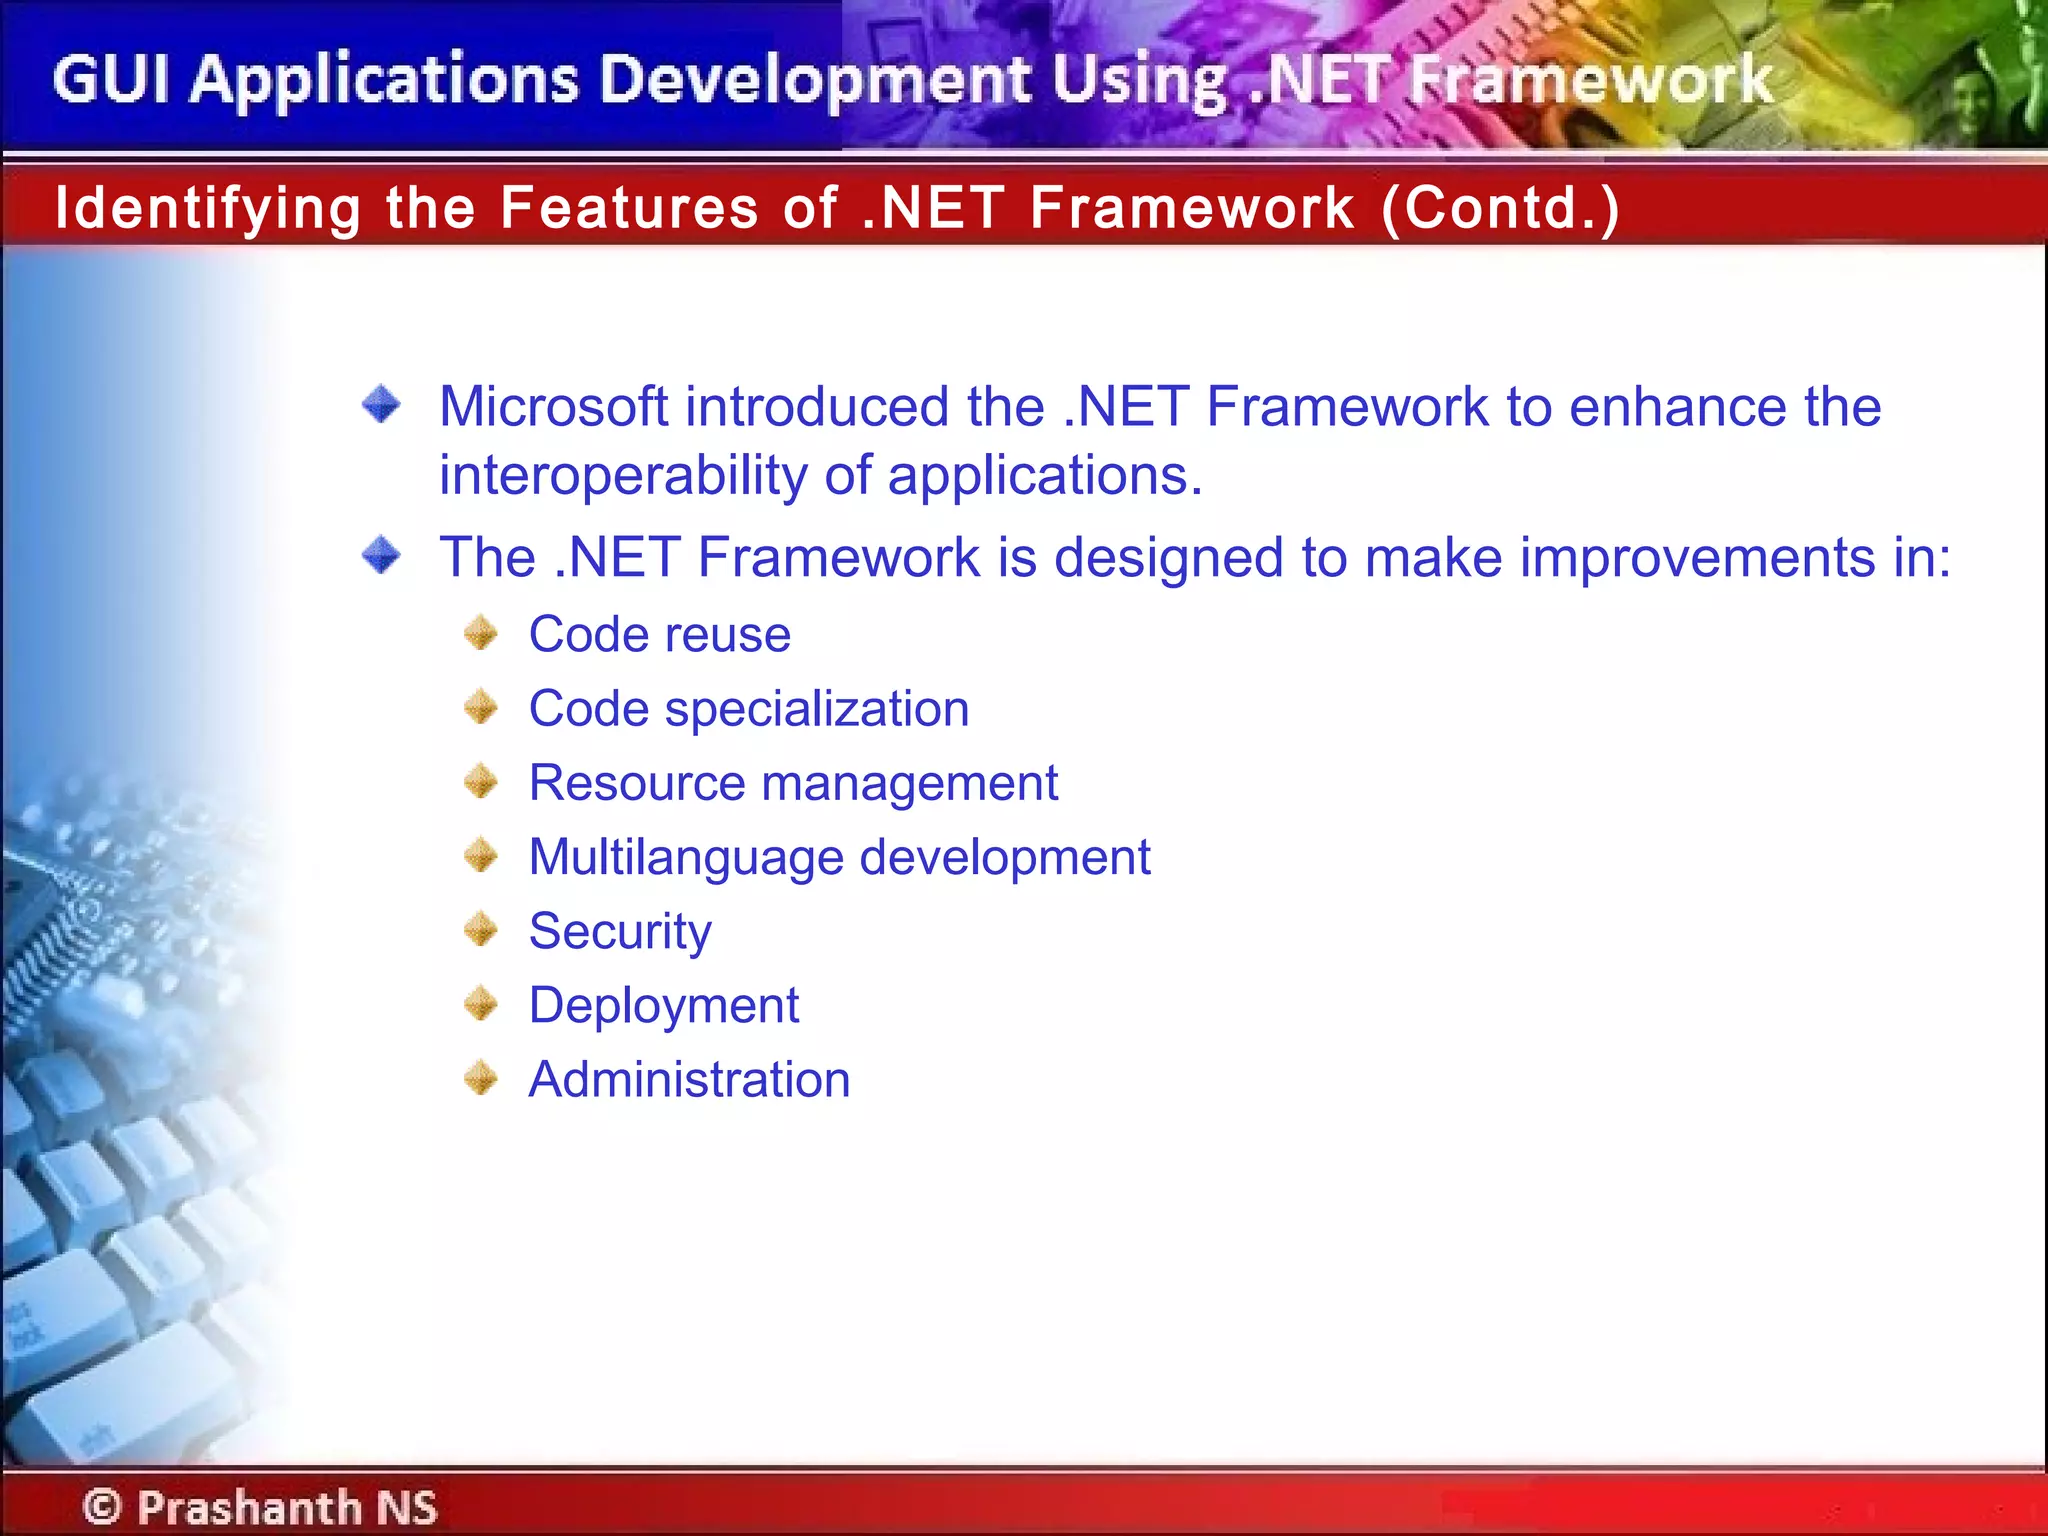
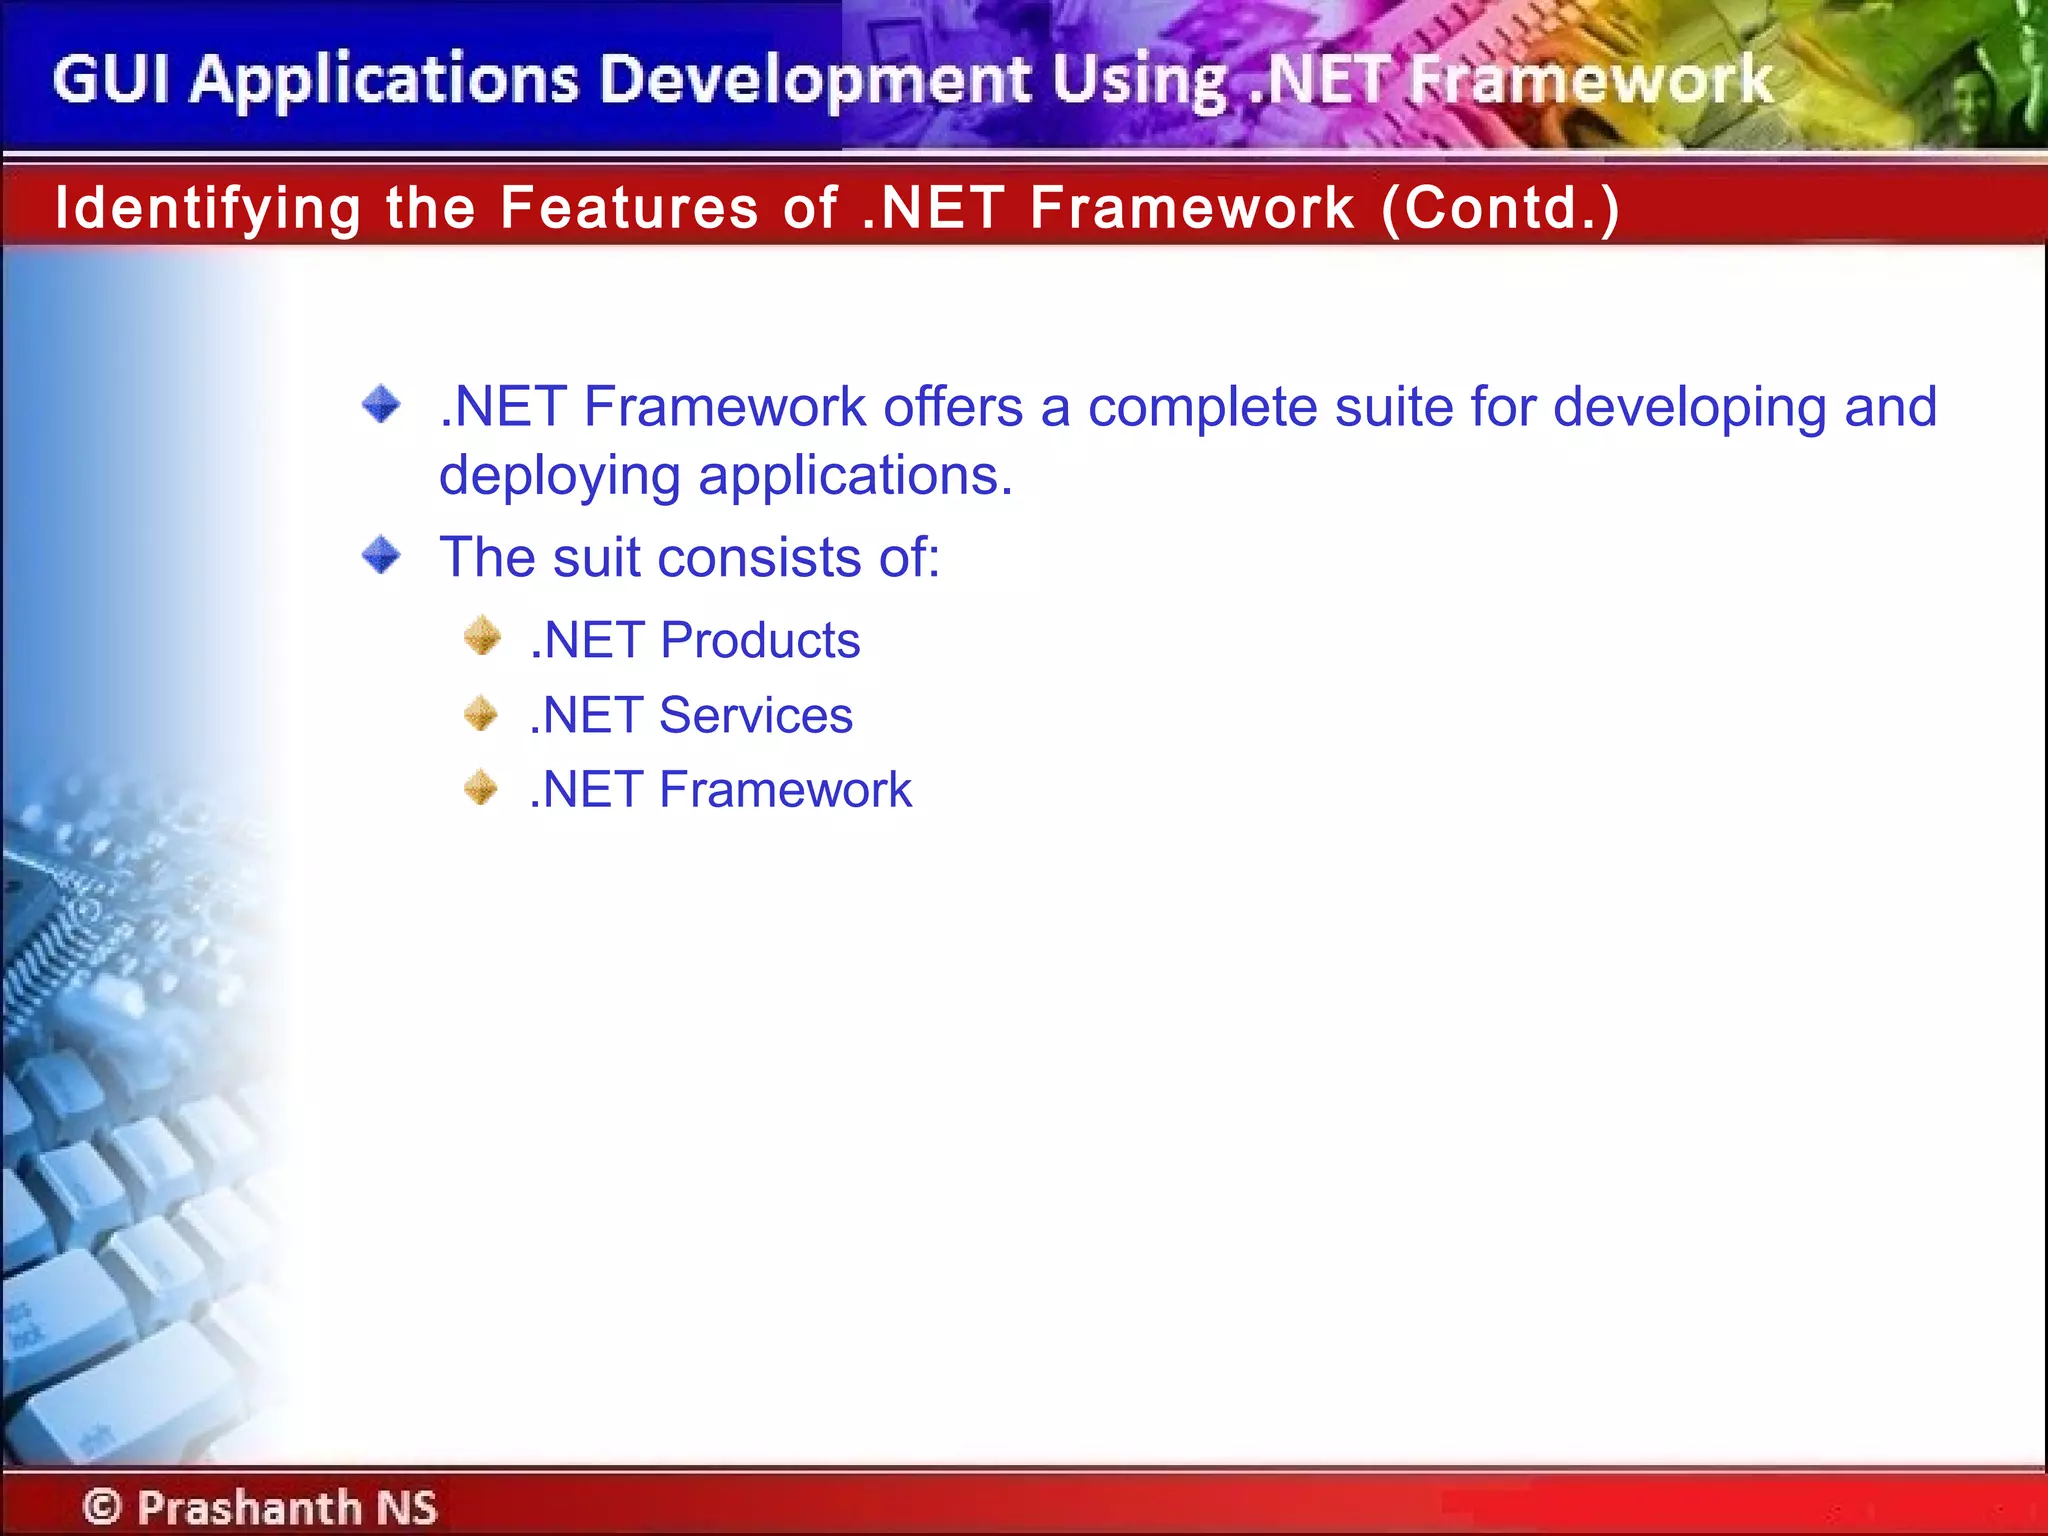
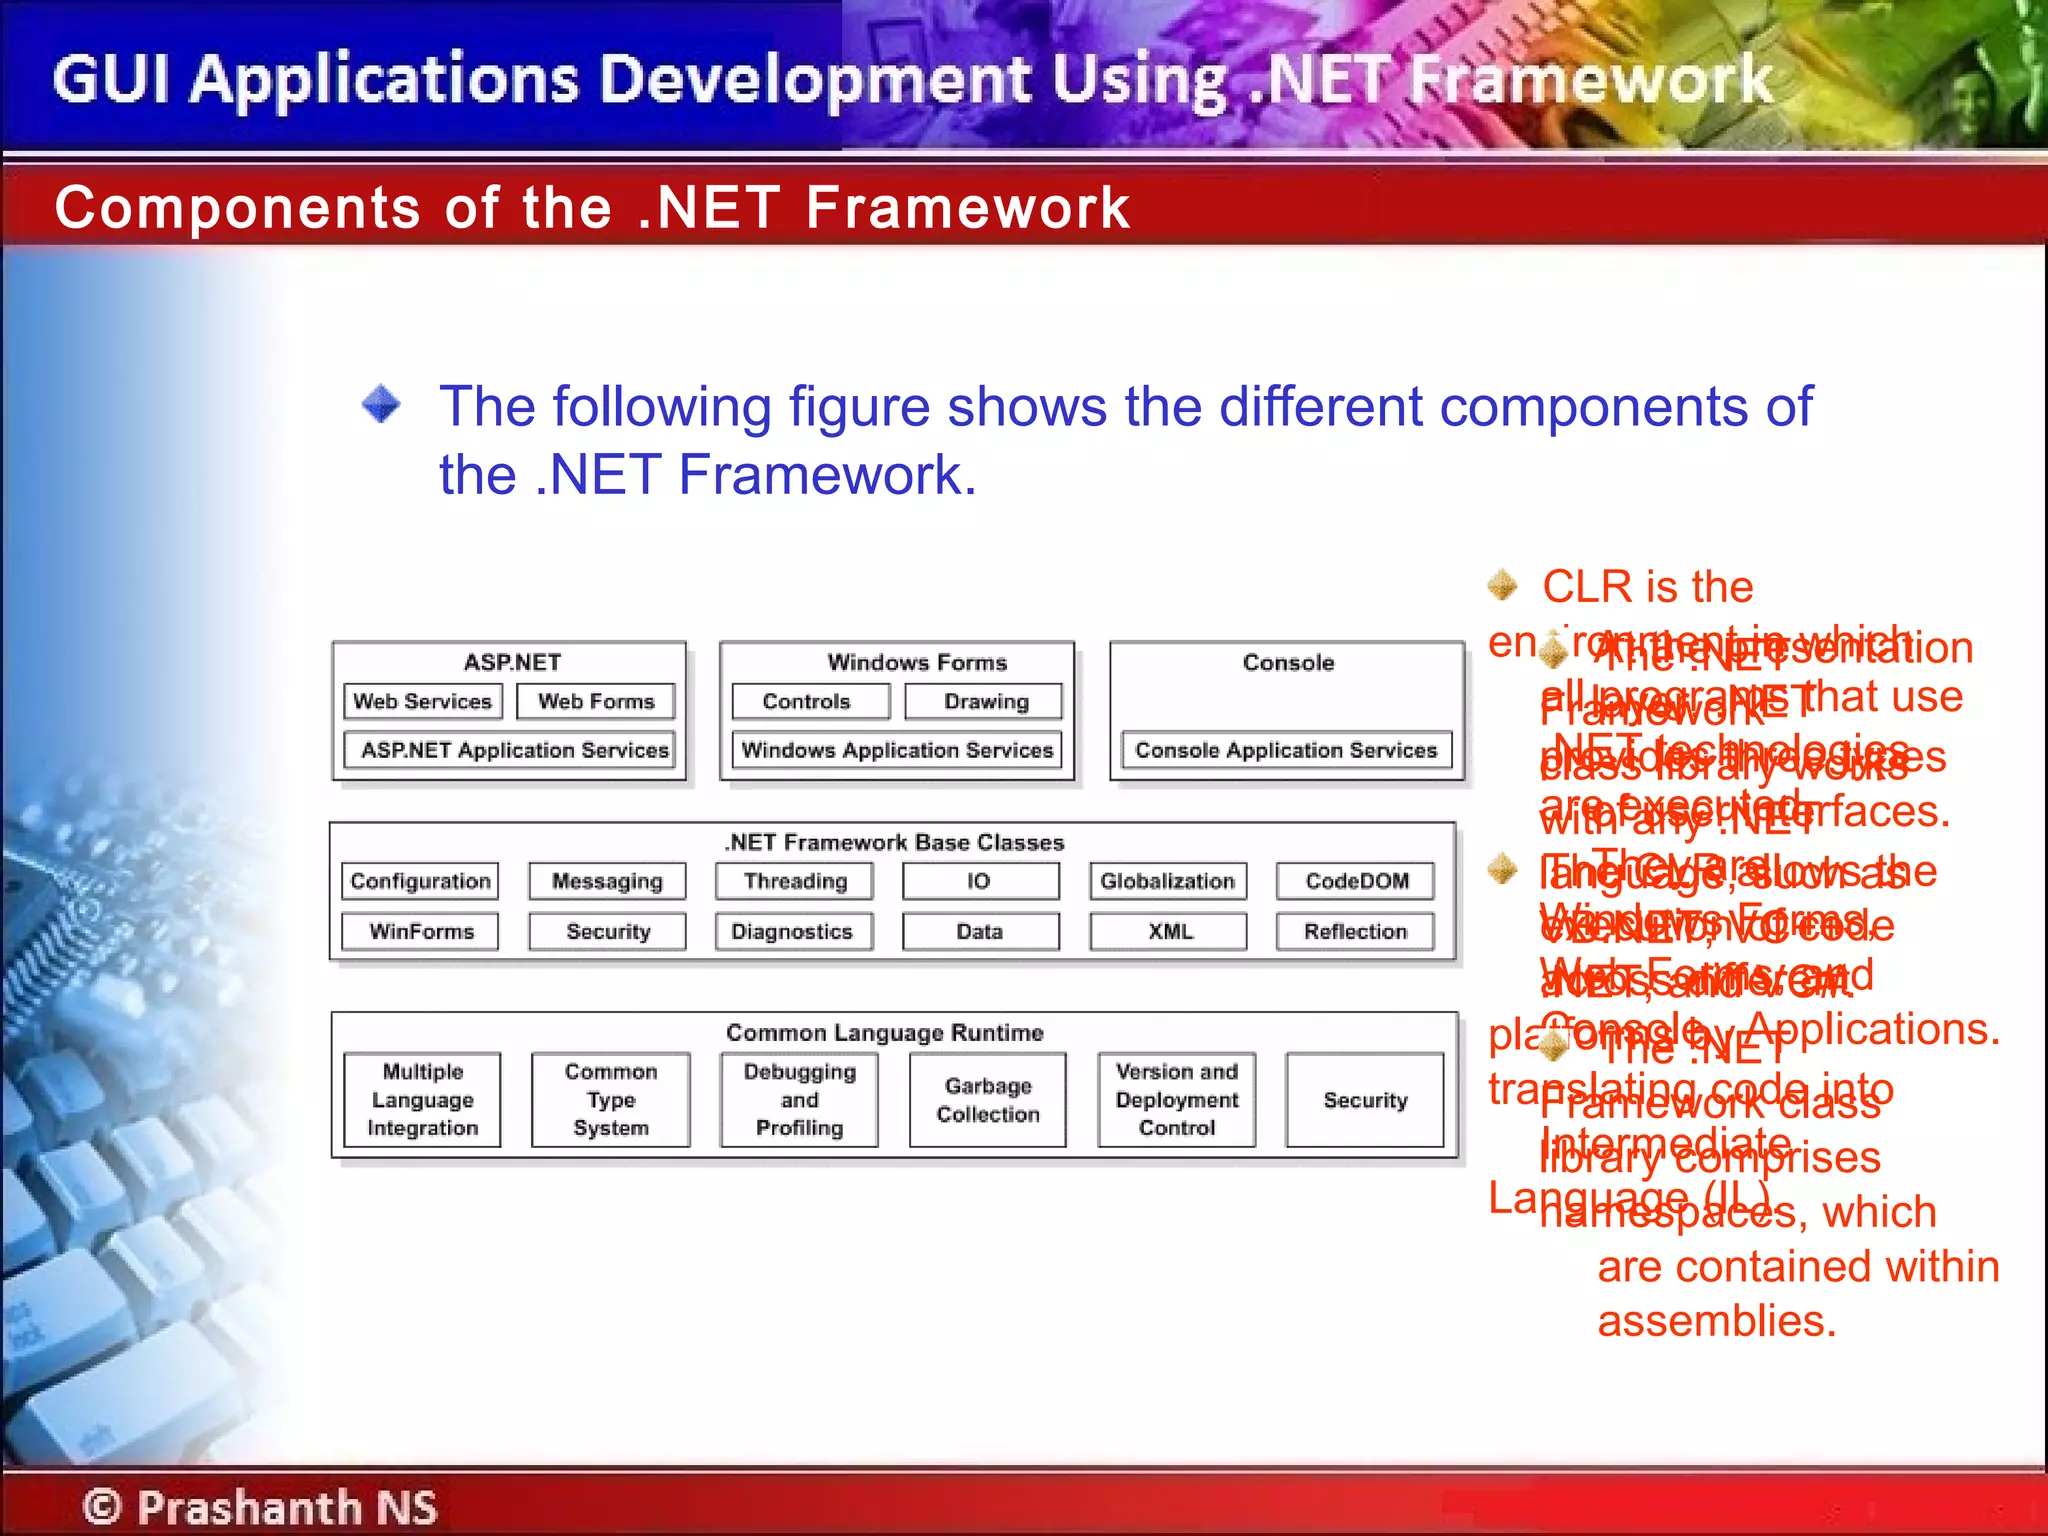
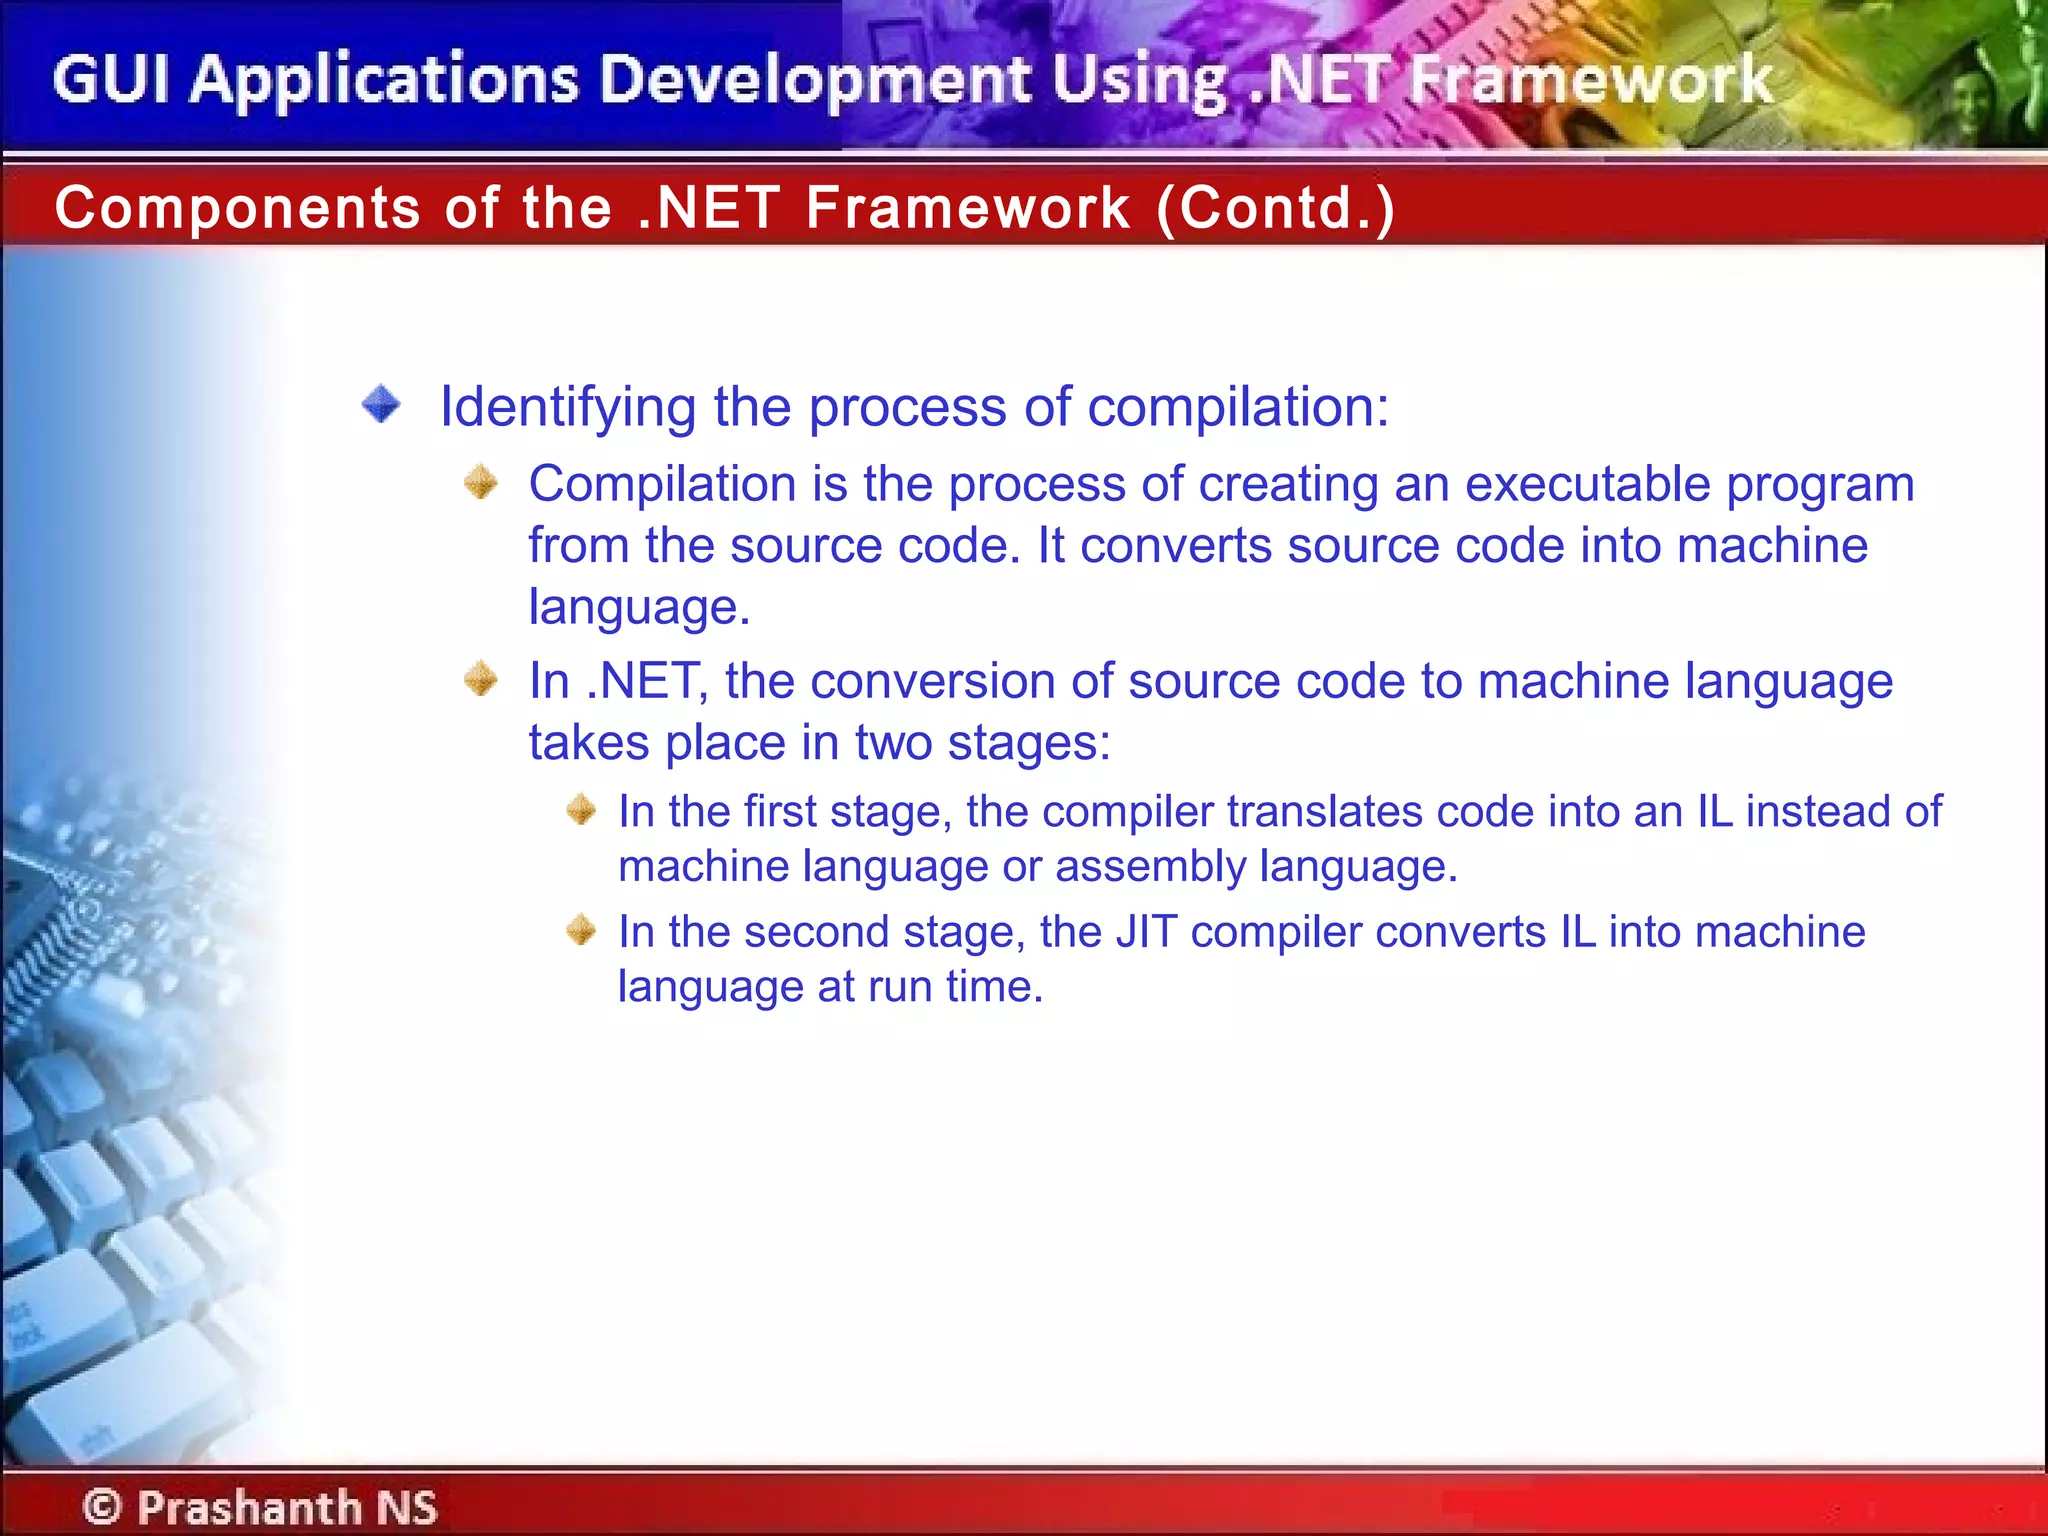
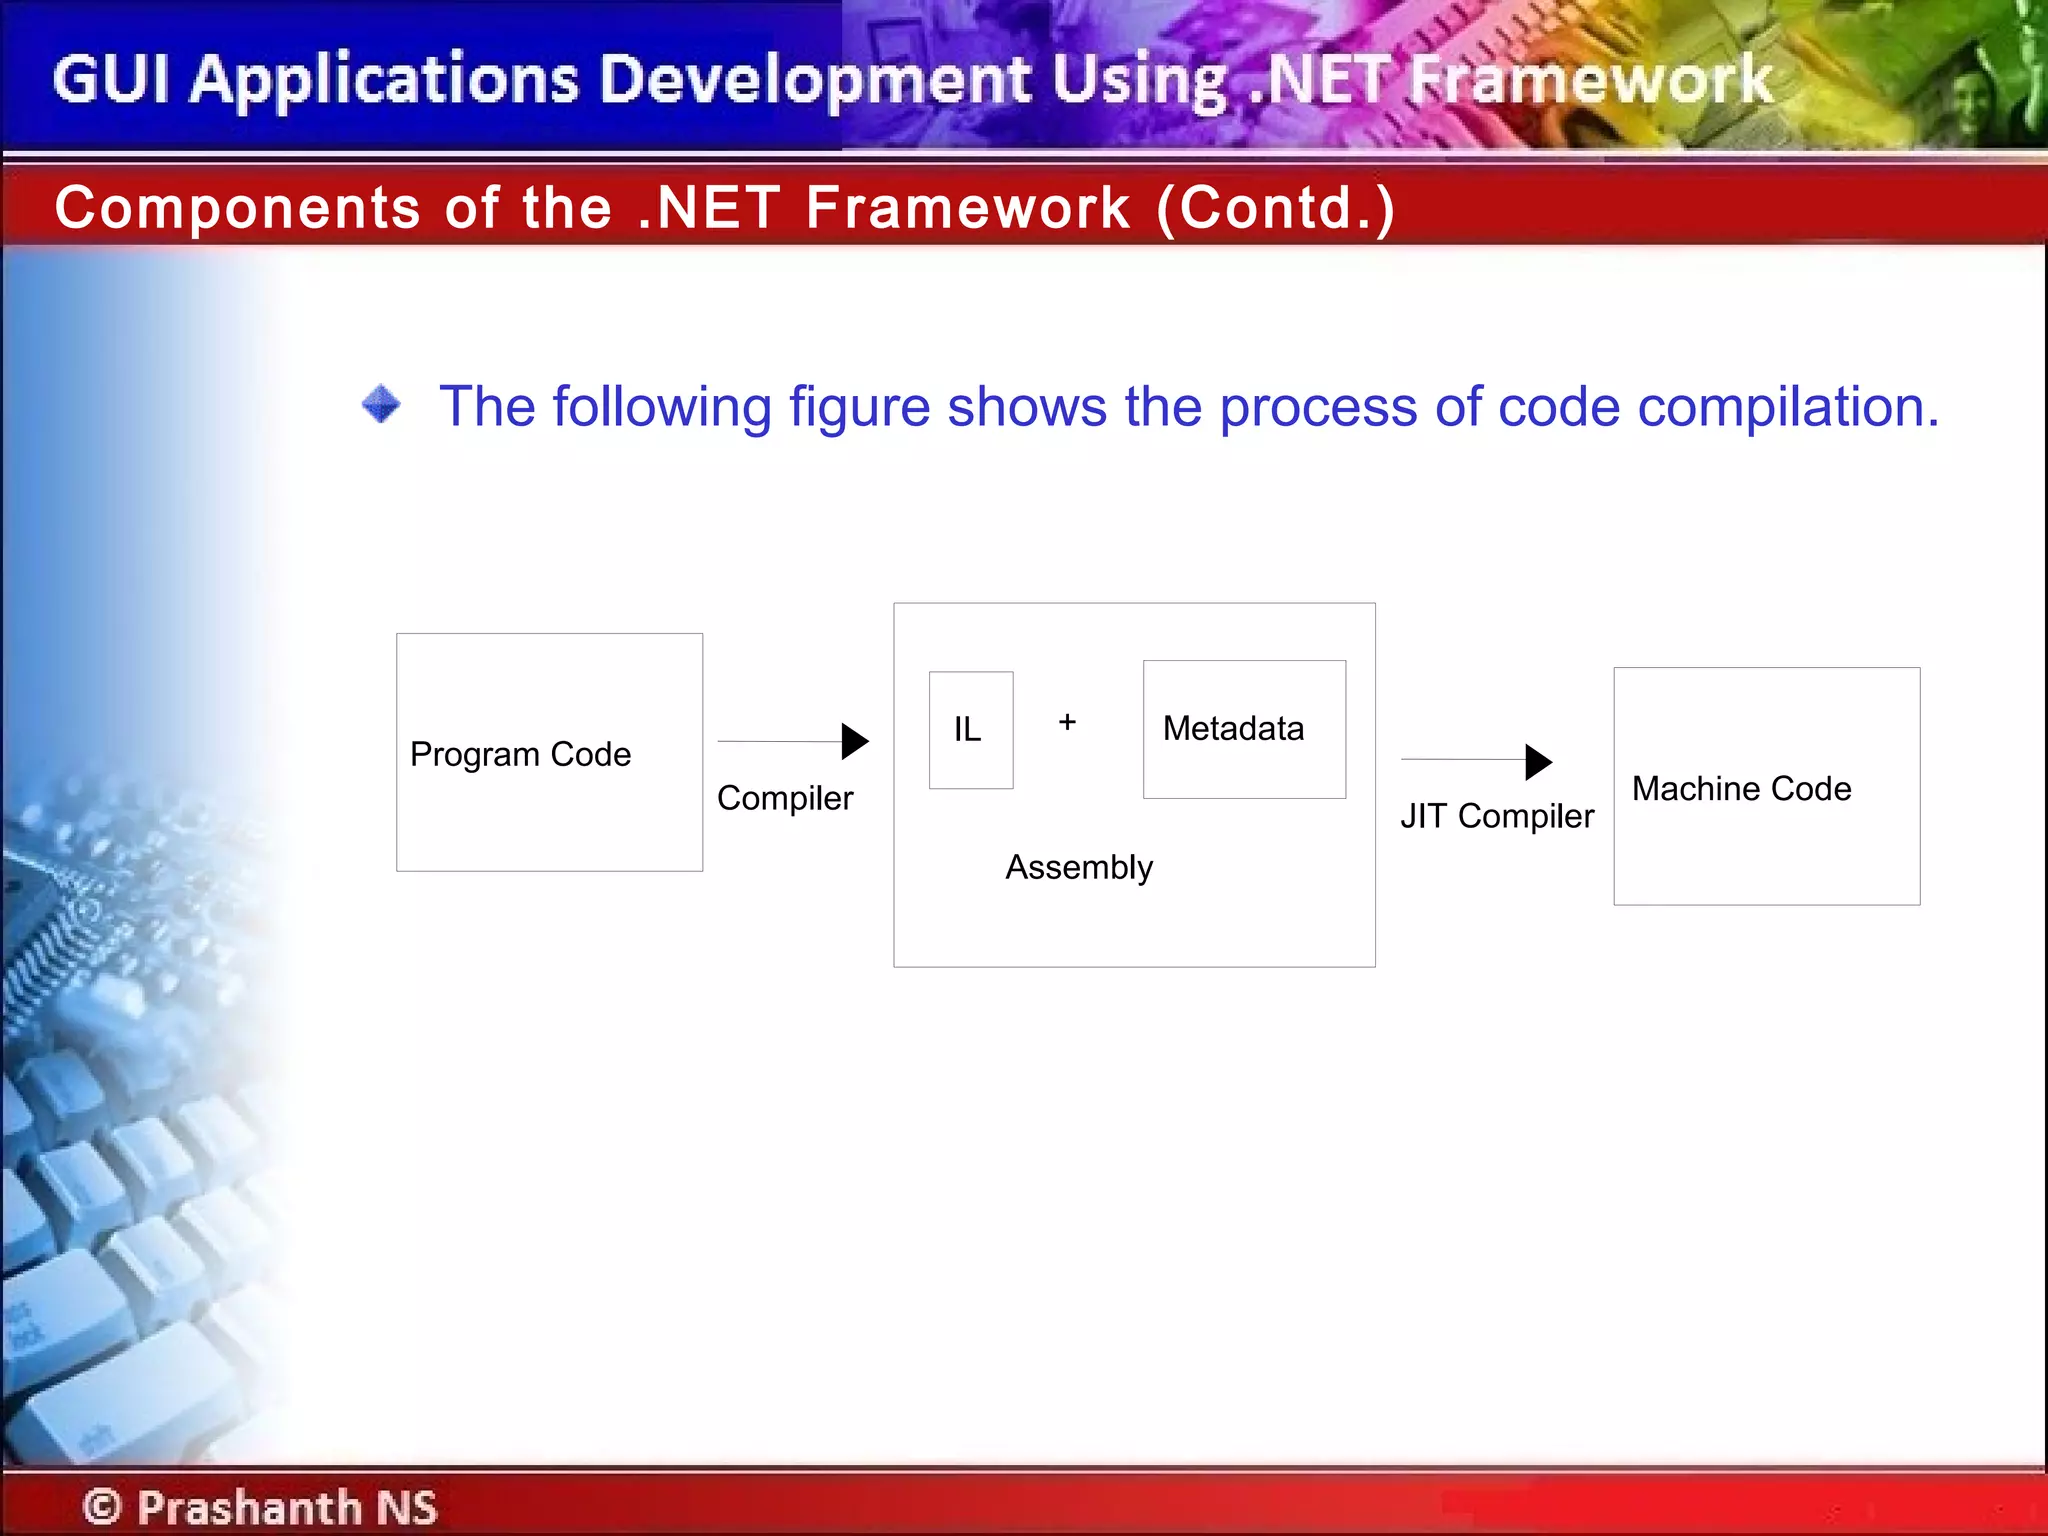
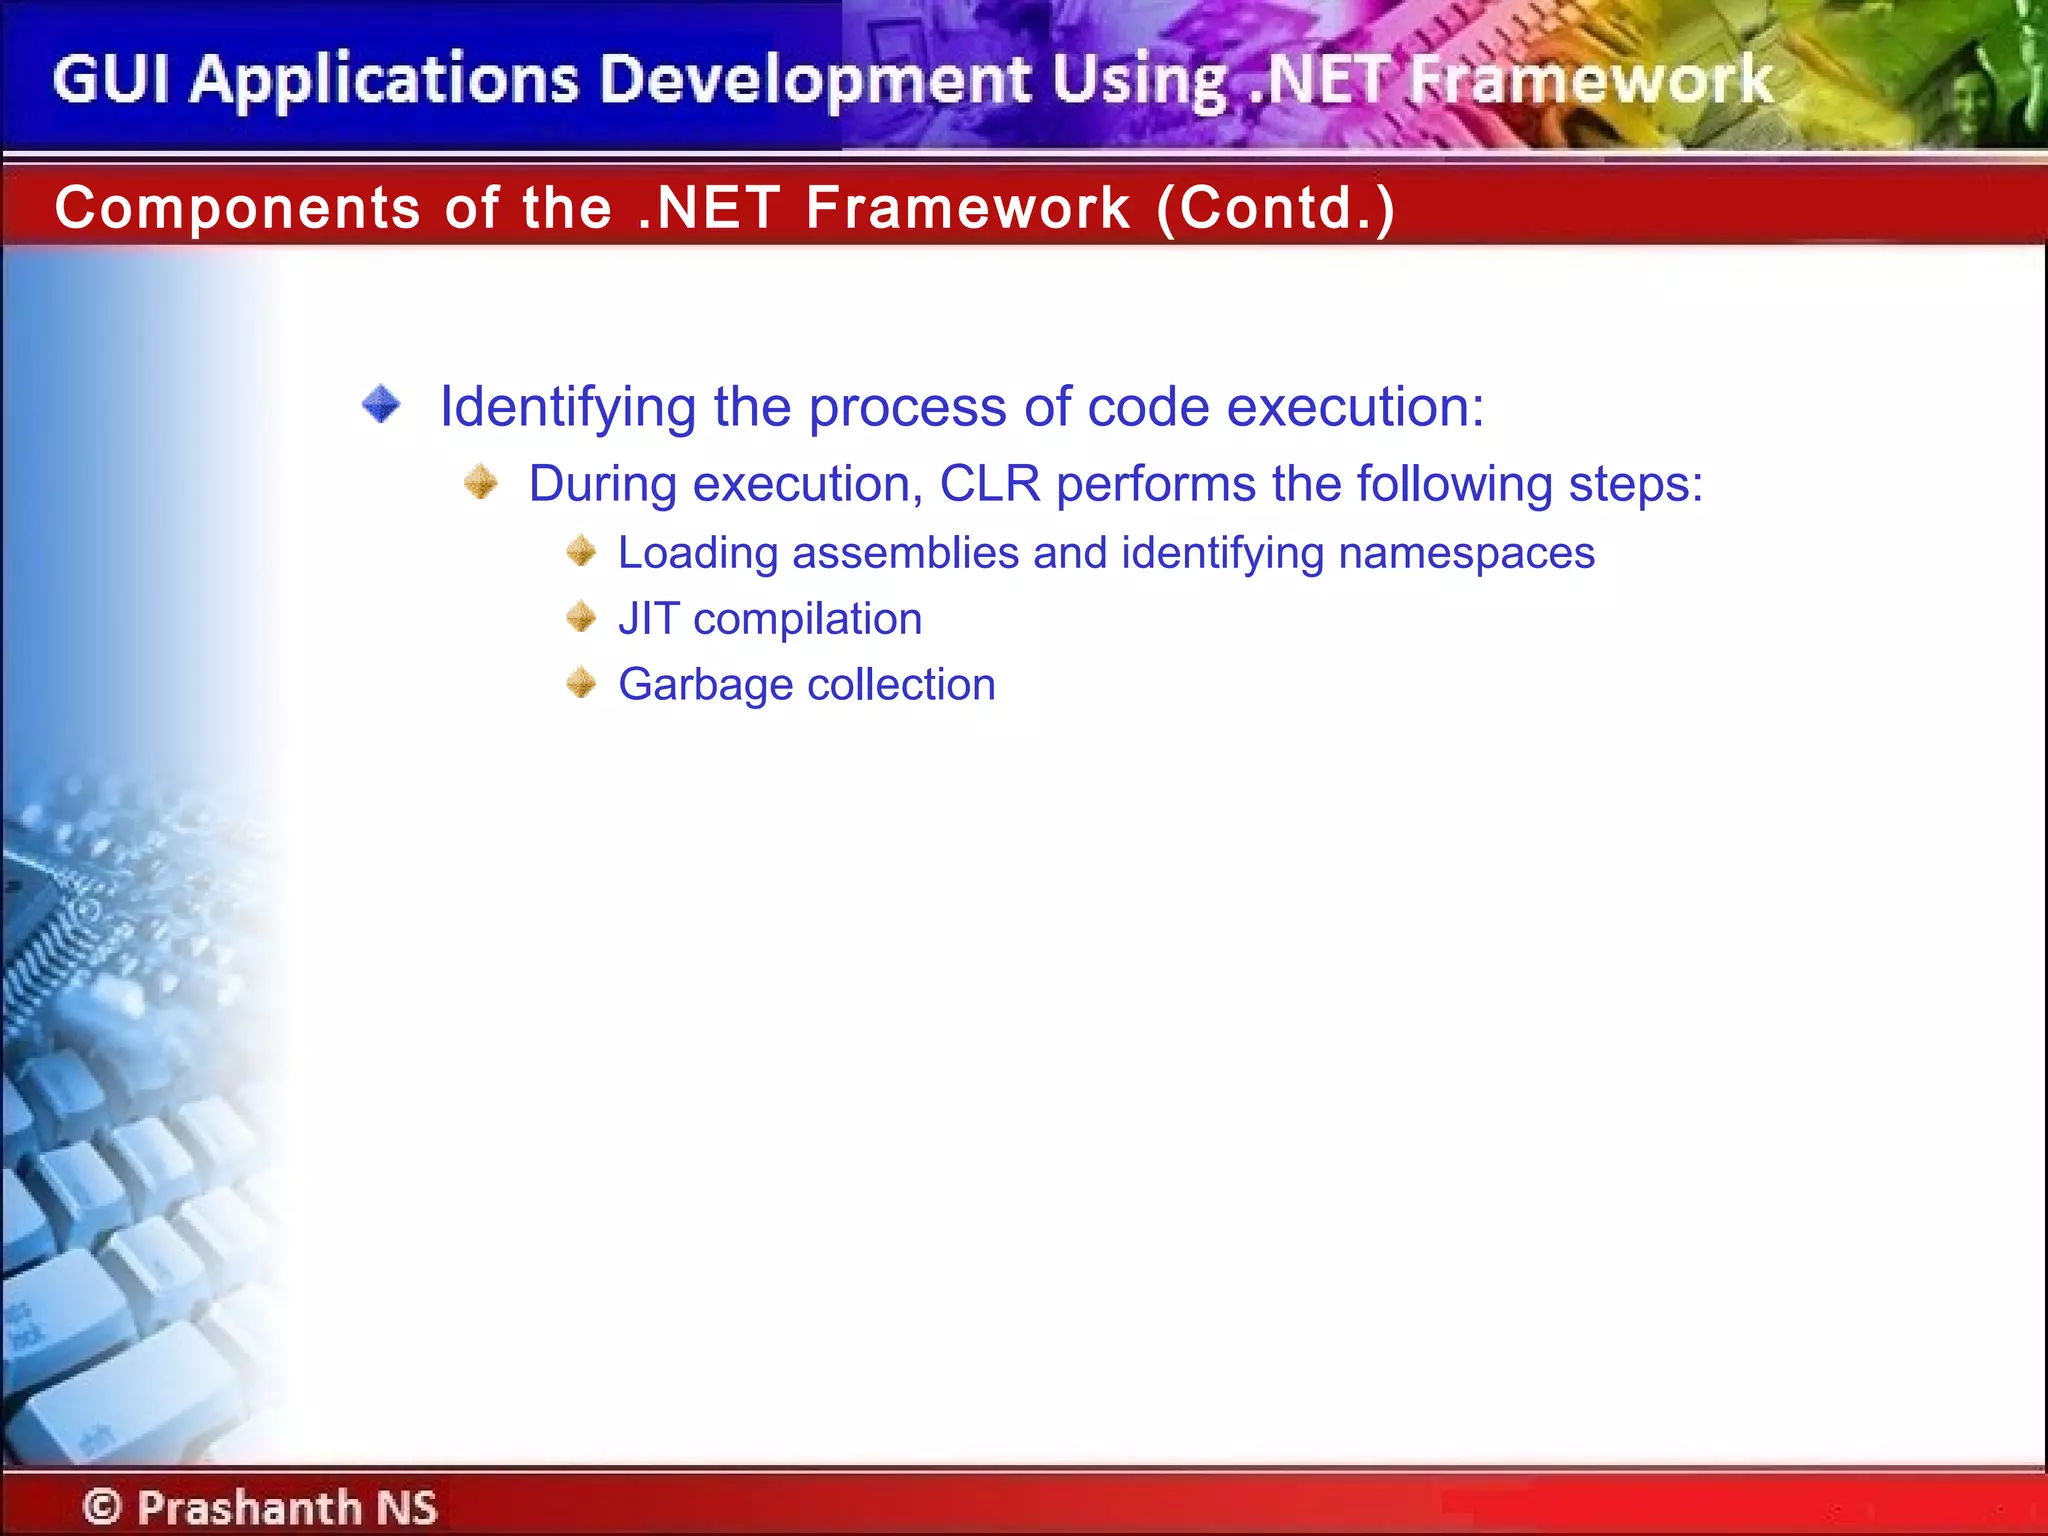
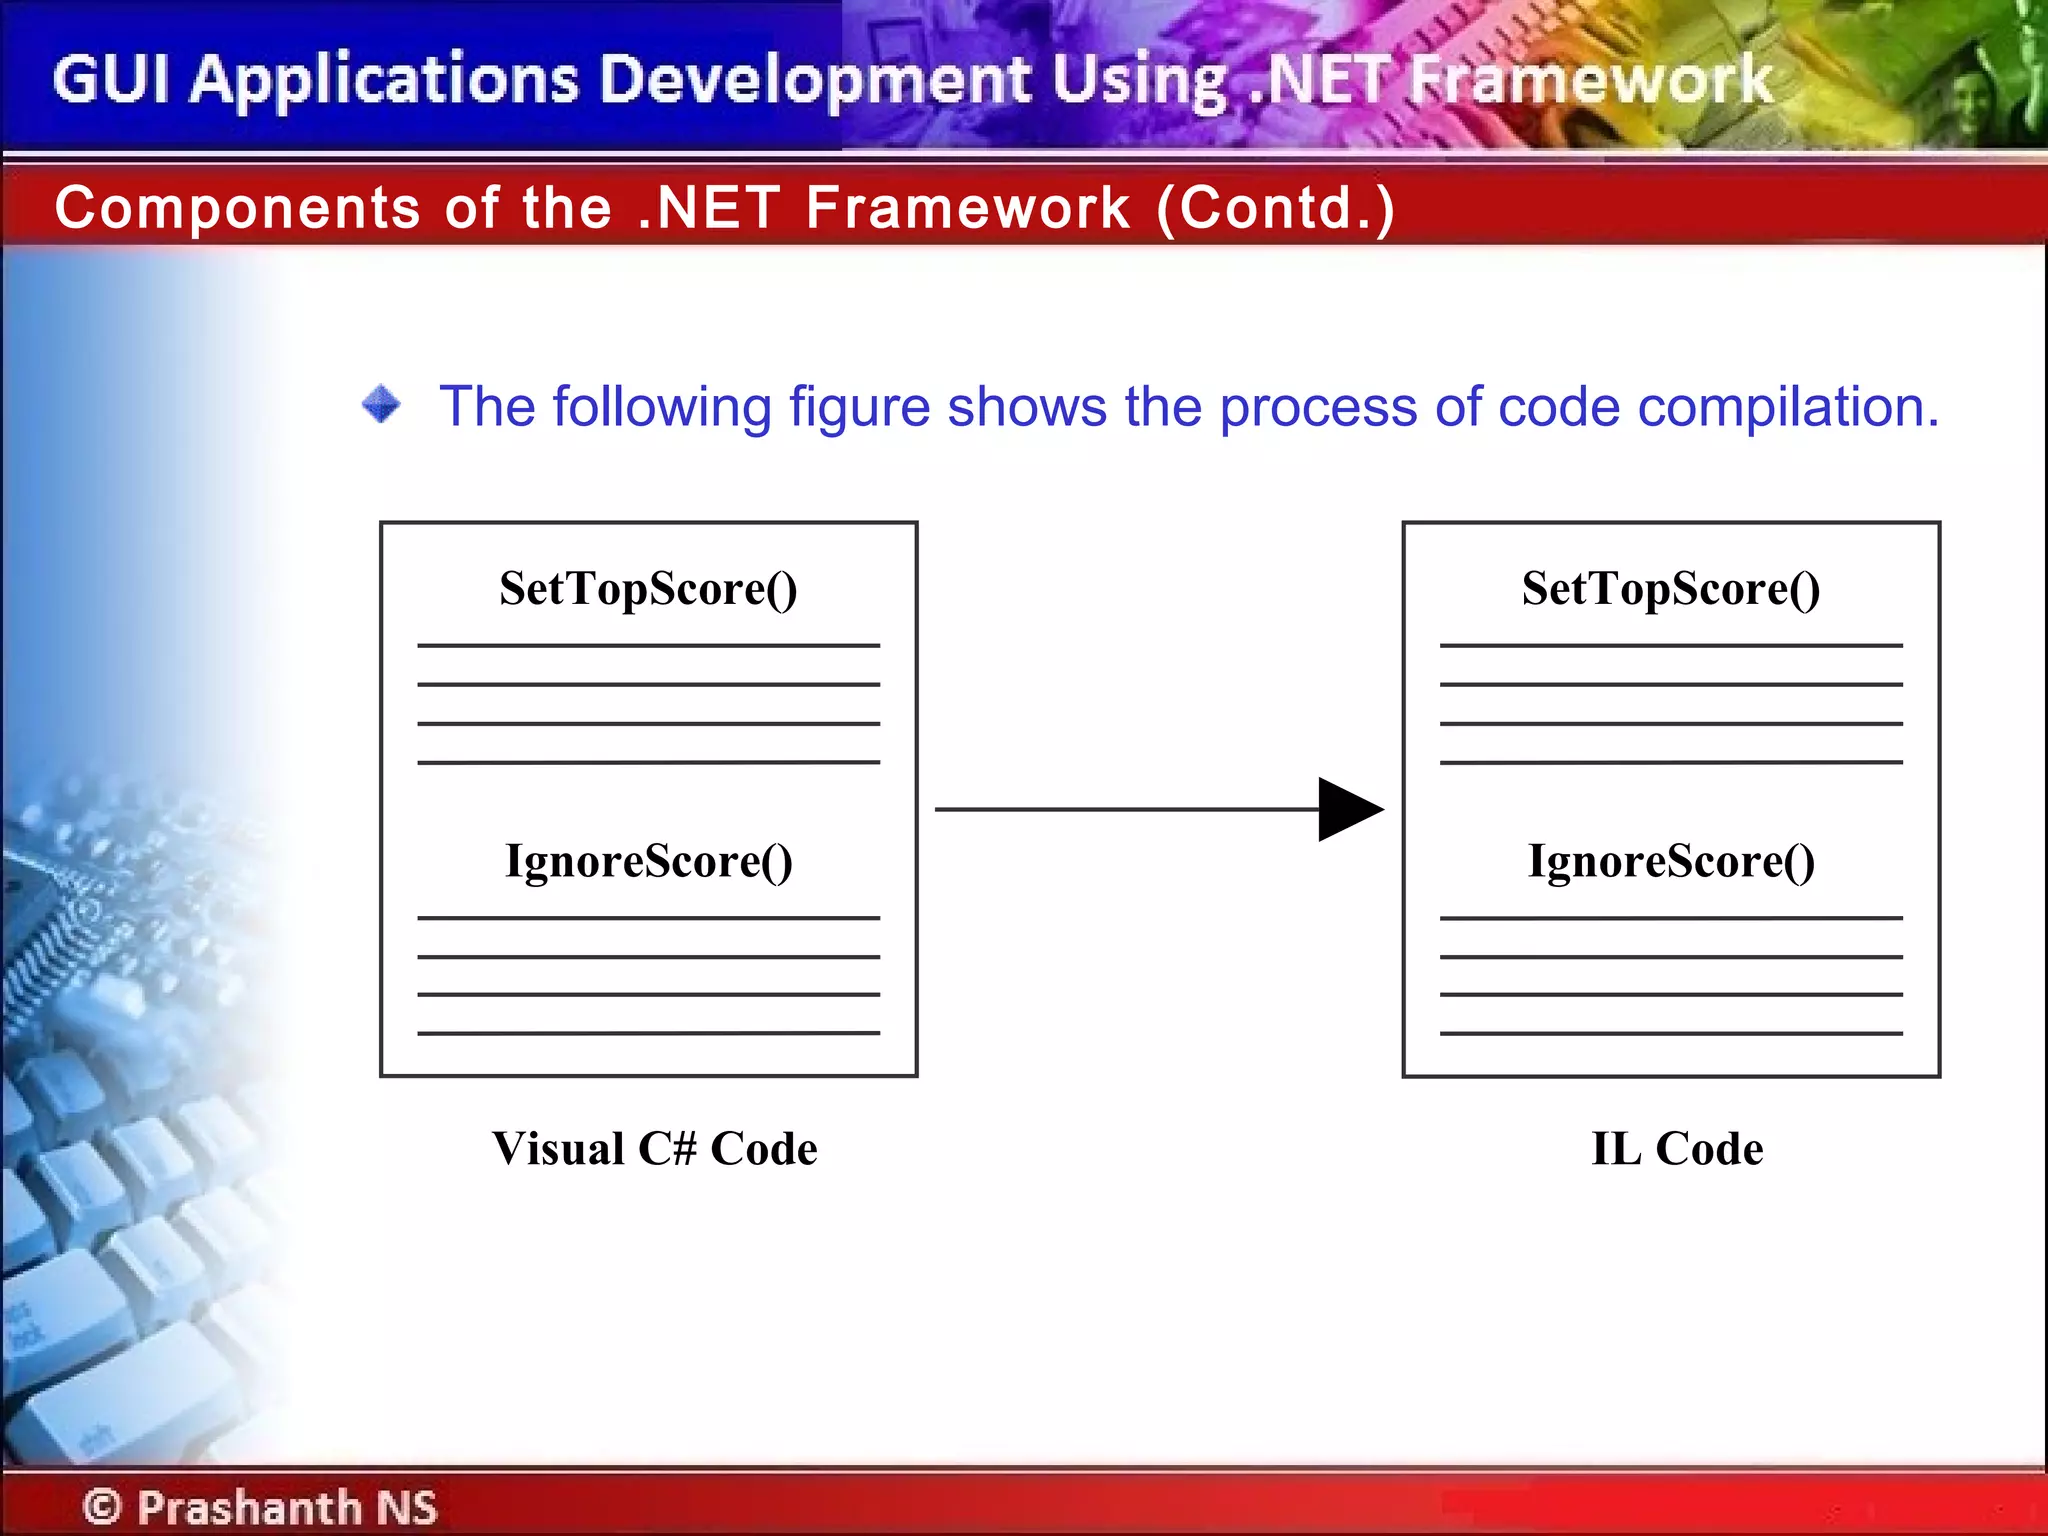
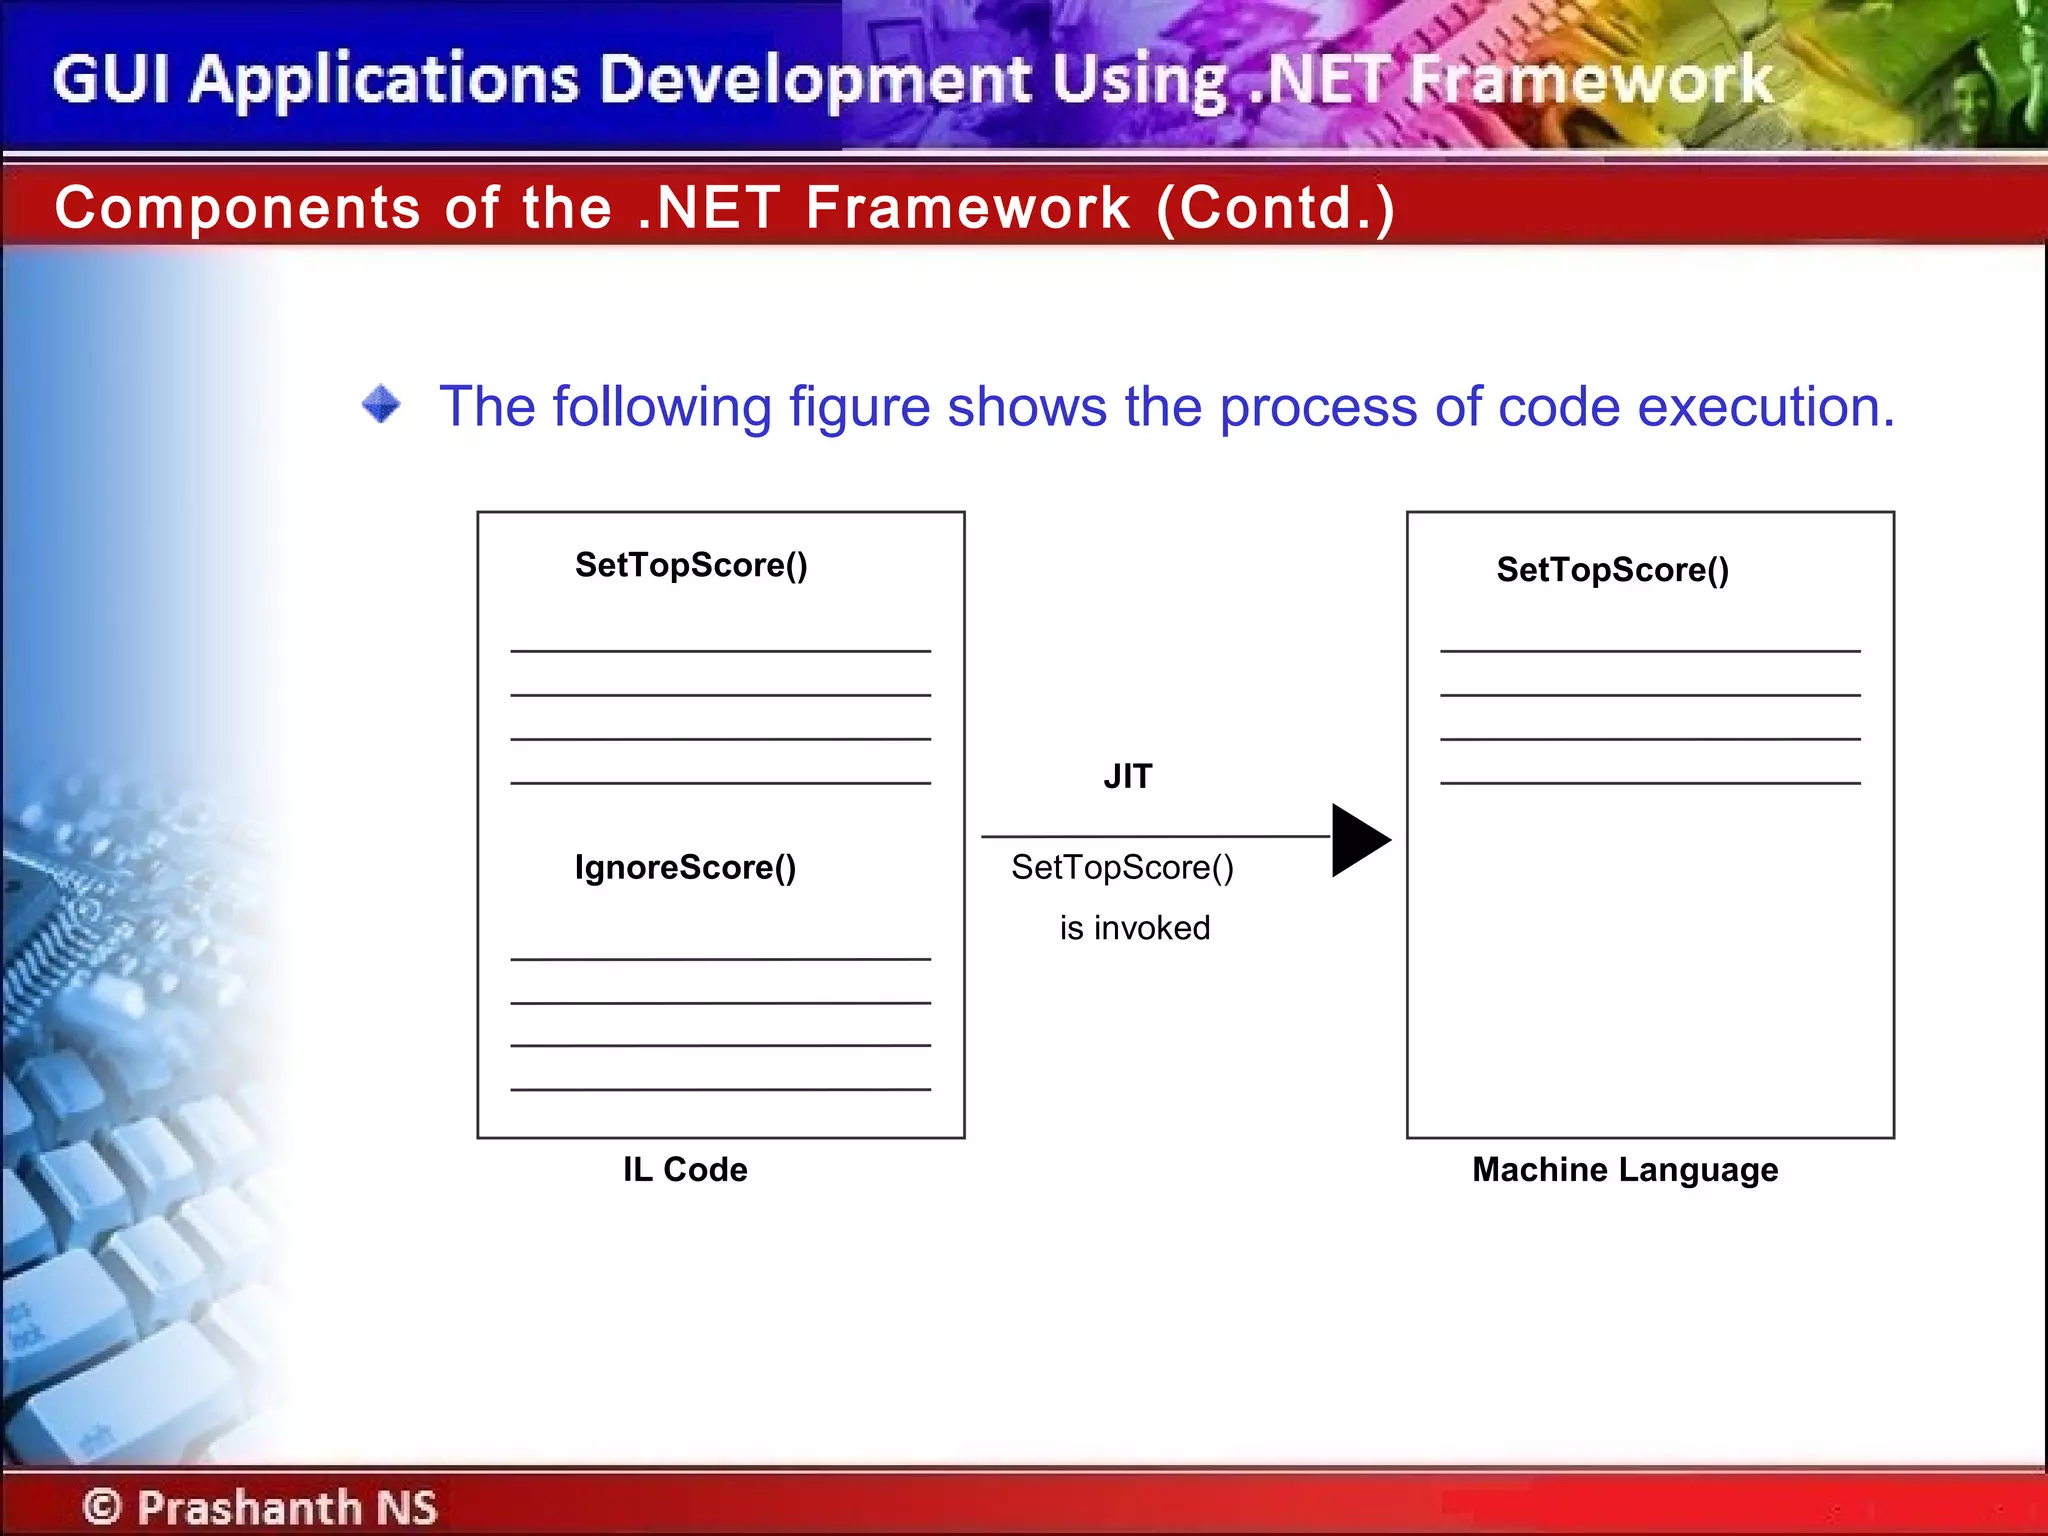
Discover features of the .NET Framework including interoperability, advantages, and the compilation/execution process.
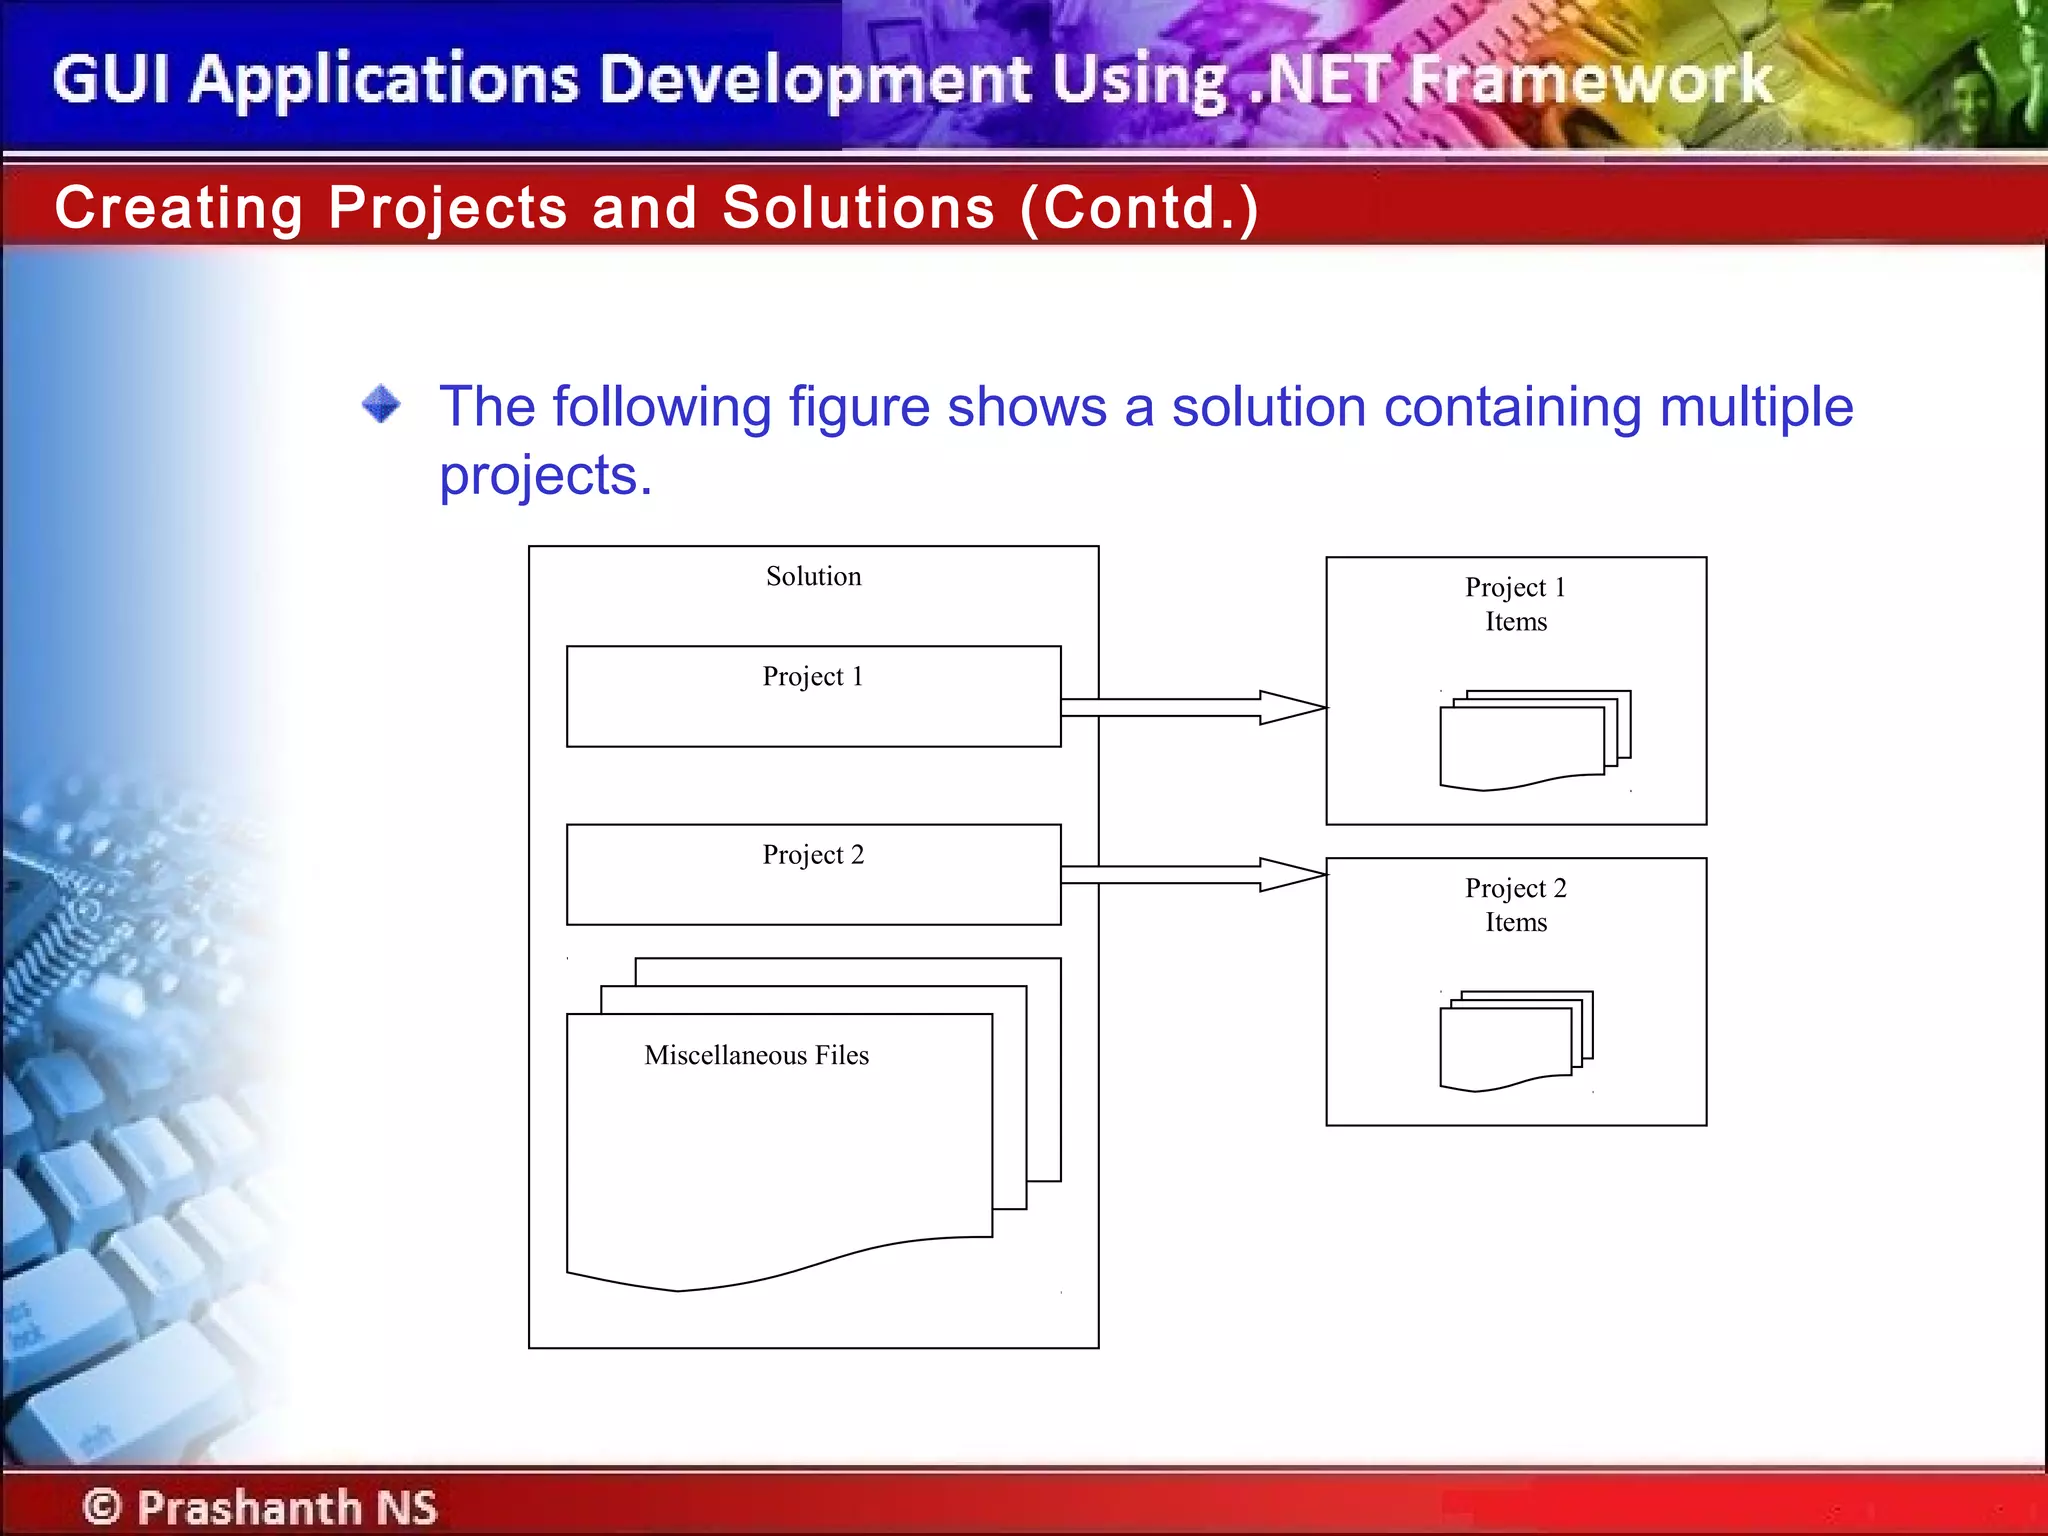
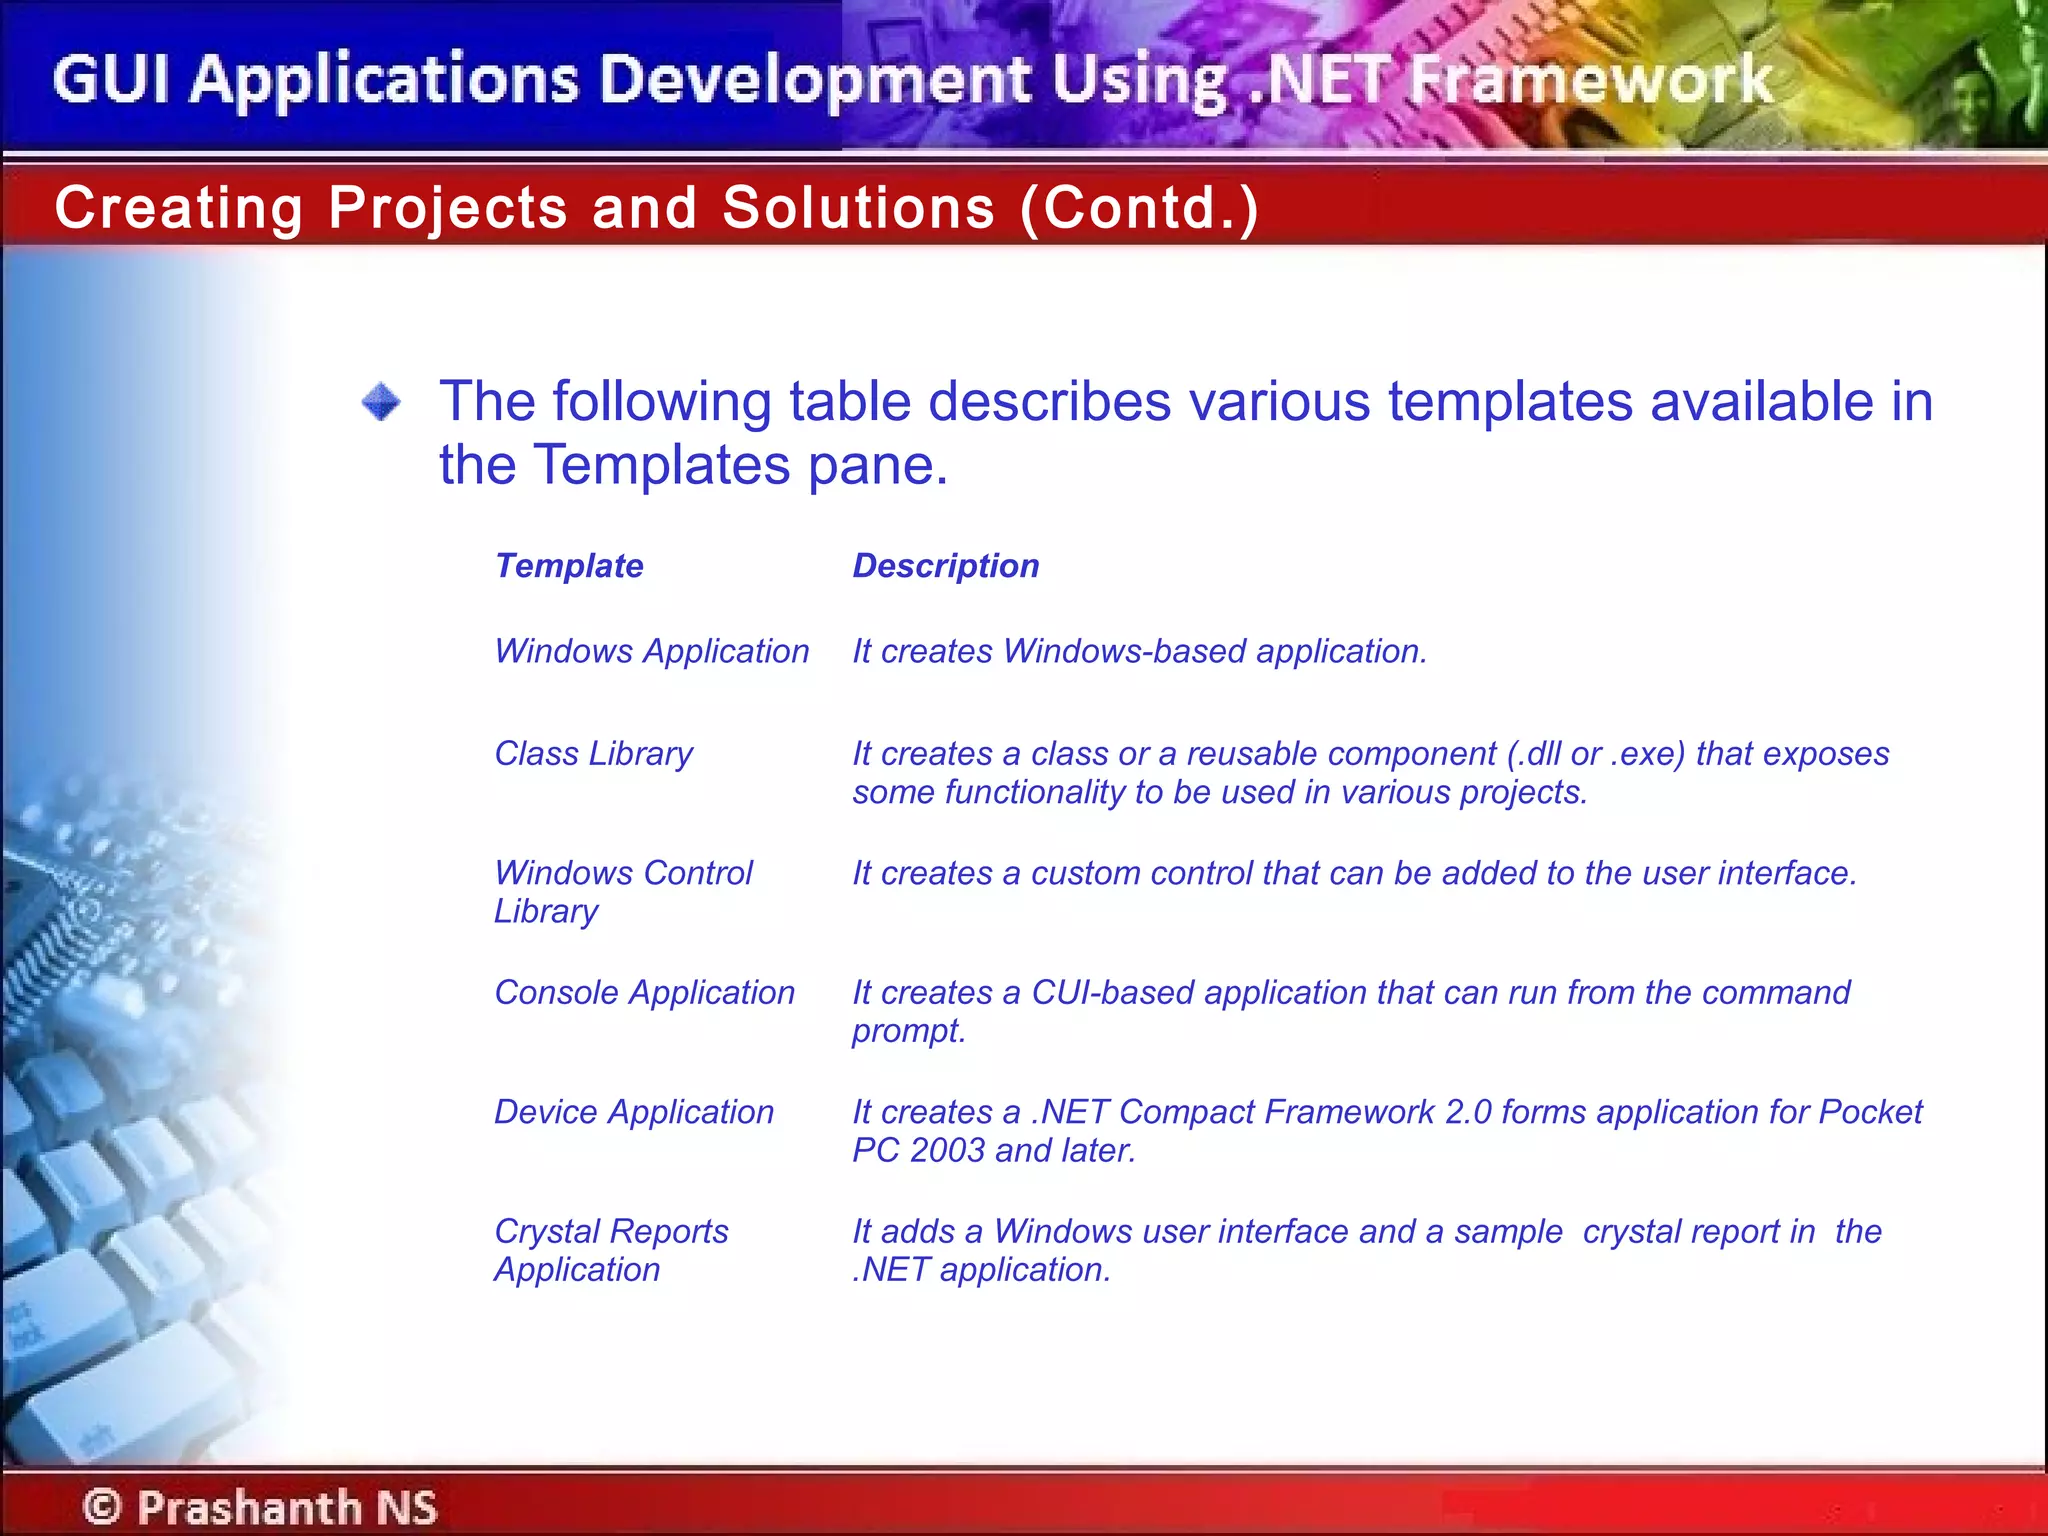
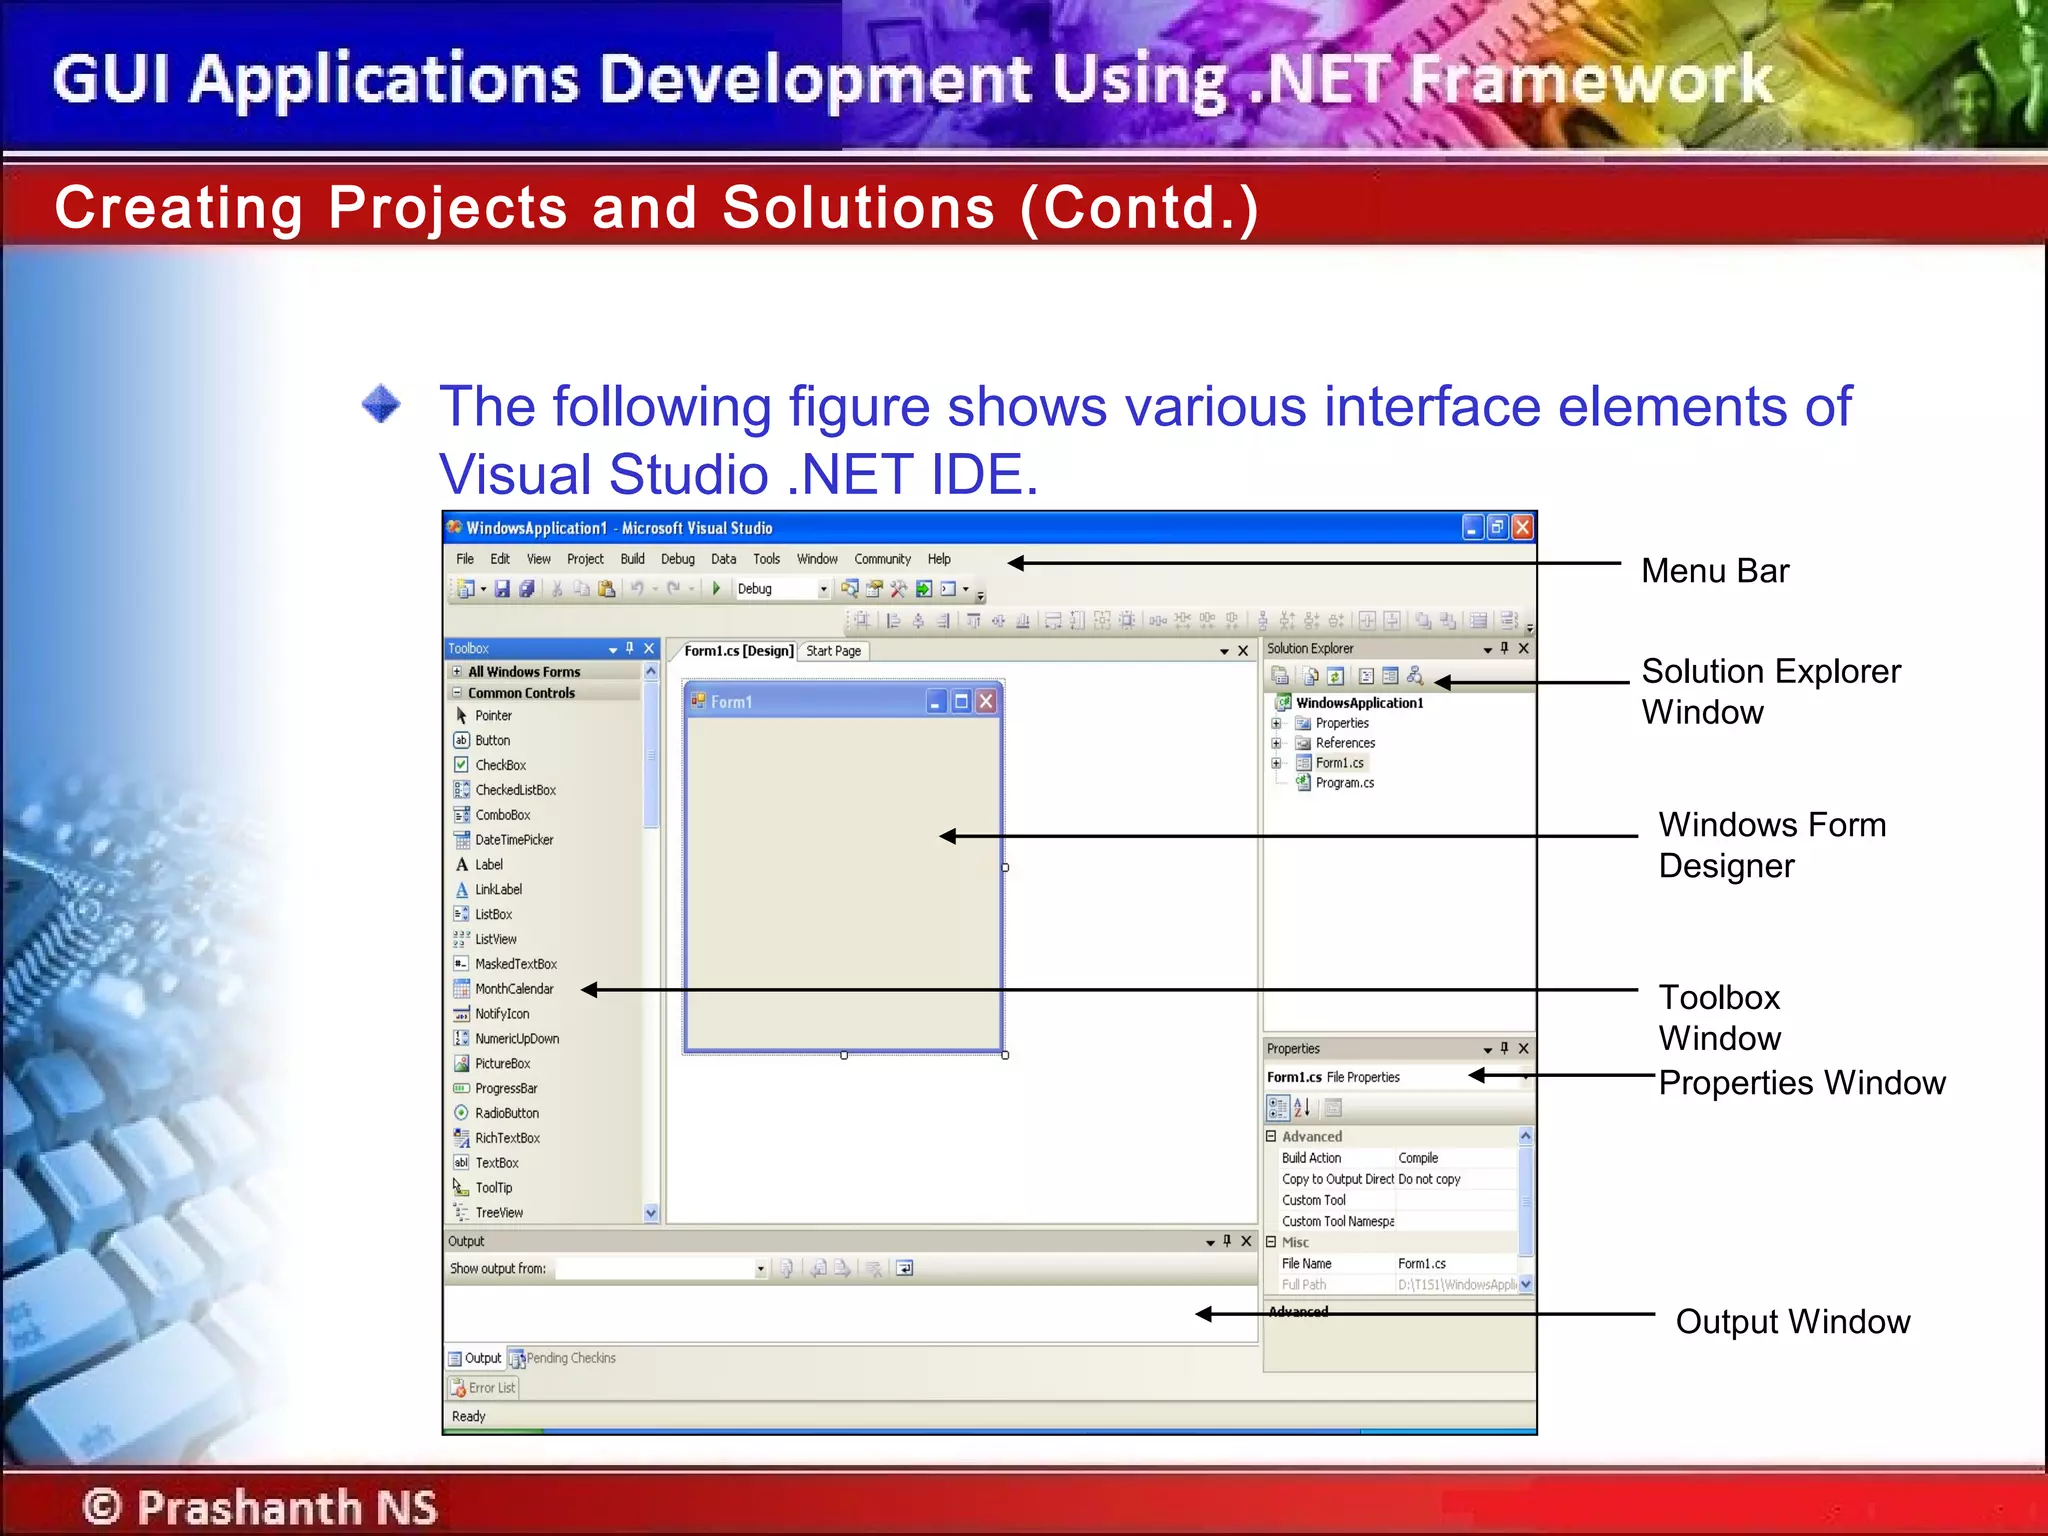
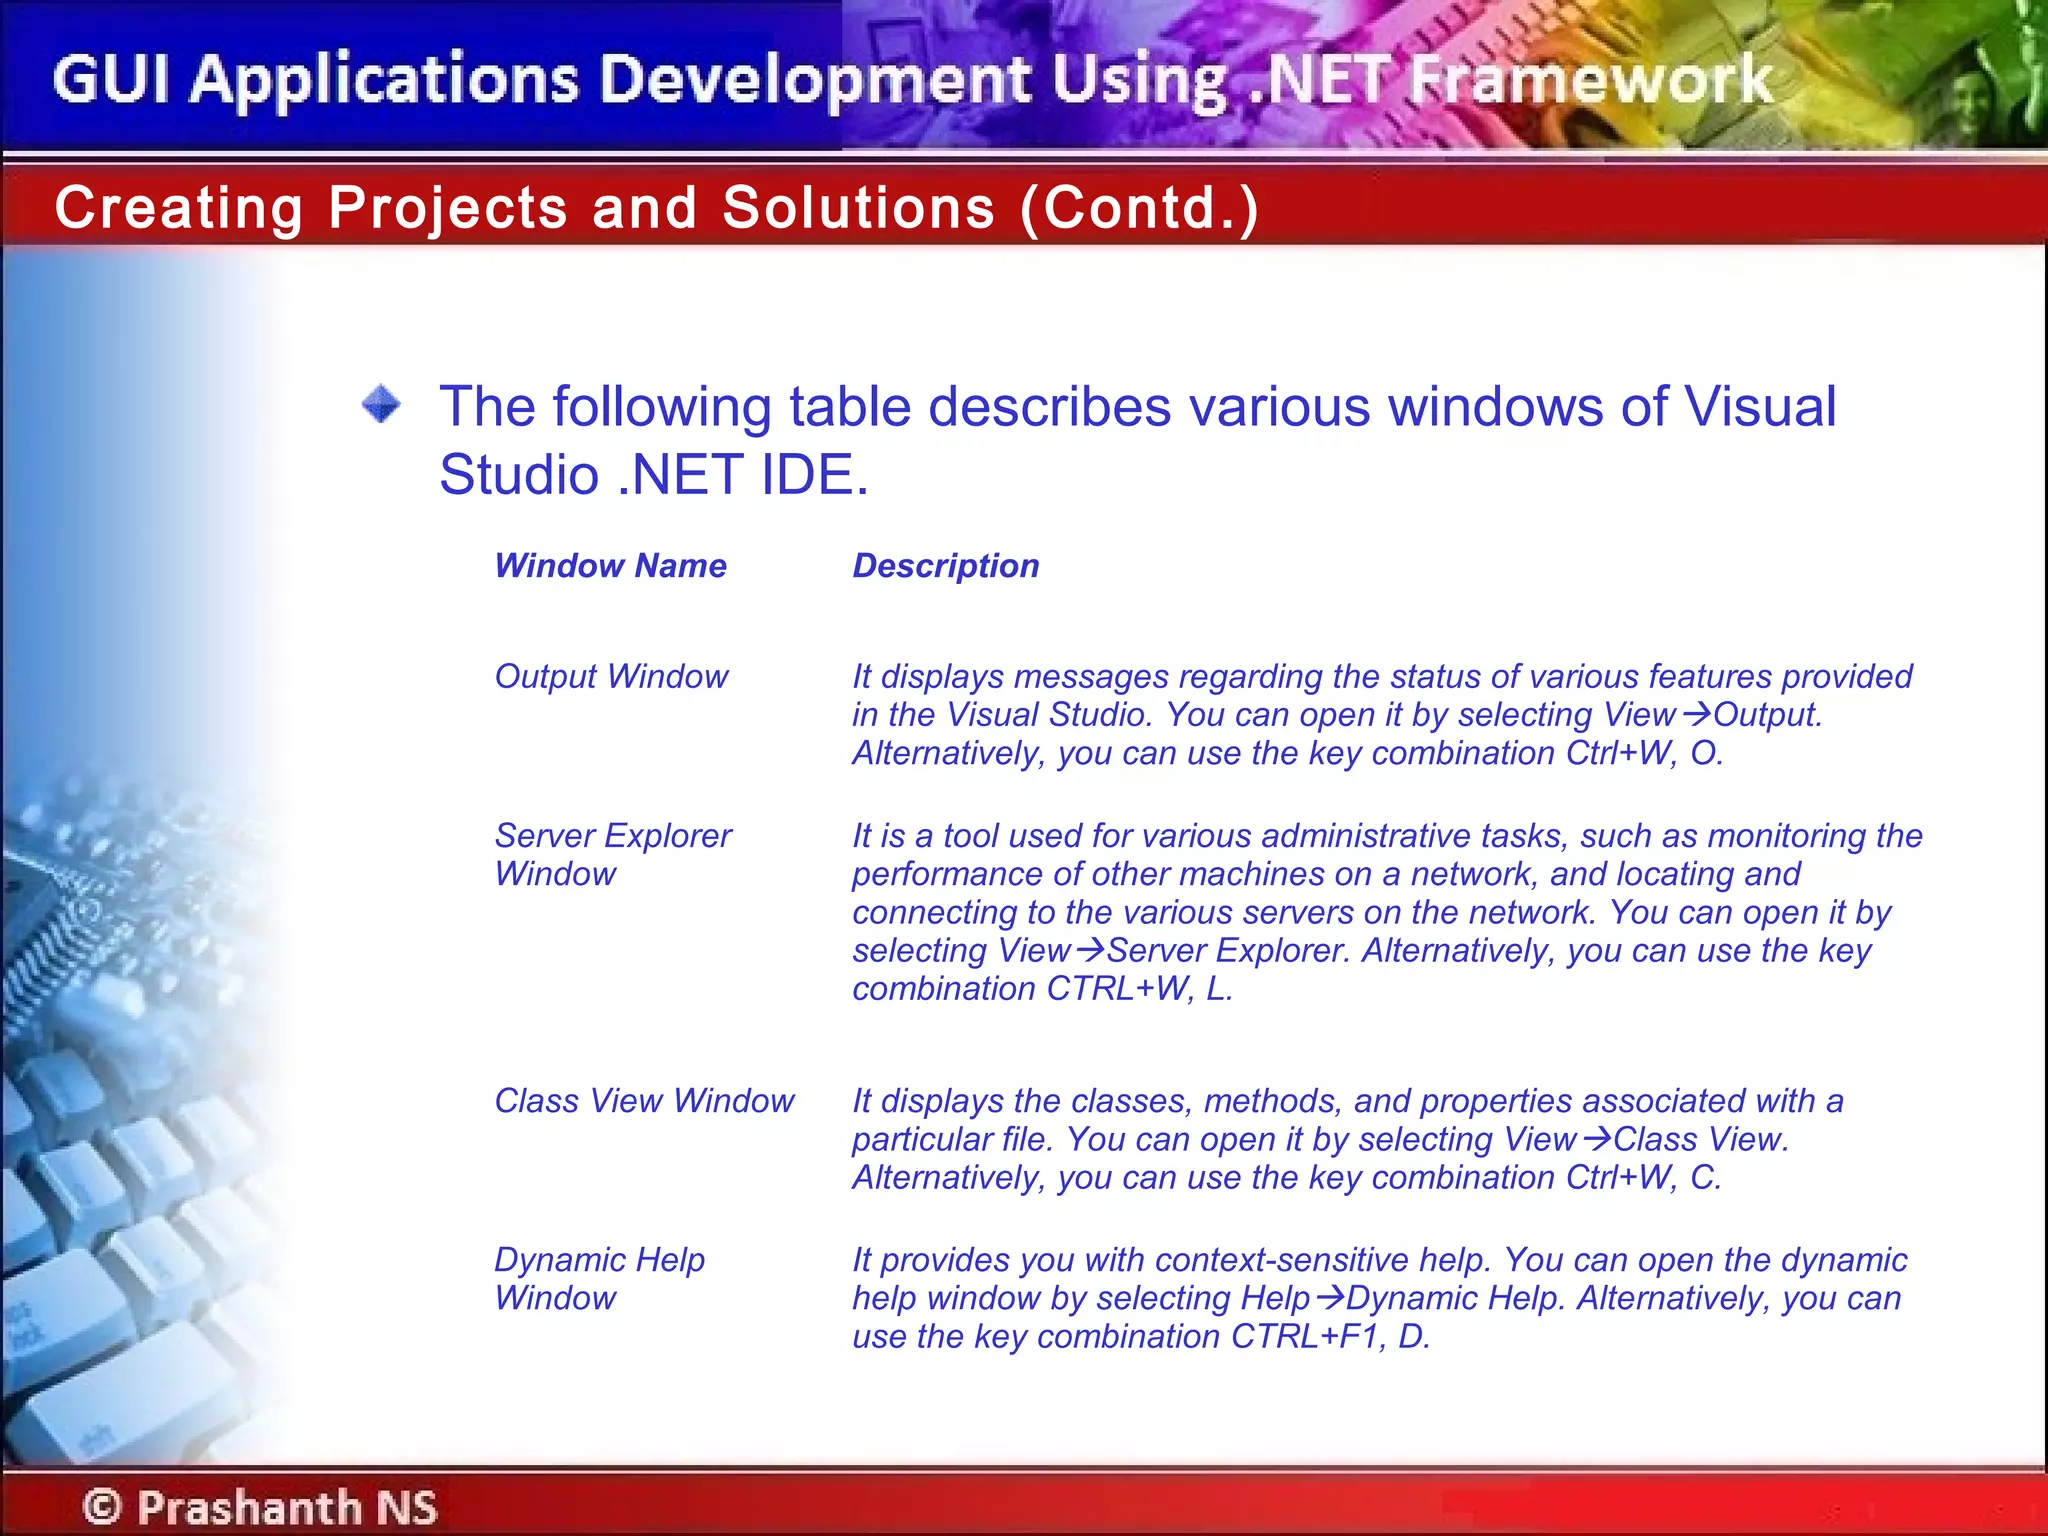
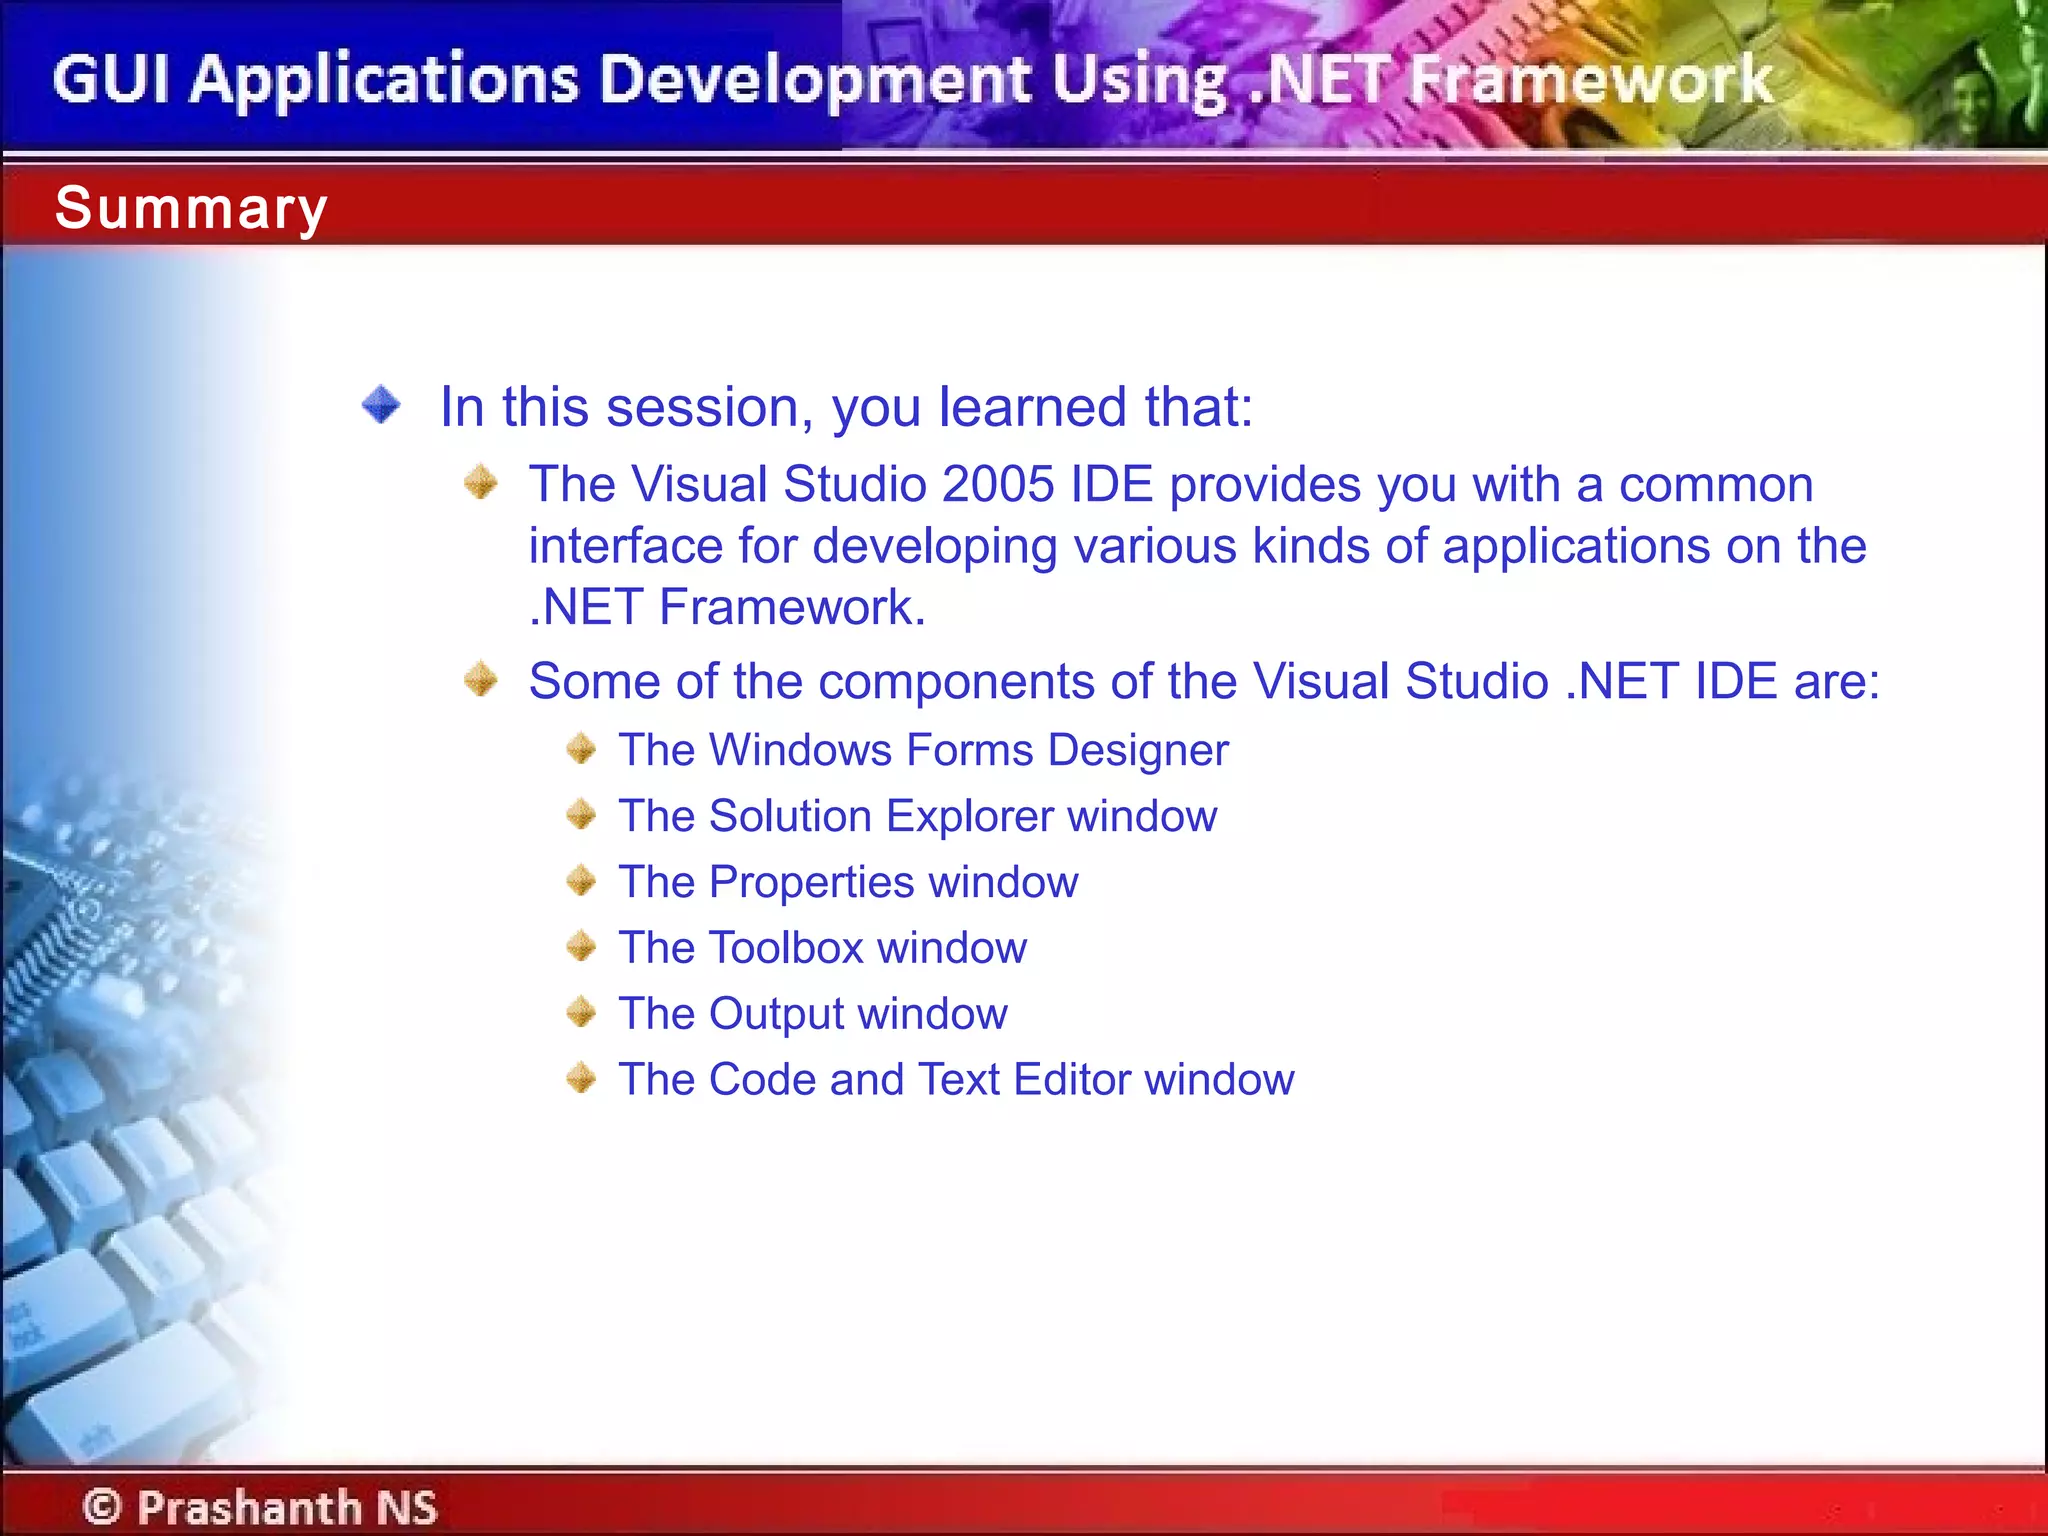
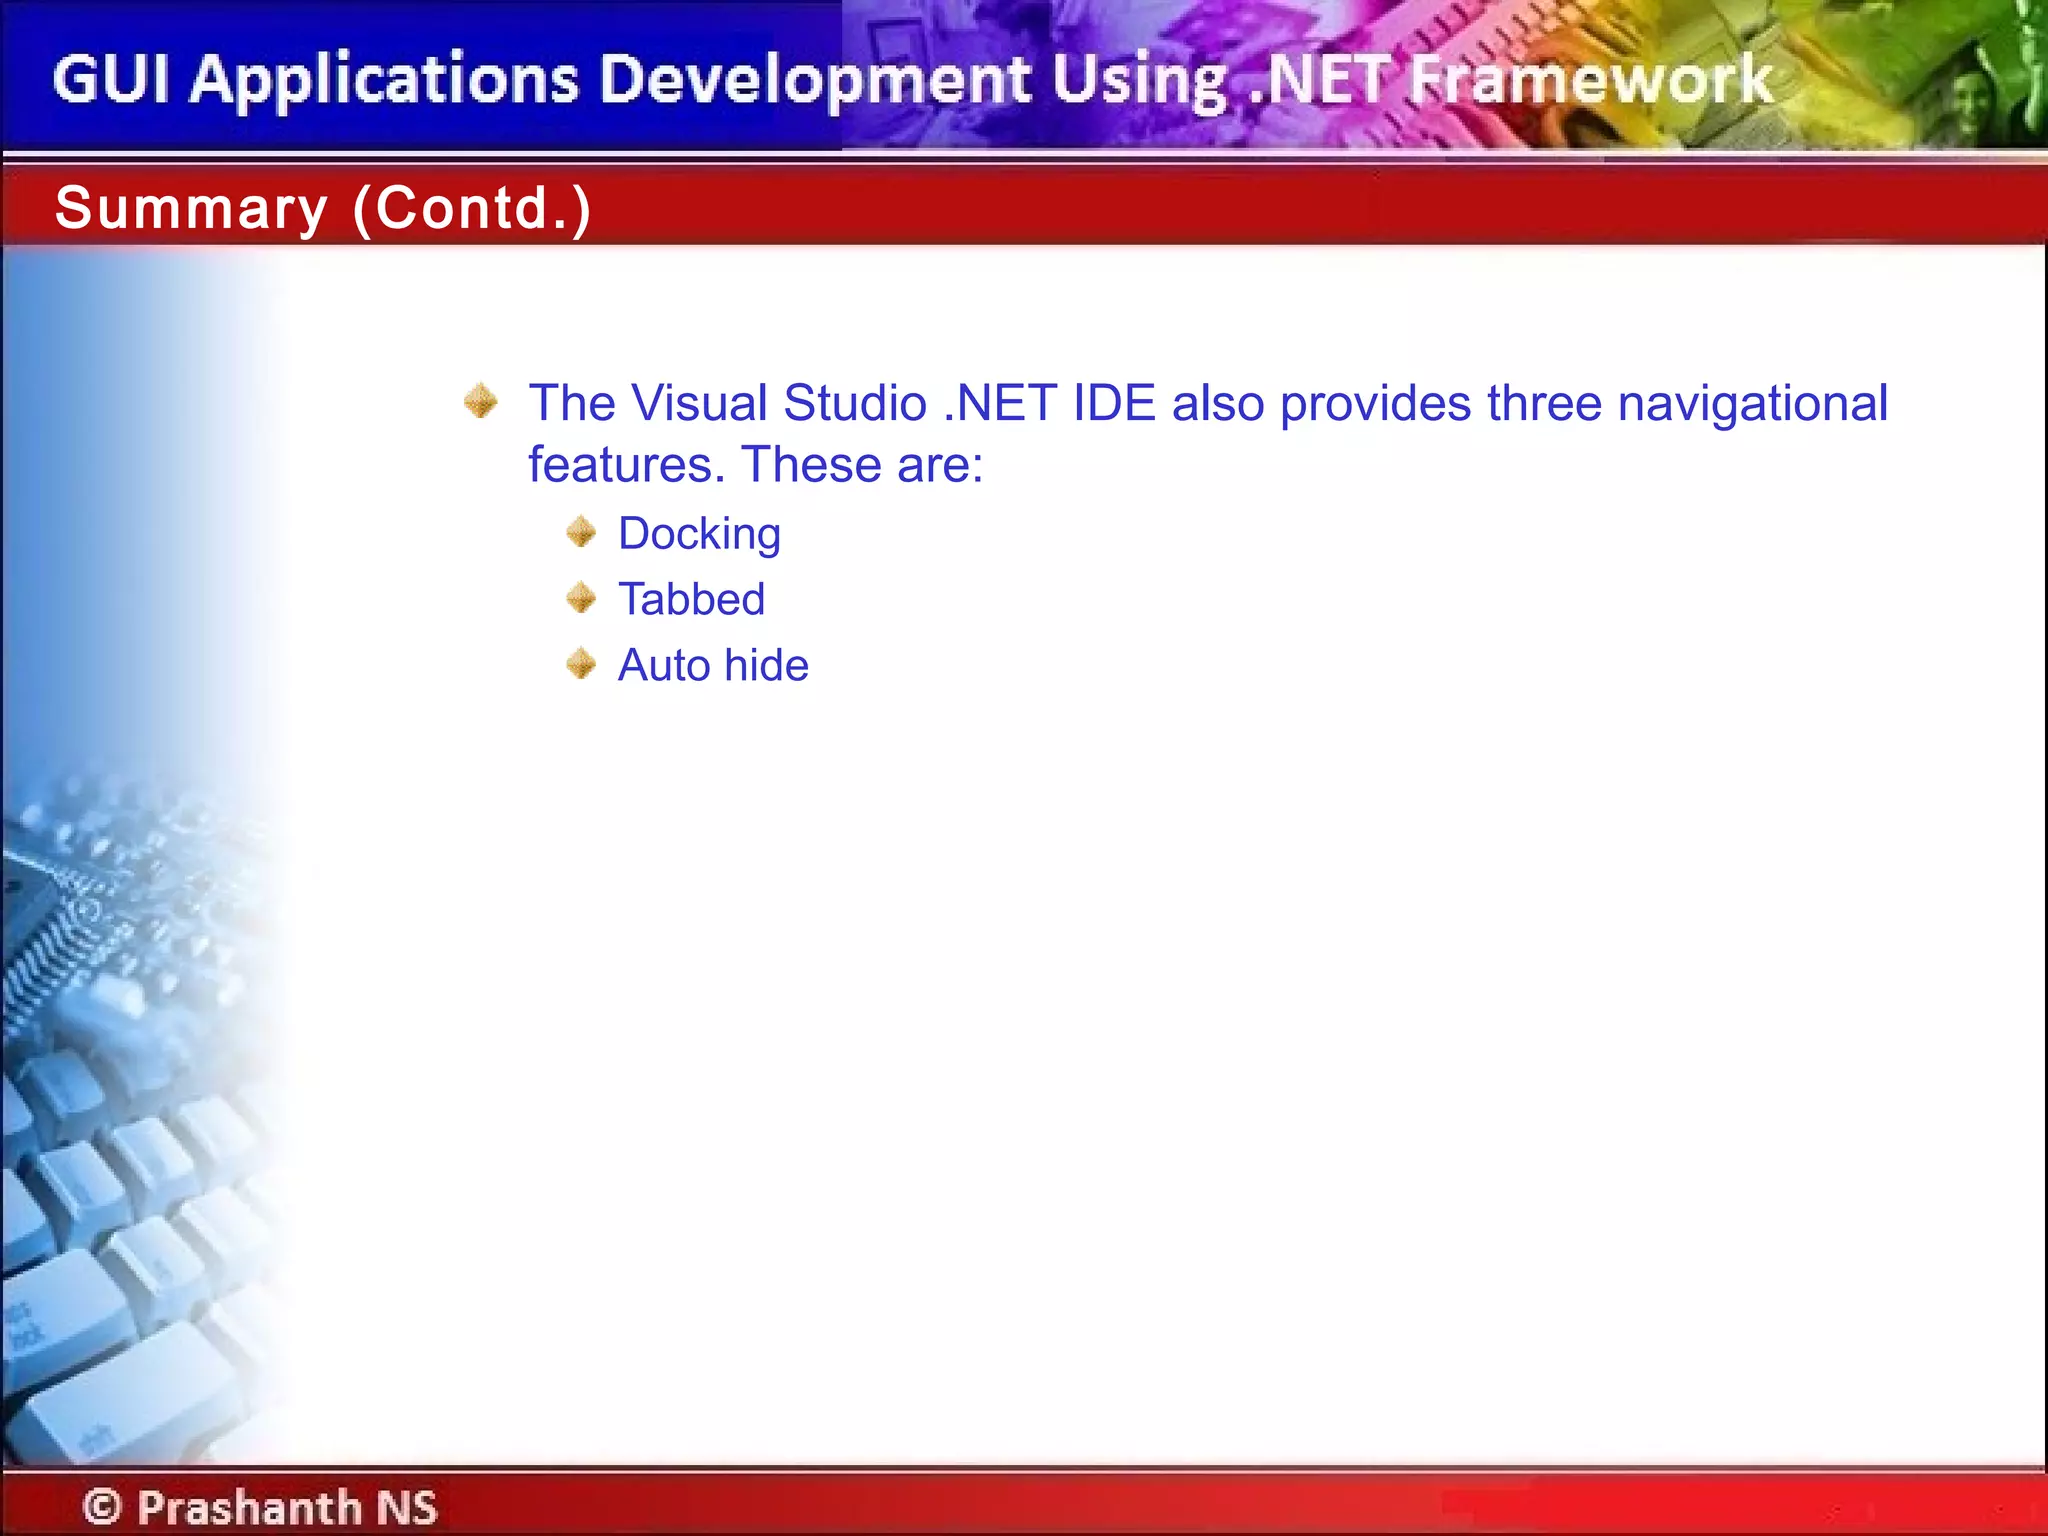
Explore Visual Studio .NET IDE for application development, project organization, UI elements, navigation features, and compiling/execution.