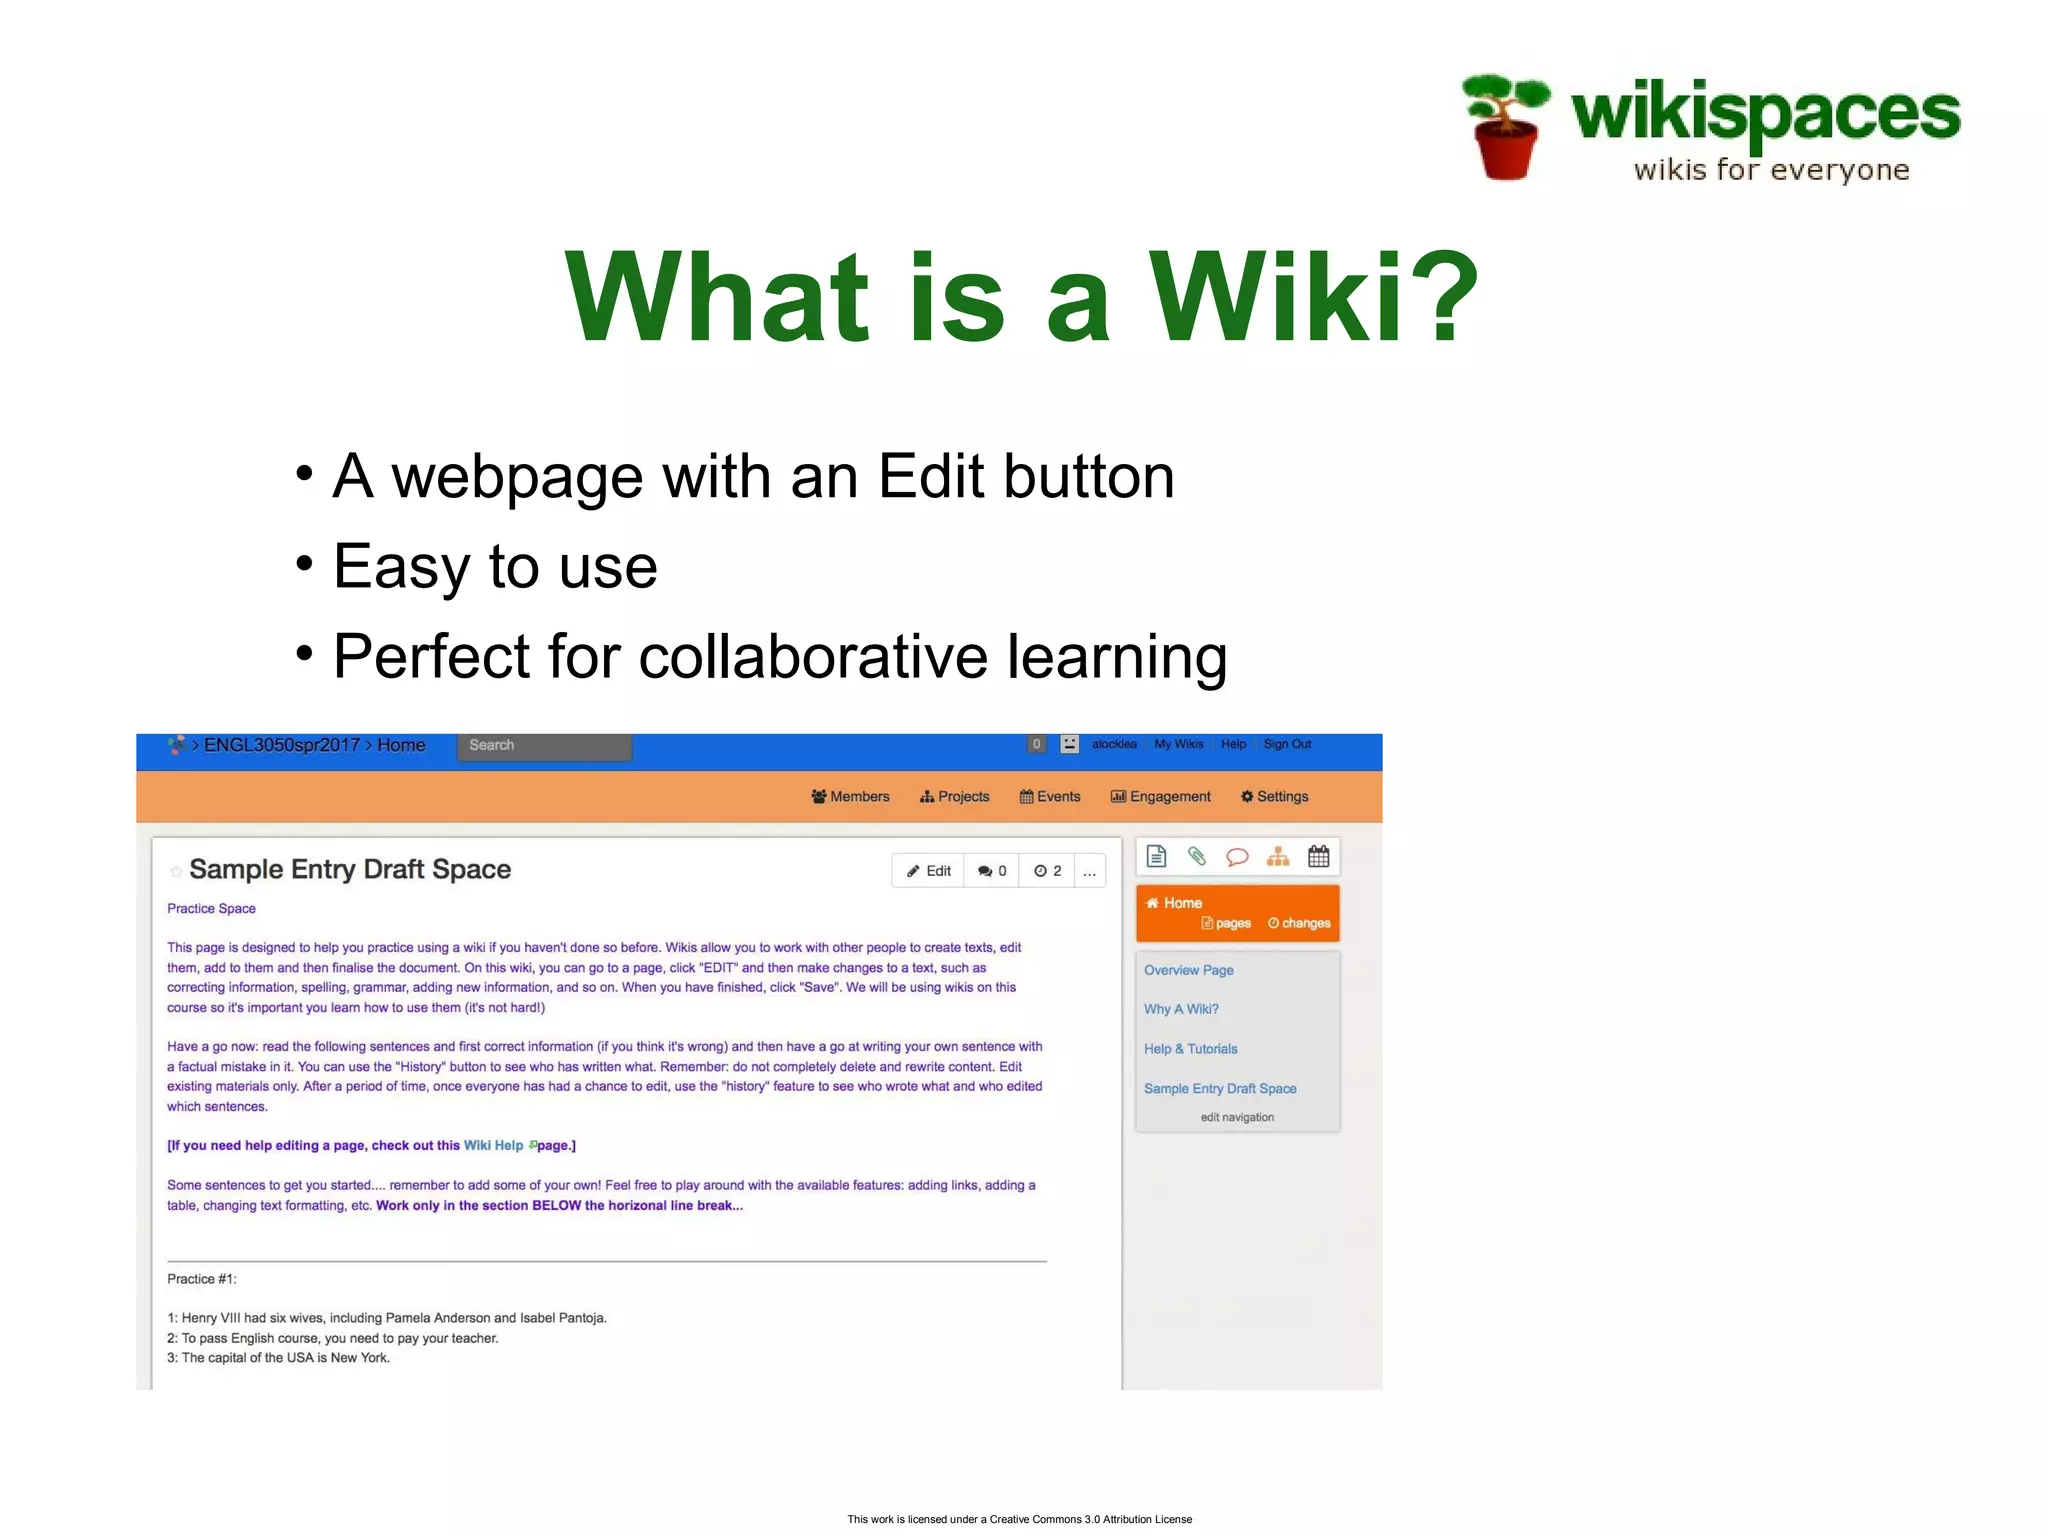
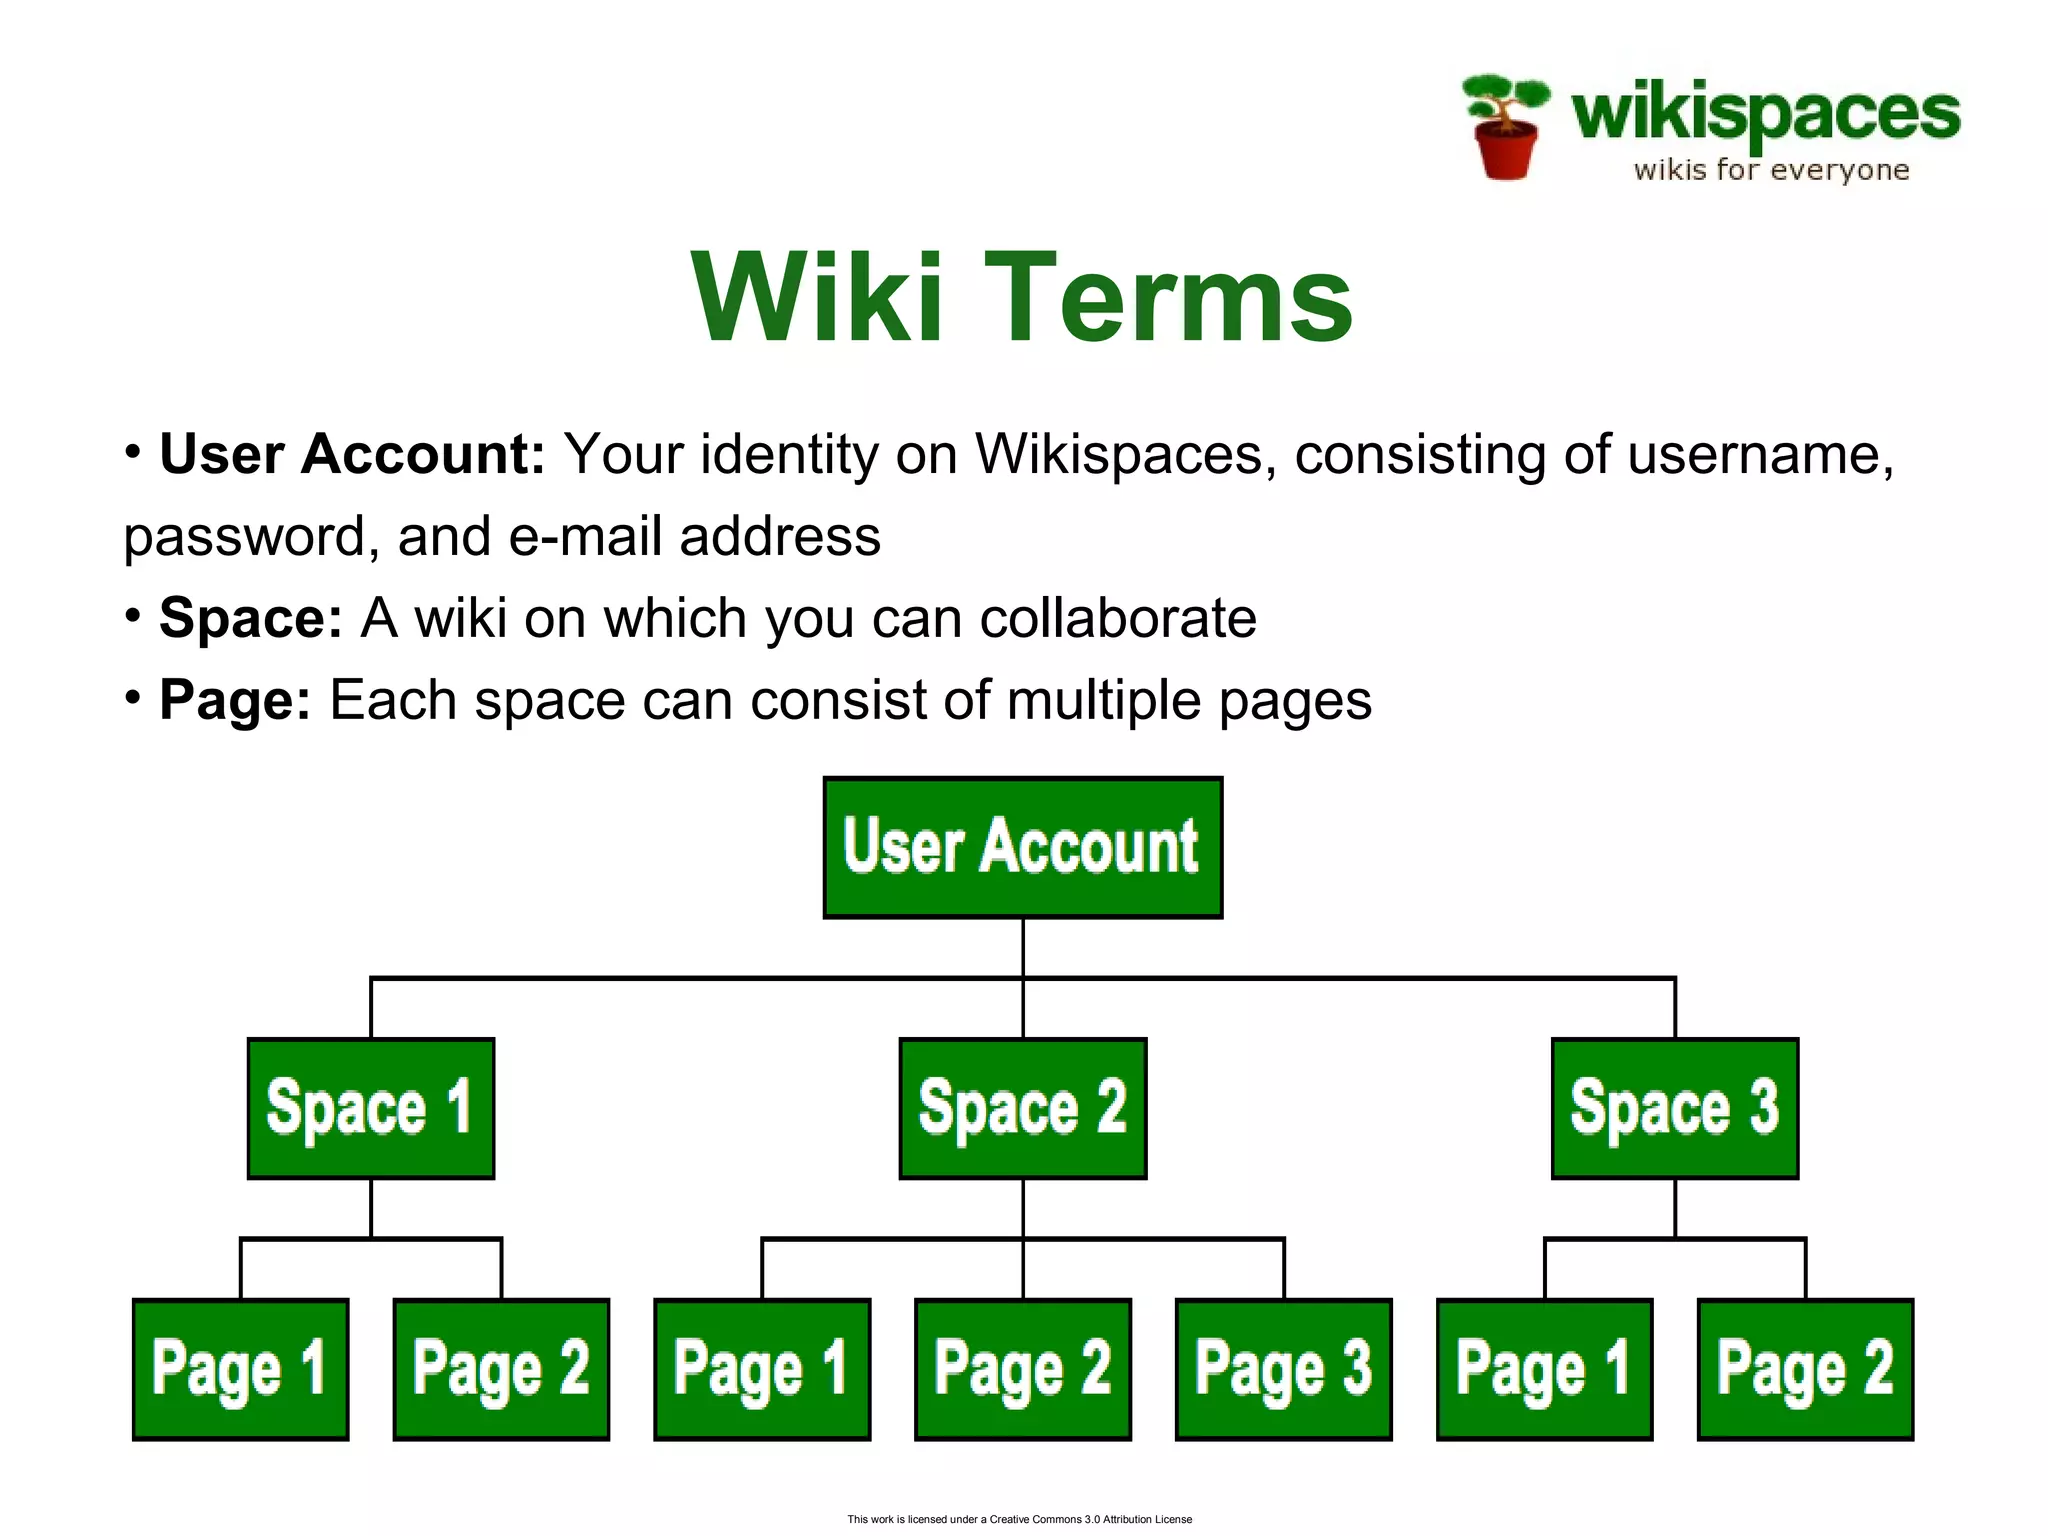
This document provides an overview of using Wikispaces for collaborative learning. It defines key terms like wiki, user account, space and page. It explains that a wiki is a webpage with an edit button that allows easy collaborative work. It also outlines the different permission settings for spaces and how to perform basic wiki functions like editing pages, adding links, images and media. It encourages the reader to try out these features on a sample wiki page.

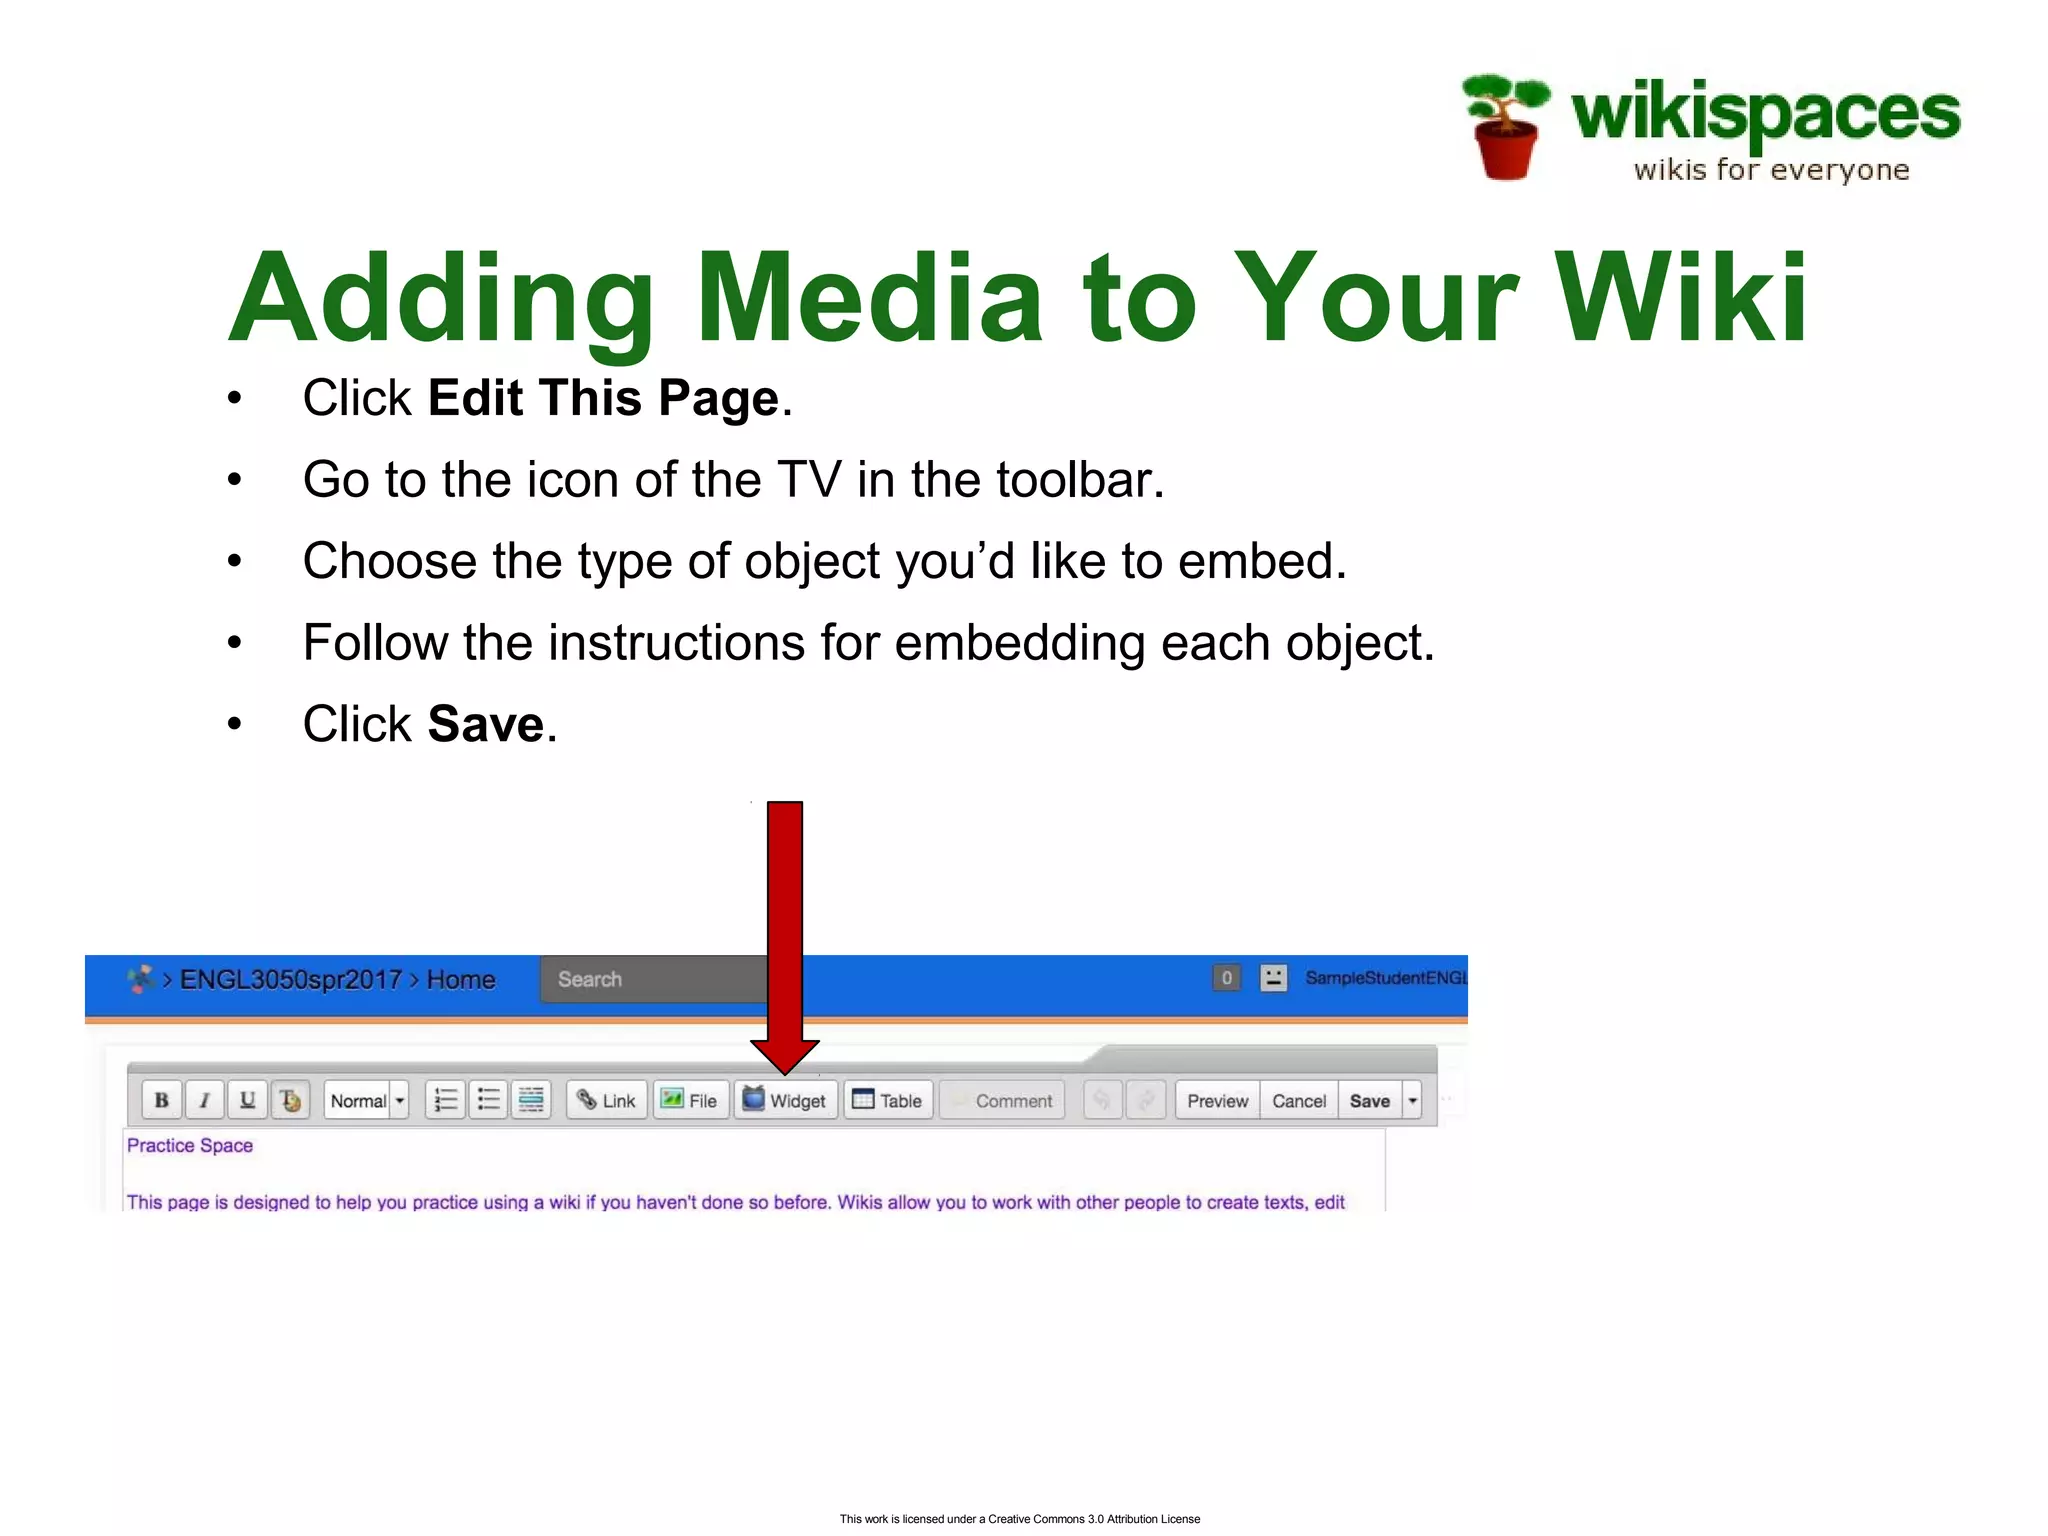


![Wicked wikis presentation[1]](https://cdn.slidesharecdn.com/ss_thumbnails/wickedwikispresentation1-100726170121-phpapp01-thumbnail.jpg?width=640&height=640&fit=bounds)