This document contains information about a Lenovo IdeaPad 100 laptop, including:
- An overview of the laptop's specifications such as its 15.6" display, Intel i5 processor, 8GB RAM, and 1TB HDD.
- Safety precautions and warnings for using the laptop properly.
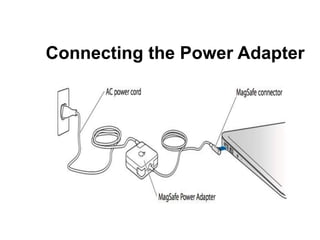
- Instructions for setting up the laptop including connecting the power adapter and using the touchpad.
- Descriptions of the laptop's physical features like its ports, buttons, and slots.
- Information about the Lenovo OneKey Recovery System for backing up and restoring the laptop.
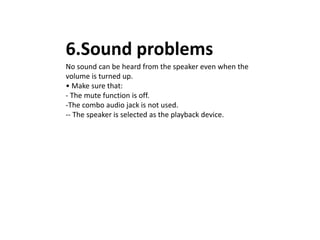
- Troubleshooting tips for common issues like display problems, sound issues, and hard drive problems.


![Turning on the Power
1. Push and release the power button located
beneath the LCD display panel.
2. Use [Fn]+[F5] or [Fn]+[F6] to adjust the LCD
brightness](https://image.slidesharecdn.com/usermanualonlaptop-170505130129/85/User-manual-on-laptop-15-320.jpg)