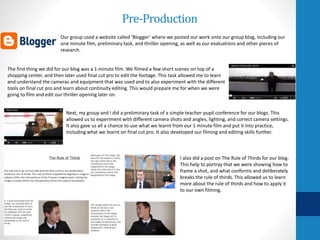
1. The document discusses the process of creating a group blog and thriller film opening for a class project. This included researching techniques like camera shots and editing software, filming test scenes, and analyzing thriller openings.
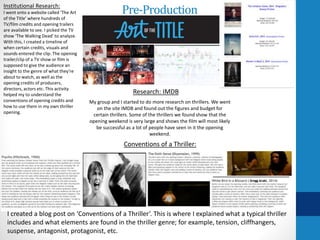
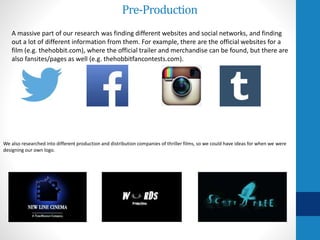
2. Field research was conducted on thriller conventions and production details from websites. This informed the filming and editing process. Shots were carefully planned and reviewed.
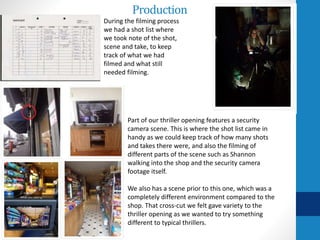
3. Audience feedback was gathered during and after production to improve the project. Lighting and filters were adjusted in editing for the best thriller effect.