Download as PDF, PPTX


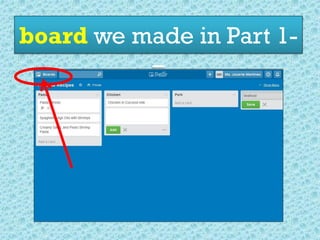
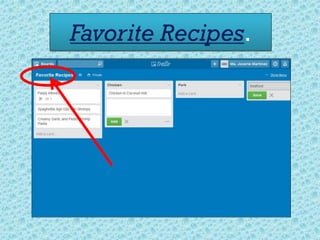
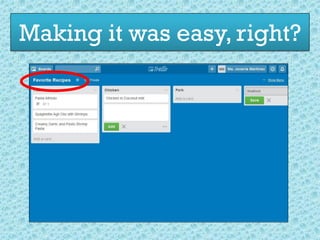
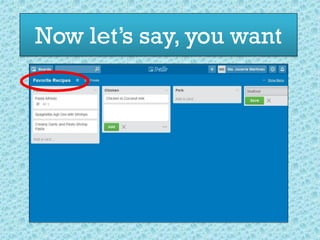
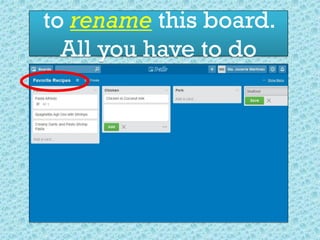
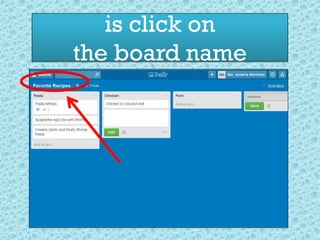
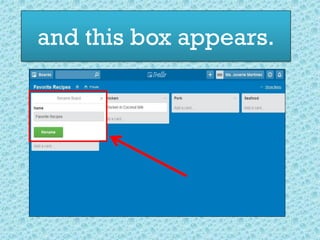
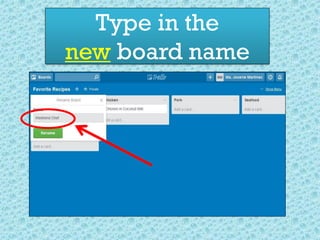
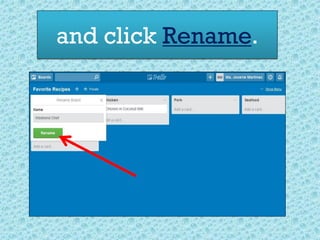
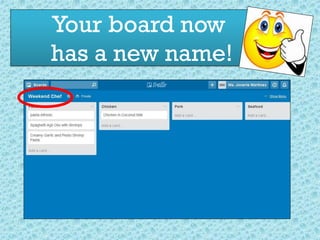
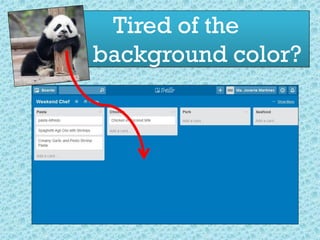

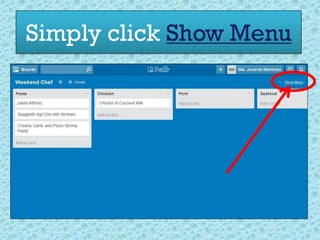
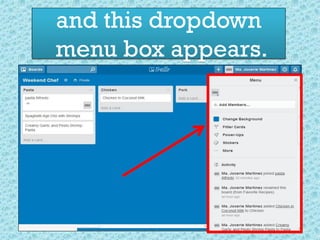
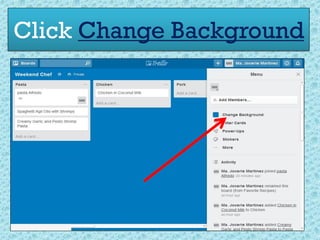
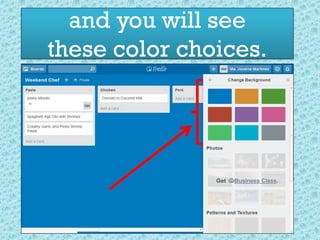
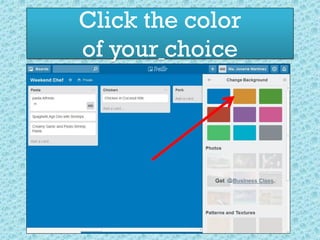
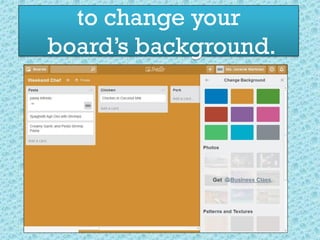
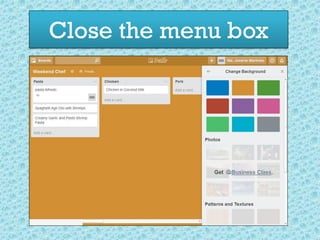
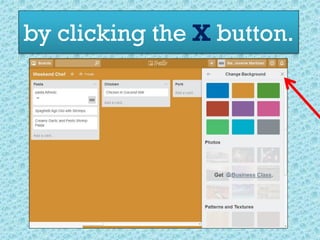
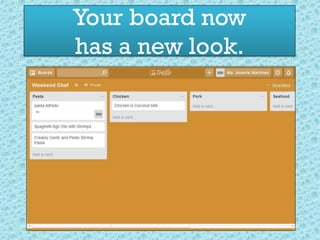
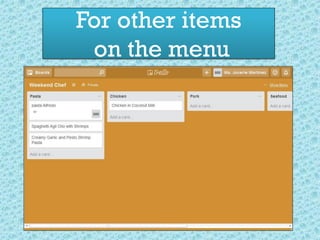
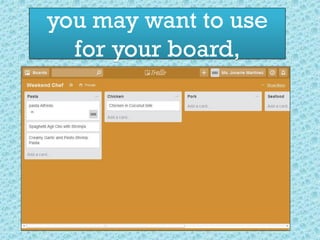
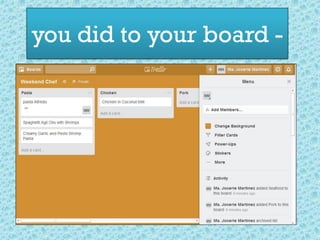
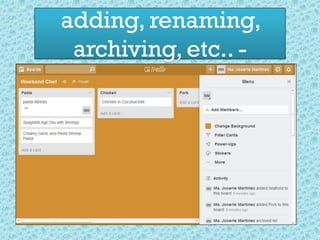
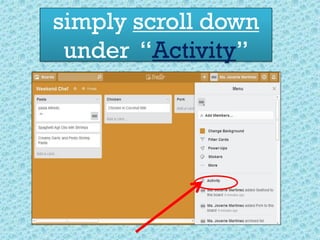
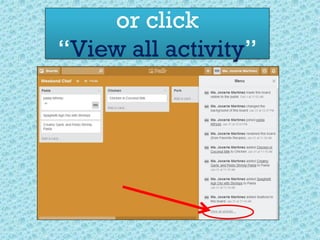


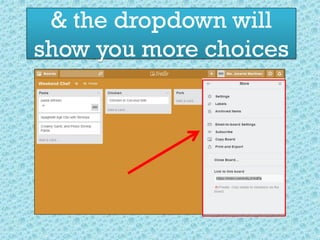
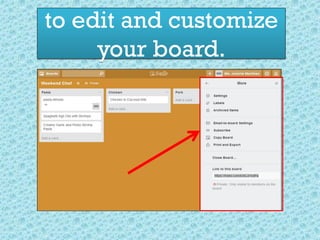

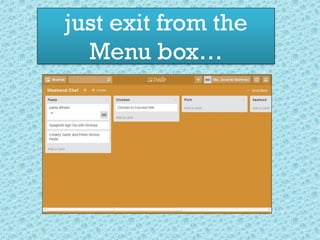

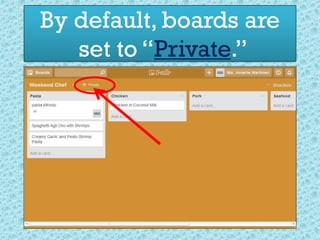
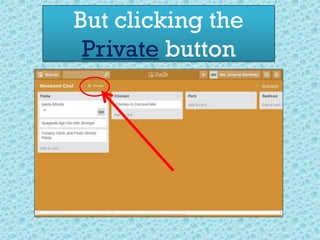
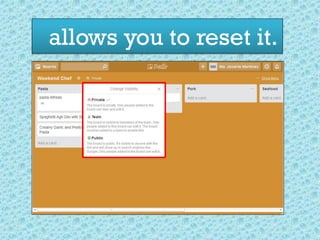
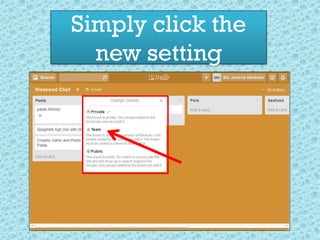
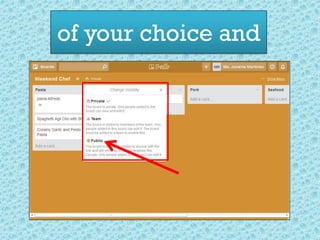
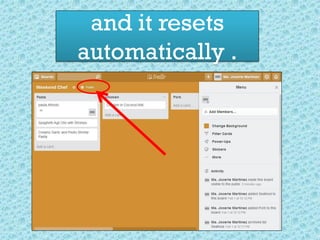


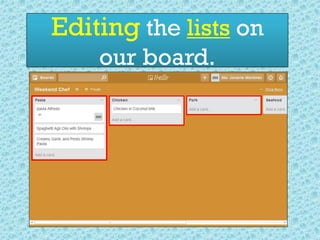
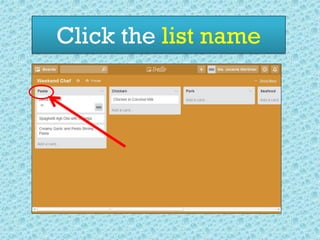
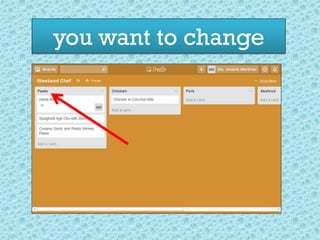
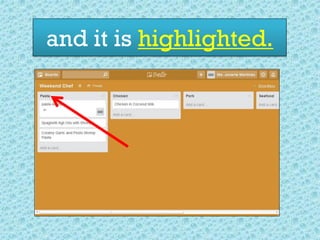
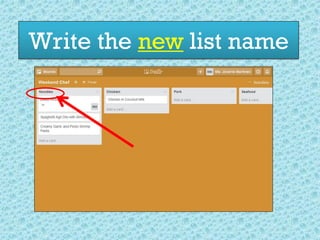
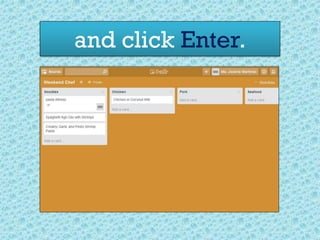
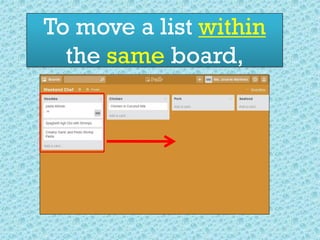
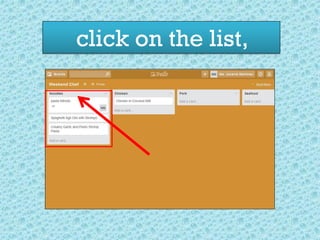
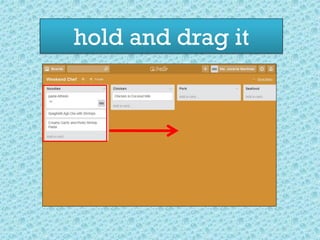
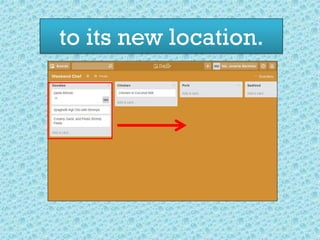
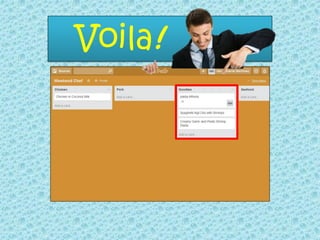
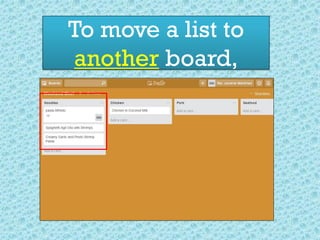
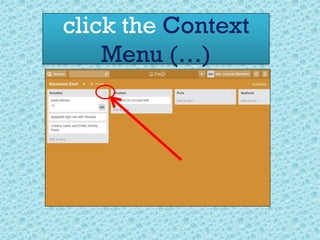
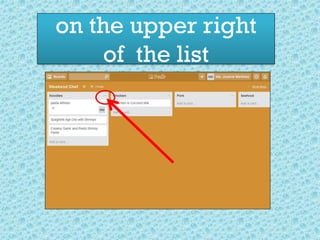
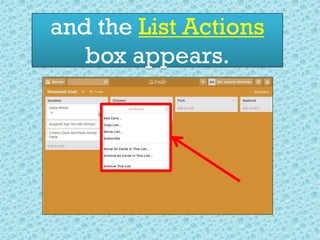
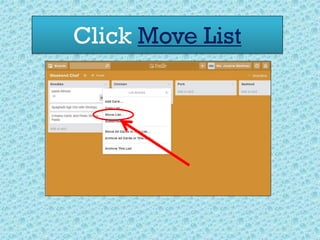
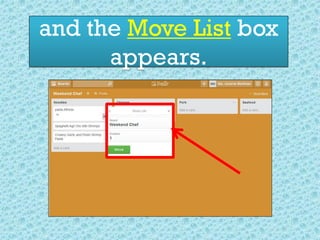
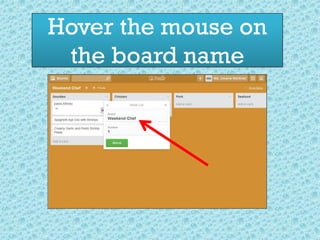
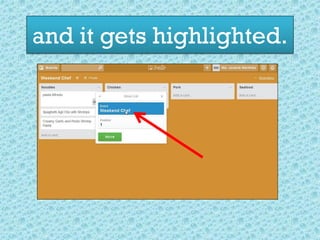
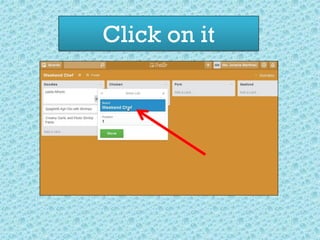
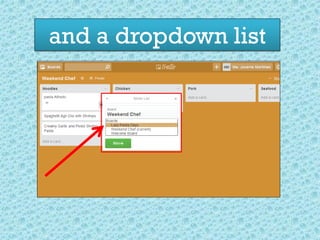

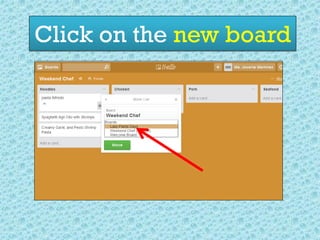
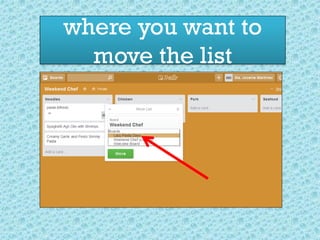
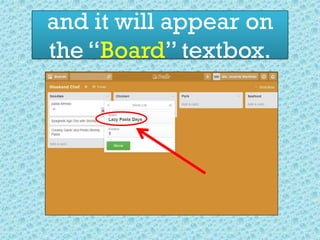
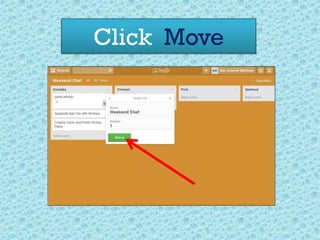
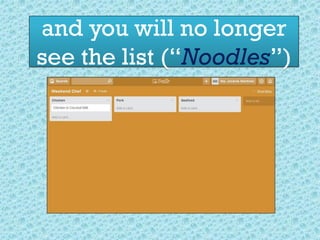
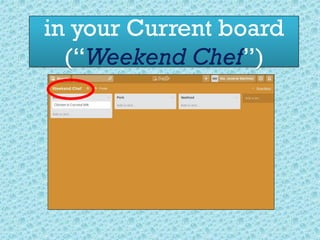
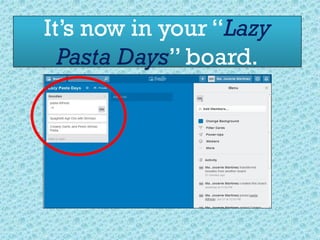
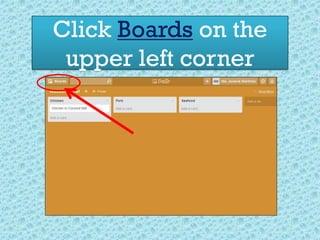
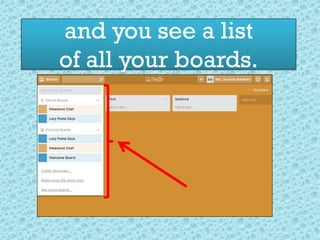
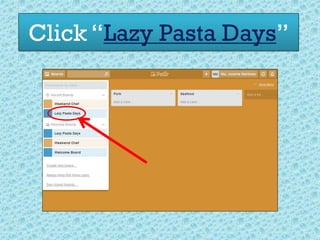
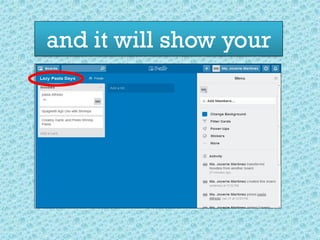
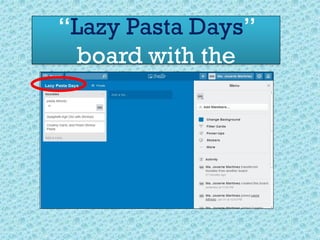
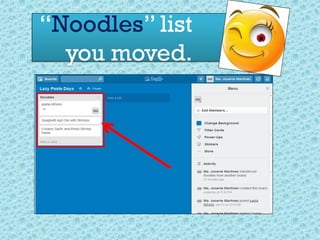


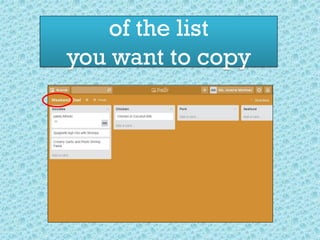
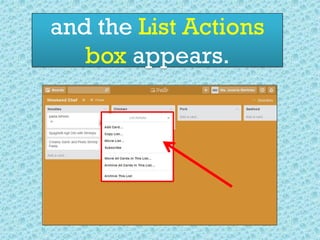
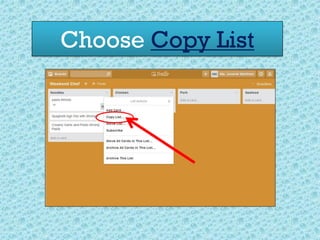
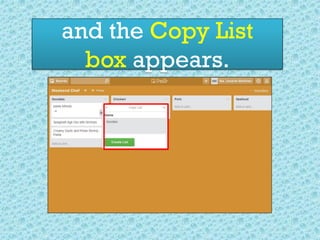
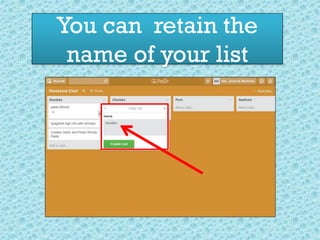

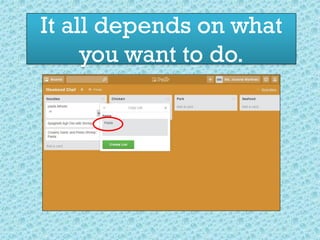
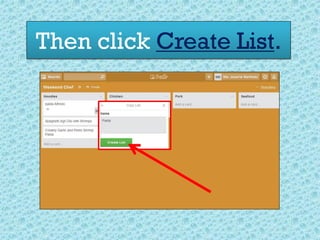
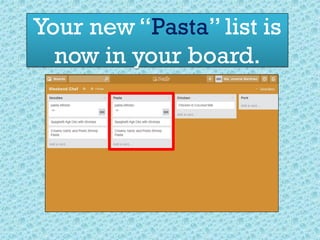
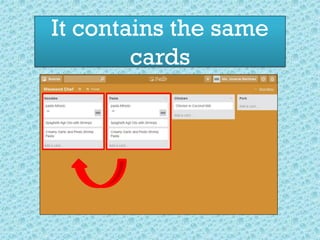
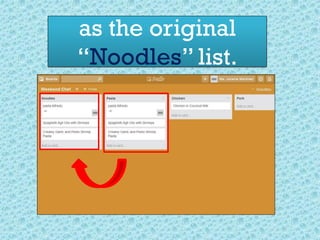
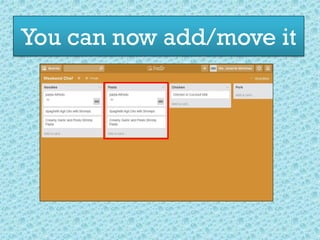
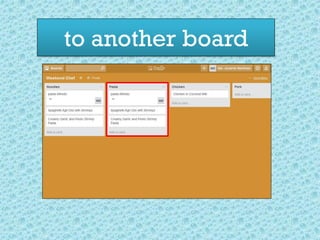
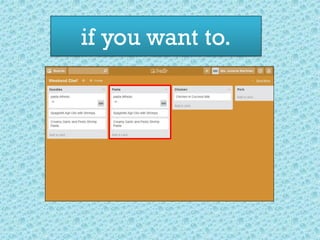


The document discusses editing boards and lists on Trello. It provides instructions for renaming boards and lists, changing background colors of boards, moving and copying lists between boards, and adjusting privacy settings of boards. Examples are given for each type of edit using the "Favorite Recipes" board as a guide. The summary concludes by stating the next tutorial will continue covering more basic editing features.
![[Easy] How to use Trello: Beginner's Guide](https://cdn.slidesharecdn.com/ss_thumbnails/auttrello-160902095236-thumbnail.jpg?width=640&height=640&fit=bounds)


![[Made Easy] How to use Trello - Tutorial](https://cdn.slidesharecdn.com/ss_thumbnails/howtousetrello-170421051522-thumbnail.jpg?width=640&height=640&fit=bounds)


