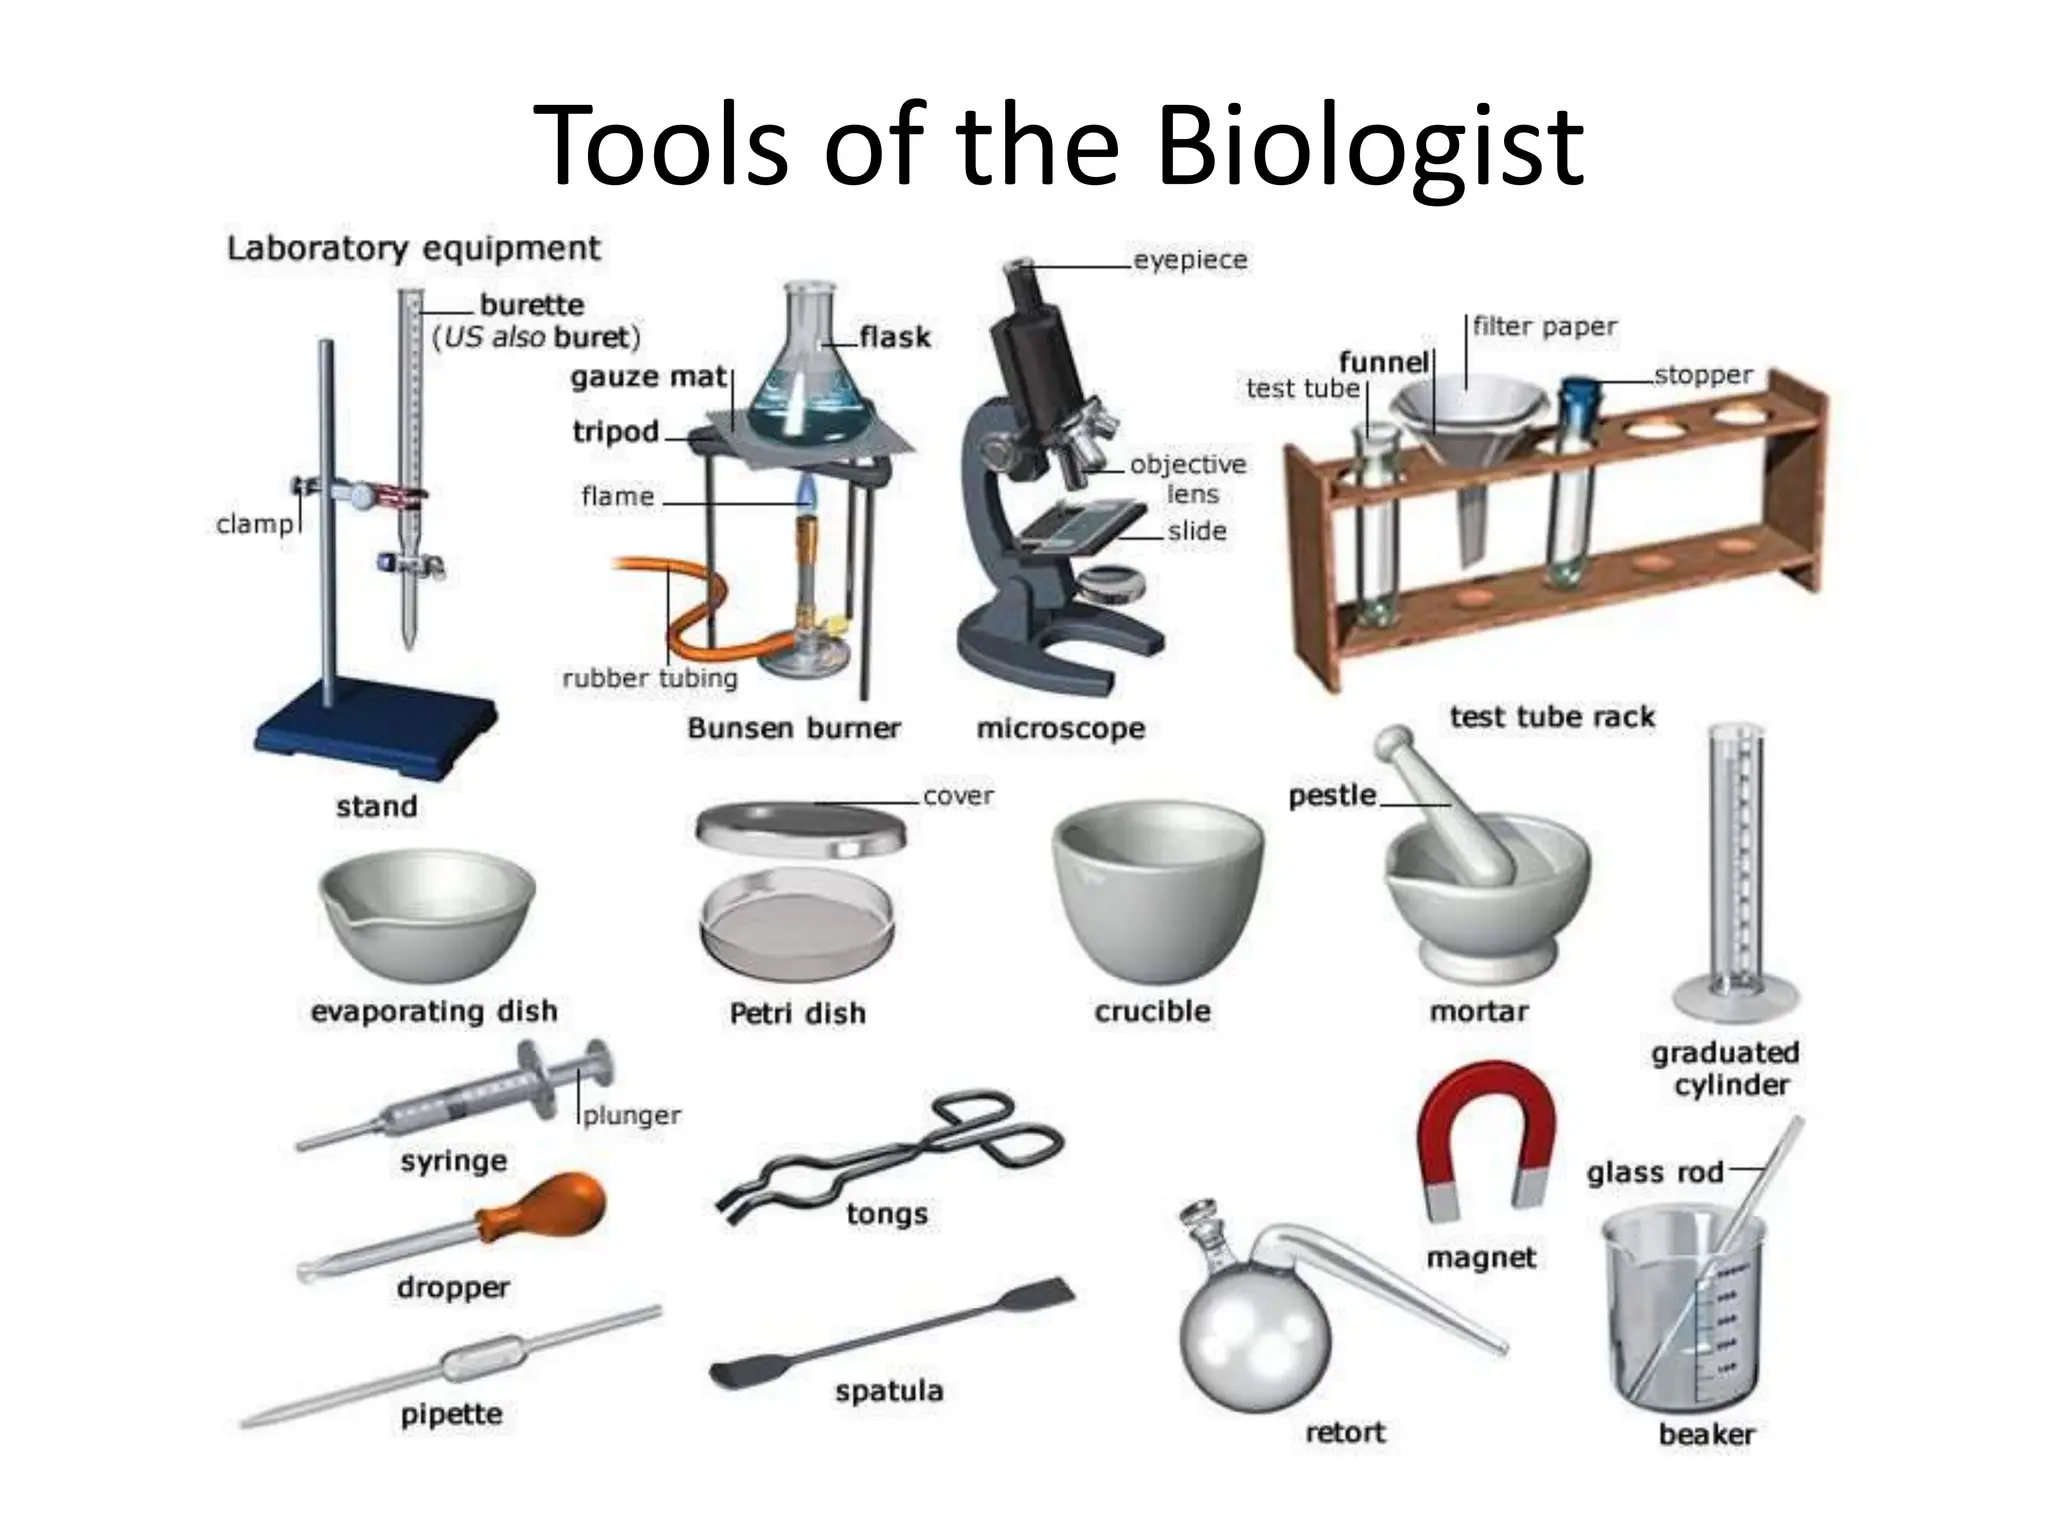
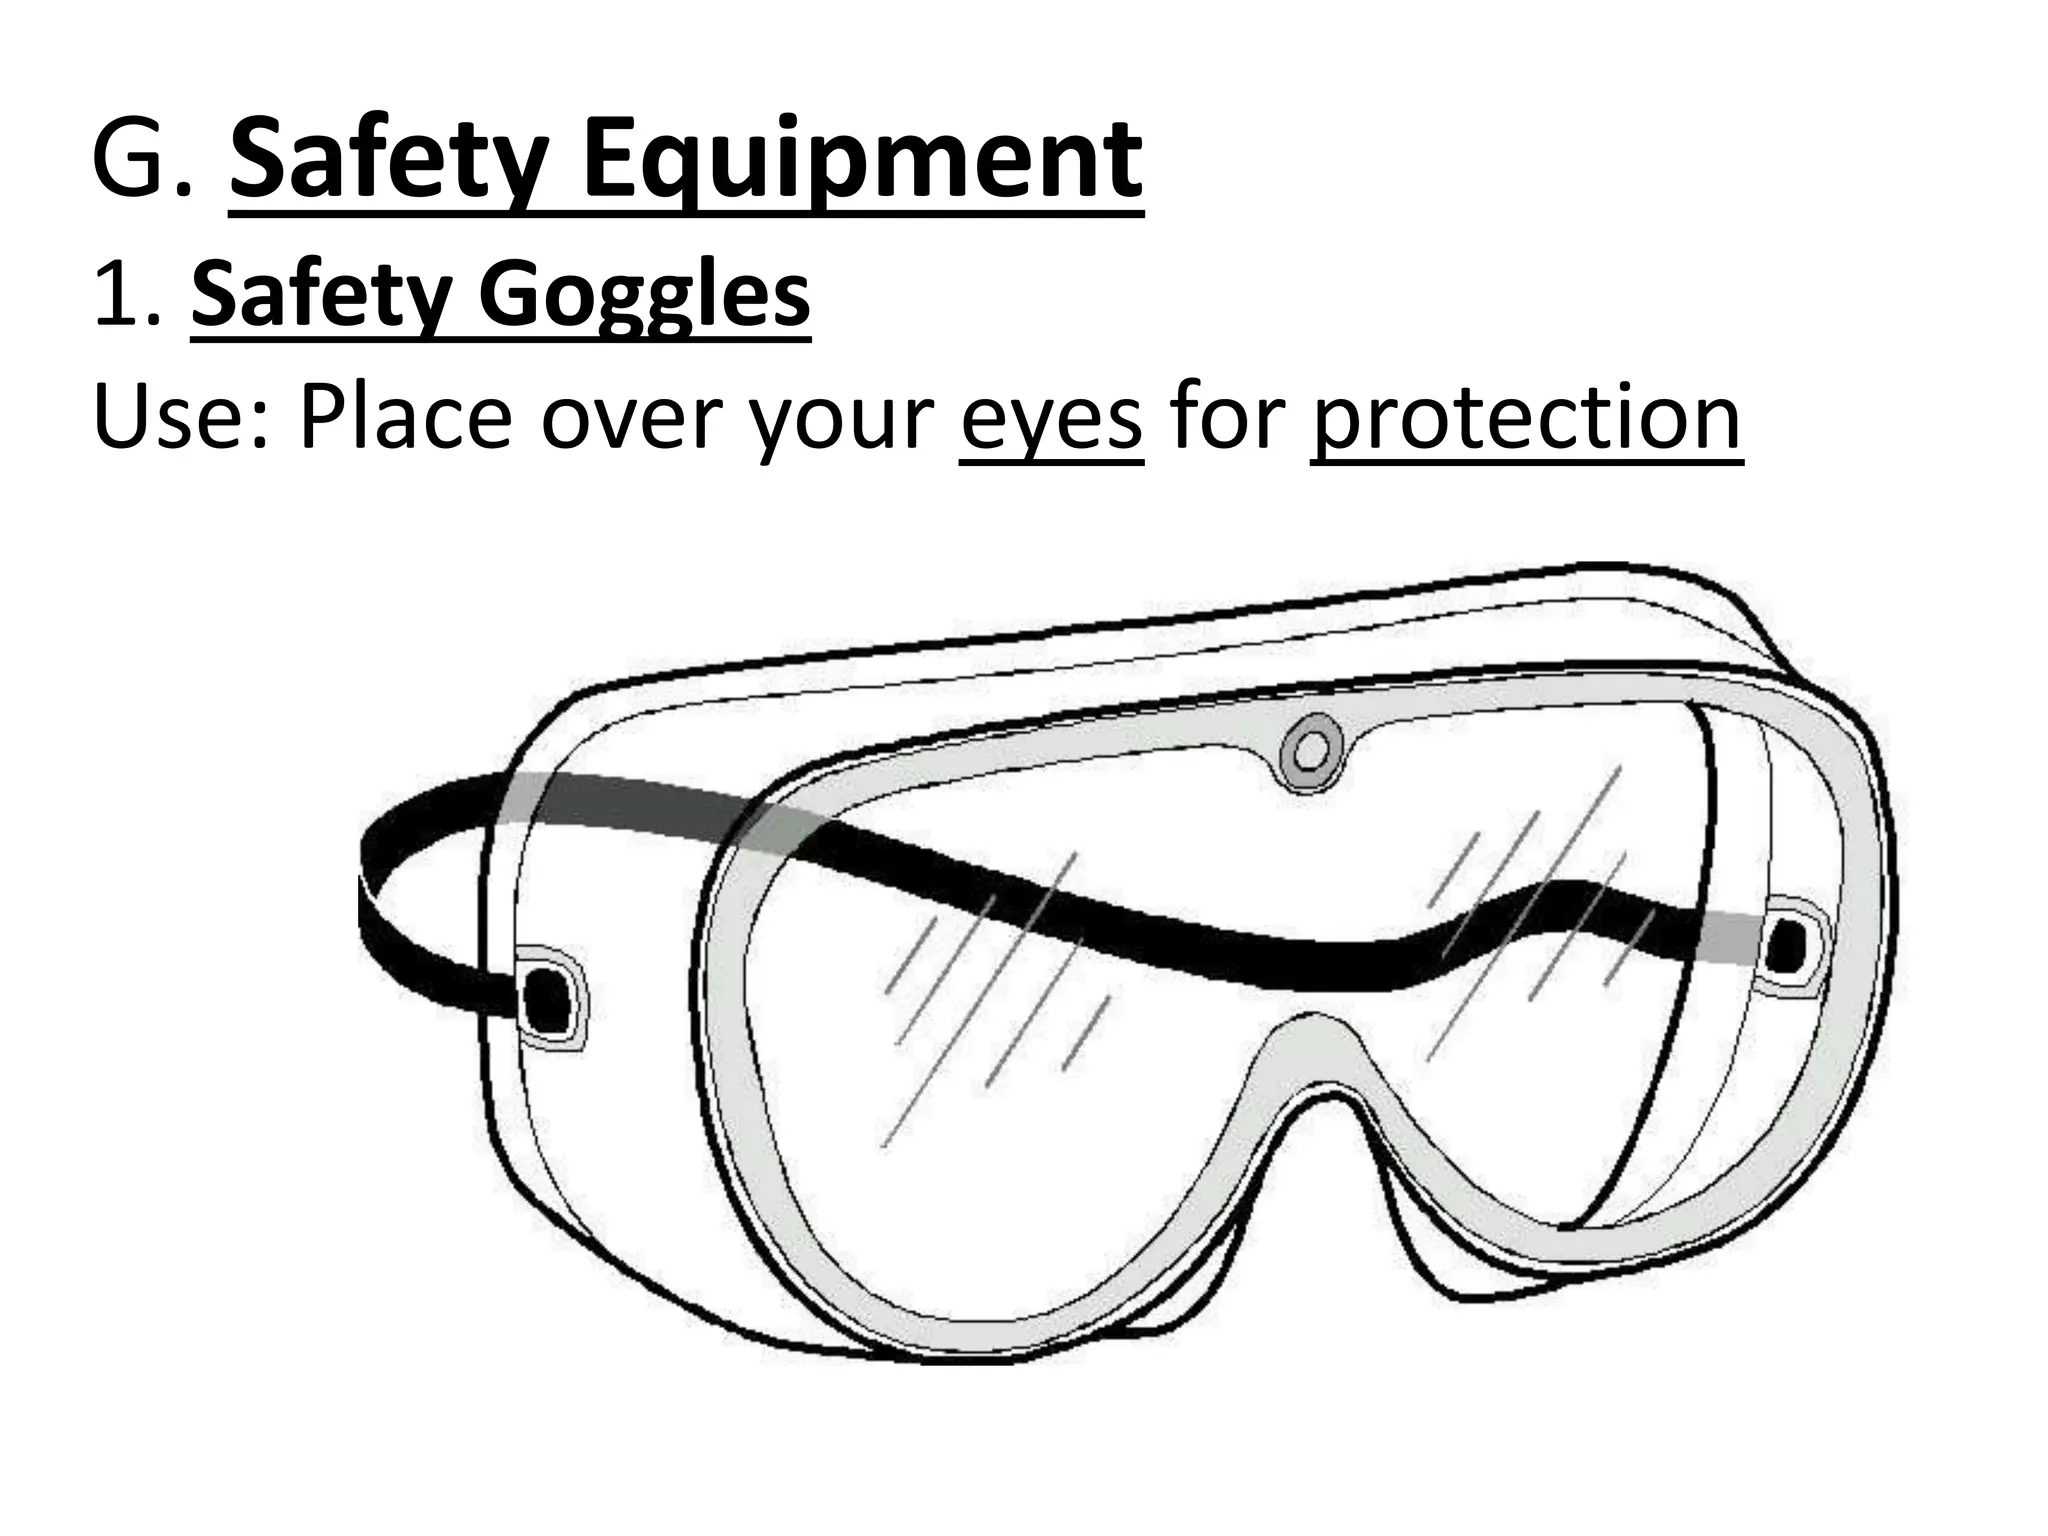
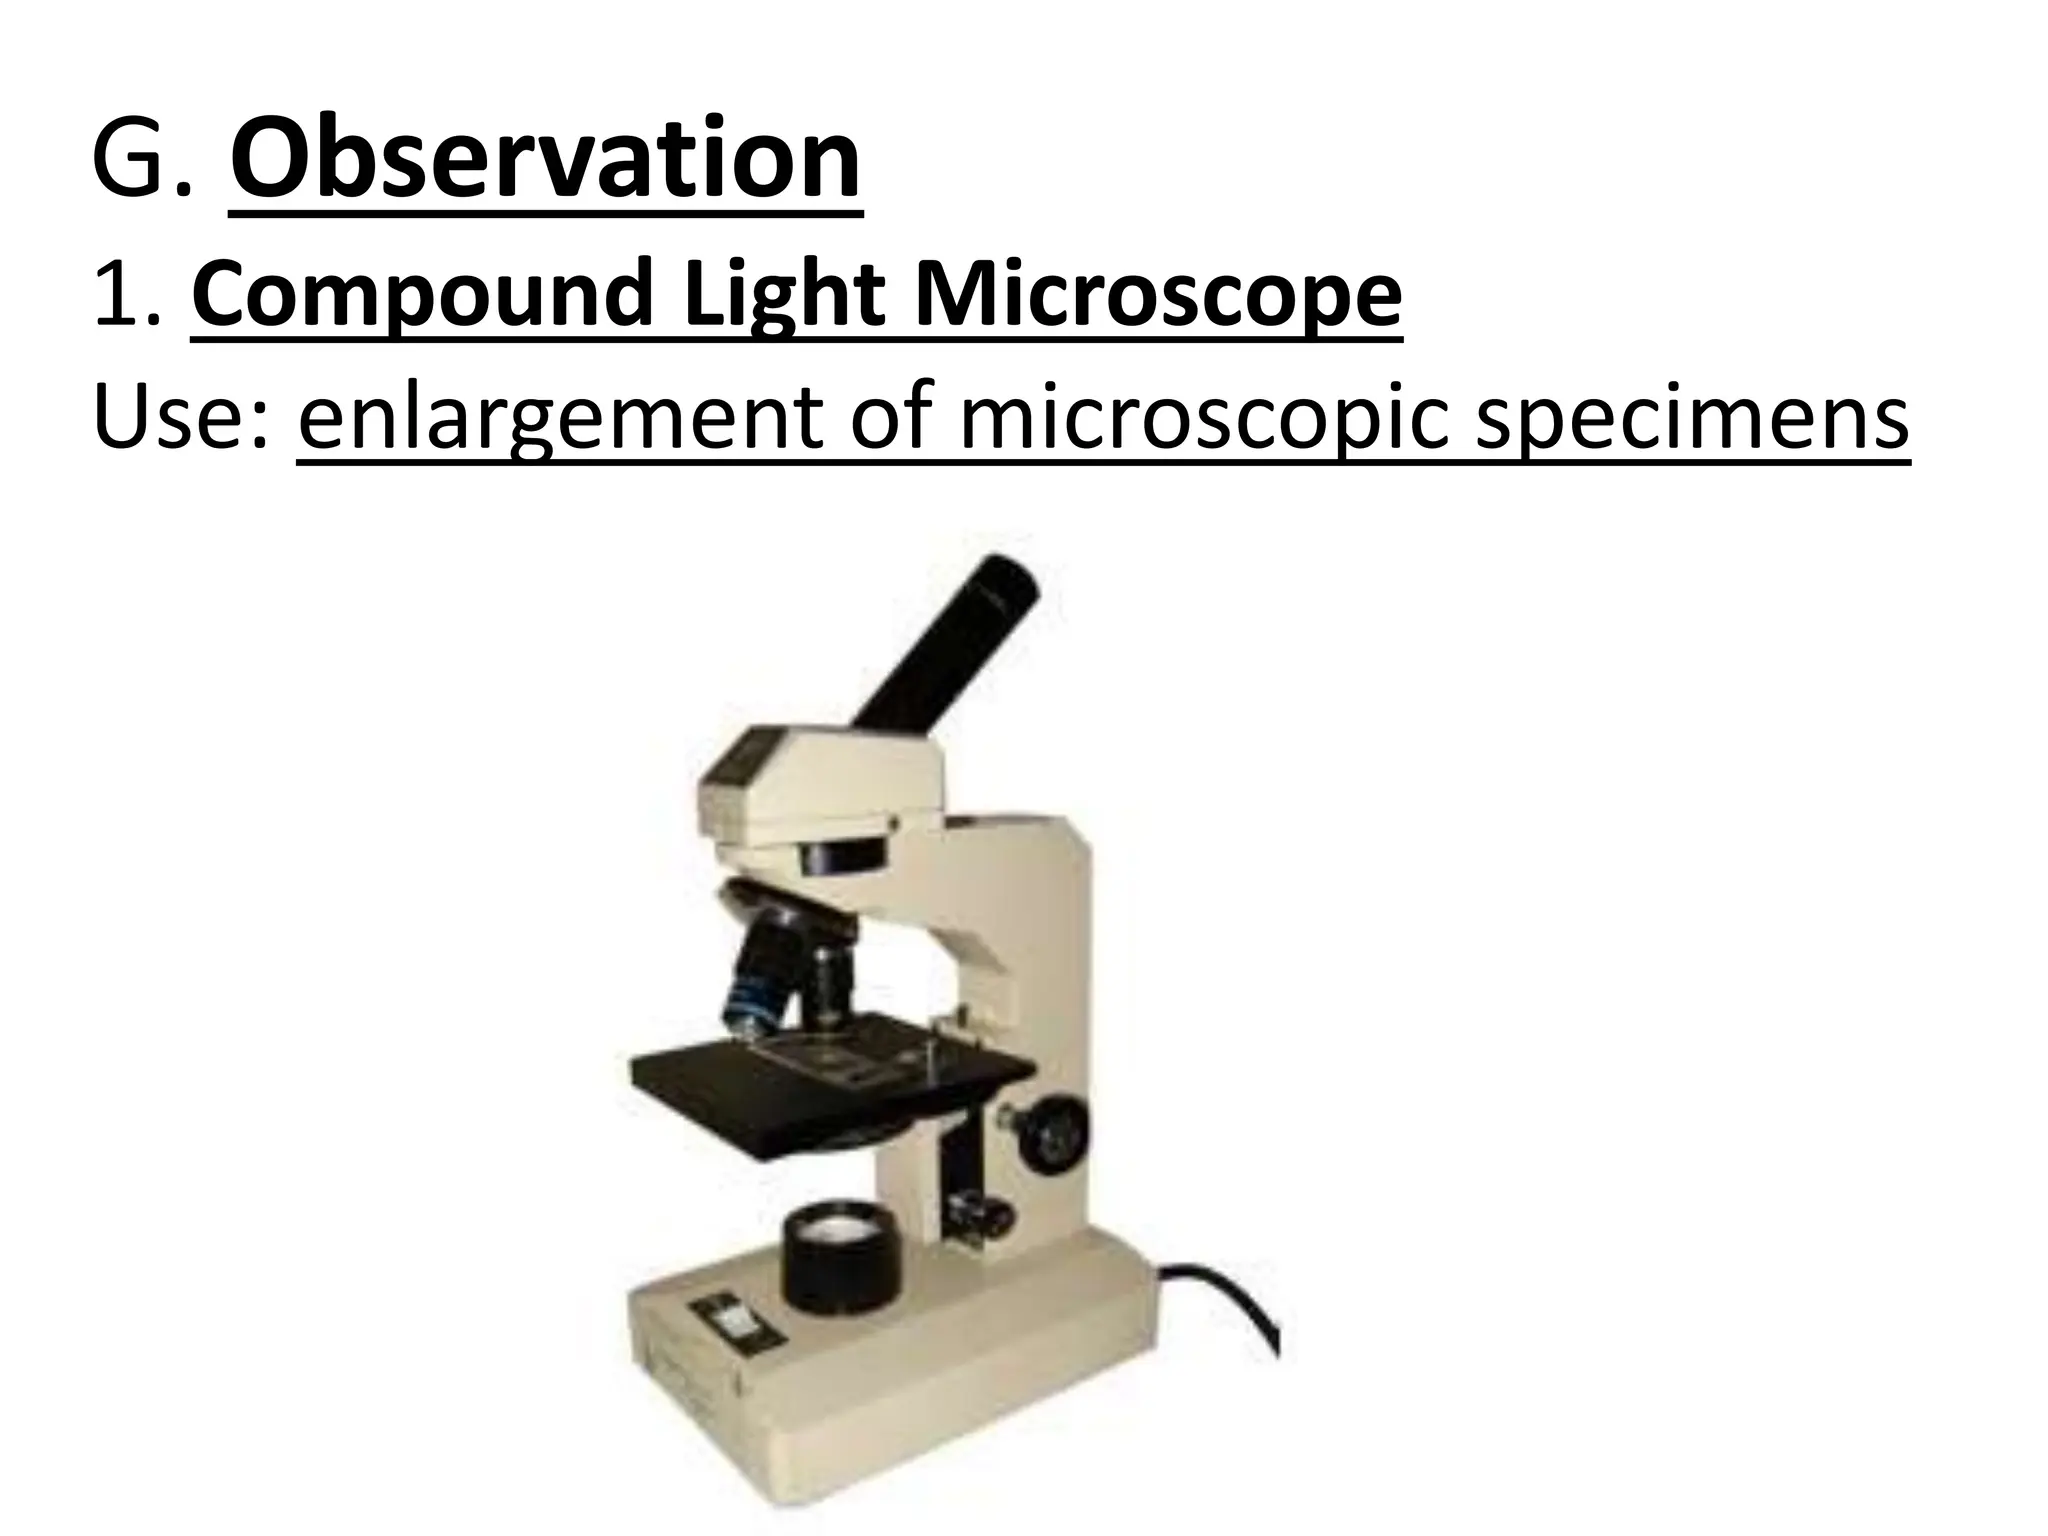
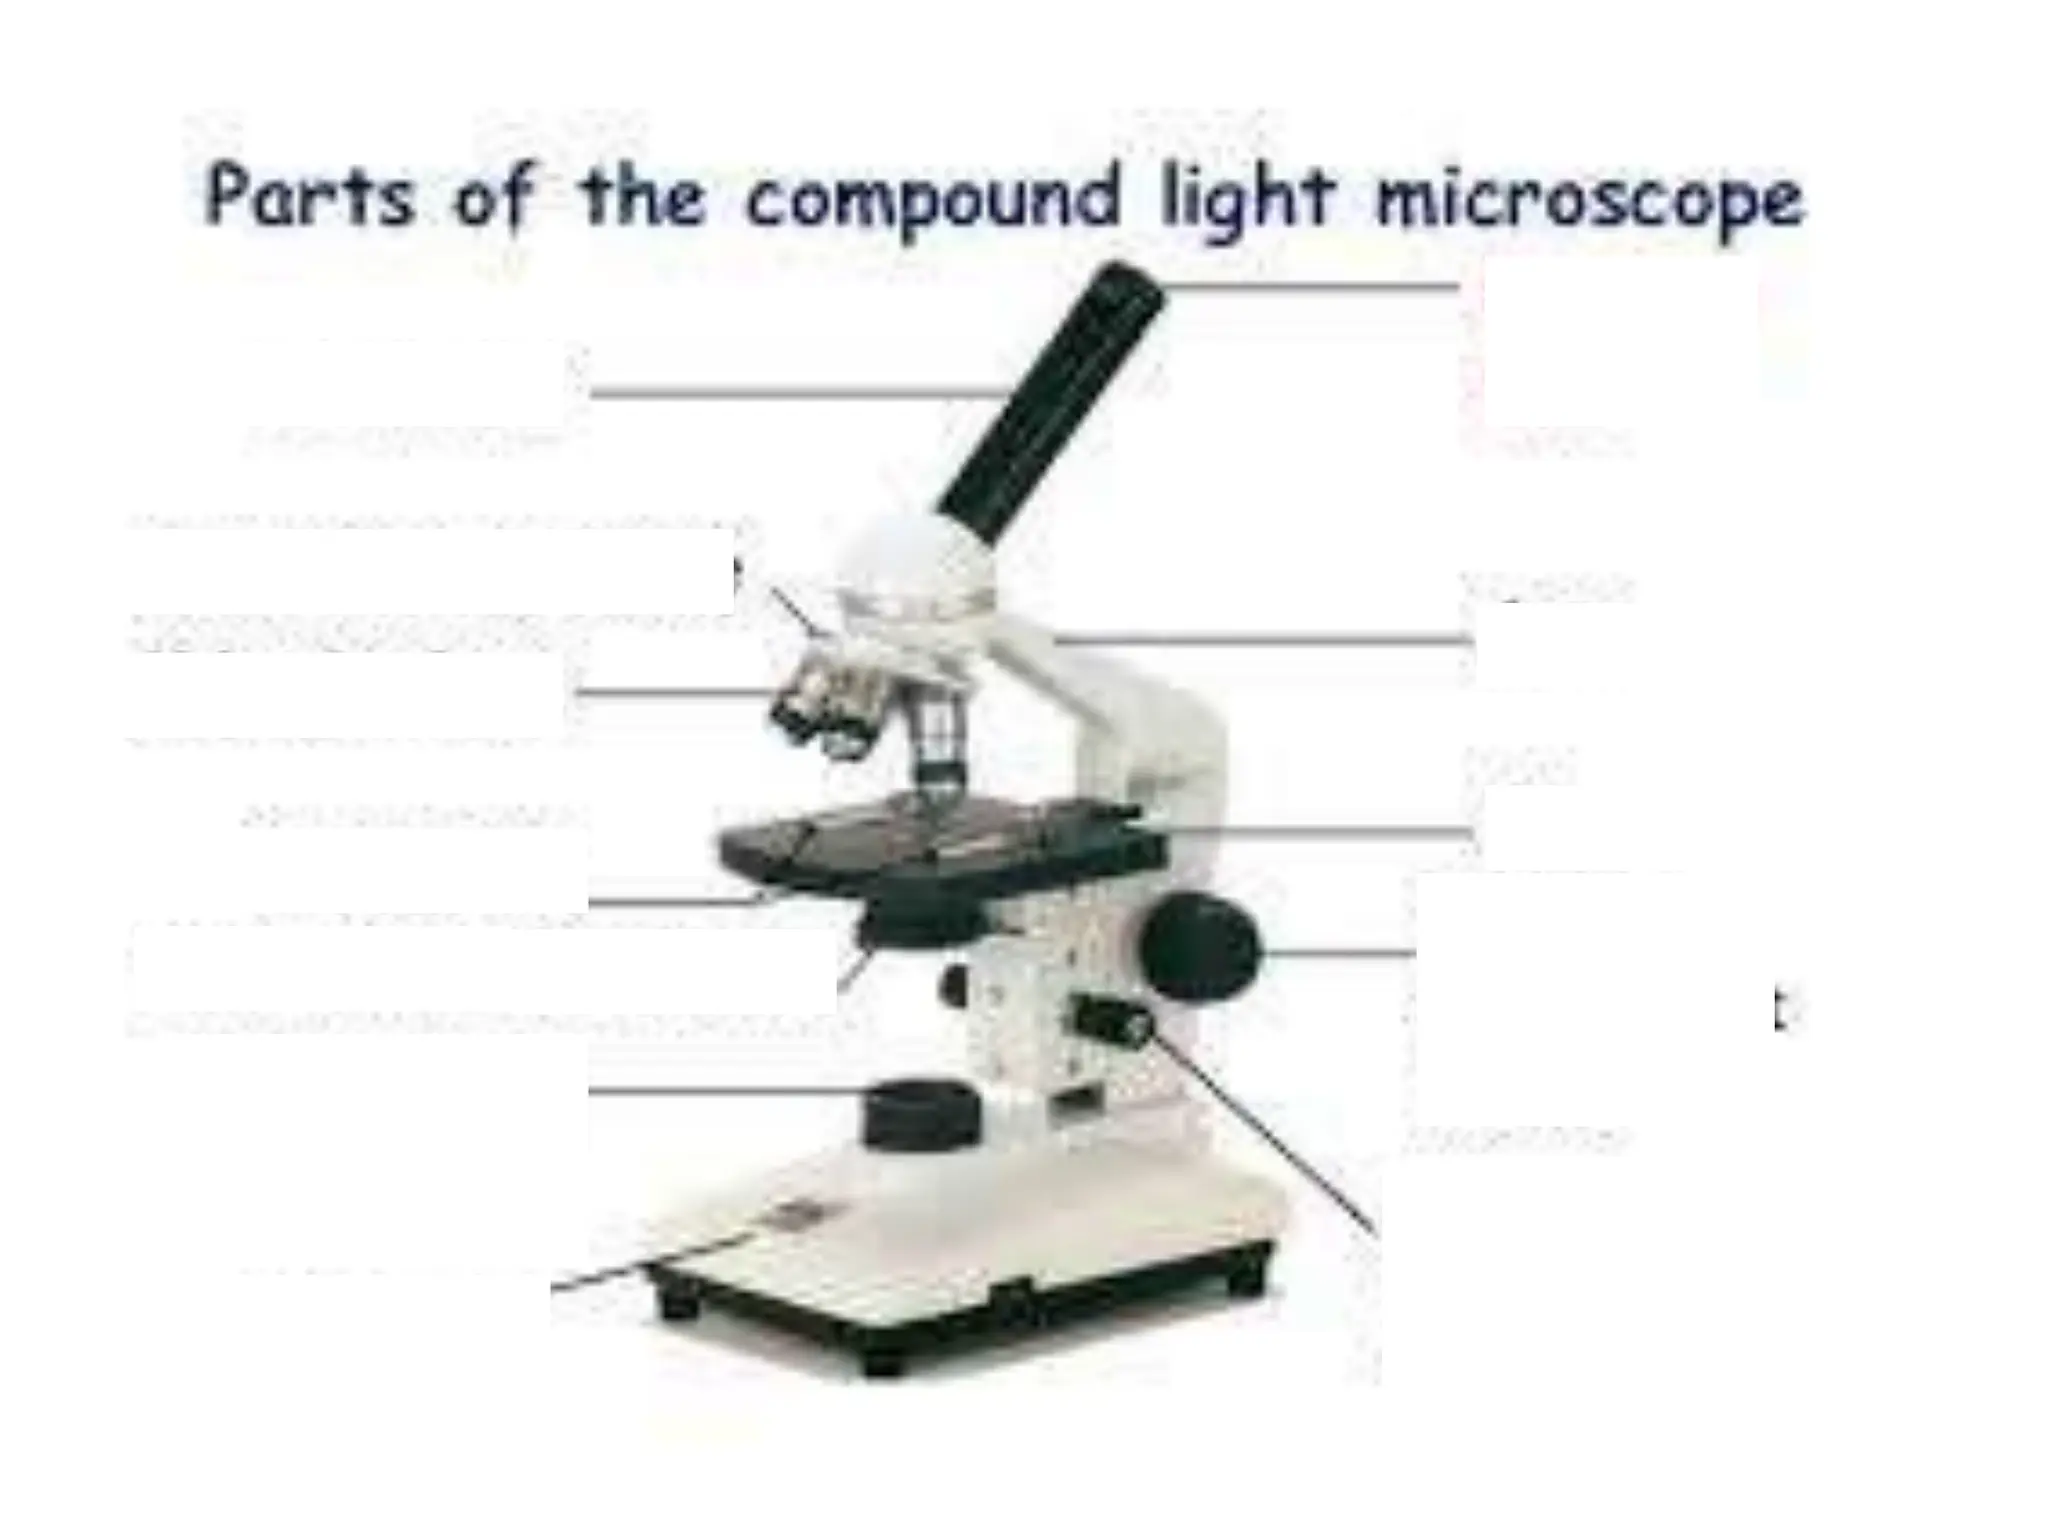
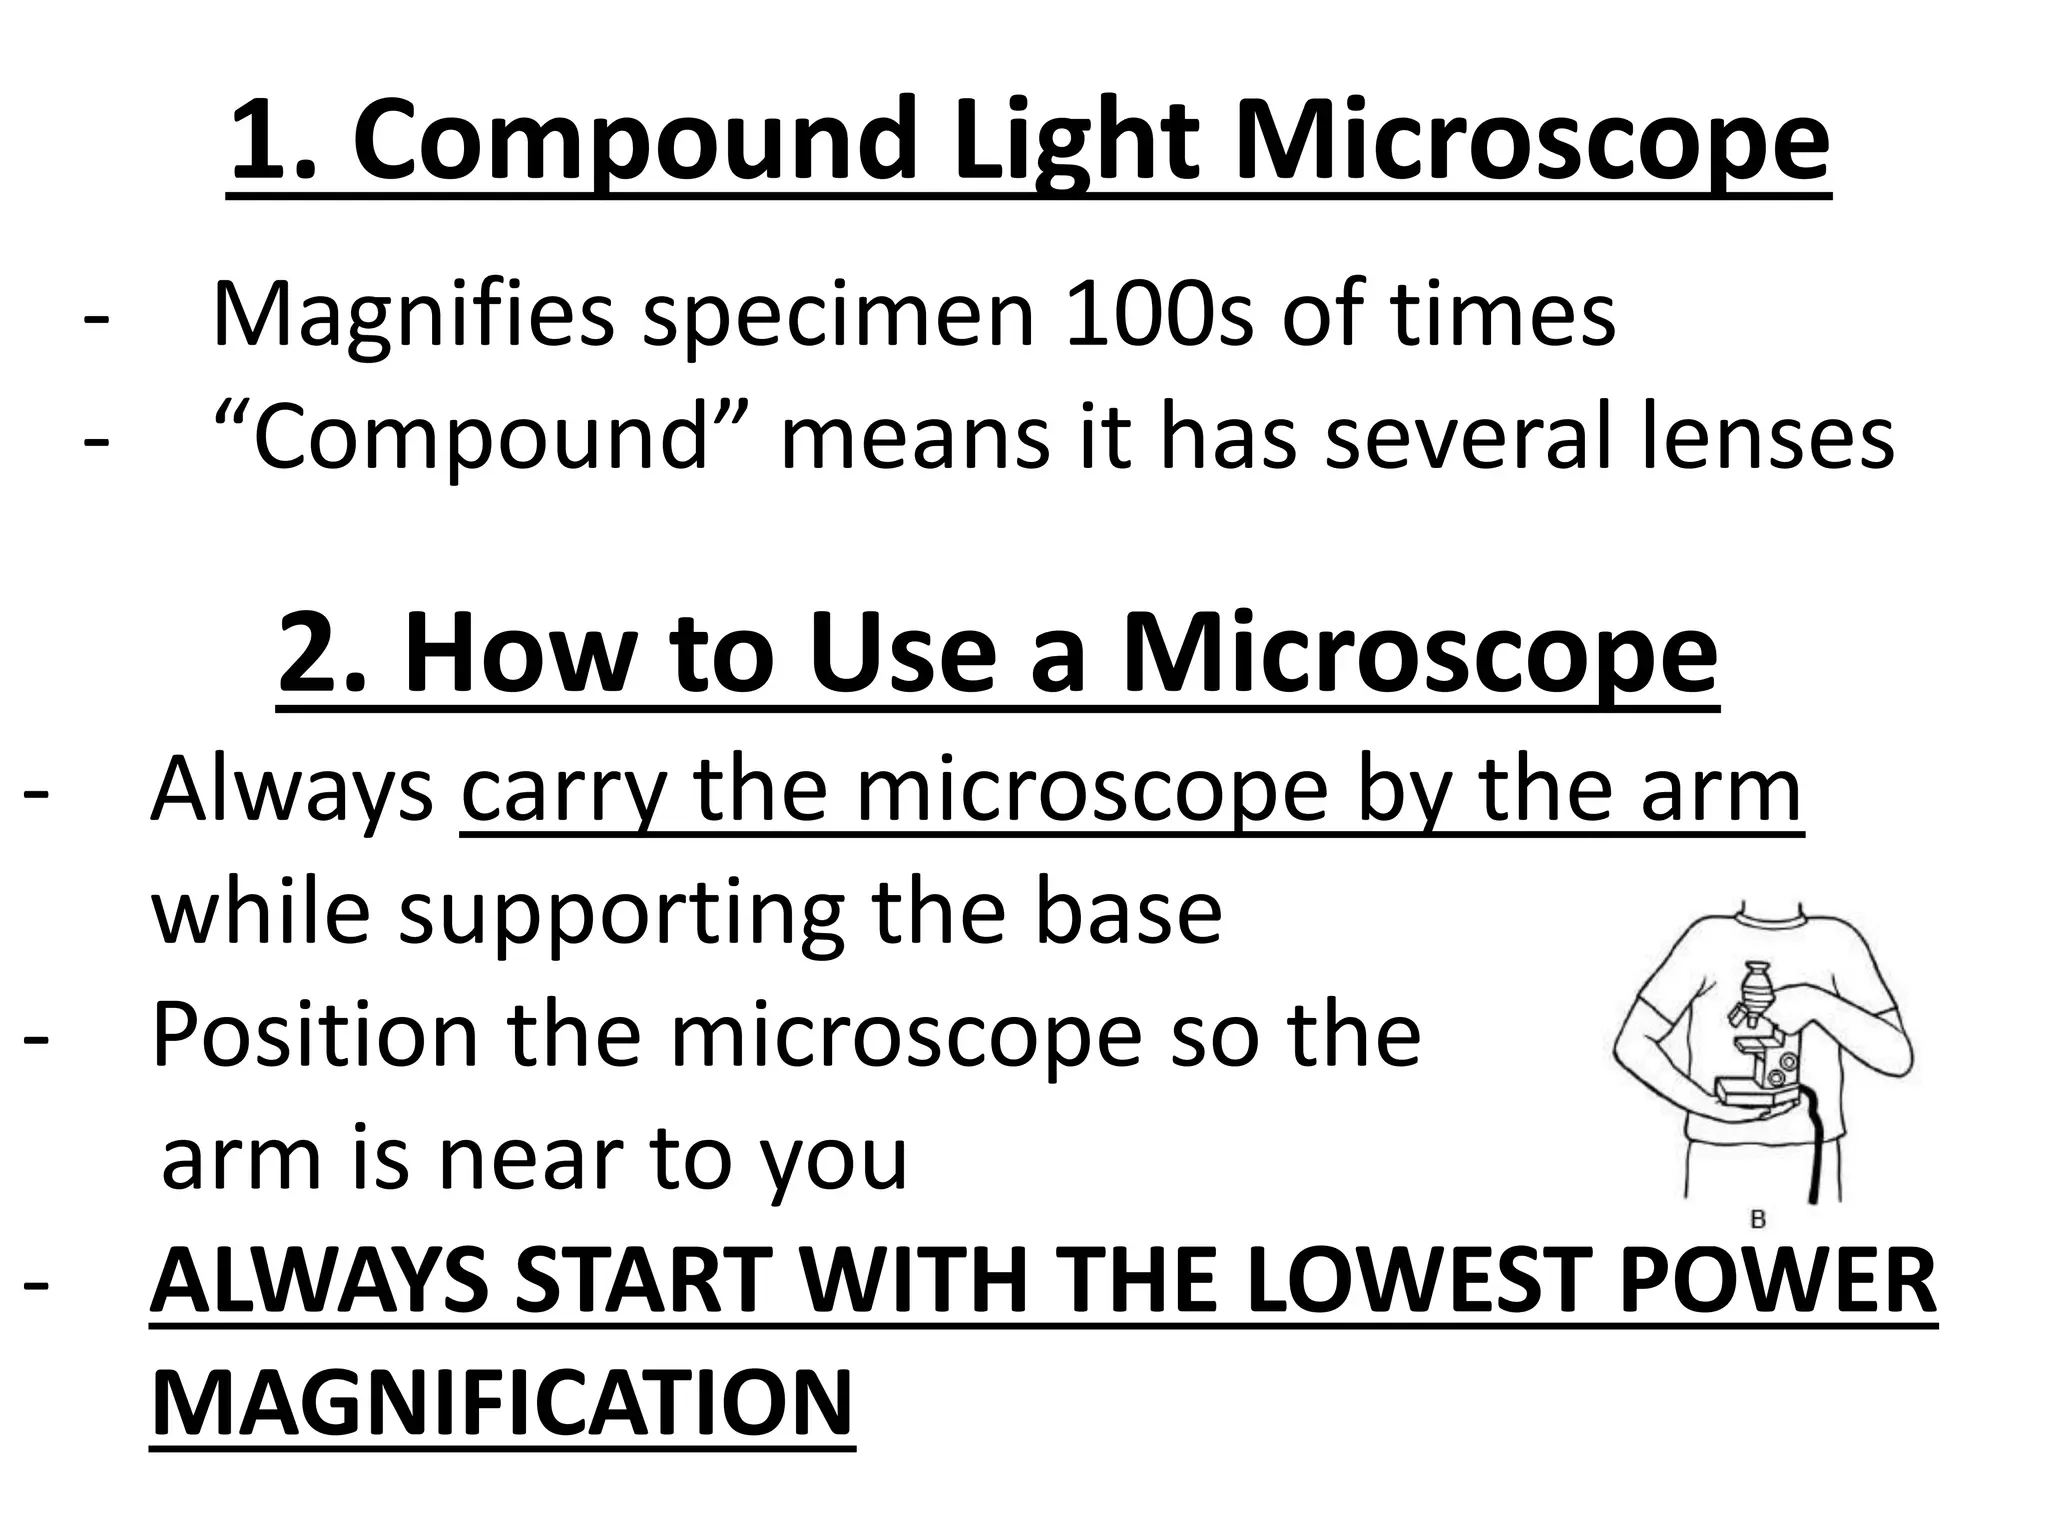
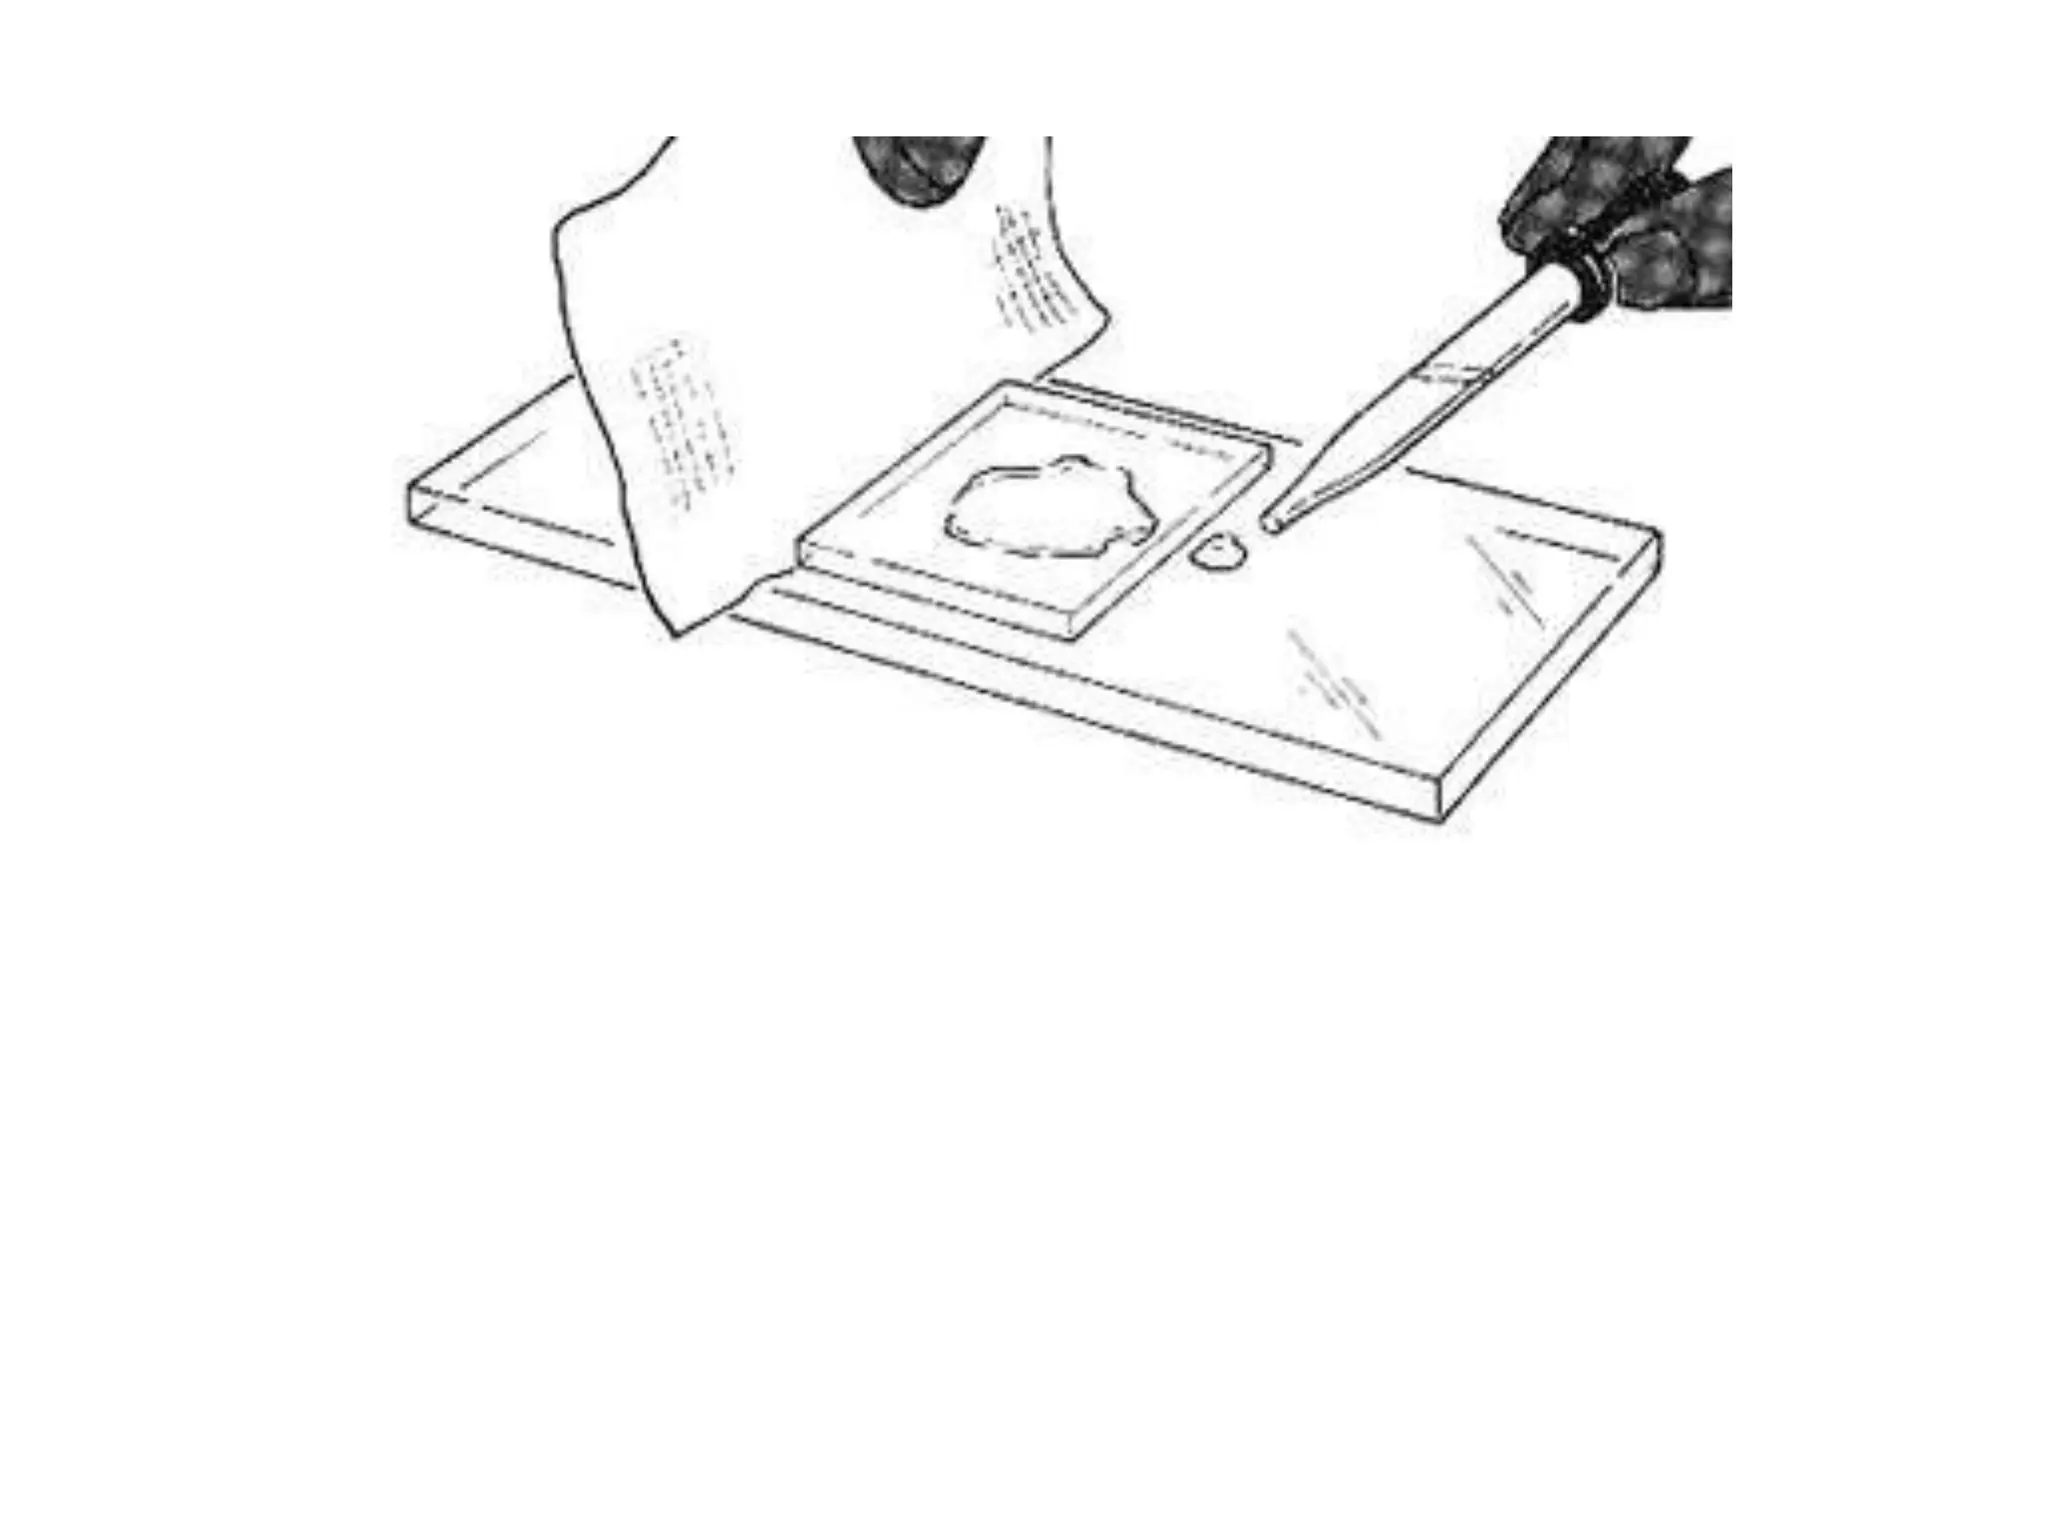
2. In order to observe, discover, and explore, scientists
use many different pieces of lab equipment.
A. Measuring Length
1. Meter stick, Ruler
Each marked line represents 1 cm.
The smaller lines between cm are mm.
There are 10 mm in 1 cm
There are 100 cm in 1 m
3. B. Measuring Volume
1. Graduated Cylinder
Used to measure exact volumes
To Use:
Fill to the appropriate level.
Note that liquid in a glass graduate cylinder
curves upward at the edges.
This is called the MENISCUS.
Read the volume at the bottom of the
meniscus when looking at eye level.
4.
5. 12 mL 16 mL 14 mL 14 mL
Pay attention to the scale of the graduate cylinder
(How much the lines go up by)
6. B. Measuring Volume
2. Beaker
Used to measure a approximate volume
To use: fill with the appropriate volume
There will not be much of a meniscus
Read at eye level.
7. B. Measuring Volume
3. Erlenmeyer and Florence Flasks
Used to measure an approximate volume
And/or to mix solutions
To use: same as beaker
Erlenmeyer Florence
8. B. Measuring Volume
4. Pipette
Used to measure an approximate volume
Measures one drop at a time
To use:
(to fill) submerge, gently squeeze and release
(to release) carefully squeeze 1 drop at a time
9. C. Measuring Mass
4. Electronic Balance
Used to measure an exact mass
To use:
Turn on, zero the balance, set to correct unit,
carefully place sample on tray.
If sample is placed in a container
subtract the mass of the container from the
total mass
10. D. Tools for Dissection
1. Dissecting Pan
Used to hold specimens in place
To use:
Lay the specimen on the tray and pin to the
rubber bottom
11. D. Tools for Dissection
2. Dissecting Needle (Probe)
Multi-purpose tools to move parts of the
specimen
12. D. Tools for Dissection
3. Scalpel
Use: to make precision cuts and/or take
samples
13. D. Tools for Dissection
4. Forceps
Use: to grasp and manipulate parts of a
specimen
14. E. Using Chemicals
1. Test Tube/Test tube rack
Use: to carry out chemical reactions
When not in use, put in test tube rack
15. E. Using Chemicals
1. Test Tube Holder
Use: to hold and move test tubes
Squeeze handle so the clamp opens
Release handles so the clamp closes around
test tube
22. 1. Compound Light Microscope
- Magnifies specimen 100s of times
- “Compound” means it has several lenses
2. How to Use a Microscope
- Always carry the microscope by the arm
while supporting the base
- Position the microscope so the
arm is near to you
- ALWAYS START WITH THE LOWEST POWER
MAGNIFICATION
23. 2. How to Use a Microscope (cont)
- Center the slide on the stage
- Center the specimen in the field of view
(remember the image is inverted)
- Use the coarse adjustment to focus the
slide -
- Once the slide is in focus, switch to a higher
power then refocus with fine adjustment
- ONLY USE THE FINE ADJUSTEMENT ONCE
YOU’VE SWITCHED TO THE HIGH POWER
LENS – IF NOT THE SLIDE WILL CRACK
24. Making a Wet Mount Slide
Wet mounts are microscope slides that contain a specimen
mounted in water. A cover slip (or cover glass) is used to
flatten the specimen and the water drop.
1. Obtain a clean microscope slide and cover slip. Hold
cover slips only by the edges.
2. Add a small drop of water to the slide.
3. Place the specimen in the drop of water.
4. Hold the cover slip at a 45˚ angle next to the drop of
water, slide it over until it hits the water. Place it onto the
water. This helps prevent air bubbles.
25. Adding a Stain/Chemical to Wet
Mount Slide
Stains: Chemicals added to a slide in order to see parts of a
specimen more clearly.
26.
27. Adding a Stain/Chemical to Wet
Mount Slide
Stains: Chemicals added to a slide in order to see parts of a
specimen more clearly.
1. After making a wet mount slide, place a drop of stain on
one side of the cover slip
2. Gently touch the other side of the cover slip with a piece
of paper towel
3. The paper towel will “pull” the stain under the coverslip