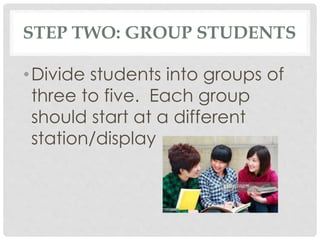
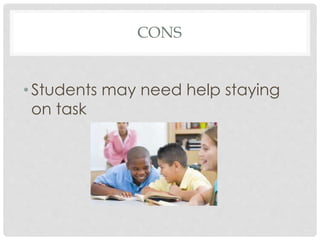
T E A C H I N G S T R A T E G Y
THE GALLERY WALK
STEP ONE: CREATE DISPLAYS
•Make posters to display
around the room
•Include images, documents,
problems, or quotes
•Pose prompts or questions
for students to contemplate
STEP TWO: GROUP STUDENTS
•Divide students into groups of
three to five. Each group
should start at a different
station/display
STEP THREE: OBSERVATION
•Groups will read and observe
the display
•Write responses, thoughts,
questions, and comments
STEP FOUR: ROTATE
•Have students rotate to
different displays every three to
five minutes to repeat step
three – observation.
STEP FIVE: MONITOR
•This step is to remind teacher
to be available and observant
as students rotate through the
gallery.
STEP SIX: REFLECT
•Have students reflect, discuss,
and draw conclusions from
what they’ve learned.
SEE GALLERY WALK IN ACTION
• http://www.theteachertoolkit.com/index.php/tool/
gallery-walk
PROS
Students are actively involved. They
• share ideas and are exposed to ideas of
others
• speak, listen, negotiate, and build consensus
• view the work of others and explain their
own work.
• collaborate, analyze, evaluate, and
synthesize.
• practice public speaking.
CONS
• Students may need help staying
on task
CREDITS
• http://www.theteachertoolkit.com
• https://www.facinghistory.org/for-
educators/educator-resources/teaching-
strategies/gallery-walk-teaching-strateg
• http://serc.carleton.edu/introgeo/gallerywalk/step.
html
• http://www.reg8.net/docs/12-cscope_newsletter10-
11_1stsixweeks.pdf

The gallery walk