This document provides an introduction and overview of a Small-Lab Kit developed at Chulalongkorn University for performing organic chemistry experiments safely on a small scale. The Small-Lab Kit contains basic glassware and equipment for techniques like distillation, reflux, chromatography, and more. Detailed instructions are provided for setting up experiments using the Small-Lab Kit apparatus, including assembling glassware, heating samples, and transferring liquids. The goal of the Small-Lab Kit is to enable organic chemistry experiments to be conducted conveniently and safely even without a full standard laboratory.


![Department of Chemistry, Faculty of Science, Chulalongkorn University, Bangkok, Thailand 10330
Tel / Fax +66 2218 7641, e-mail: supawan.t@chula.ac.th
52
DETERMINATION OF AN UNKNOWN ALCOHOL
BY OXIDATION REACTION
OBJECTIVE
1. To identify the organic compound from its reaction product.
BACKGROUND
RR'CHOH RCOR'
NO2
NO2
NO2
NO2
[R' = H or alkyl]
NHNH2
NHN=CRR'
Identification of organic compounds can be performed by either direct or indirect
experimental methods. Direct experimental method is to determine the characteristics of a
compound such as melting point or boiling point, elemental analysis and spectroscopic
data. If the substance is impure or has a complicated structure, the indirect experimental
method shall be applied by converting it to the other compound with the reaction that has
been known for a suspected existing functional group. For example, primary and secondary
alcohols are readily oxidized to aldehydes and ketones, respectively. Aldehydes and
ketones can then be converted into the corresponding derivatives whose structures can be
defined by any direct experimental method. The result can finally indicate the starting
alcohol.
In this experiment, an unknown alcohol will be determined by converting it to the
corresponding aldehyde or ketone and then 2,4-diphenylhydrazone derivatives. By
comparison of the melting points of the prepared and known 2,4-diphenylhydrazone
derivatives, the unknown alcohol will be identified.
REQUIREMENTS
Apparatus and materials:
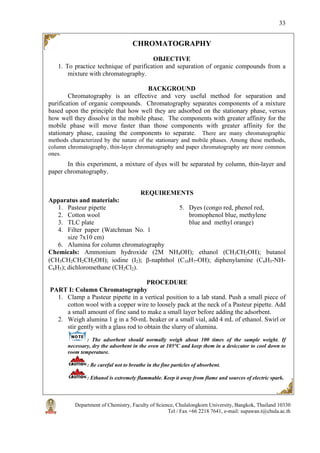
1. Round bottom flask
2. Conical bottom flask
3. Erlenmeyer flask
4. Receiver distilling still
5. Filtering flask
6. Suction glass funnel
7. Condenser
8. Pasteur pipette
9. Capillary tube
10. Boiling stone
11. Activated carbon
12. Hot plate and heat dissipation
block
Chemicals: Sulfuric acid (conc.H2SO4); potassium dichromate (K2Cr2O7); 2,4-
dinitrophenylhydrazine (C6H3(NO2)2NHNH2); ethanol (CH3CH2OH); rosaniline
hydrochloride (C20H19N3.HCl); sodium metabisulfite (Na2S2O5).](https://image.slidesharecdn.com/smallscalelaboratory-190926224932/85/Small-scale-laboratory-52-320.jpg)


![Department of Chemistry, Faculty of Science, Chulalongkorn University, Bangkok, Thailand 10330
Tel / Fax +66 2218 7641, e-mail: supawan.t@chula.ac.th
104
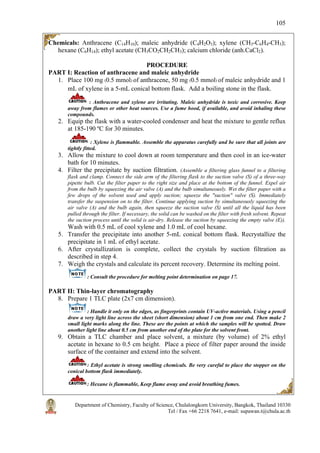
DIELS-ALDER REACTION
O
O
O
Anthracene Maleic anhydride
H
H[4+2]
9,10-Dihydroanthracene-9,10-
α,β-succinic anhydride
O
O
O
OBJECTIVES
1. To synthesize 9,10-dihydroanthracene-9,10-α,β-succinic anhydride by Diels-Alder
reaction.
2. To practice the experimental techniques on reflux, recrystallization, melting point
determination and thin-layer chromatography.
BACKGROUND
The Diels-Alder reaction combines a diene (a molecule with two alternating double
bonds) and a dienophile (an alkene) to make rings. The three double bonds in the two
starting materials are converted into two new single bonds and one new double bond
leading to the formation of a six-membered ring.
1
2
3
4
1
2
3
4
new bond
new bond
Diene
Dienophile
When the diene contains an electron donating group or the dienophile contains an electron-
withdrawing group, the reaction will work well. Therefore this reaction is very useful for
the preparation of a wide variety of six-membered ring compounds.
In this experiment, the reaction between anthracene and maleic anhydride will be
carried out by refluxing at temperature 185-190 °C. The product will be purified by
crystallization and identified by thin-layer chromatography.
REQUIREMENTS
Apparatus and materials:
1. Conical bottom flask
2. Condenser
3. Filtering flask
4. Filtering glass funnel
5. TLC plates
6. Three-way pipette rubber bulb
7. Hot plate and heat dissipation
block](https://image.slidesharecdn.com/smallscalelaboratory-190926224932/85/Small-scale-laboratory-104-320.jpg)


![Department of Chemistry, Faculty of Science, Chulalongkorn University, Bangkok, Thailand 10330
Tel / Fax +66 2218 7641, e-mail: supawan.t@chula.ac.th
115
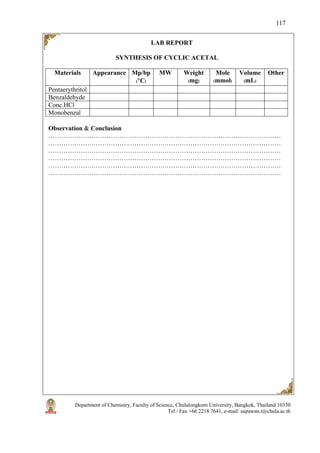
SYNTHESIS OF CYCLIC ACETAL
OH OH
OHOH
O
O
OH
OH
H2O
H+
H2O
Benzaldehyde Pentaerythritol 5,5-Bis(hydroxymethyl)-2-phenyl-1,3-dioxane
Ph
H
O
OBJECTIVES
1. To synthesize cyclic acetal from benzaldehyde and pentaerythritol in acid condition
2. To purify the product by crystallization
BACKGROUND
Aldehydes and ketones react with alcohols in acid condition to give acetals and
ketals. Cyclic acetals or ketals are more stable towards hydrolysis than acyclic ones. Cyclic
acetals or ketals are readily formed by the reaction of two molecules, an aldehyde or a
ketone and a diol. The reaction produces two products, the acetal or ketal and water.
R R[H]
O
HO OH
H+
O
C
O H2O
Aldehydes
or Ketones Ethylene glycol Acetal or Ketal
R R(H)
It is an equilibrium reaction. The equilibrium is shifted towards the acetal or ketal by using
an excess of the alcohol and/or removing water as it forms. Acetal or ketal can be readily
converted back to the aldehyde or ketone, respectively, by heating with aqueous acid.
Therefore, the formation of acetal or ketal can be used as protecting groups for aldehydes
or ketones.
In this experiment, the cyclic acetal, 5,5-bis(hydroxymethyl)-2-phenyl-1,3-dioxane
will be synthesized by dehydration reaction between benzaldehyde and pentaerythritol in
aqueous acid.
REQUIREMENTS
Apparatus and materials:
1. Round bottom flask
2. Hot plate and heat
dissipation block
3. Pasteur pipette
4. Three-way pipette rubber
bulb
5. Receiver distilling still
6. Filtering flask
7. Suction glass funnel
Chemicals: Pentaerythritol (C(CH2OH)4); benzaldehyde (C6H5-CHO); hydrochloric acid
(conc.HCl); toluene (C6H5-CH3).](https://image.slidesharecdn.com/smallscalelaboratory-190926224932/85/Small-scale-laboratory-115-320.jpg)