Download to read offline
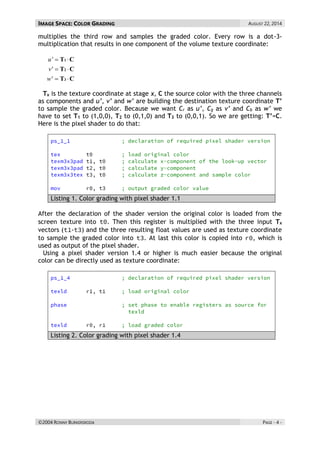
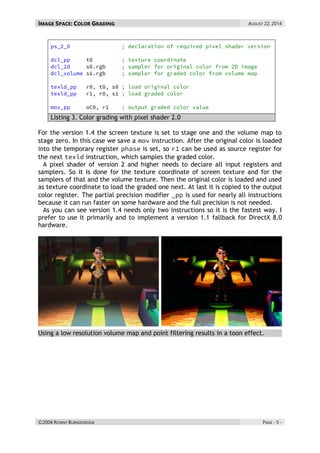
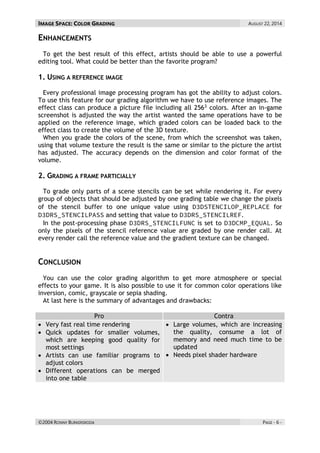
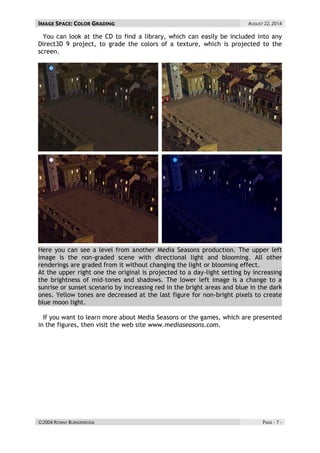

Color grading is a post-processing effect that allows manipulation of colors in real-time rendered images to change the mood or atmosphere. It works by sampling values from a 3D texture containing projected color values to grade input pixel colors. Implementing color grading requires creating a volume texture for the projected colors and using it in a pixel shader to sample graded output colors based on input pixel values.


![[UniteKorea2013] The Unity Rendering Pipeline](https://cdn.slidesharecdn.com/ss_thumbnails/theunityrenderingpipelinekuba-130505193137-phpapp02-thumbnail.jpg?width=640&height=640&fit=bounds)


