Download as PDF, PPTX
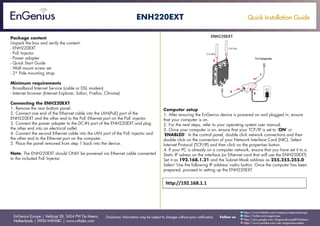
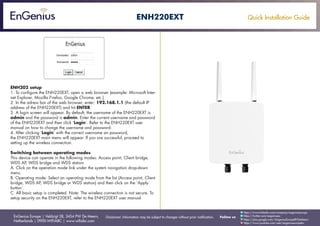
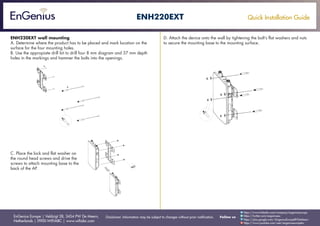
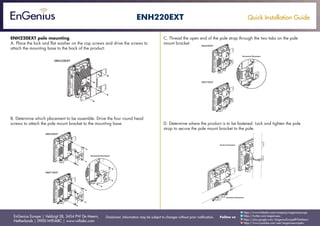

1. The document provides quick installation instructions for the ENH220EXT wireless access point, including unpacking contents, minimum system requirements, connecting the device via Ethernet cable and PoE injector, and configuring the computer and access point settings through a web browser. 2. Installation instructions include removing the rear panel, connecting Ethernet cables from the access point to the PoE injector and computer, and powering on the device. The access point is then configured via a web browser. 3. The document also provides instructions for wall or pole mounting the access point and switching between different operation modes.


