1. Proper training is required for anyone involved in GRE pipe installation to ensure they have knowledge of safely handling and assembling GRE pipes and fittings.
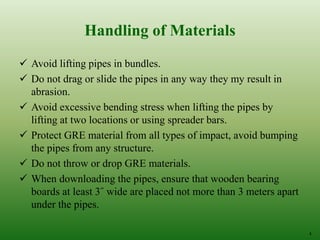
2. Careful handling of GRE materials is necessary to prevent damage and ensure long life, as mishandling during installation is a common cause of later problems. Pipes should be lifted properly, protected from impacts, and not dragged or dropped.
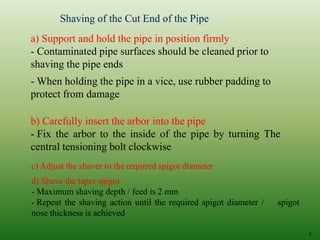
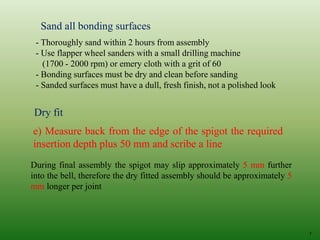
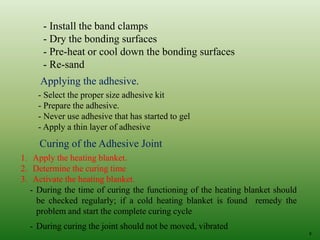
3. The document provides step-by-step instructions for field jointing of GRE pipes, including shaving pipe ends, sanding bonding surfaces, dry fitting joints, applying adhesive, and using heating blankets to properly cure adhesive joints.