1) PowerPoint features like hyperlinks, transitions, sounds, and animations can be used to engage audiences but should be used consistently and subtly to avoid distraction.
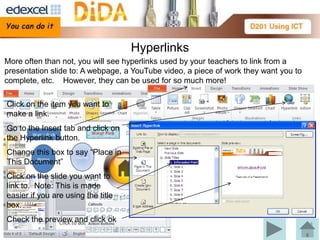
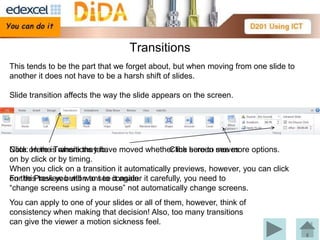
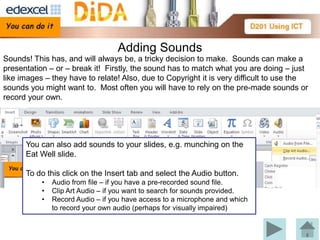
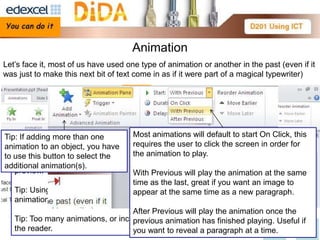
2) Hyperlinks can link to other slides, webpages, or files. Transitions determine how slides change on screen. Sounds must match content and consider copyright. Animations can make text or images appear gradually.
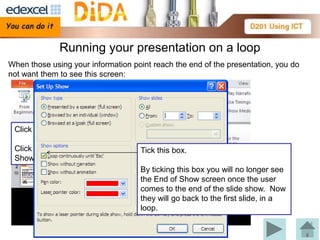
3) To loop a presentation continuously, enable the "Loop continuously until 'Esc'" option in the Slide Show settings.