- The document discusses a preliminary video production task completed by a group to demonstrate their understanding of video techniques.
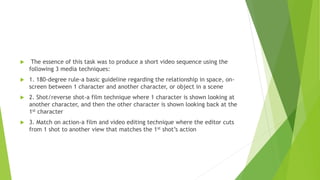
- The task involved producing a video sequence using the 180-degree rule, shot/reverse shot, and match on action techniques.
- The group researched examples, developed a story around a mysterious package, created a storyboard, and filmed their sequence at a friend's house using a phone after their camera malfunctioned.