Plesk is a hosting automation solution that simplifies setup and management of user accounts, websites, and email for hosting providers. It manages common software components like web servers, FTP servers, DNS servers, databases, and more. Plesk's user account hierarchy includes client accounts for resellers, domain administrator accounts, and email user accounts. Client accounts can host multiple sites and resell hosting, while domain administrators are limited to one site. Plesk comes preconfigured to immediately start serving customers after installation.


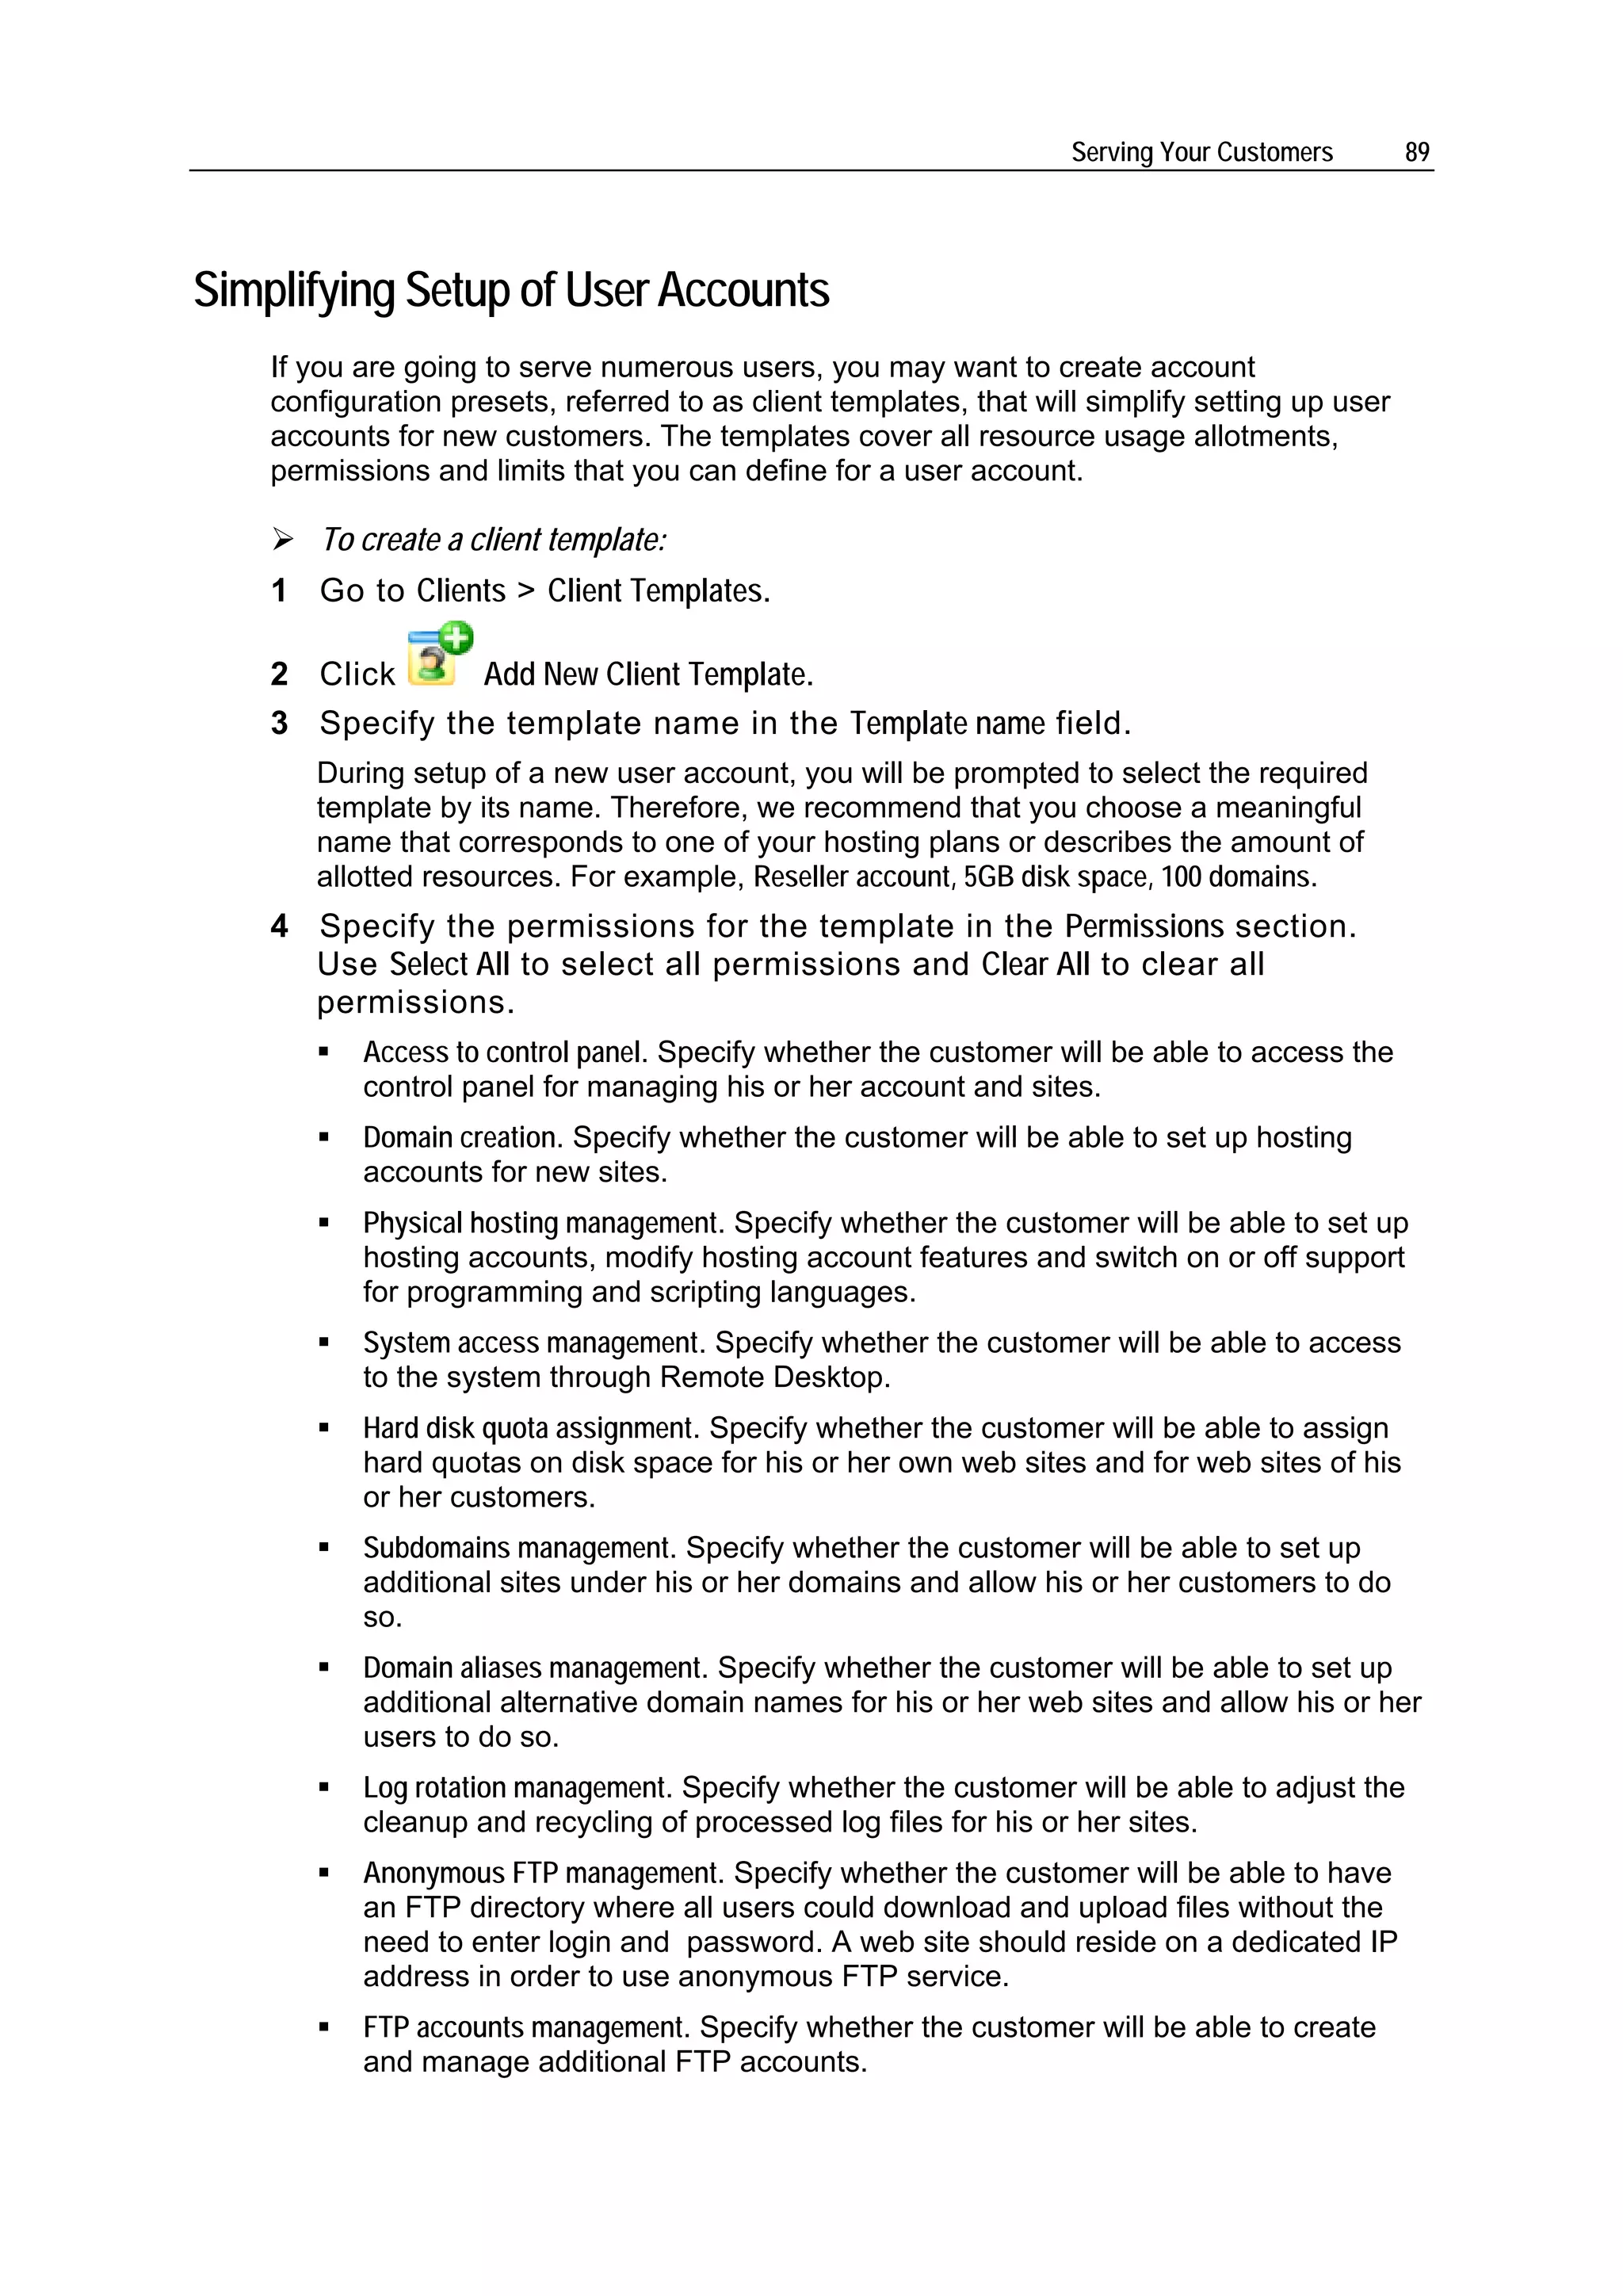


![Serving Your Customers 203
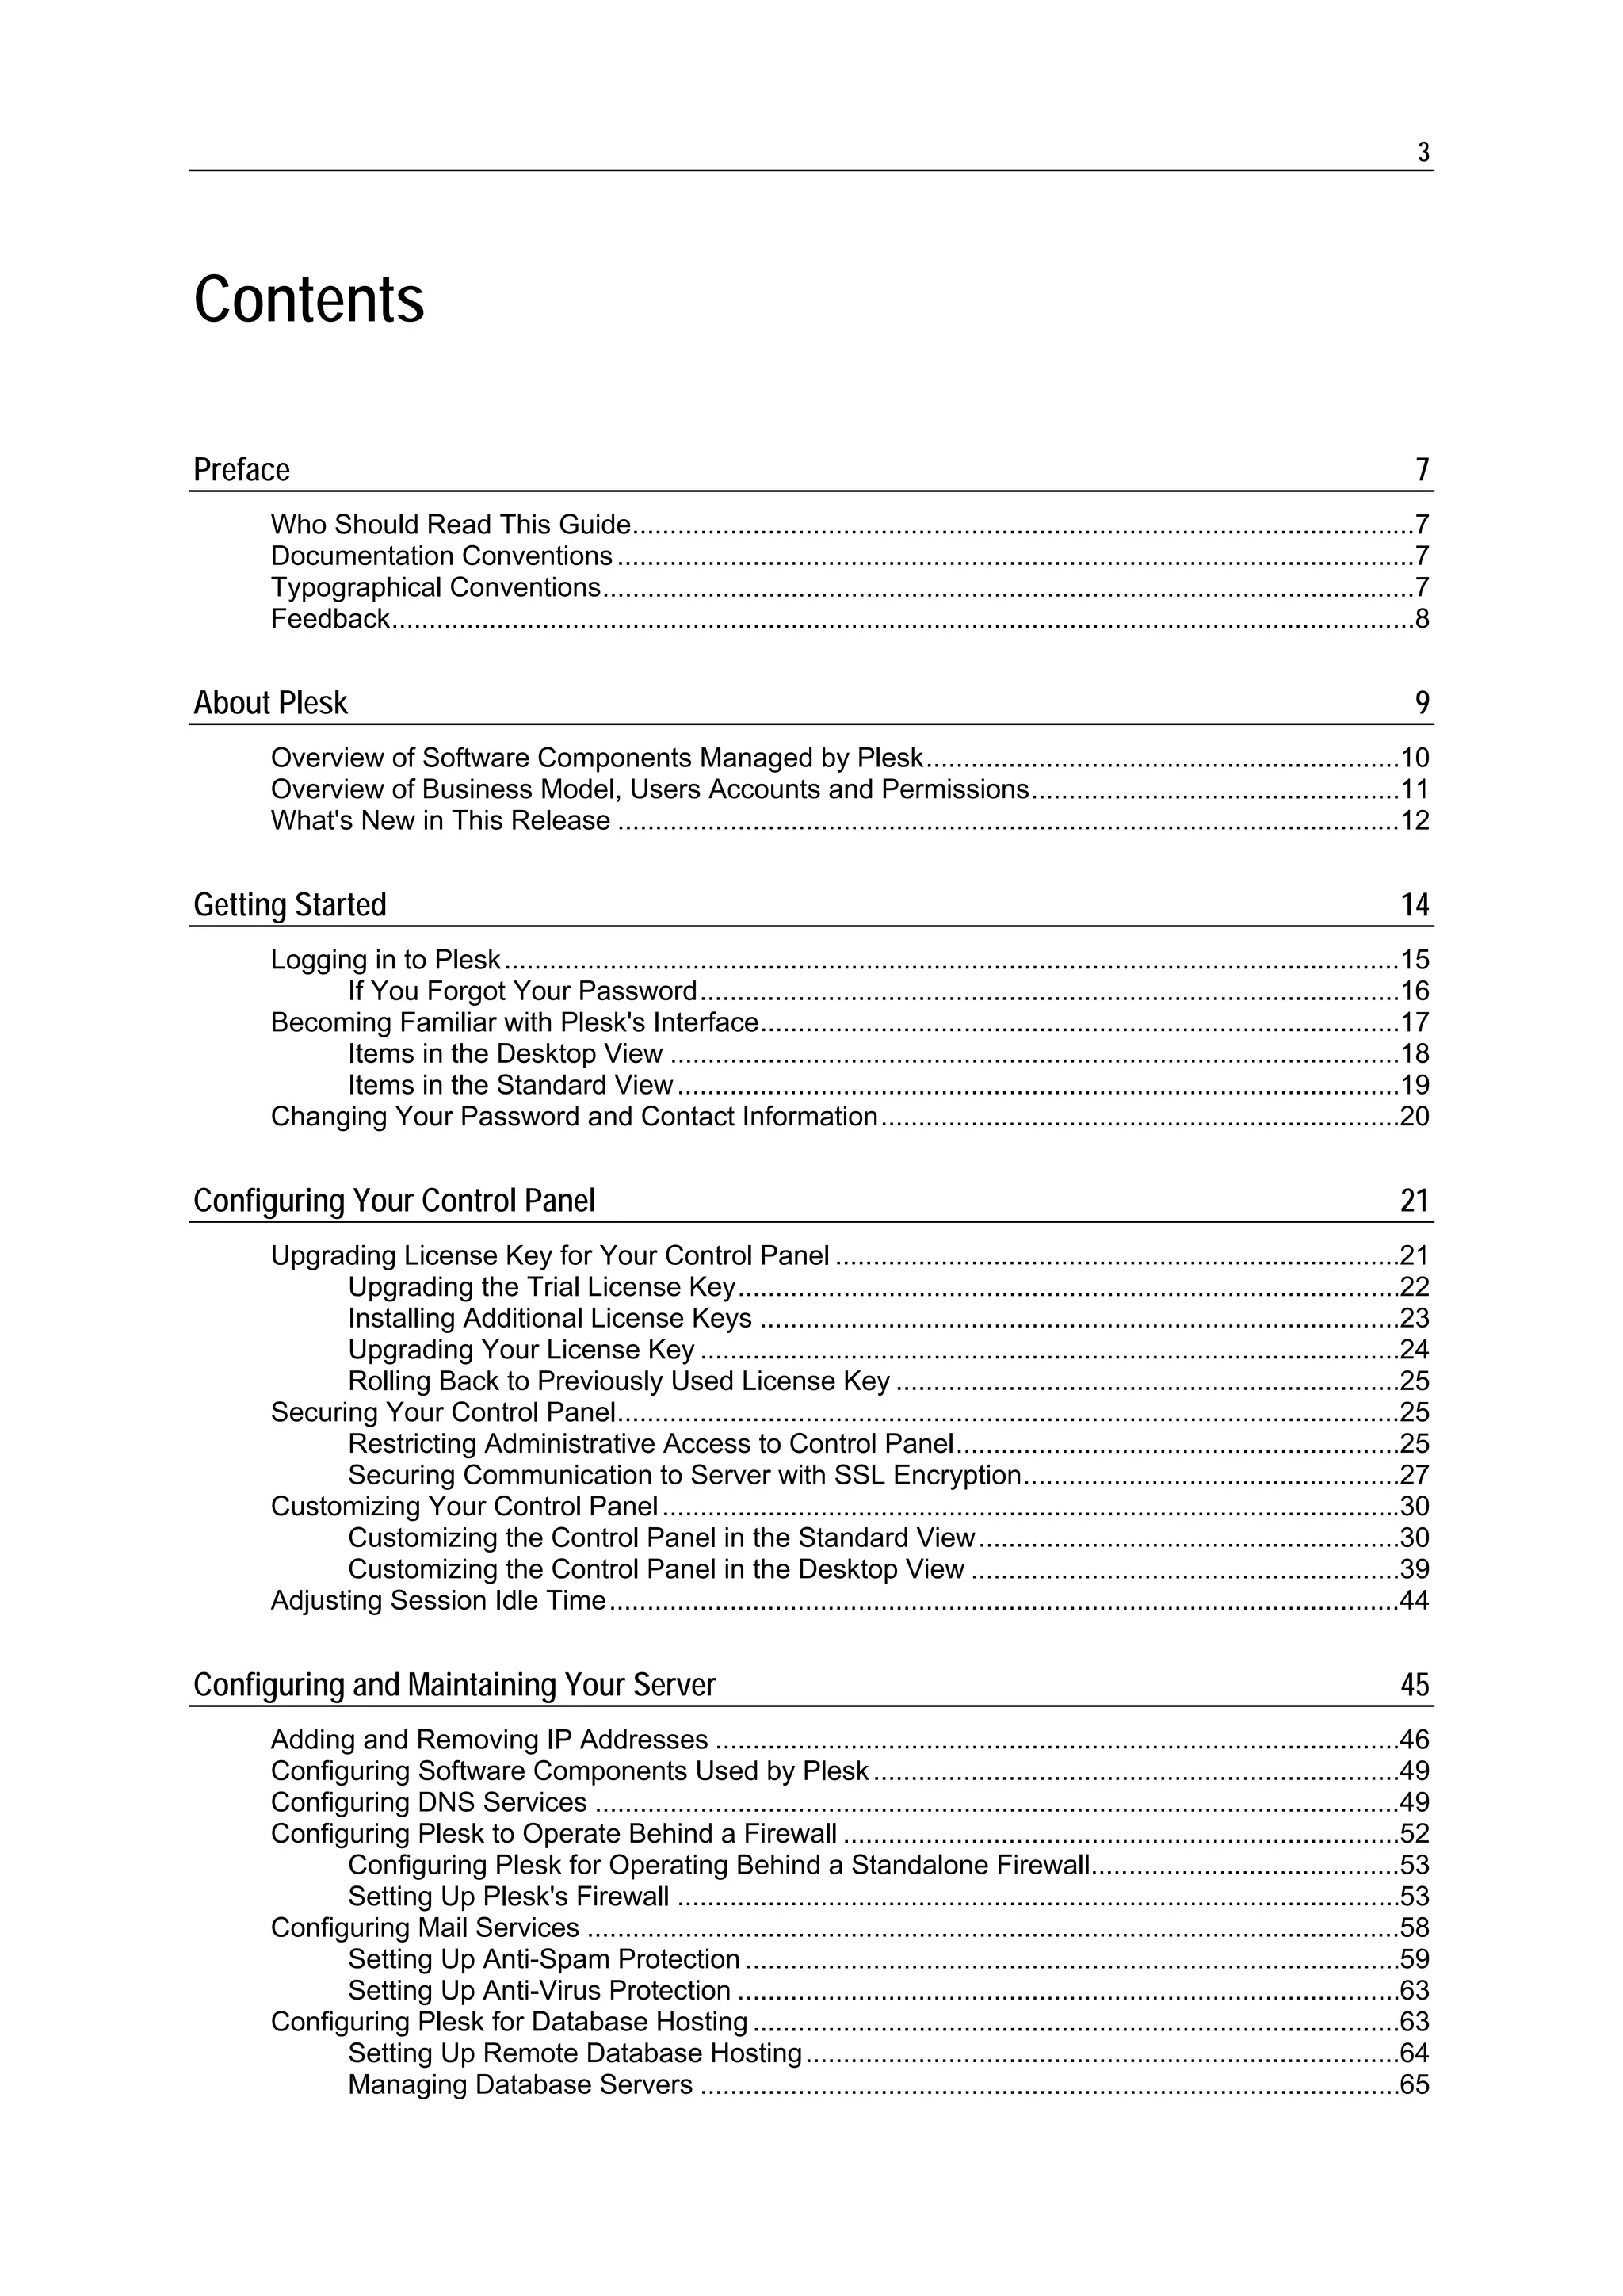
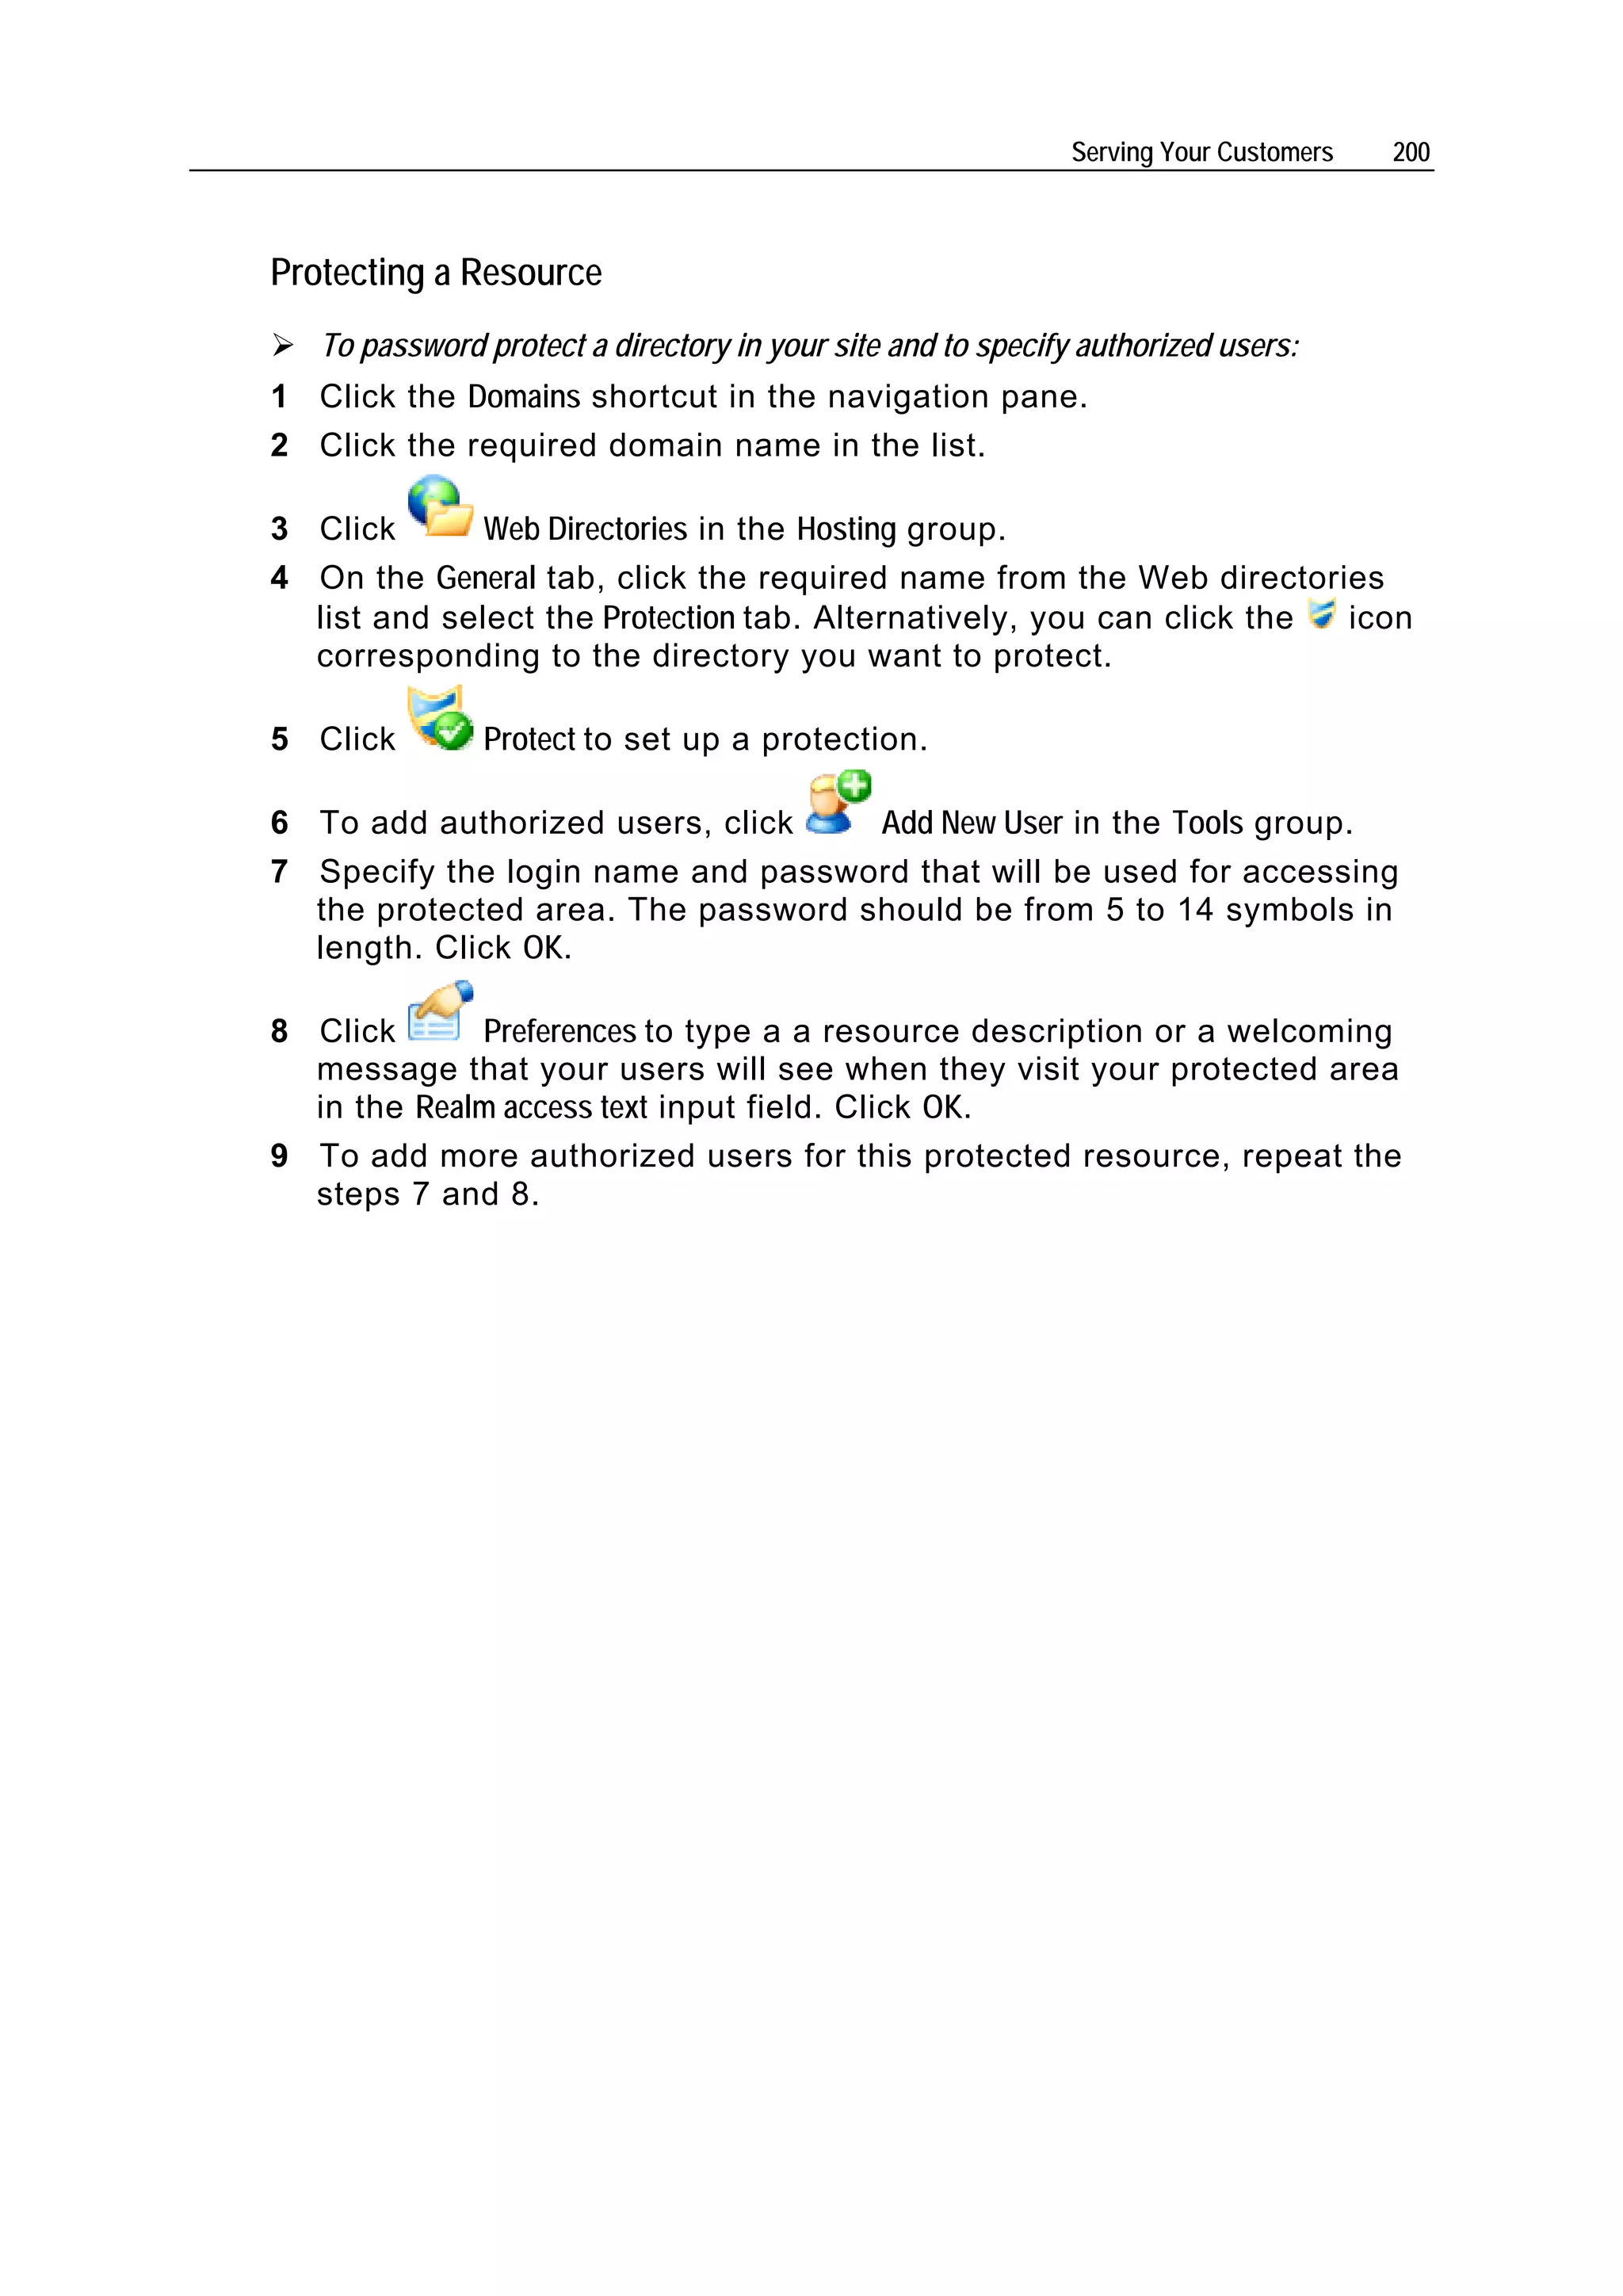
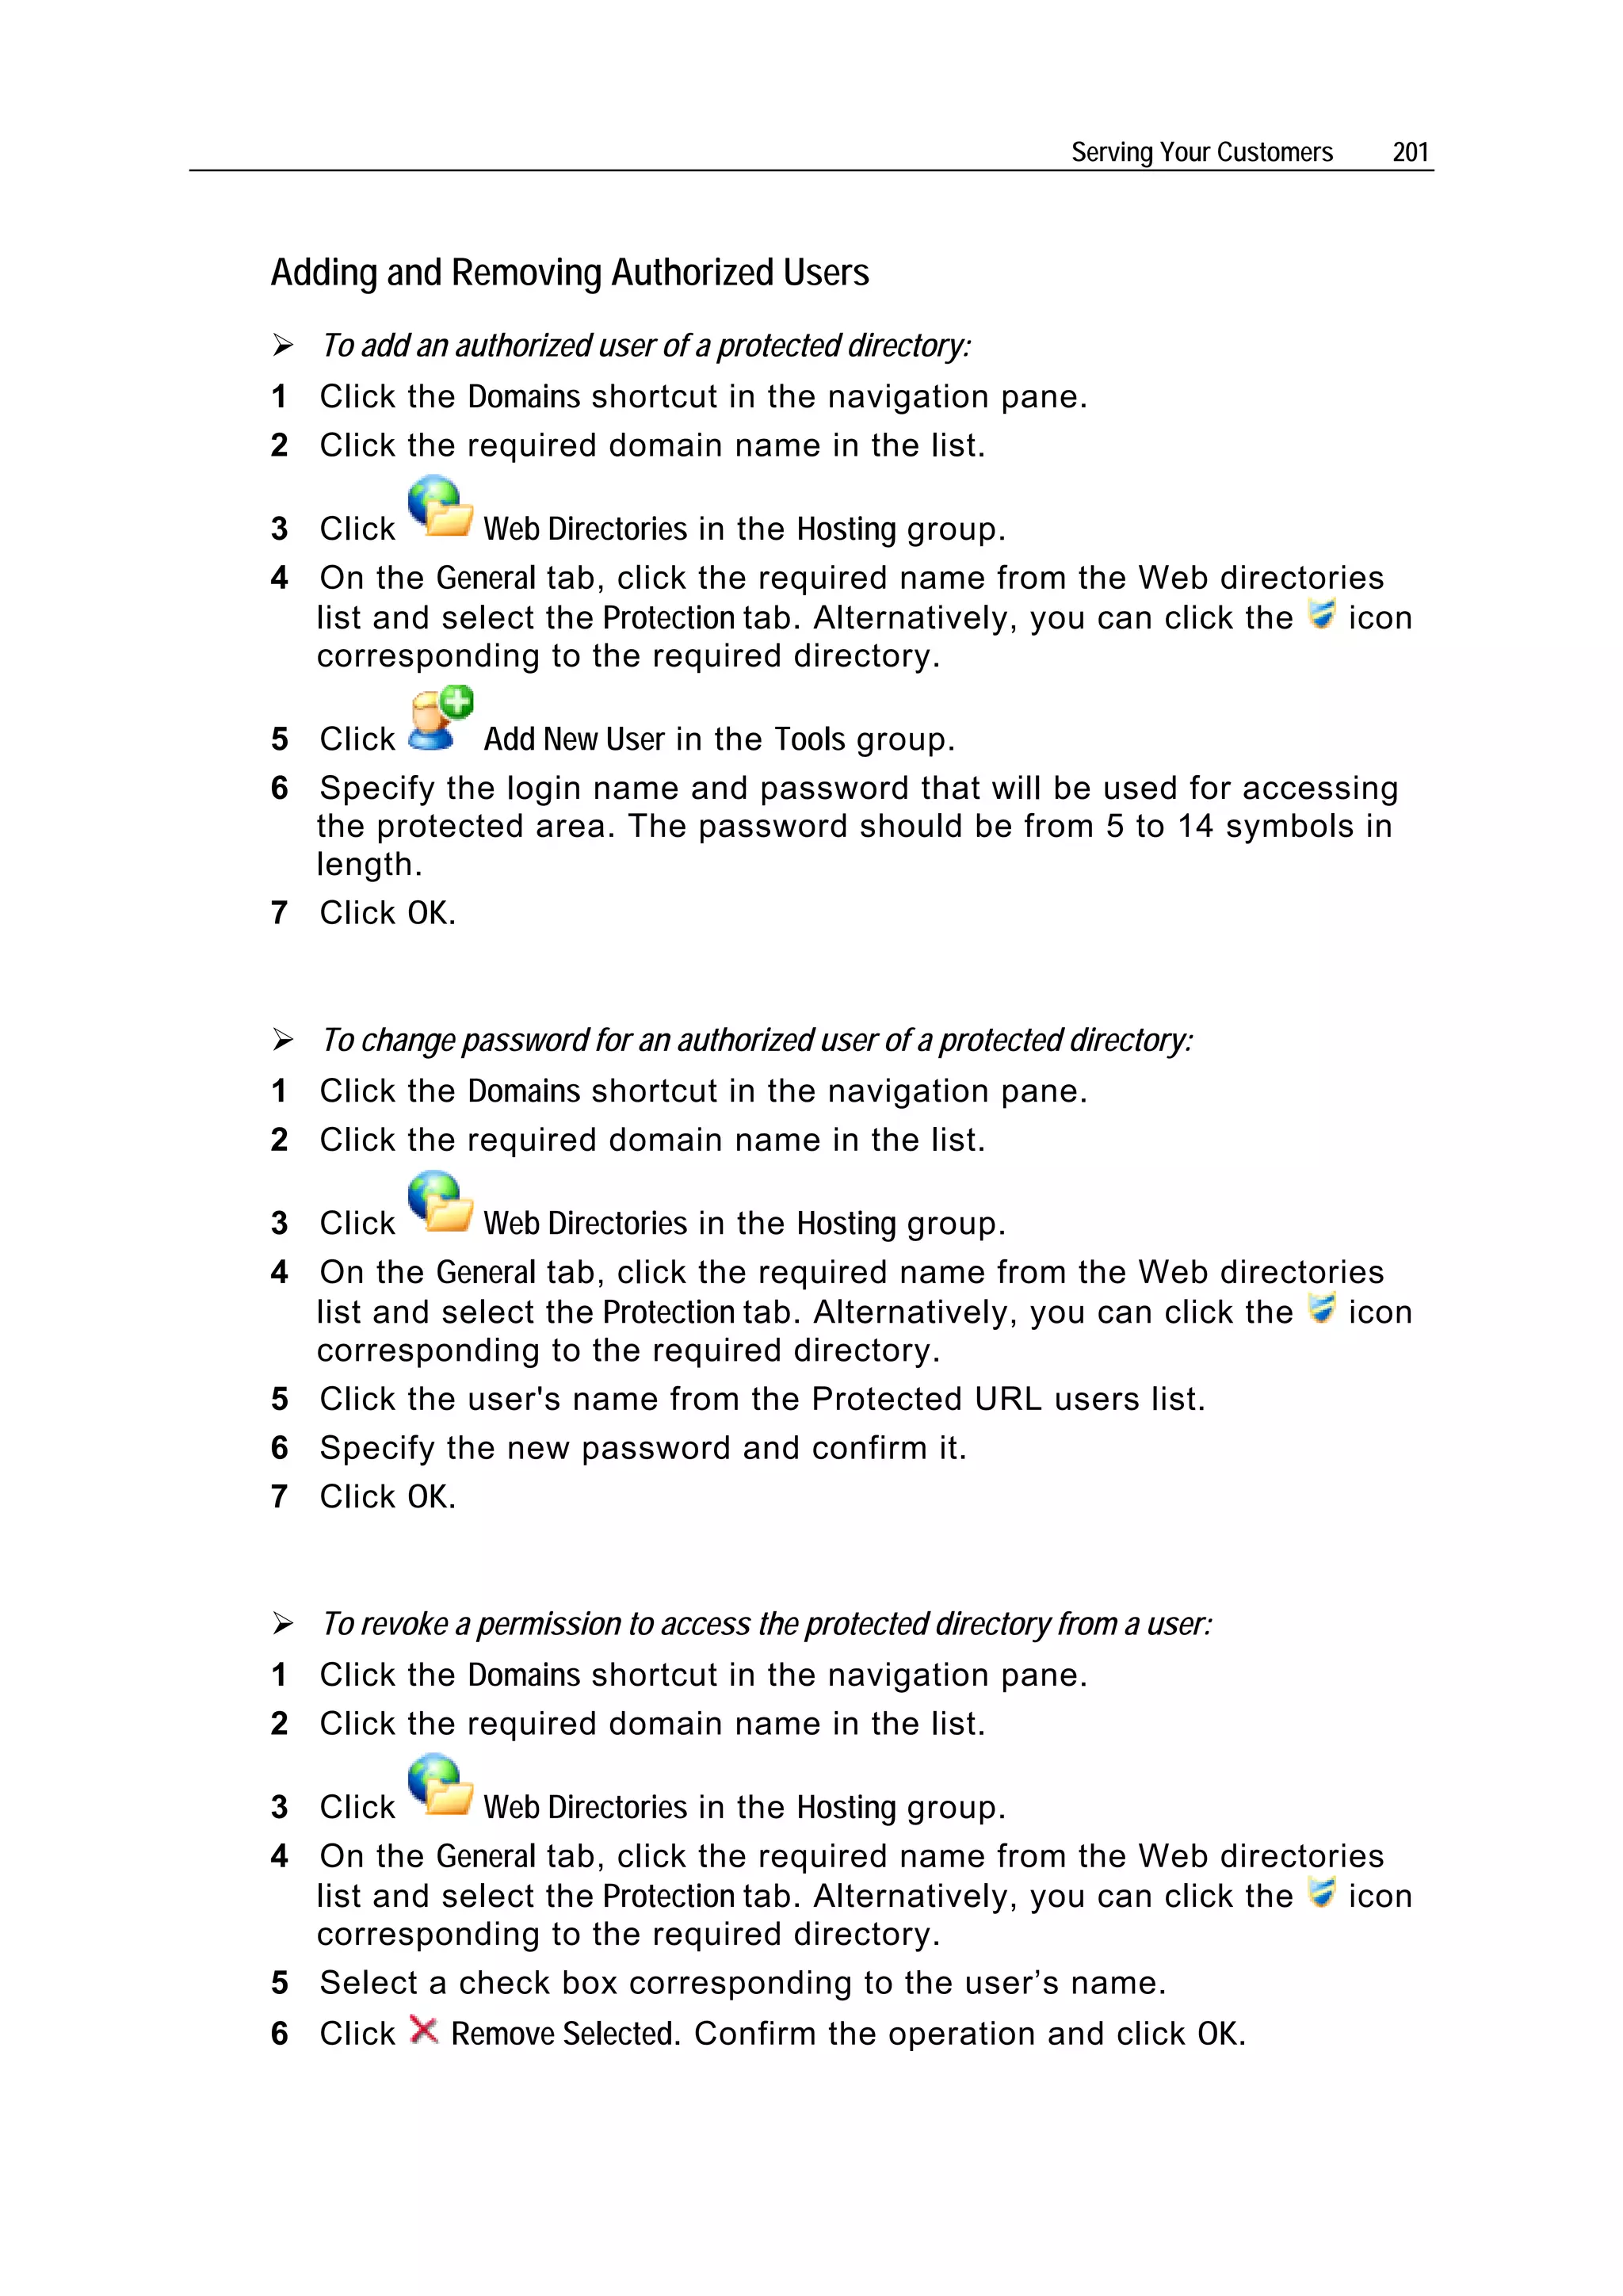
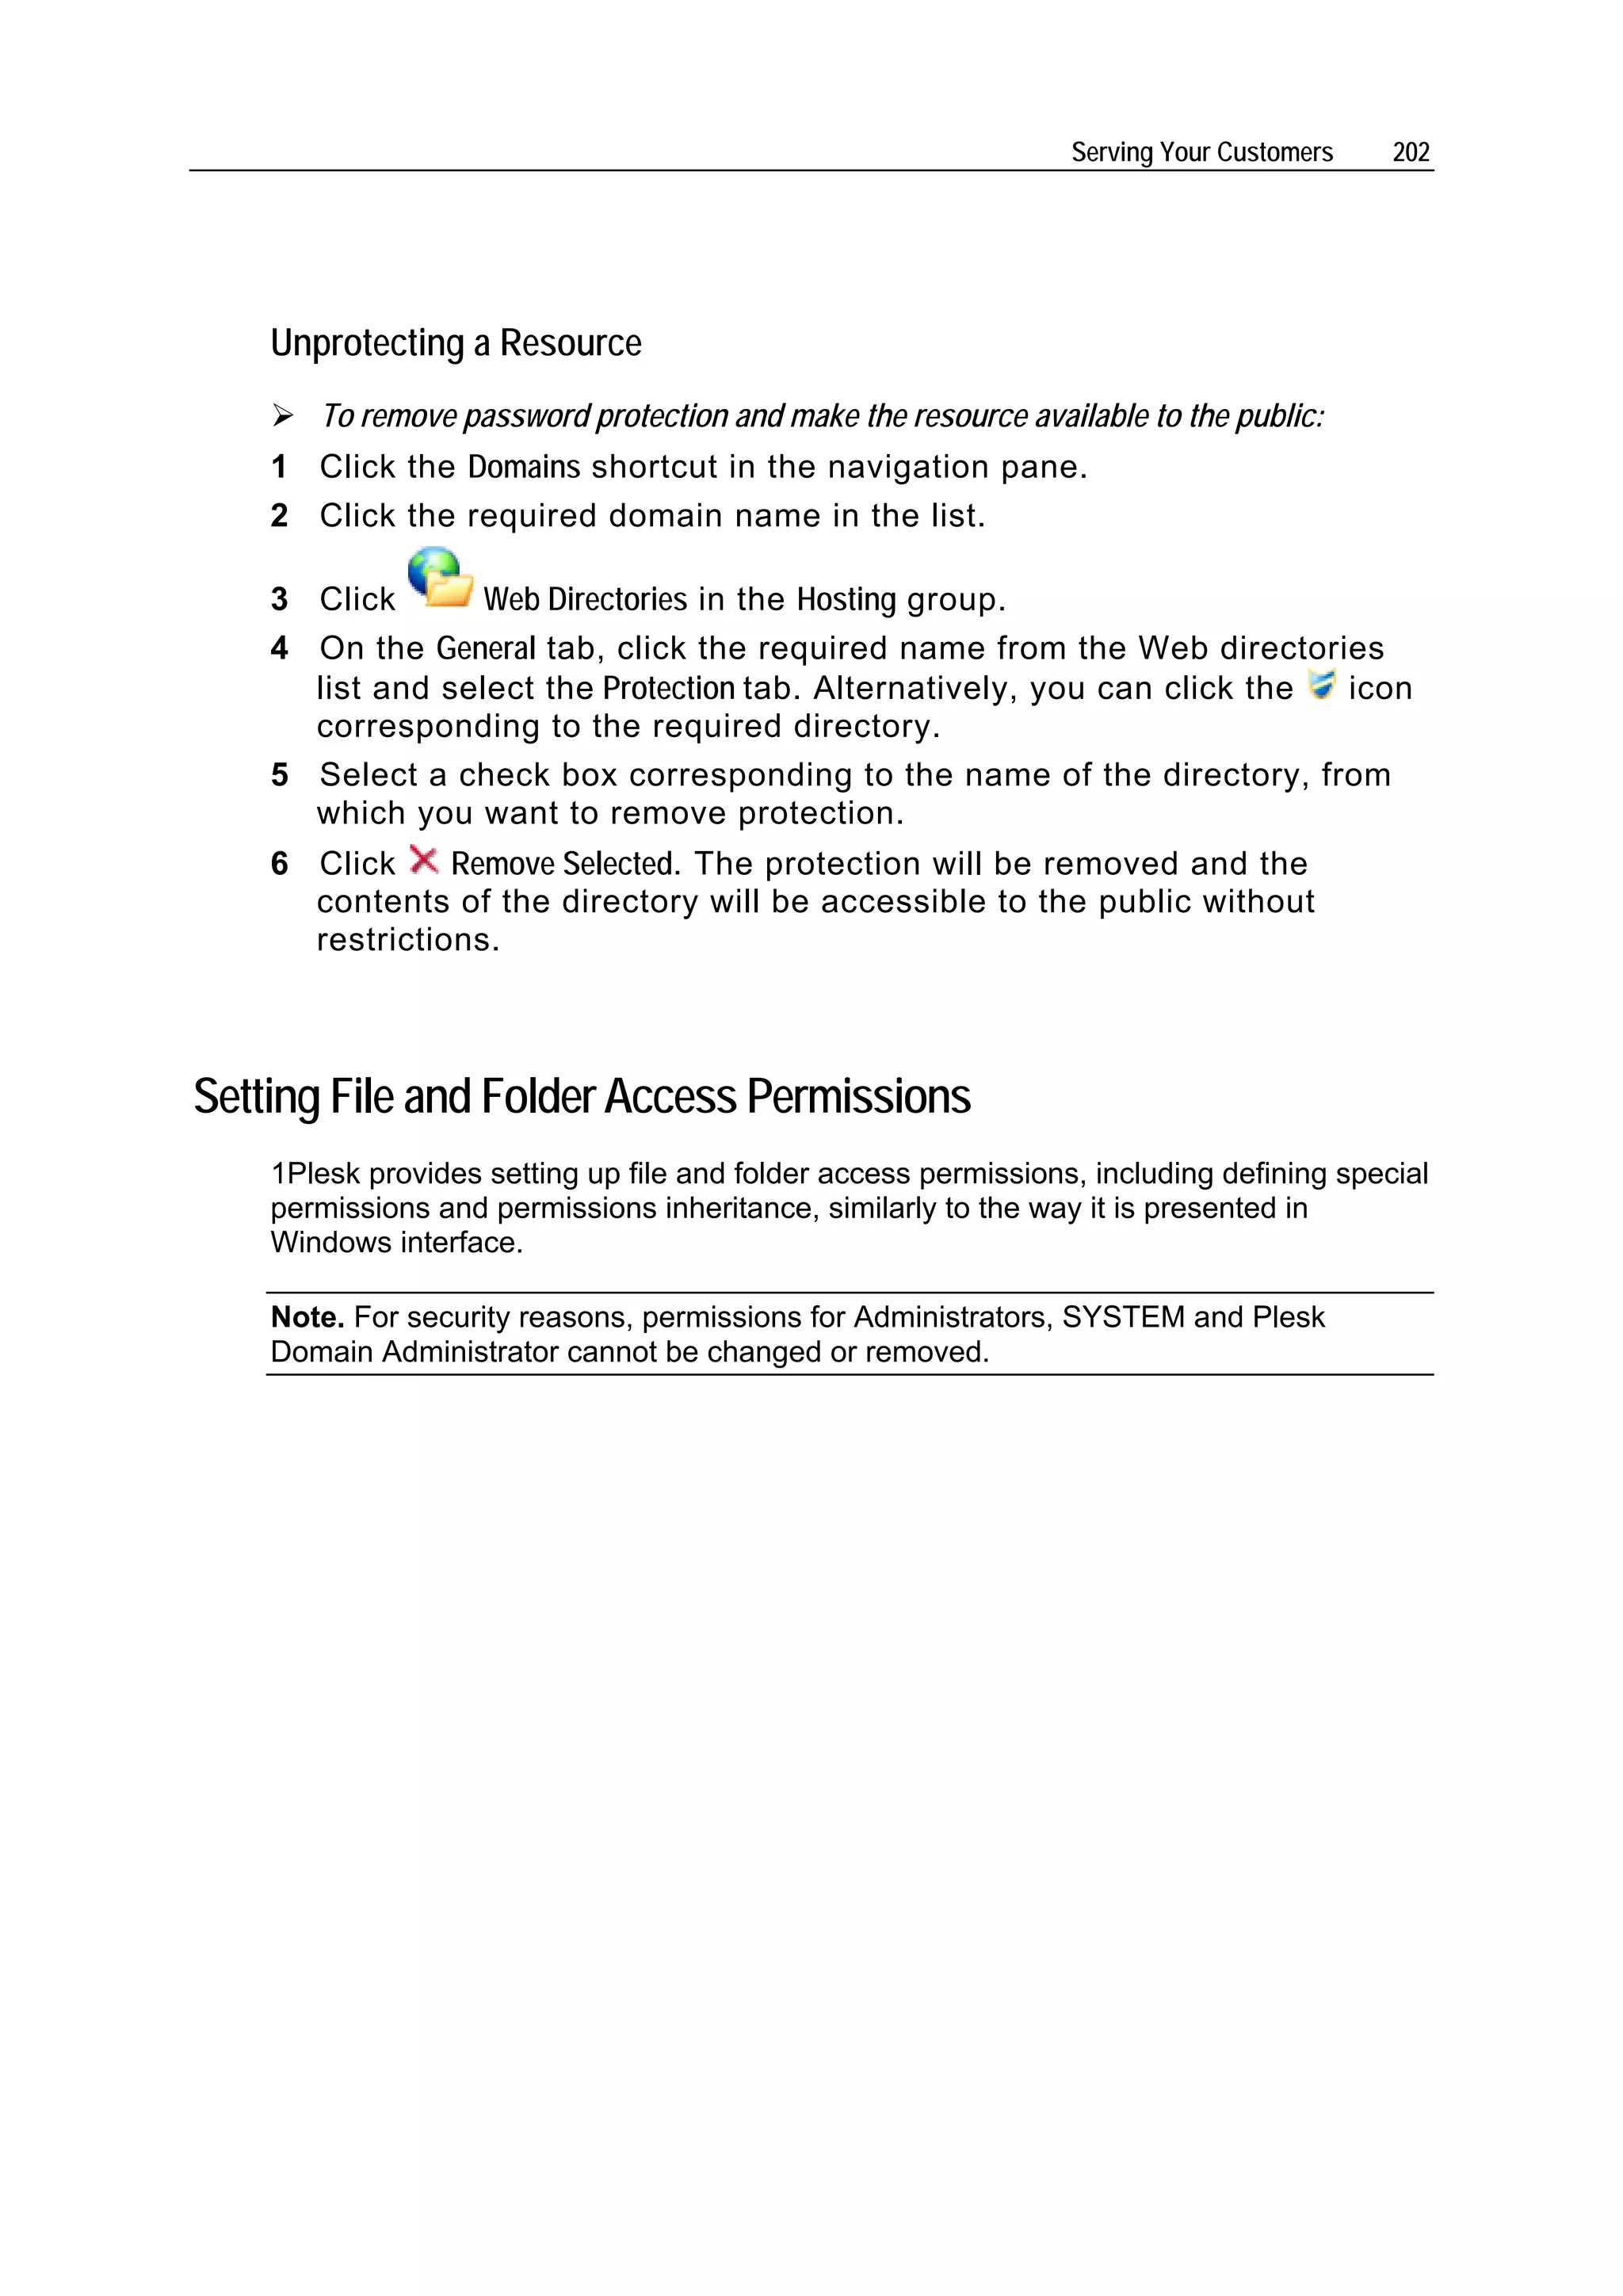
Setting and Changing Access Permissions for Groups and Users
To set or change access permissions for a group or user:
1 Click the Domains shortcut in the navigation pane.
2 Click the required domain name in the list.
3 Click File Manager.
4 Click corresponding to the required file or folder.
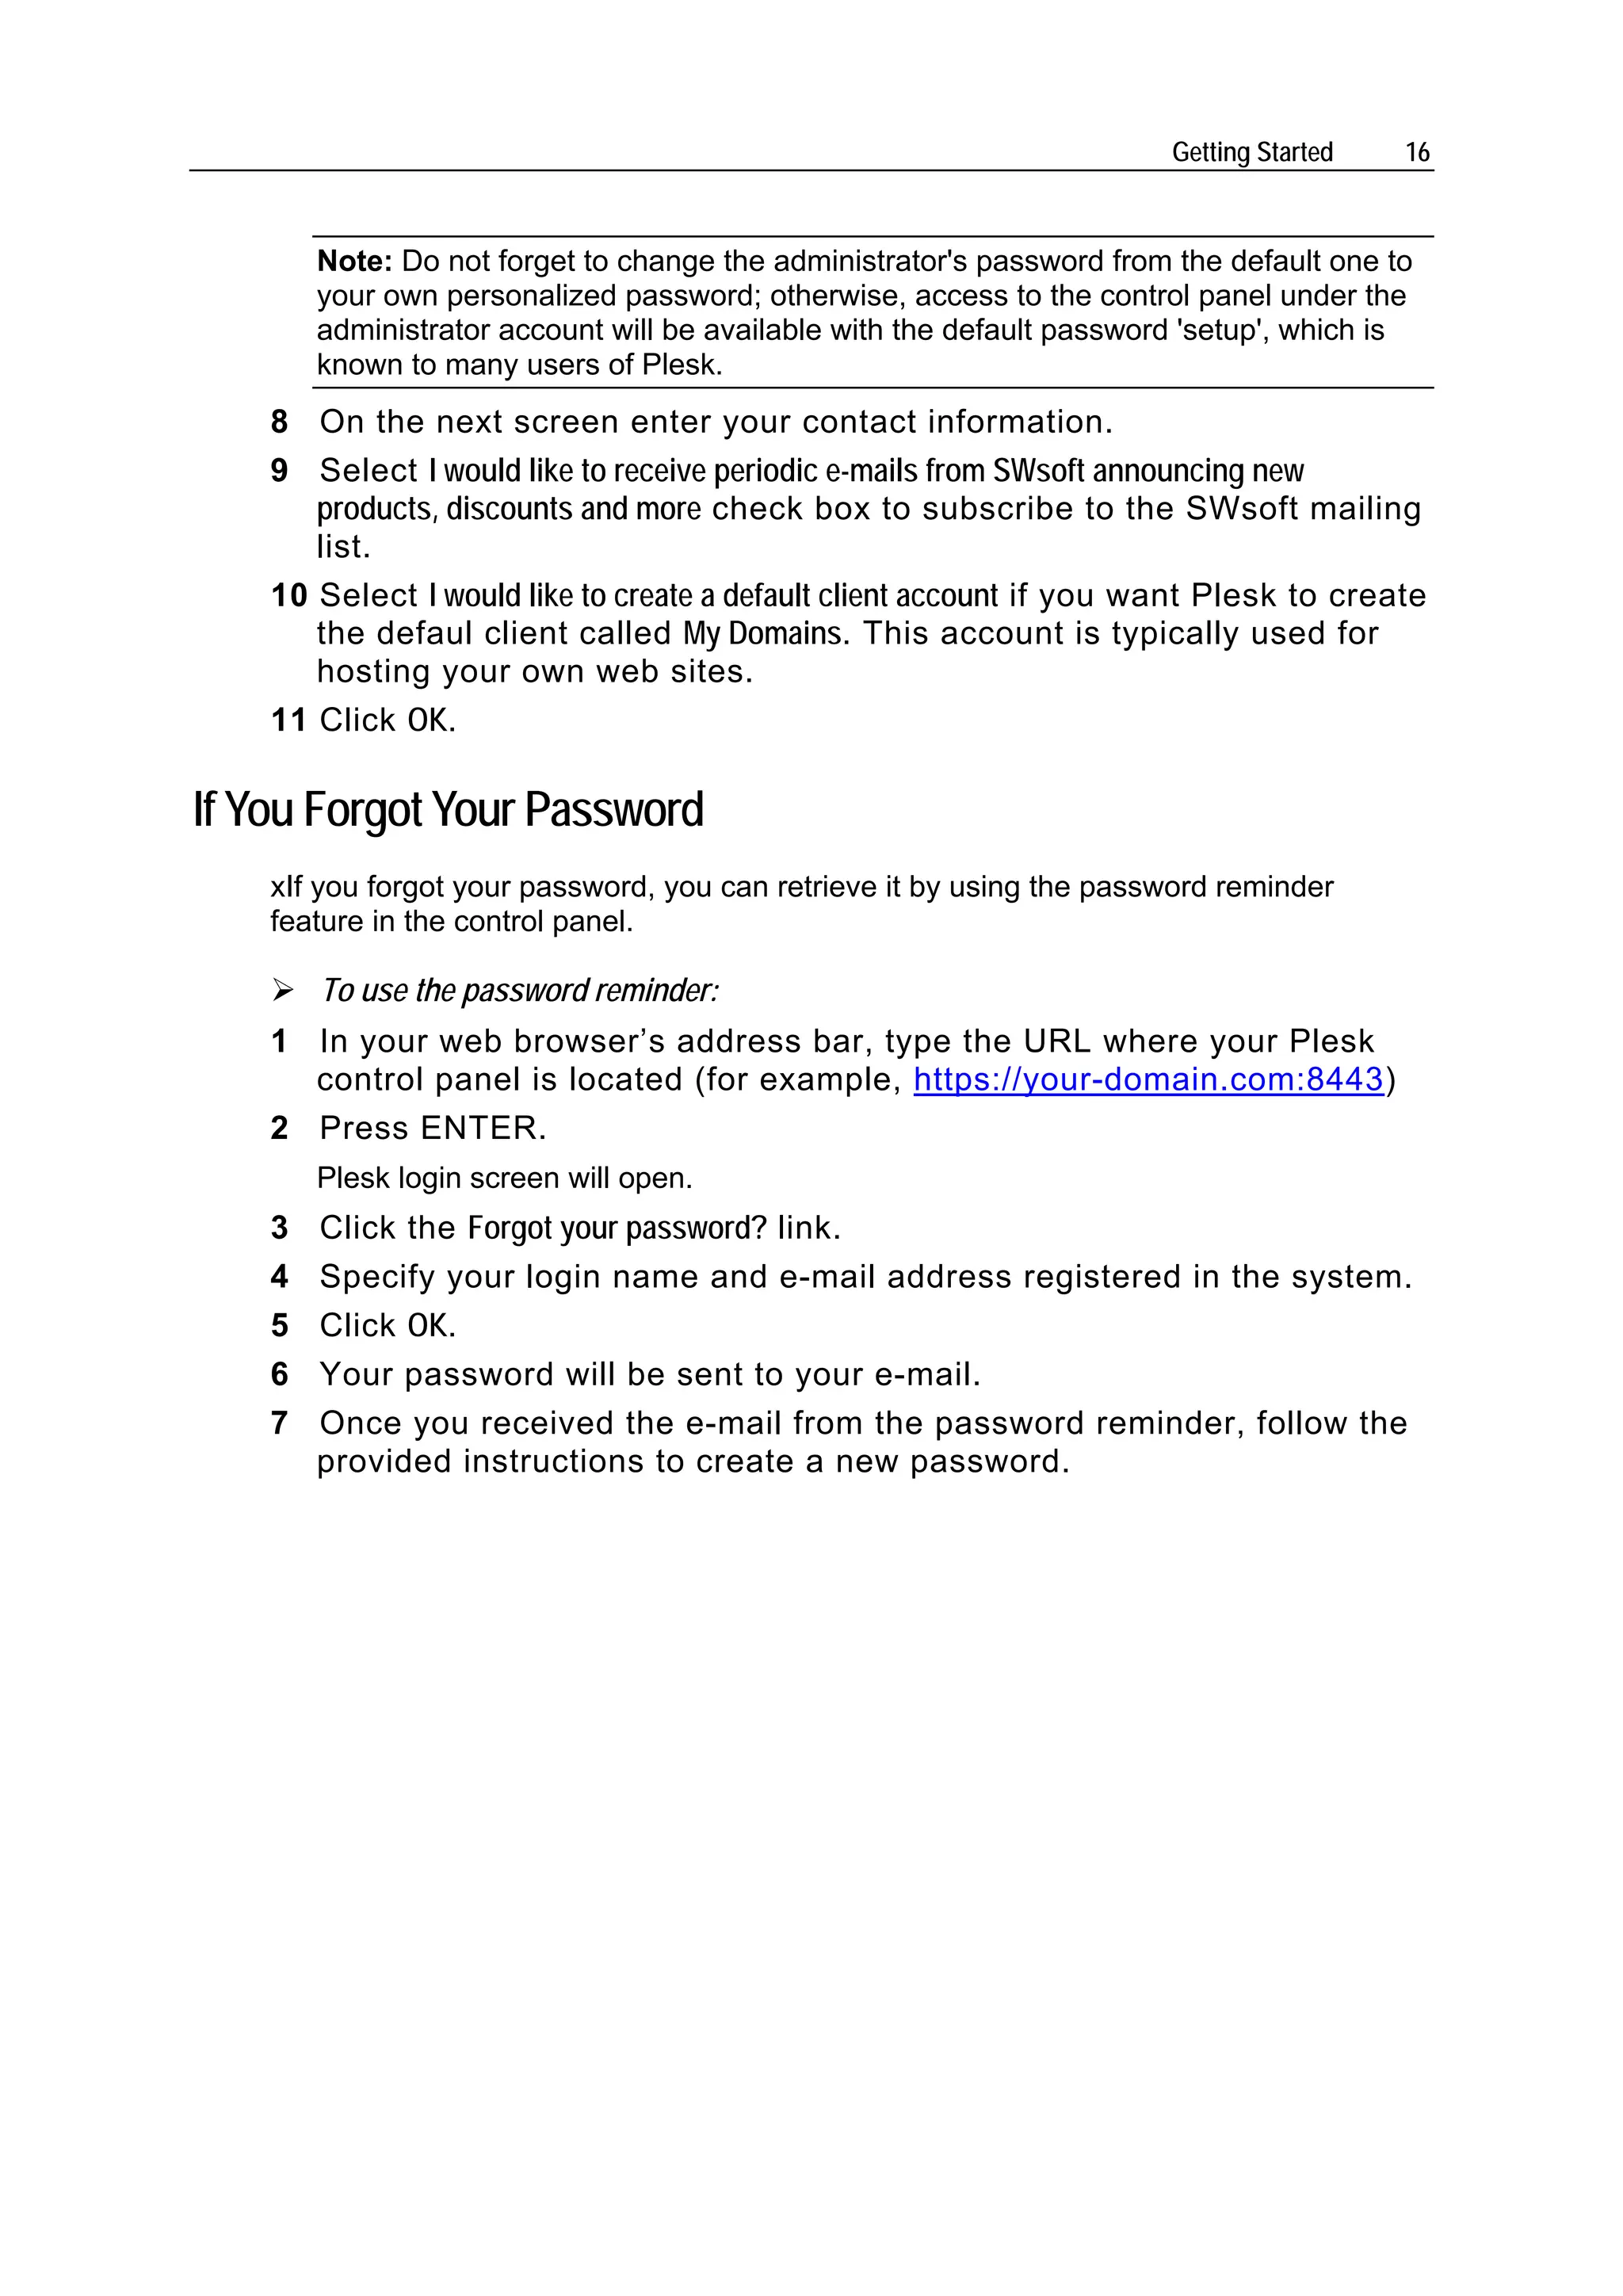
To change or remove permissions from a group or user, click the required name
in the Group or user names list.
To set permissions for a group or user, which is not in the Group or user names
list, select the required user/group name from the drop-down box located above
the list and click : the user/group appears in the list. Select it.
5 To allow or deny permissions to a selected group/user, select the
Allow or Deny checkboxes corresponding to permissions listed under
Permissions for [user/group name].
Note. If check boxes in Allow and/or Deny columns are shaded, it means that the
corresponding permissions are inherited from a parent folder.
To deny the permission, which are inherited from a parent object as allowed,
select the required checkboxes under Deny. This will override inherited
permissions for this file/folder.
To allow the permission, which are inherited from a parent object as denied,
clear the Allow inheritable permissions from the parent to propagate to this object and all
child objects. Include these with entries explicitly defined here checkbox: this removes
the inherited permissions. Then select the required check boxes under Allow and
Deny.
6 Click OK.](https://image.slidesharecdn.com/plesk-81-for-windows3051/75/Plesk-8-1-for-Windows-203-2048.jpg)
![Serving Your Customers 205
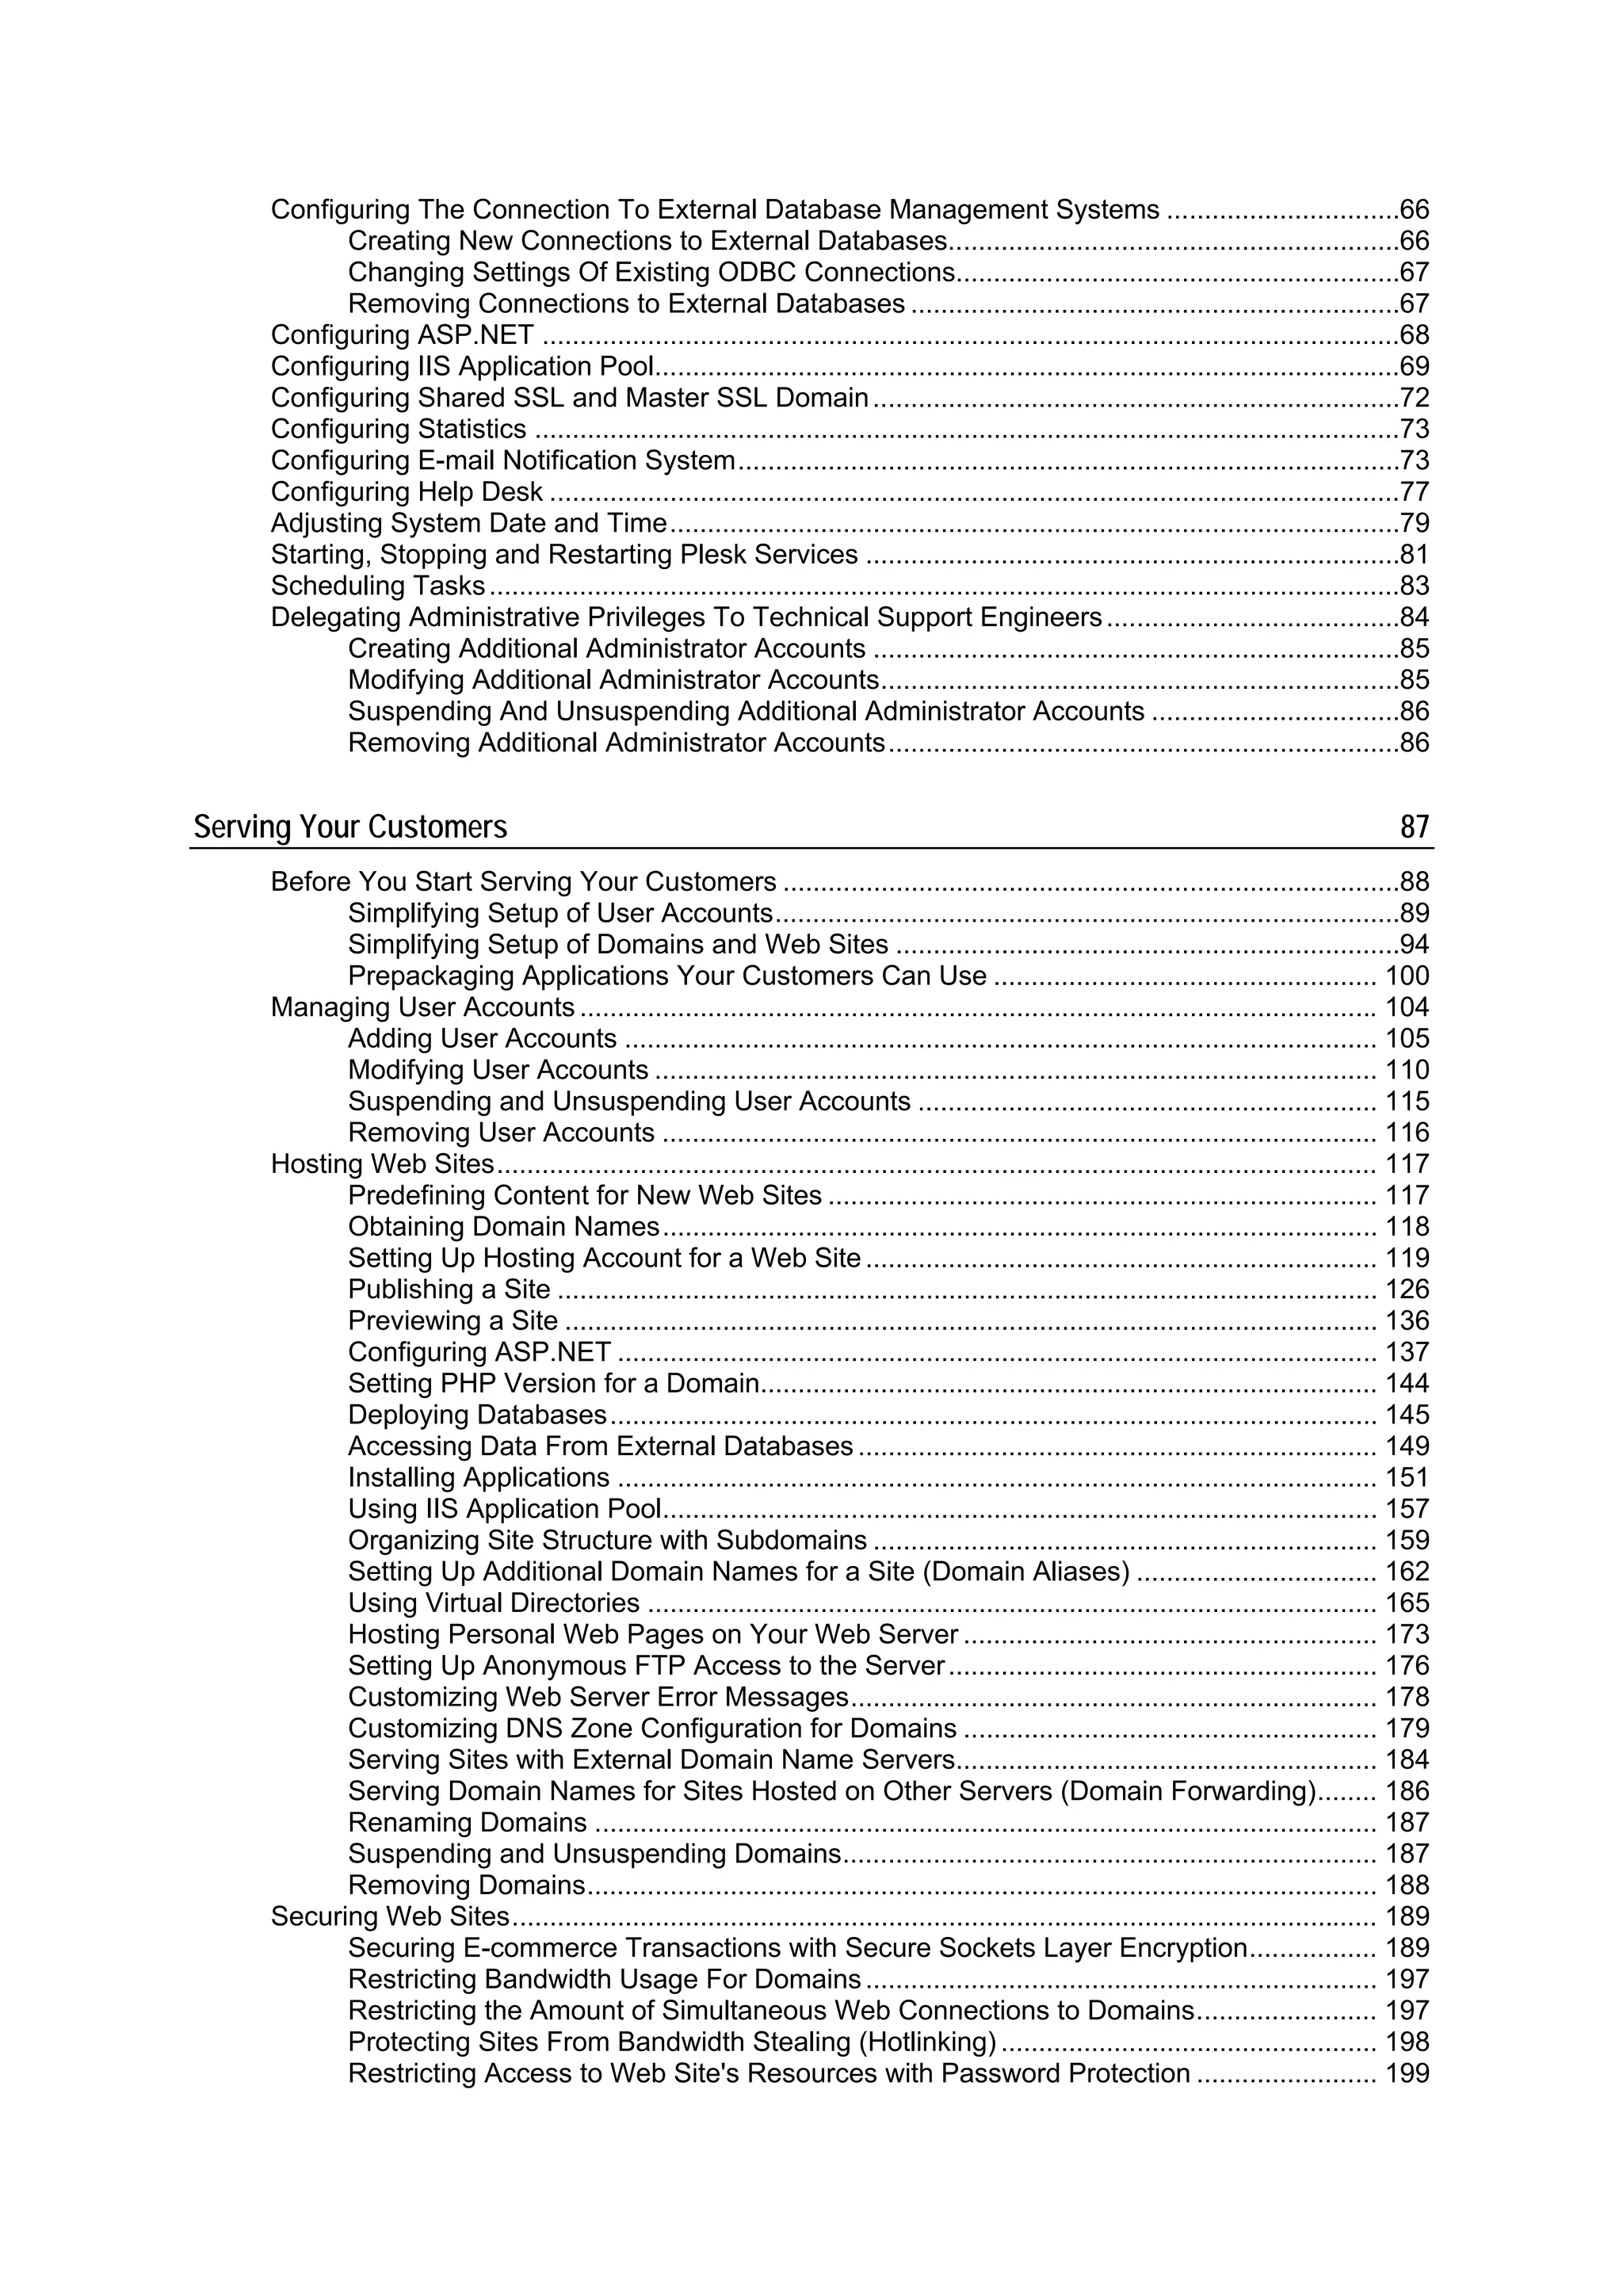
Setting, Changing and Removing Special Access Permissions
You can also set, change and remove special permissions including advanced
management of folder permissions inheritance. In Advanced permissions management
mode, several permission entries can be associated with a single group or user, each
containing different set of permissions. Also, the list of permissions in Advanced mode is
more detailed and gives more opportunities for fine-tuning file/folder permissions. It
contains permissions that cannot be seen in Microsoft Windows interface, but present
combinations of native Microsoft Windows permissions. They are Read Control, Write
Control, and Execute Control.
To set, change or remove file/folder special permissions:
1 Click the Domains shortcut in the navigation pane.
2 Click the required domain name in the list.
3 Click File Manager in the Hosting group.
4 Click corresponding to the required file or folder.
5 Click Advanced.
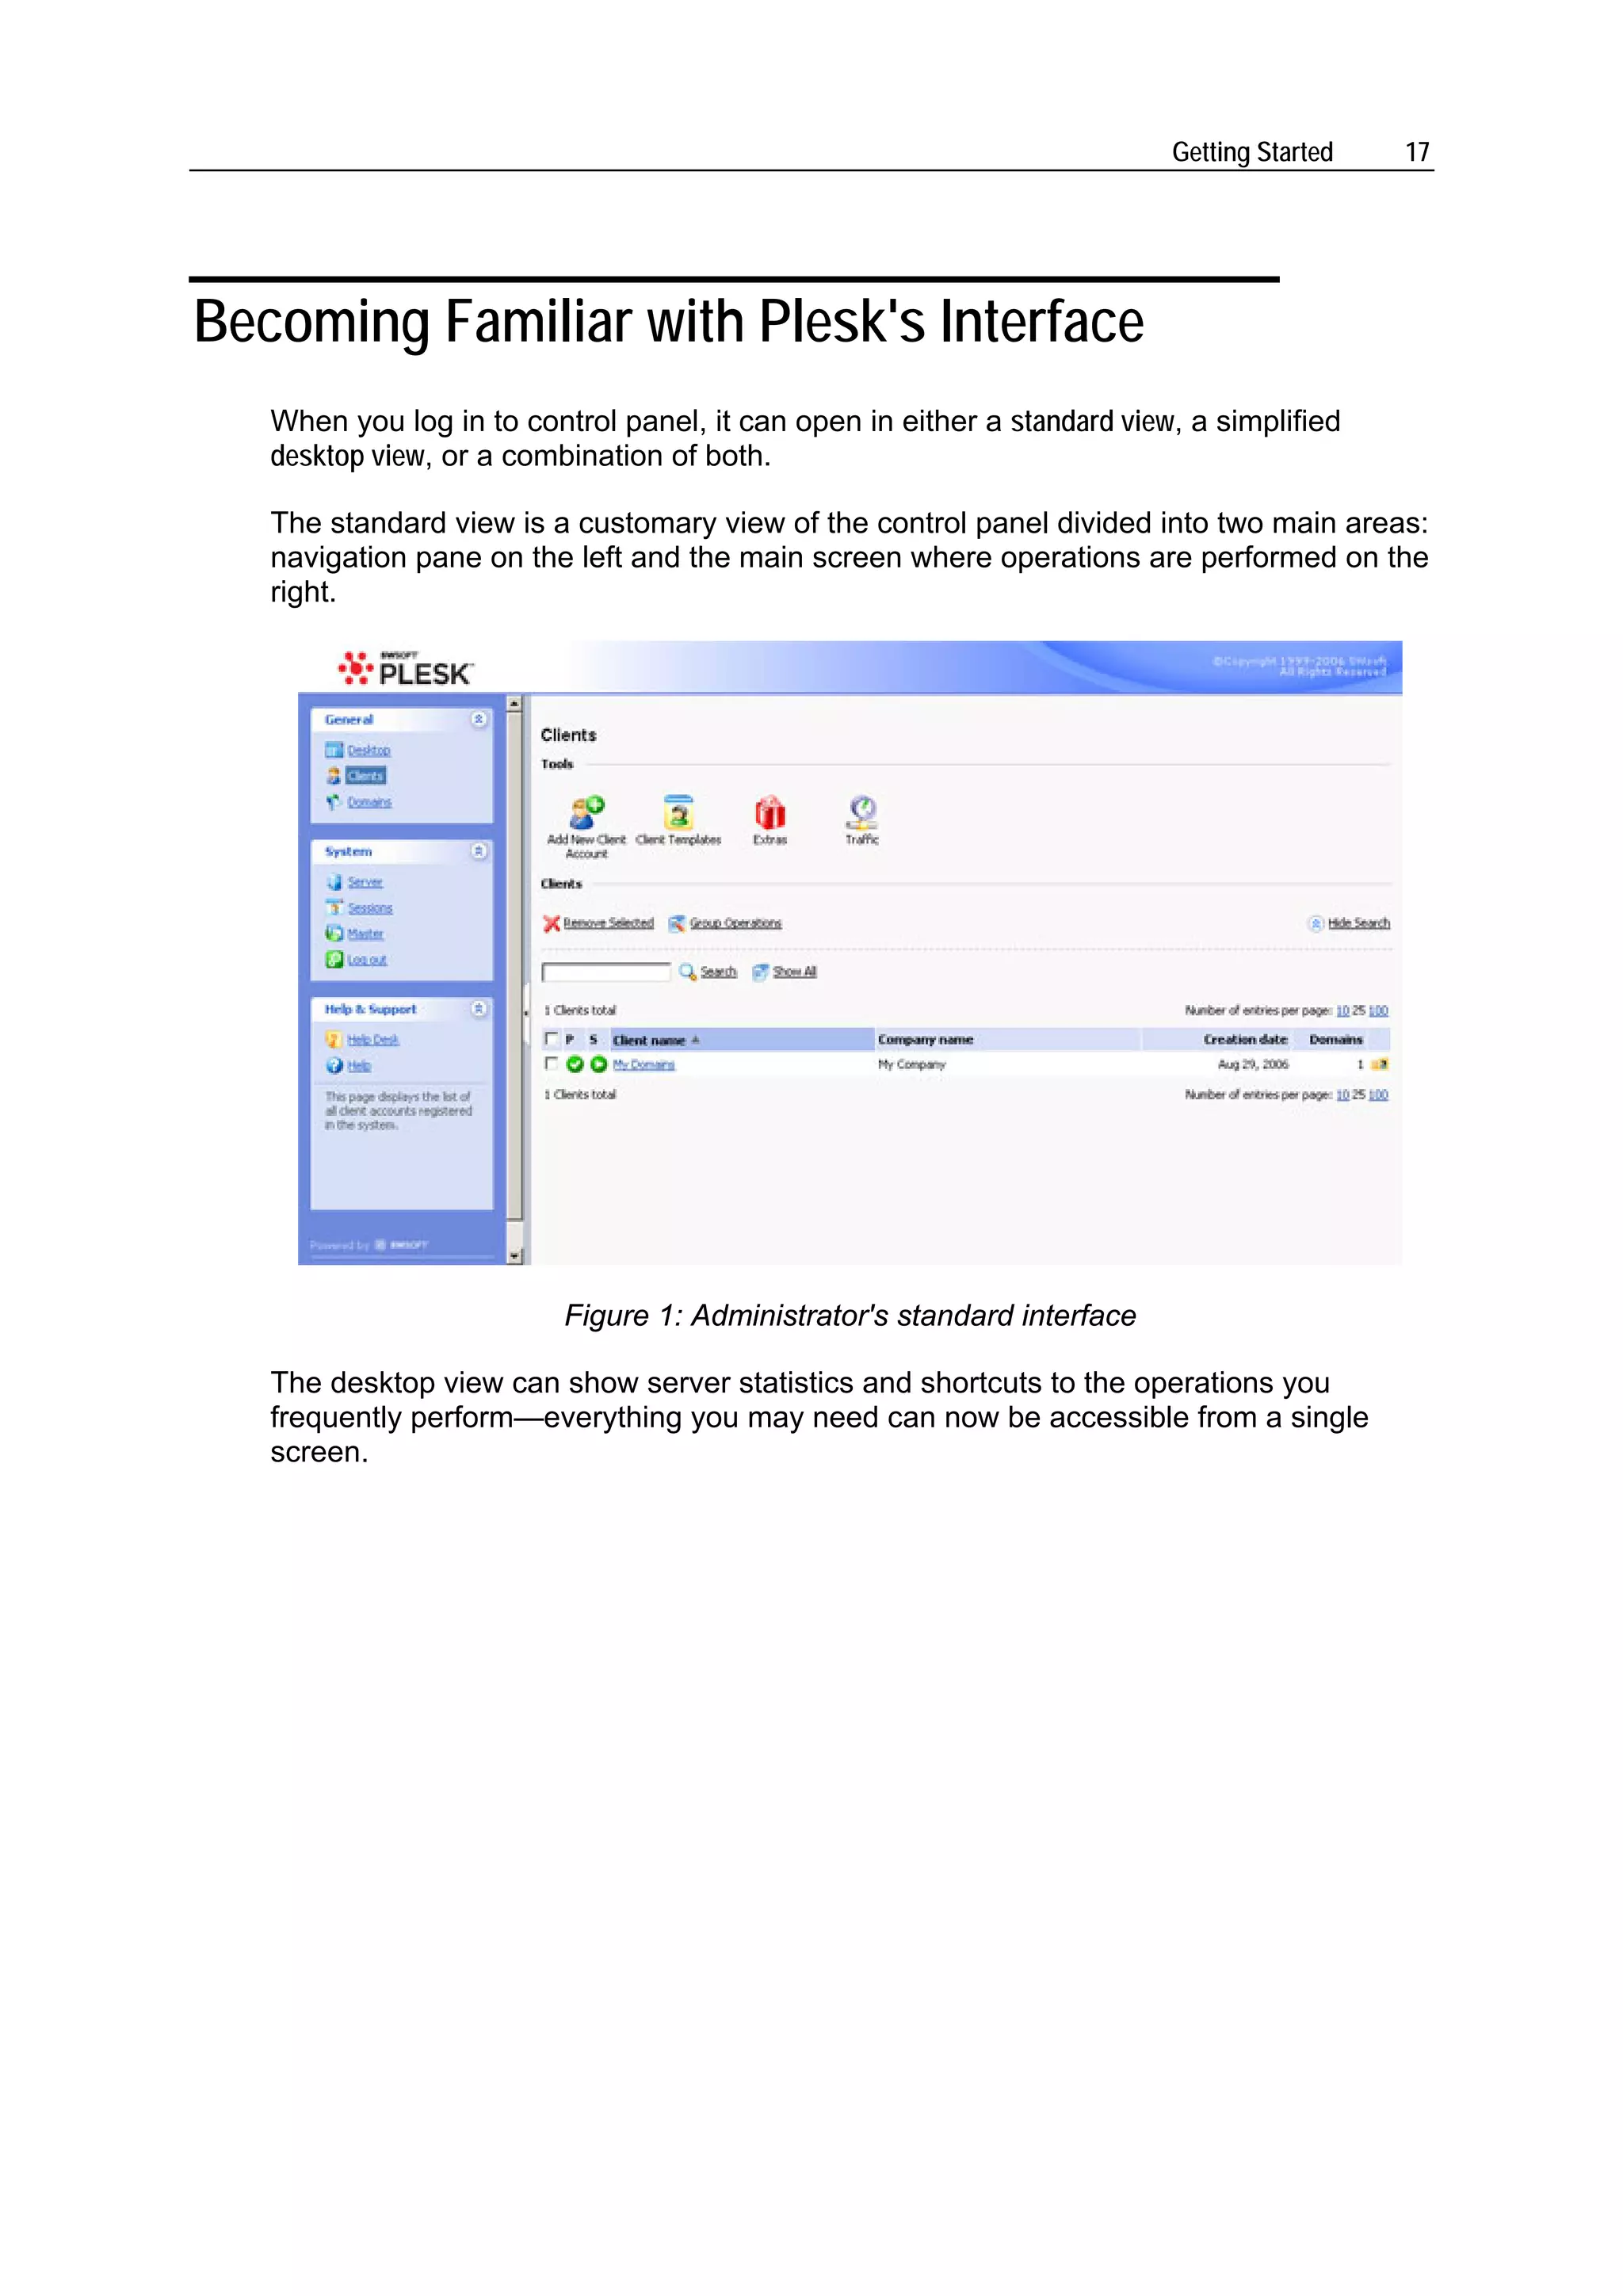
To create a permission entry for a group or user, select the required name from
the Group or user names list and click .
To set or change file/folder permissions for a group or user, select the required
name from the Group or user names list, select the required Allow and Deny
checkboxes corresponding to permissions listed under Permissions for [group/user
name].
To remove a permission entry for a group or user, select the required name from
the Group or user names list and click .
To make child objects of a folder inherit its permissions defined under
Permissions for [group/user name], select the Replace permission entries on all child
objects with entries shown here that apply to child objects checkbox, and select
checkboxes in the Apply onto: list which correspond to objects you want to inherit
the permissions.
6 Click OK.](https://image.slidesharecdn.com/plesk-81-for-windows3051/75/Plesk-8-1-for-Windows-205-2048.jpg)


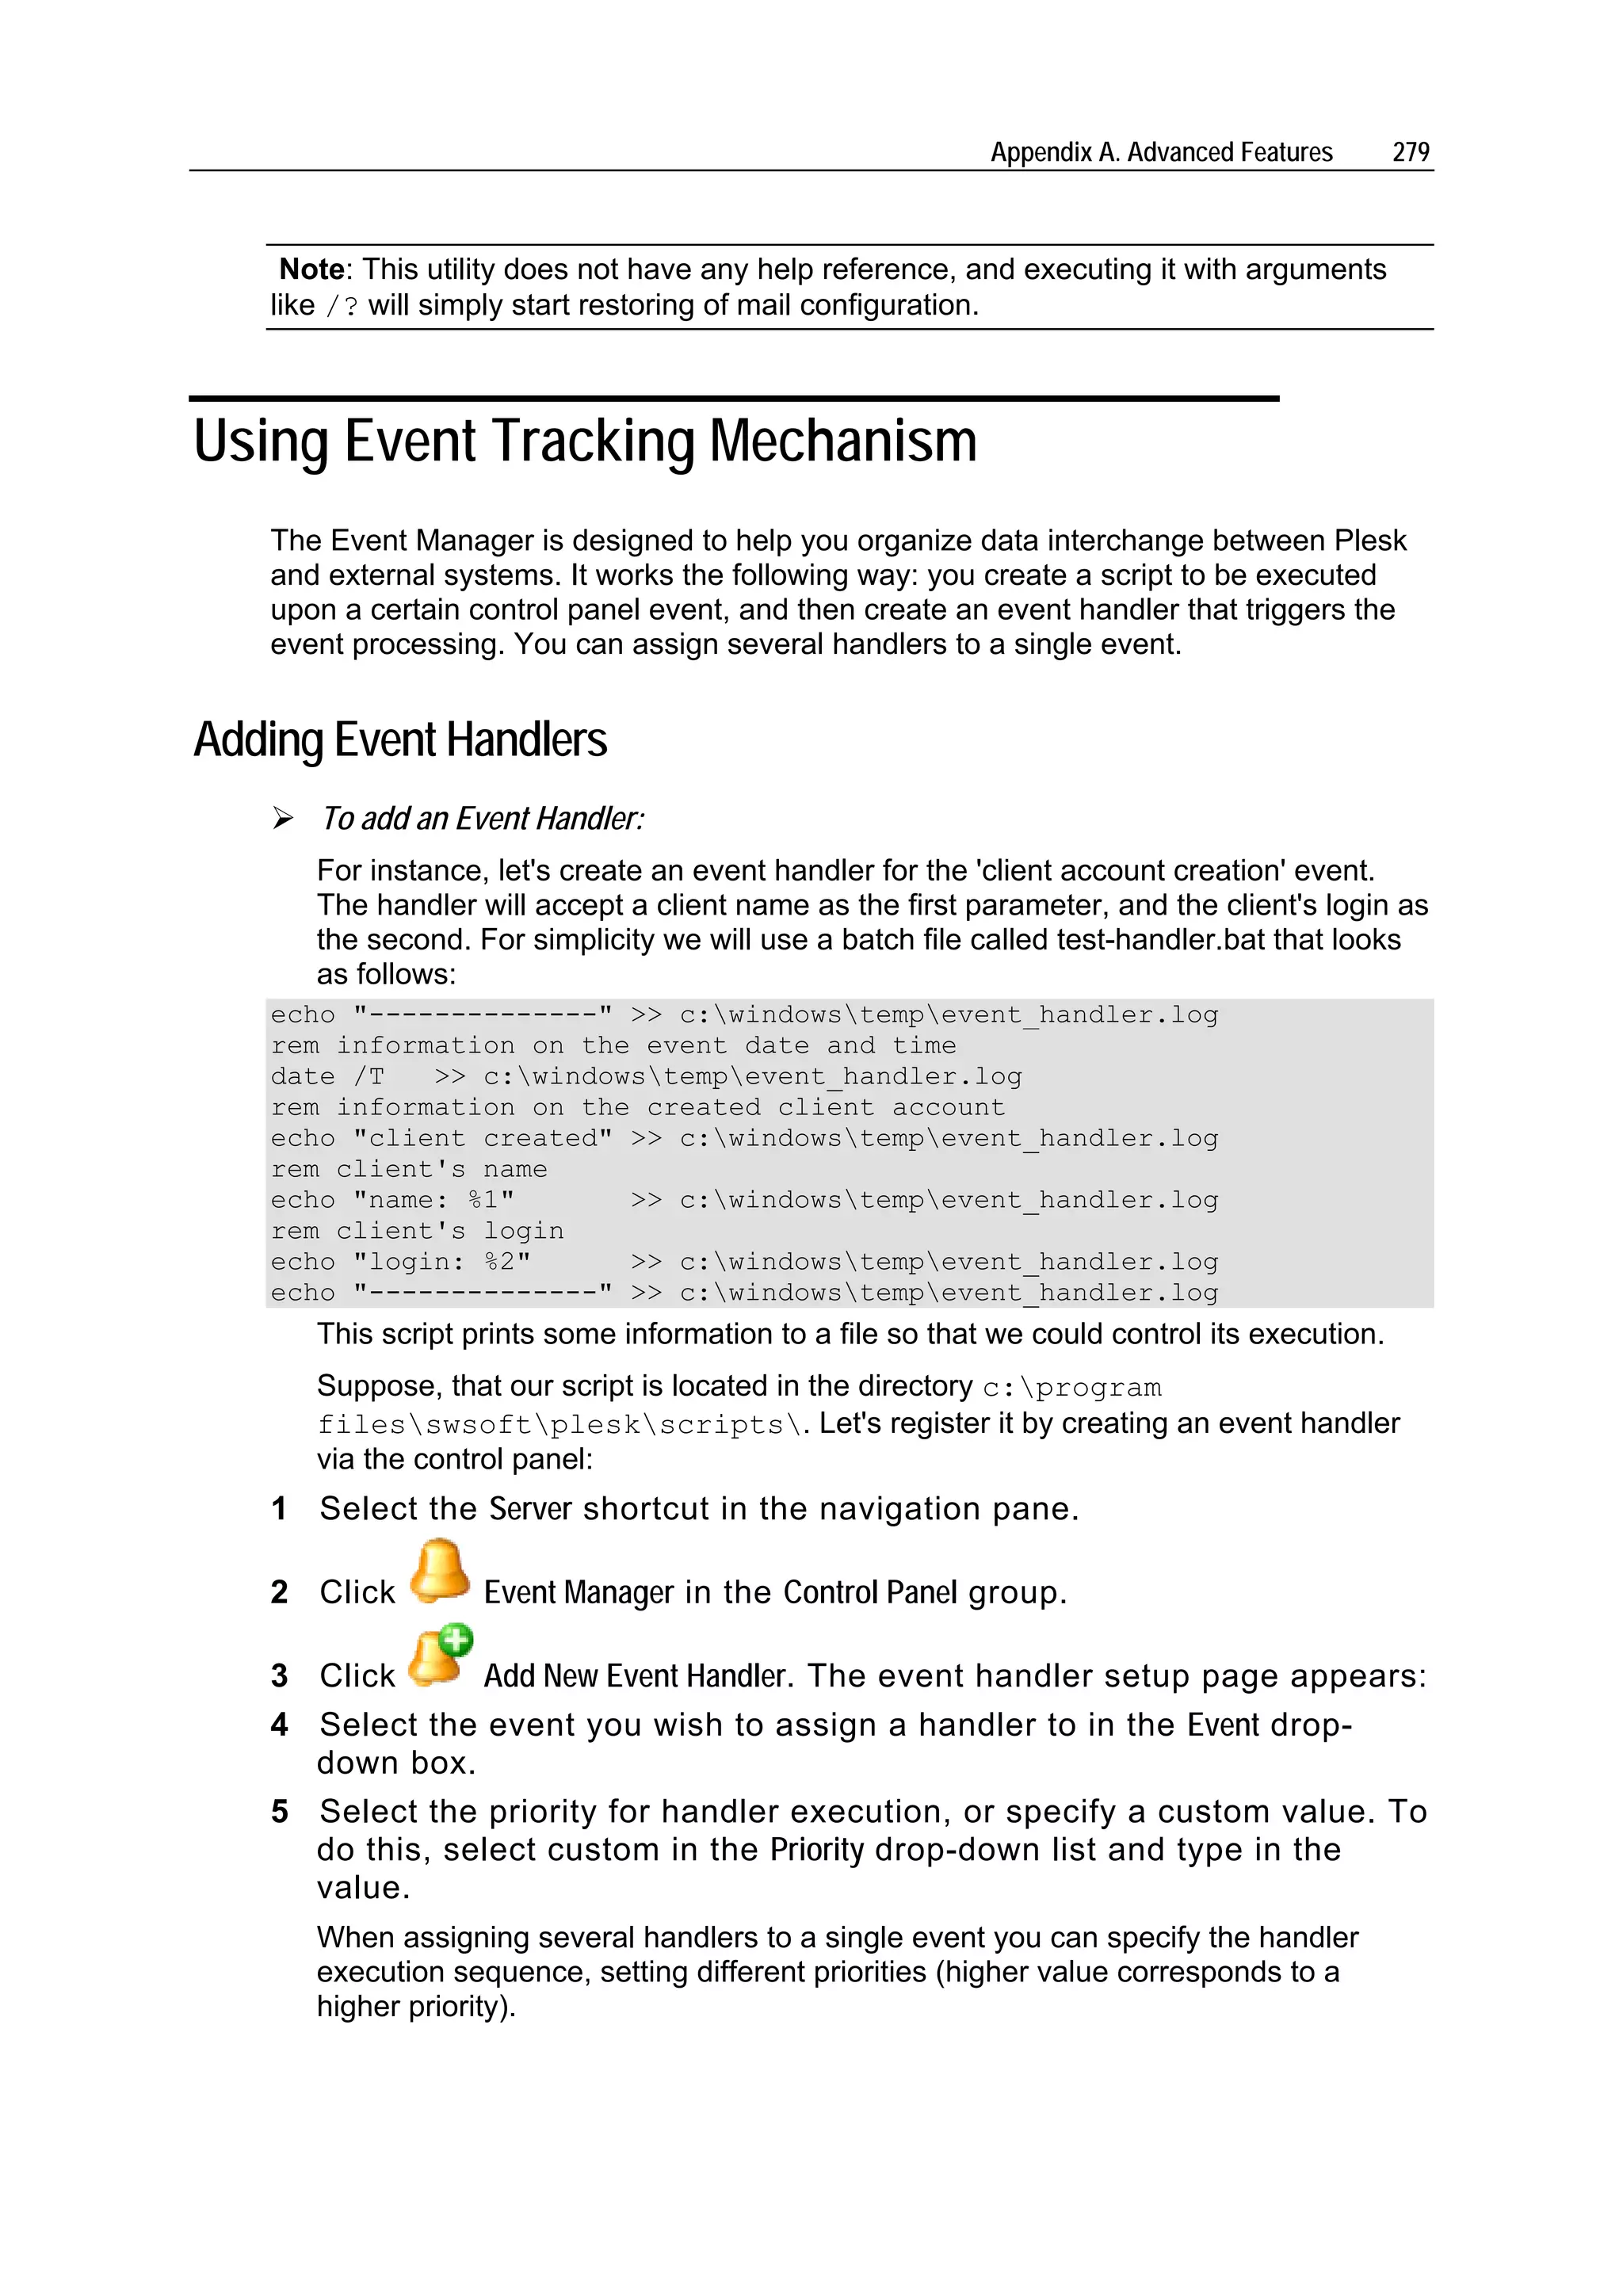
![Appendix A. Advanced Features 278
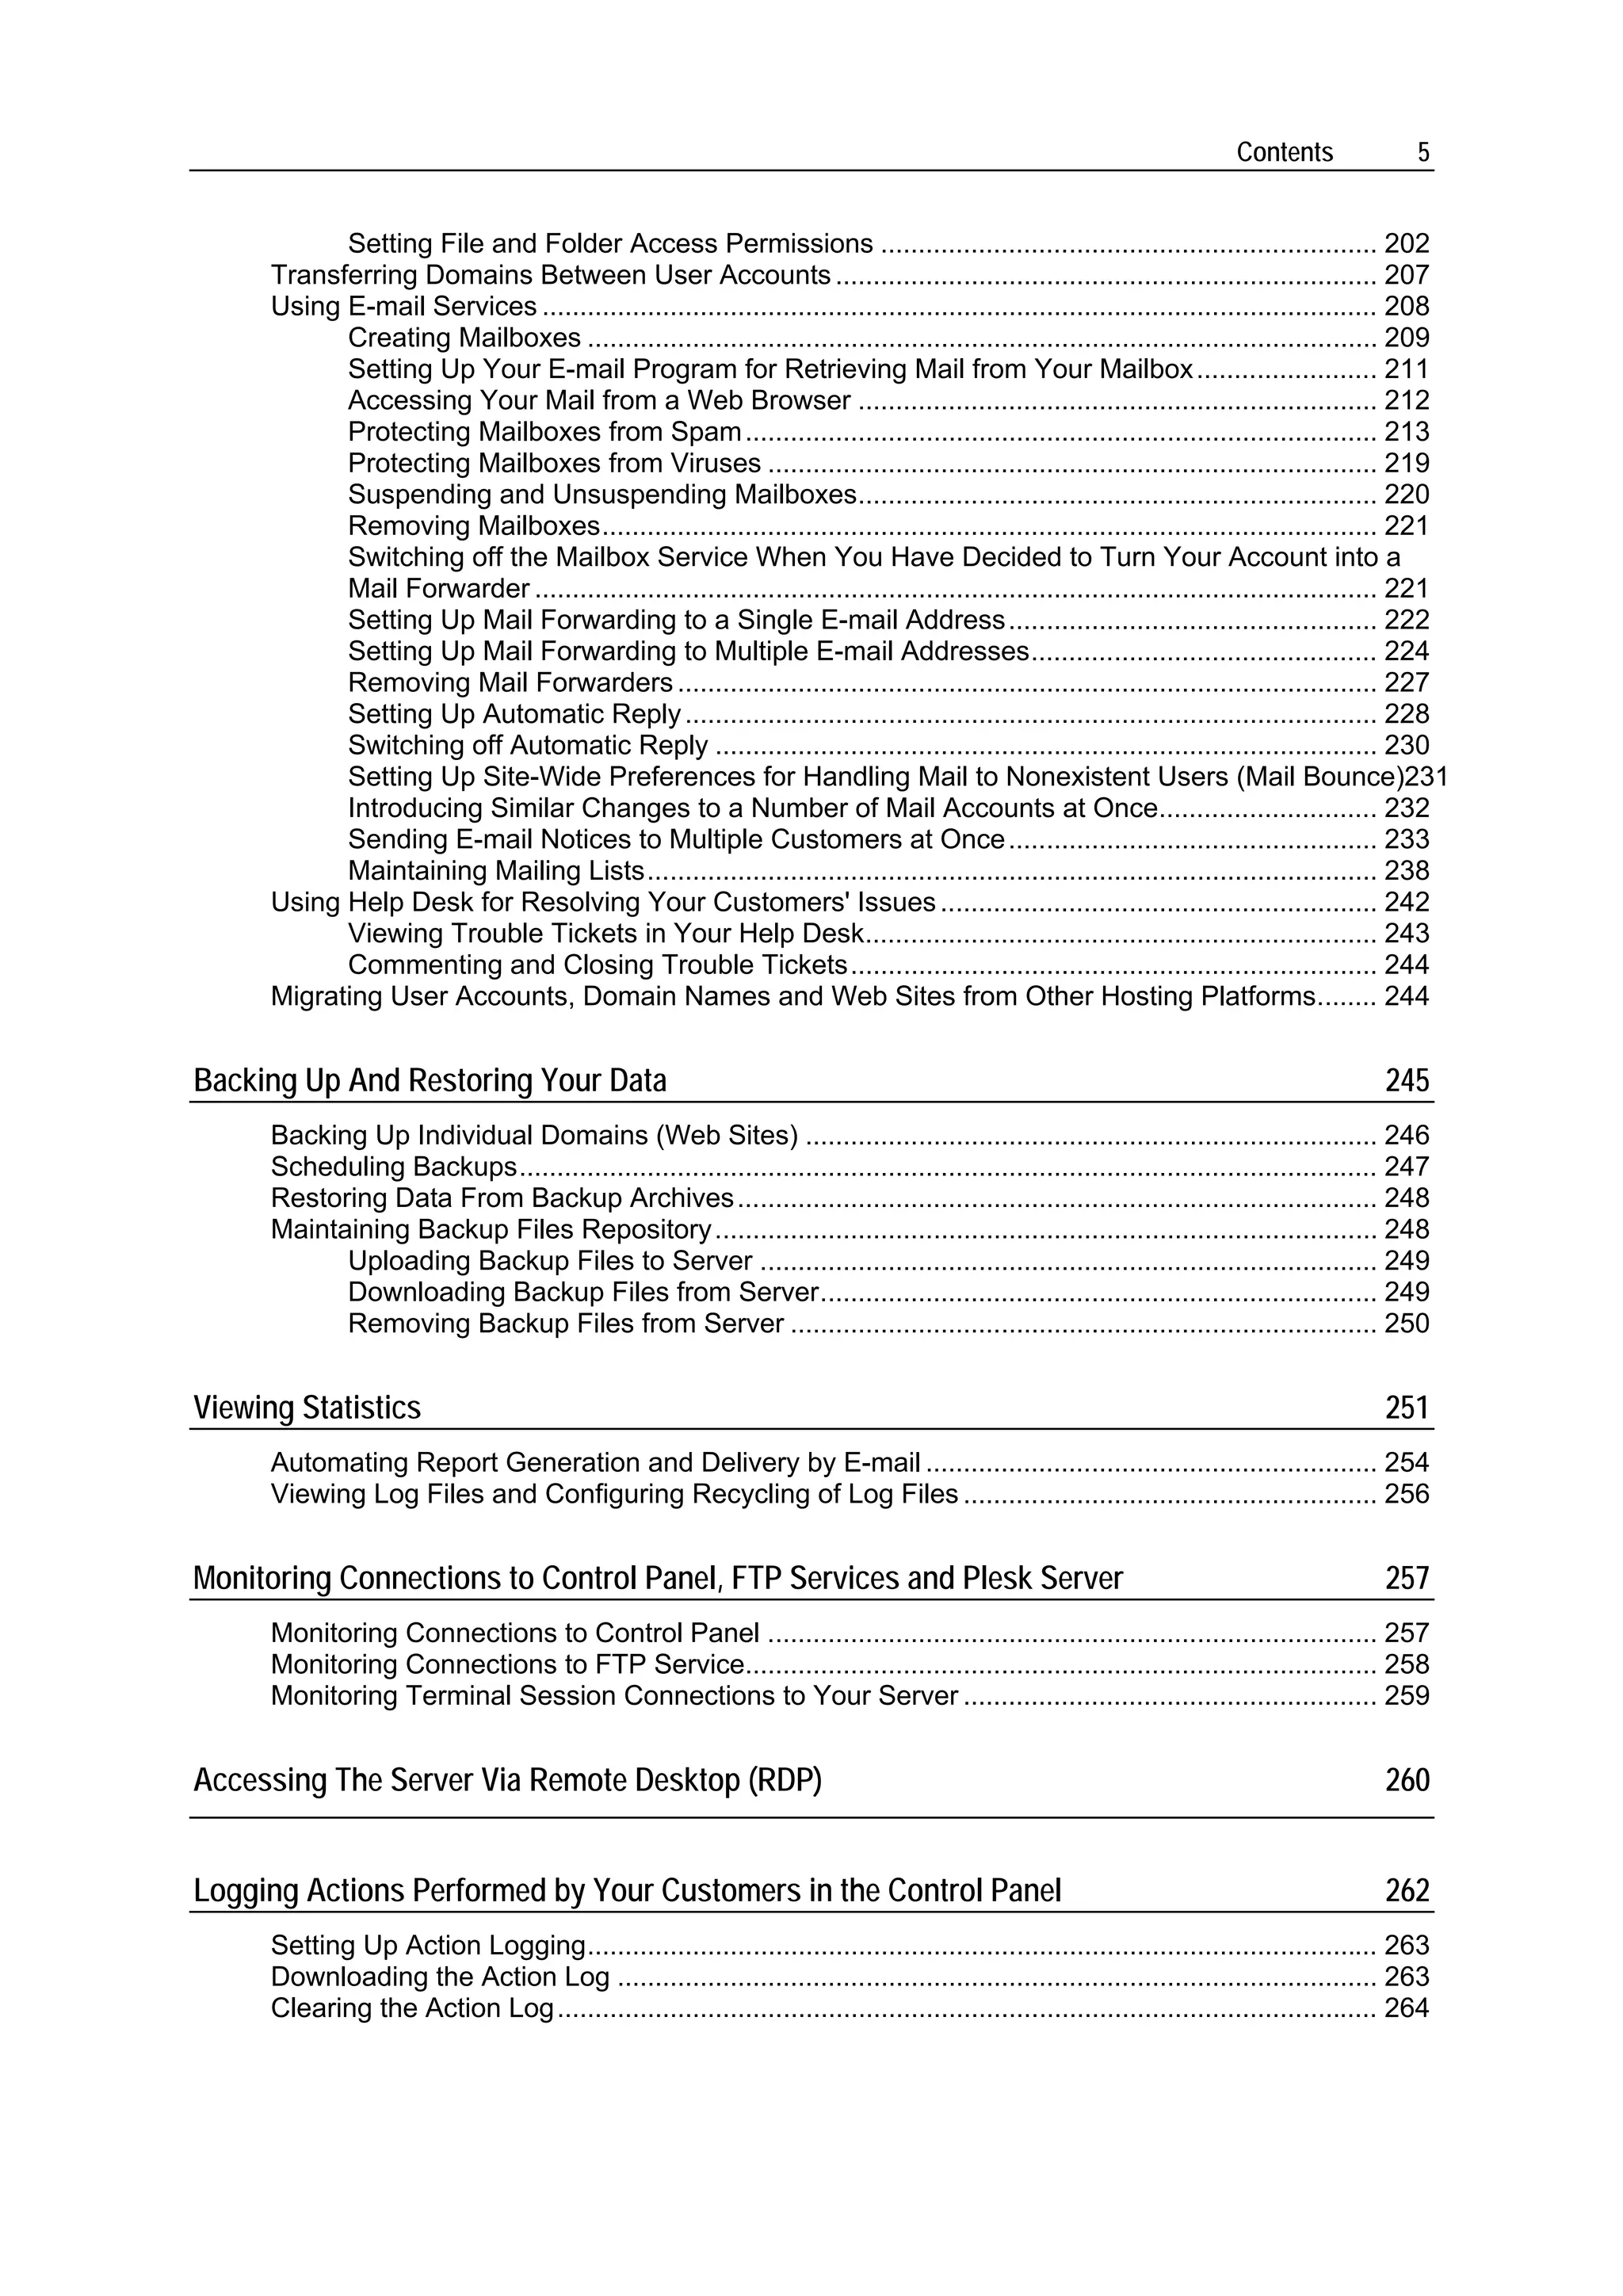
Restoring Mail Configuration
You can restore your mail server functionality in cases when errors appear concerning
the mail server misconfiguration or its mismatching with the Plesk internal database.
This purpose is served by an internal Plask utility mchk.exe residing at
%plesk_dir%adminbin. The utility restores the mail server configuration using
the Plesk database data.
Note: the utility restores only configuration of the mail server selected as default in
Server > Components Management.
In general, mchk.exe matches the mail server configuration with Plesk database. In
case when you execute mchk.exe --all --fix-all, the utility resets forcedly the
mail server configuration the following way: it deletes all existing configuration files of
the mail server (leaving its content) and then creates them accordingly to Plesk
database.
Warning: Use --fix-all option only if the mail server's configuration files are so
much corrupt that the mail server itself cannot work with them properly and executing
mchk.exe with other options does not solve the problem.
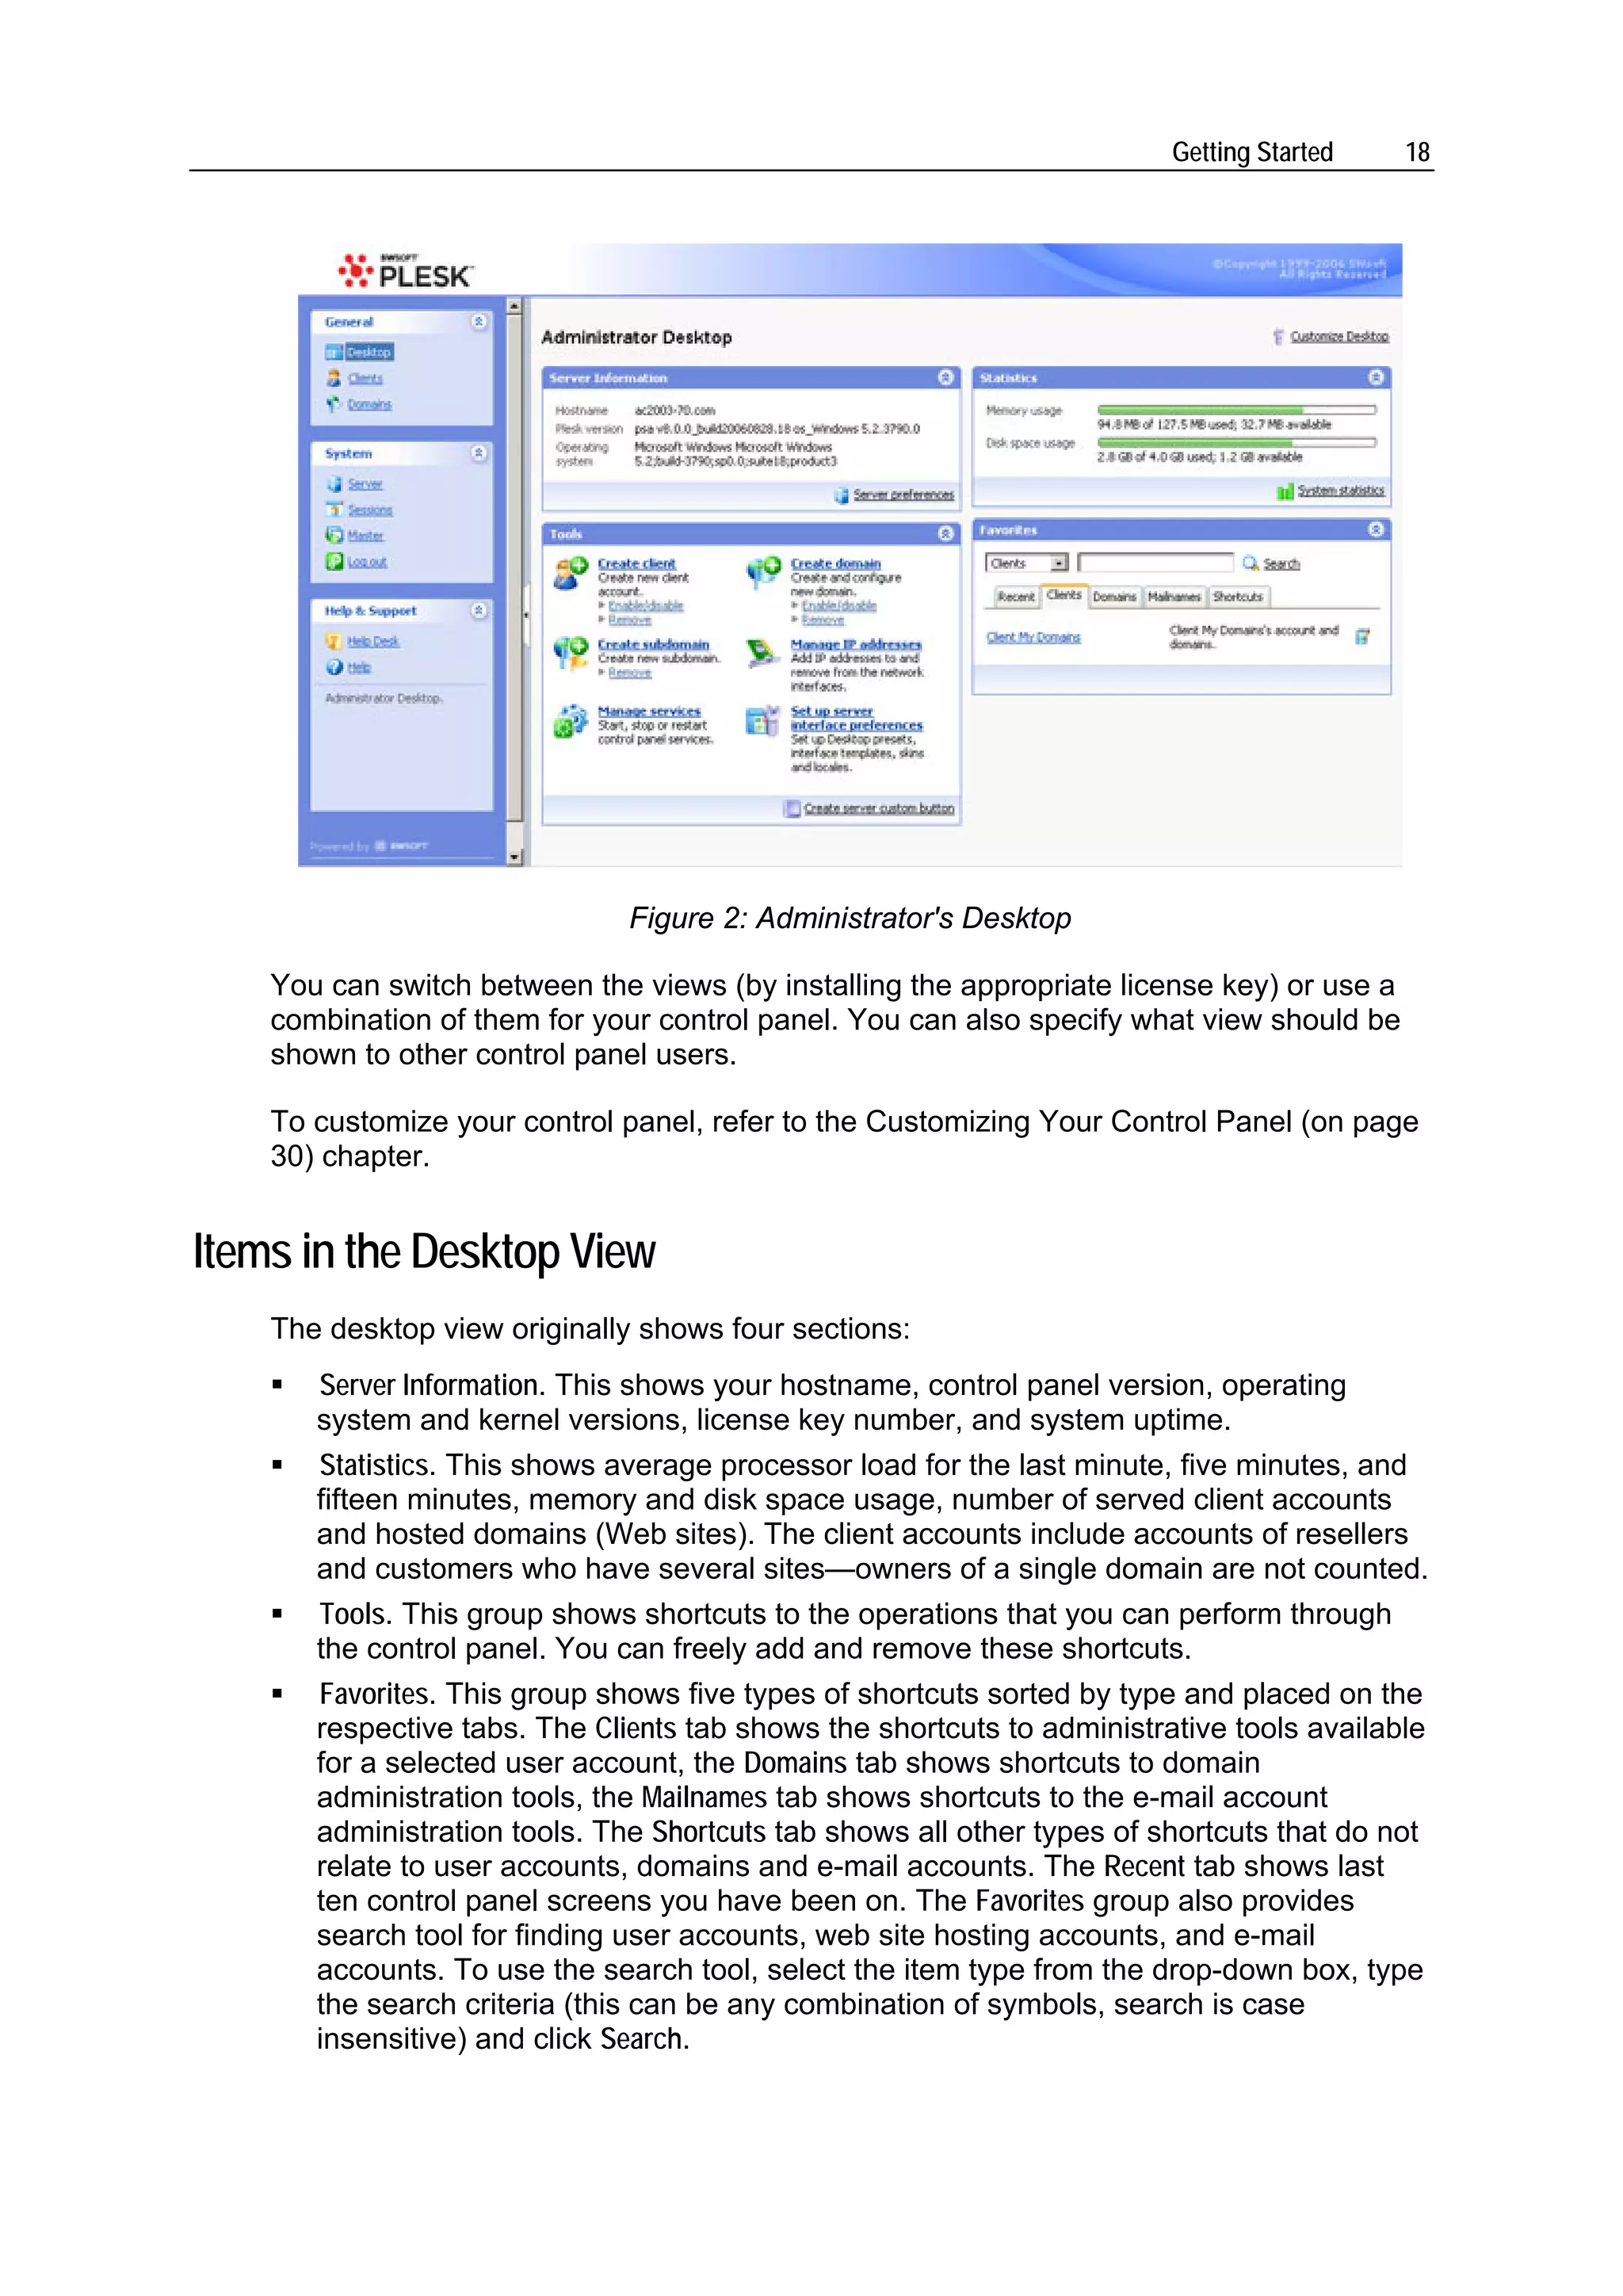
Usage: mchk.exe [options]
Available options
Option Parameter Action Example
--all Checks and mchk.exe --all
restores server-
wide mail settings
and mail settings
for all domains
--fix-all Resets forcedly mchk.exe --all --
server-wide and fix-all
domain's mail
settings
--domain --domain-name Checks and mchk.exe --domain -
restores mail -domain-
settings for a name=sampledomain.c
specified domain om
--all-domains Checks and mchk.exe --all-
restores mail domains
settings for all
domains
--global- Checks and mchk.exe --global-
settings restores only settings
server-wide mail
settings](https://image.slidesharecdn.com/plesk-81-for-windows3051/75/Plesk-8-1-for-Windows-278-2048.jpg)