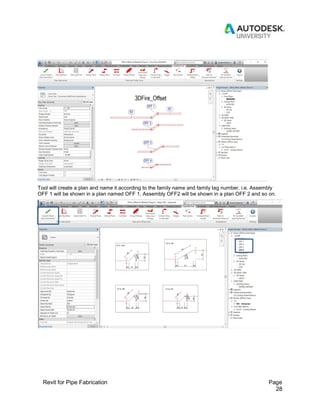
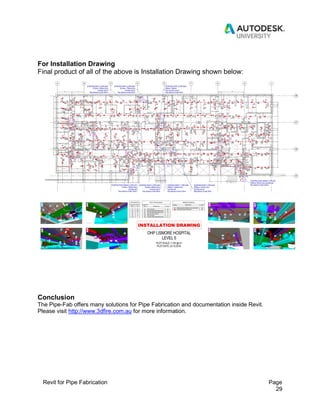
Download to read offline


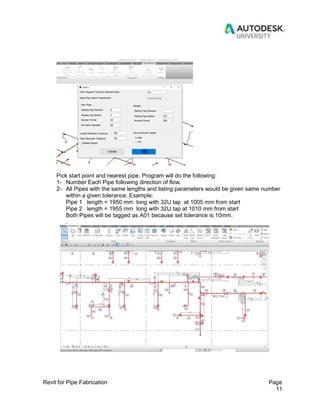
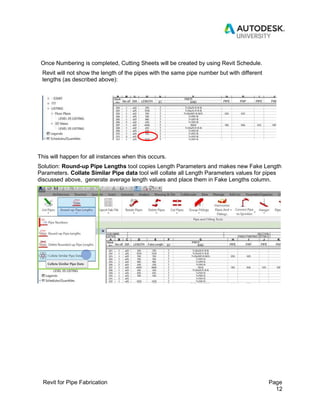
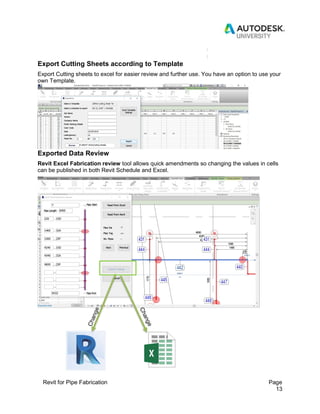

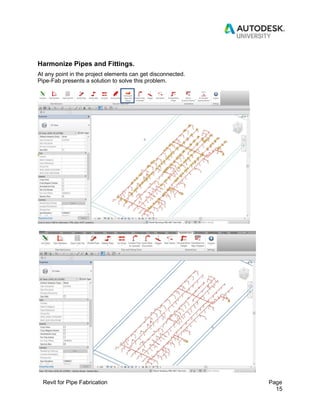
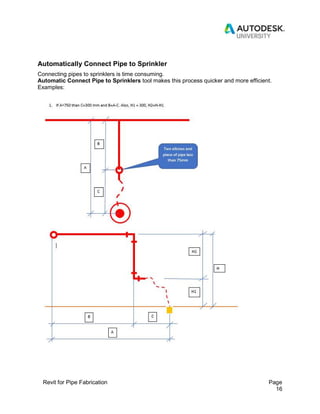

The document outlines the PipeFab tools for Revit that enhance pipe fabrication processes by minimizing human errors and improving efficiency. Key features include automated pipe listing, numbering, and cutting, as well as various modeling and annotation tools designed to streamline the workflow. Additionally, it highlights the team's expertise at 3D Fire and details various functionalities for managing pipe connections and producing accurate fabrication reports.


