Download to read offline


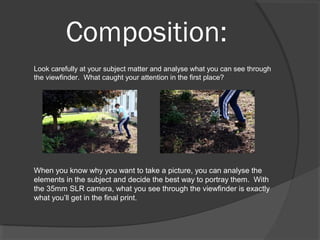
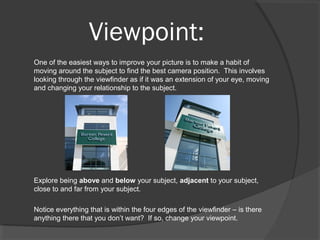


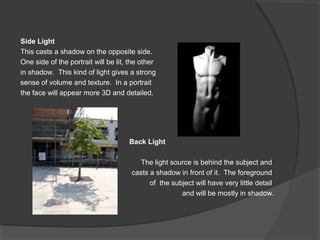


This document provides guidance on key elements of photography composition including viewpoint, format, focal points, and lighting effects. It advises photographers to carefully examine their subject and find the best camera position, exploring viewpoints above, below, and around the subject. Photographers should choose a main focal point that has strong placement within the frame and experiment with its position. Different lighting conditions like front, side, back, and silhouette lighting can create different effects and the document describes the impact of each. The document concludes by recommending photographers take notes in their sketchbook to record what they've learned about composition, viewpoint, format, focal points and lighting effects with examples.


