The document describes various editing techniques used in video editing software, including:
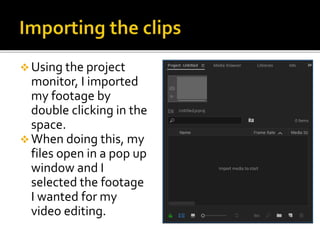
- Importing footage by double clicking in the project monitor space
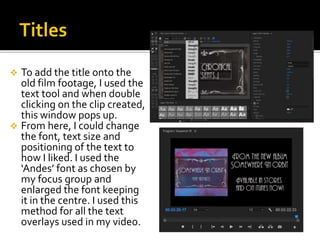
- Adding text overlays using the text tool and adjusting font, size, and positioning
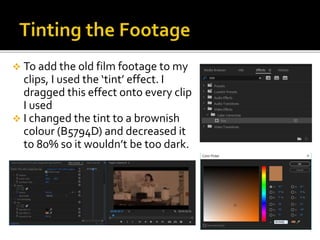
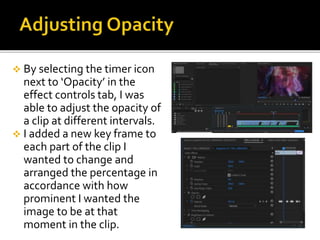
- Applying color tints and adjusting opacity levels over time on clips
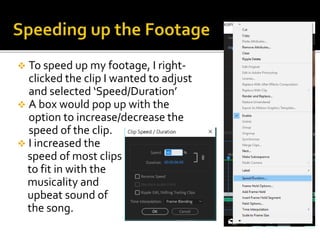
- Speeding up or slowing down clips using the Speed/Duration option
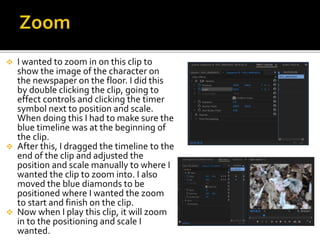
- Zooming in on clips by adjusting position and scale keyframes
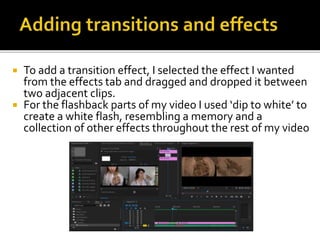
- Adding transition effects such as flashes between clips
The document provides instructions for common editing tasks like adding titles, coloring footage, adjusting clip properties over time, and including transitions.