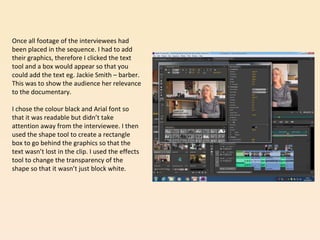
The document describes the process of editing a documentary video. Key steps included:
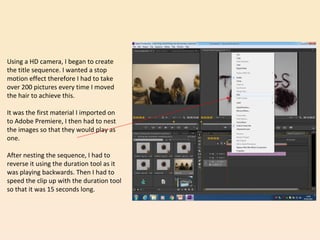
- Creating a stop motion title sequence by taking over 200 pictures of moving hair and nesting the images in Premiere.
- Finding a song from the film "Hair" to accompany the title sequence and trimming it to 15 seconds.
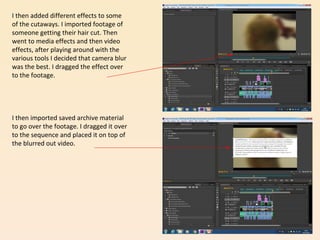
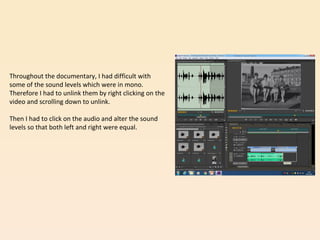
- Importing and trimming various video clips, unlinking audio when needed.
- Adding text graphics to identify interview subjects over their clips and using effects like blur and overlaying footage.
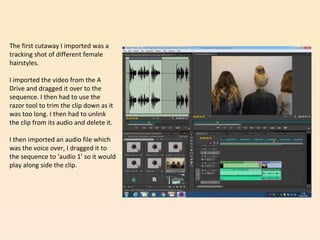
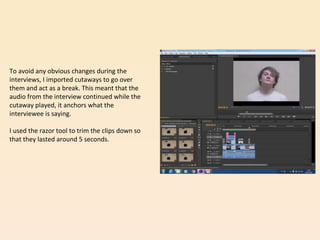
- Using cutaway clips and the razor tool to trim them to around 5 seconds to transition between interview segments.
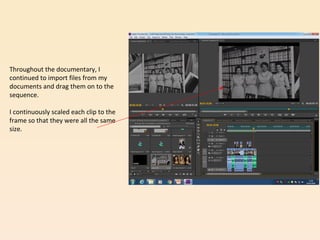
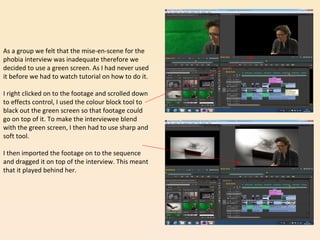
- Learning to use a green screen to composite an interview against different