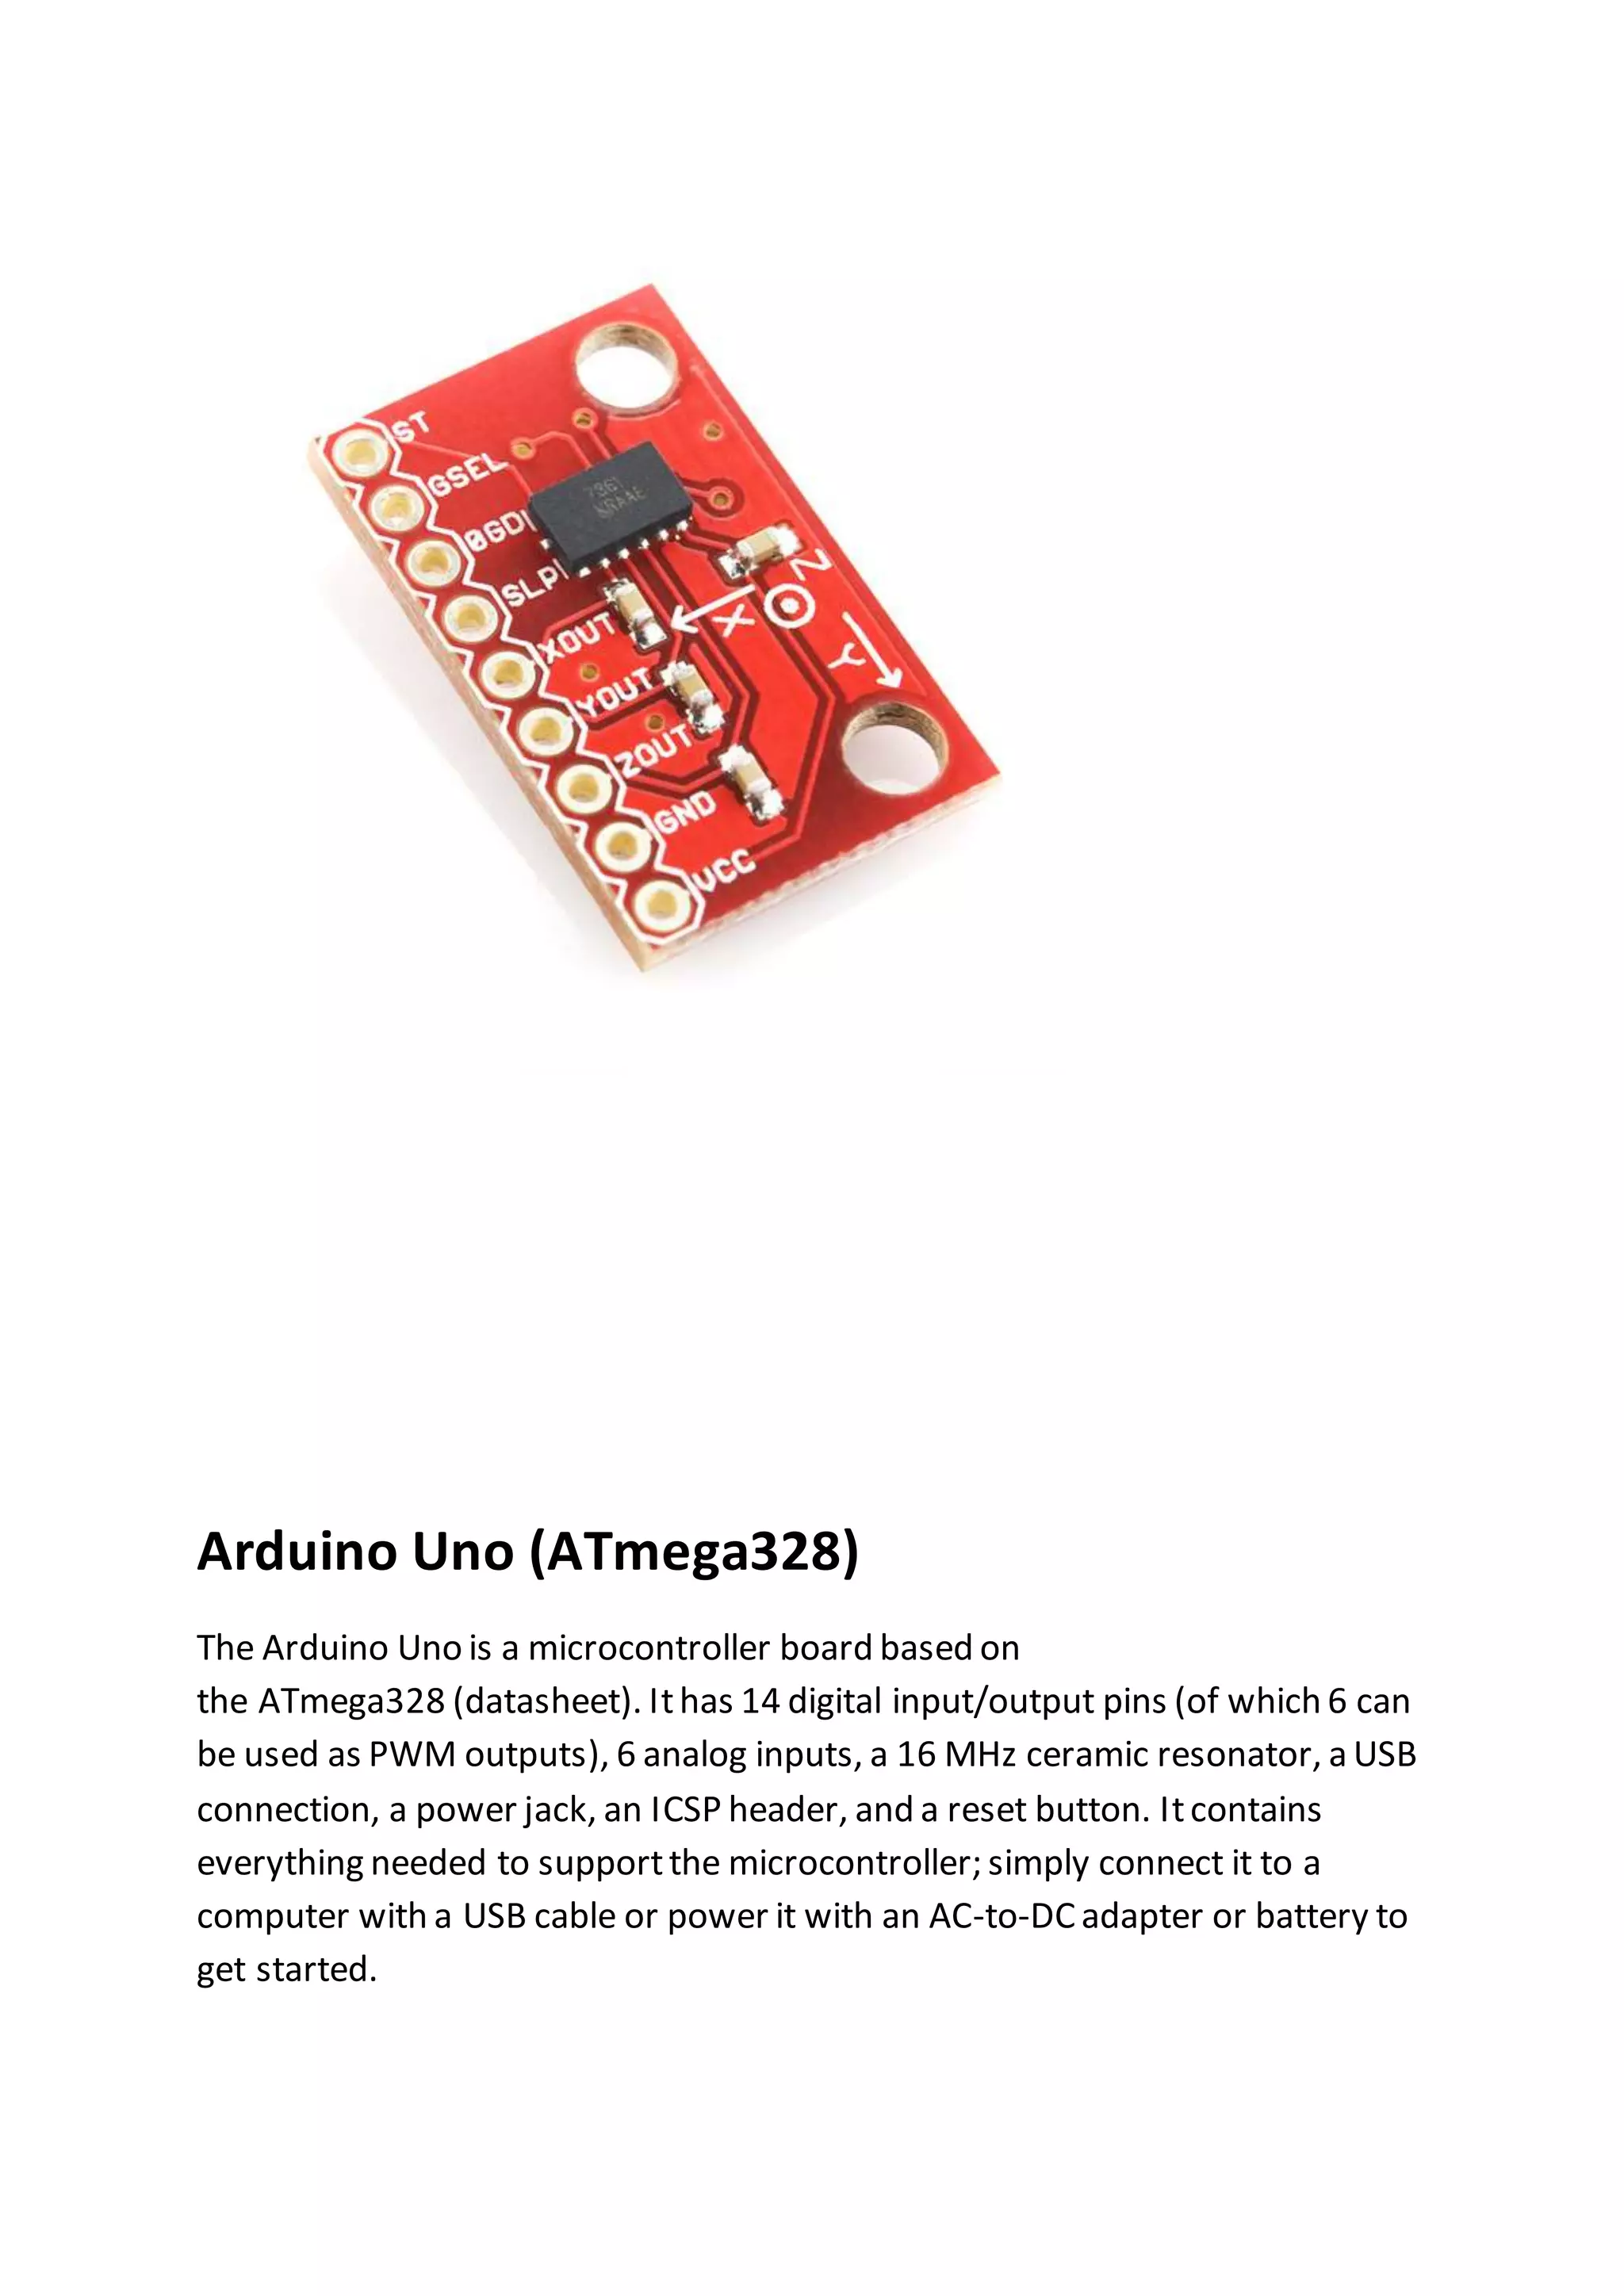
This document describes a project to control a pan-tilt mechanism using an accelerometer and Arduino. An ADXL345 accelerometer measures tilt and sends acceleration data to an Arduino Uno microcontroller. The Arduino controls the position of two servo motors attached to a pan-tilt platform based on the accelerometer's readings, allowing motion control through gesture. Code is provided to interface the accelerometer with the Arduino and map acceleration values to servo positions for a motorized pan-tilt camera platform.


![Servo Motor to UNO Connection
Source Code
#include <Wire.h>
#include <Servo.h>
#define DEVICE (0x53) //ADXL345 device address
#define TO_READ (6) //num of bytes we are going to read each
time (two bytes for each axis)
byte buff[TO_READ] ; //6 bytes buffer for saving data read from the
device
char str[512]; //string buffer to transform data
before sending it to the serial port
Servo myservox;
Servo myservoy;
int pos = 0;
int anglex;
int angley;
void setup()
{
Wire.begin(); // join i2c bus
Serial.begin(115200); // start serial for output
myservox.attach(11);
myservoy.attach(12);
//Turning on the ADXL345
writeTo(DEVICE, 0x2D, 0);
writeTo(DEVICE, 0x2D, 16);
writeTo(DEVICE, 0x2D, 8);](https://image.slidesharecdn.com/motorizedpan-tilt-140709102259-phpapp01/75/Motorized-pan-tilt-Arduino-based-11-2048.jpg)
![}
void loop()
{
int regAddress = 0x32; //first axis-acceleration-data register on
the ADXL345
int x, y, z;
readFrom(DEVICE, regAddress, TO_READ, buff); //read the acceleration
data from the ADXL345
//each axis reading comes in 10 bit resolution, ie 2 bytes. Least
Significat Byte first!!
//thus we are converting both bytes in to one int
x = (((int)buff[1]) << 8) | buff[0];
y = (((int)buff[3])<< 8) | buff[2];
z = (((int)buff[5]) << 8) | buff[4];
anglex = x;
anglex = constrain(anglex, -279, 279);
angley = y;
angley = constrain(angley, -279, 279);
anglex = map(anglex, -279, 279, 5, 175);
angley = map(angley, -279, 279, 5, 175);
myservox.write(anglex);
myservoy.write(angley);
//we send the x y z values as a string to the serial port
sprintf(str, "%d %d %d", x, y, z);
Serial.print(str);
Serial.write(10);
//It appears that delay is needed in order not to clog the port
delay(15);
}
//---------------- Functions
//Writes val to address register on device
void writeTo(int device, byte address, byte val) {
Wire.beginTransmission(device); //start transmission to device
Wire.write(address); // send register address
Wire.write(val); // send value to write
Wire.endTransmission(); //end transmission
}
//reads num bytes starting from address register on device in to buff
array
void readFrom(int device, byte address, int num, byte buff[]) {
Wire.beginTransmission(device); //start transmission to device
Wire.write(address); //sends address to read from
Wire.endTransmission(); //end transmission
Wire.beginTransmission(device); //start transmission to device
Wire.requestFrom(device, num); // request 6 bytes from device
int i = 0;](https://image.slidesharecdn.com/motorizedpan-tilt-140709102259-phpapp01/75/Motorized-pan-tilt-Arduino-based-12-2048.jpg)
![while(Wire.available()) //device may send less than requested
(abnormal)
{
buff[i] = Wire.read(); // receive a byte
i++;
}
Wire.endTransmission(); //end transmission
}
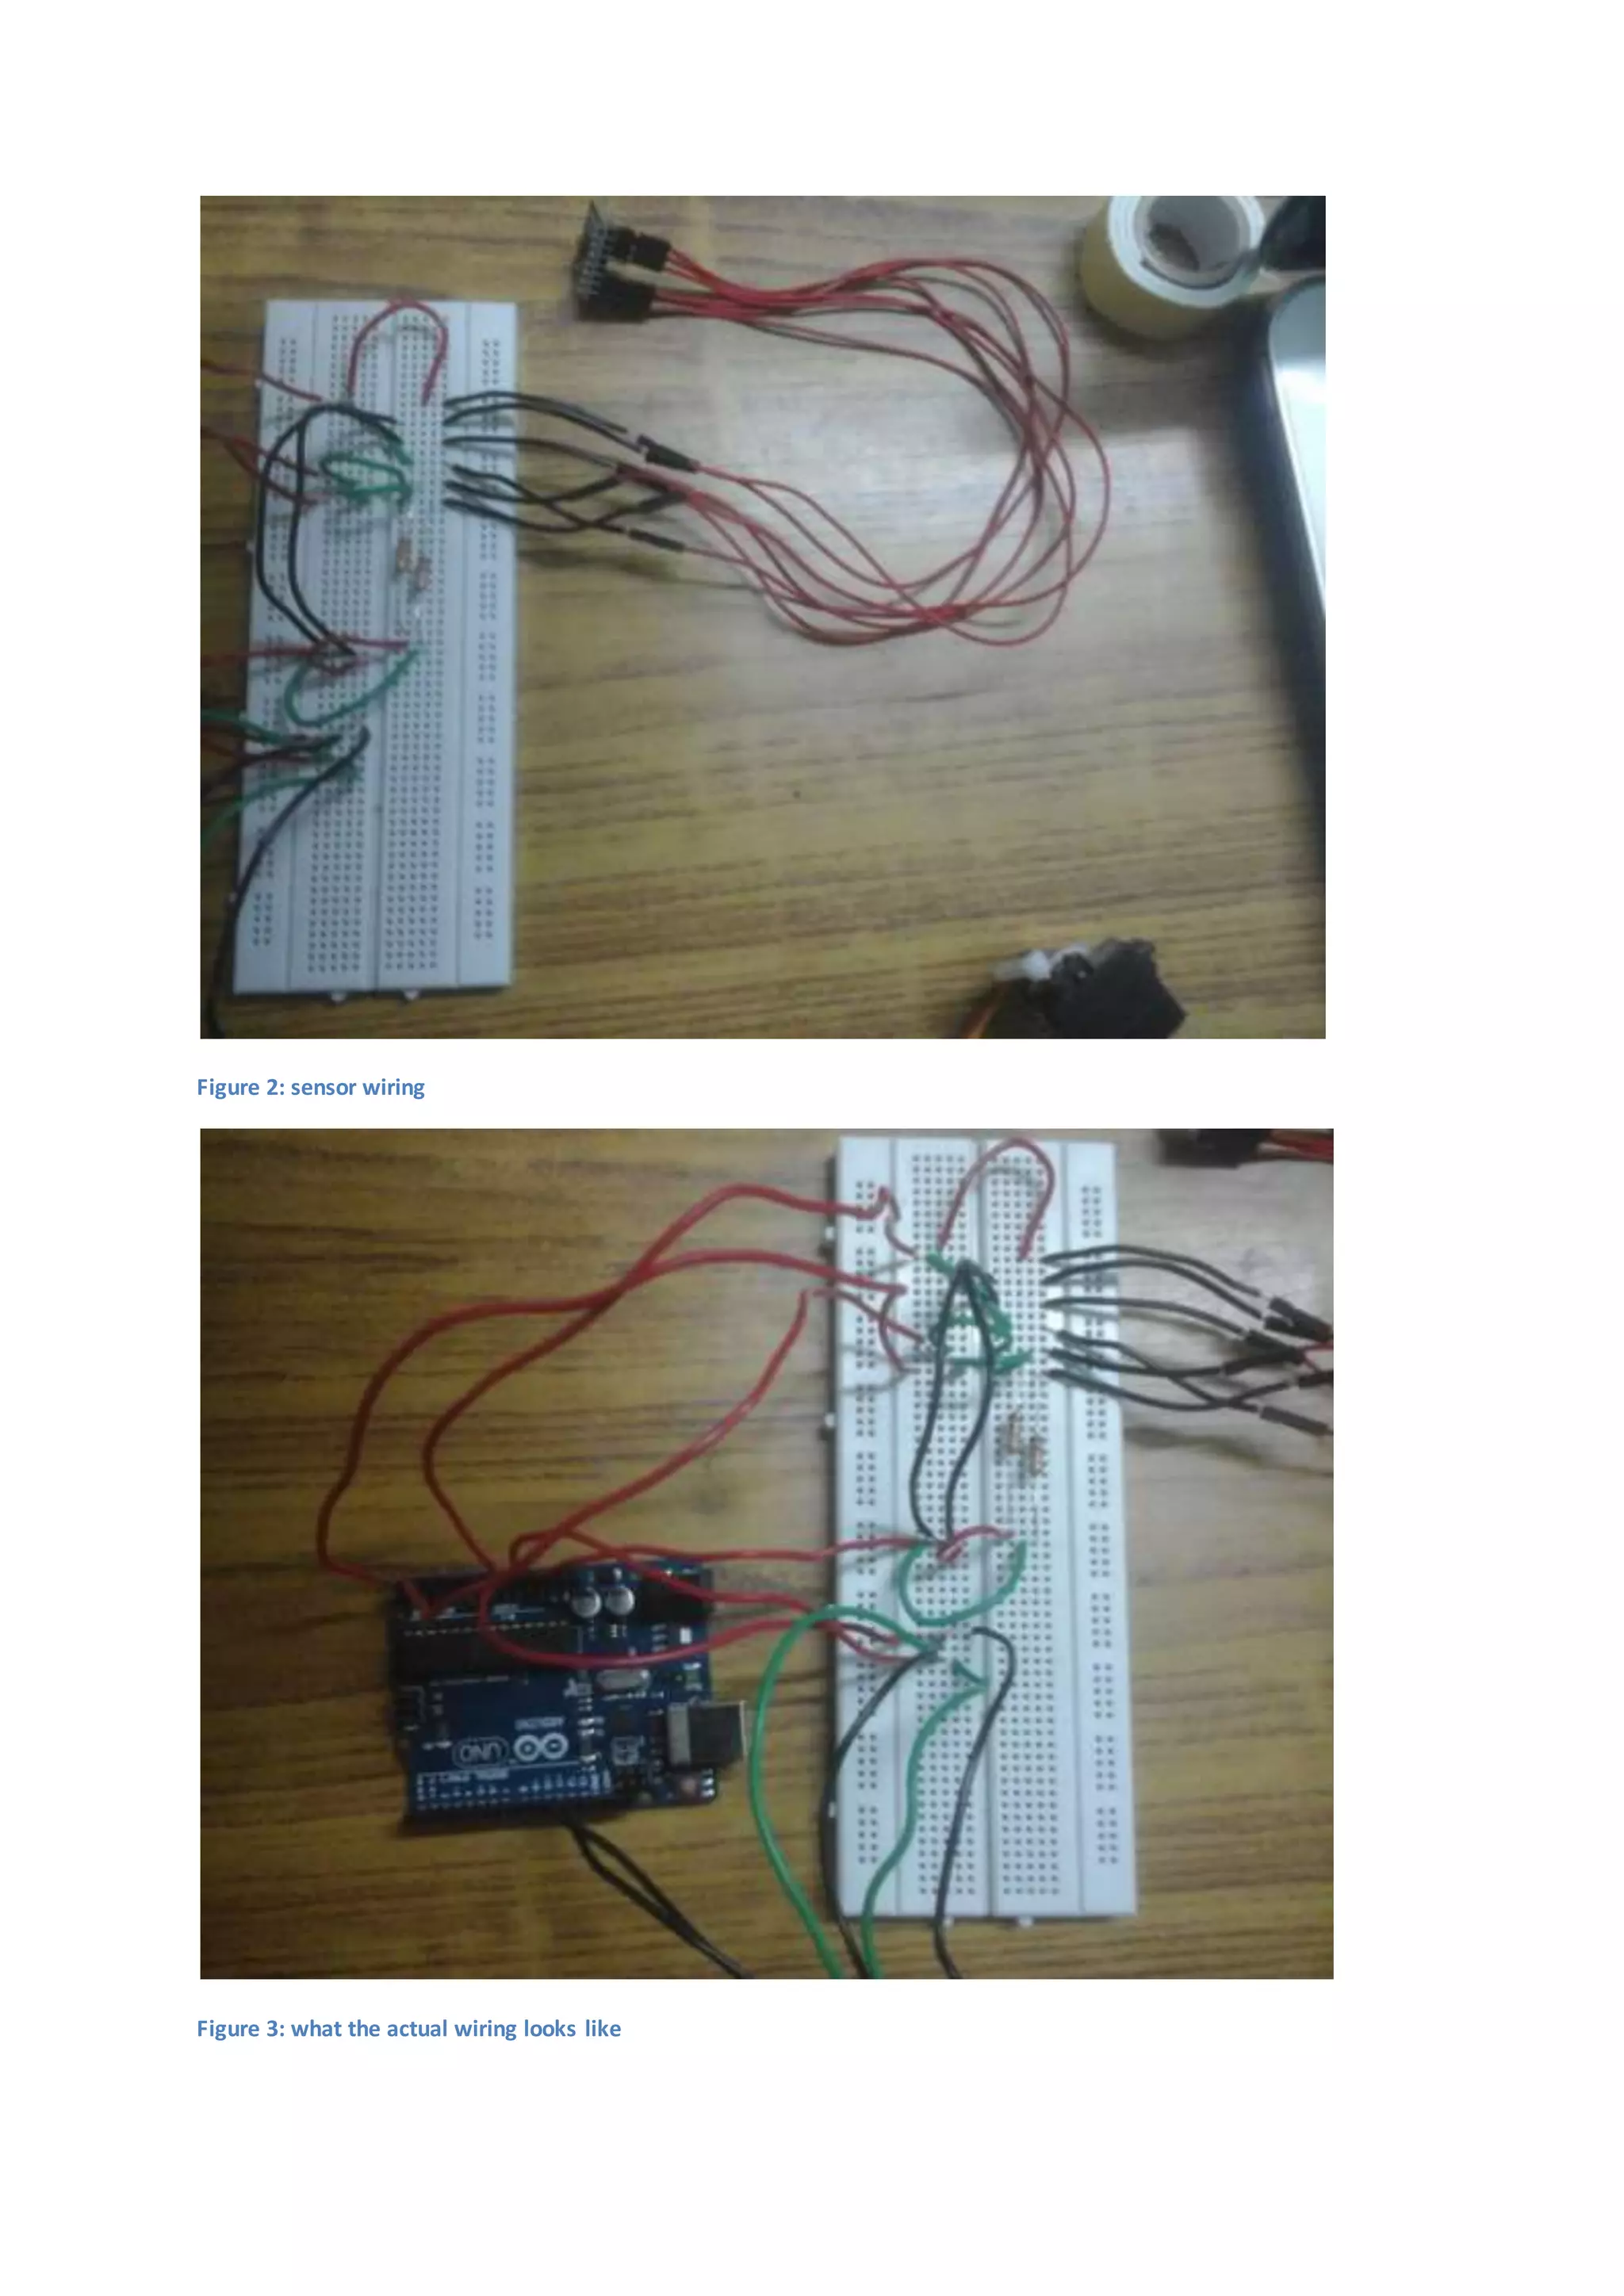
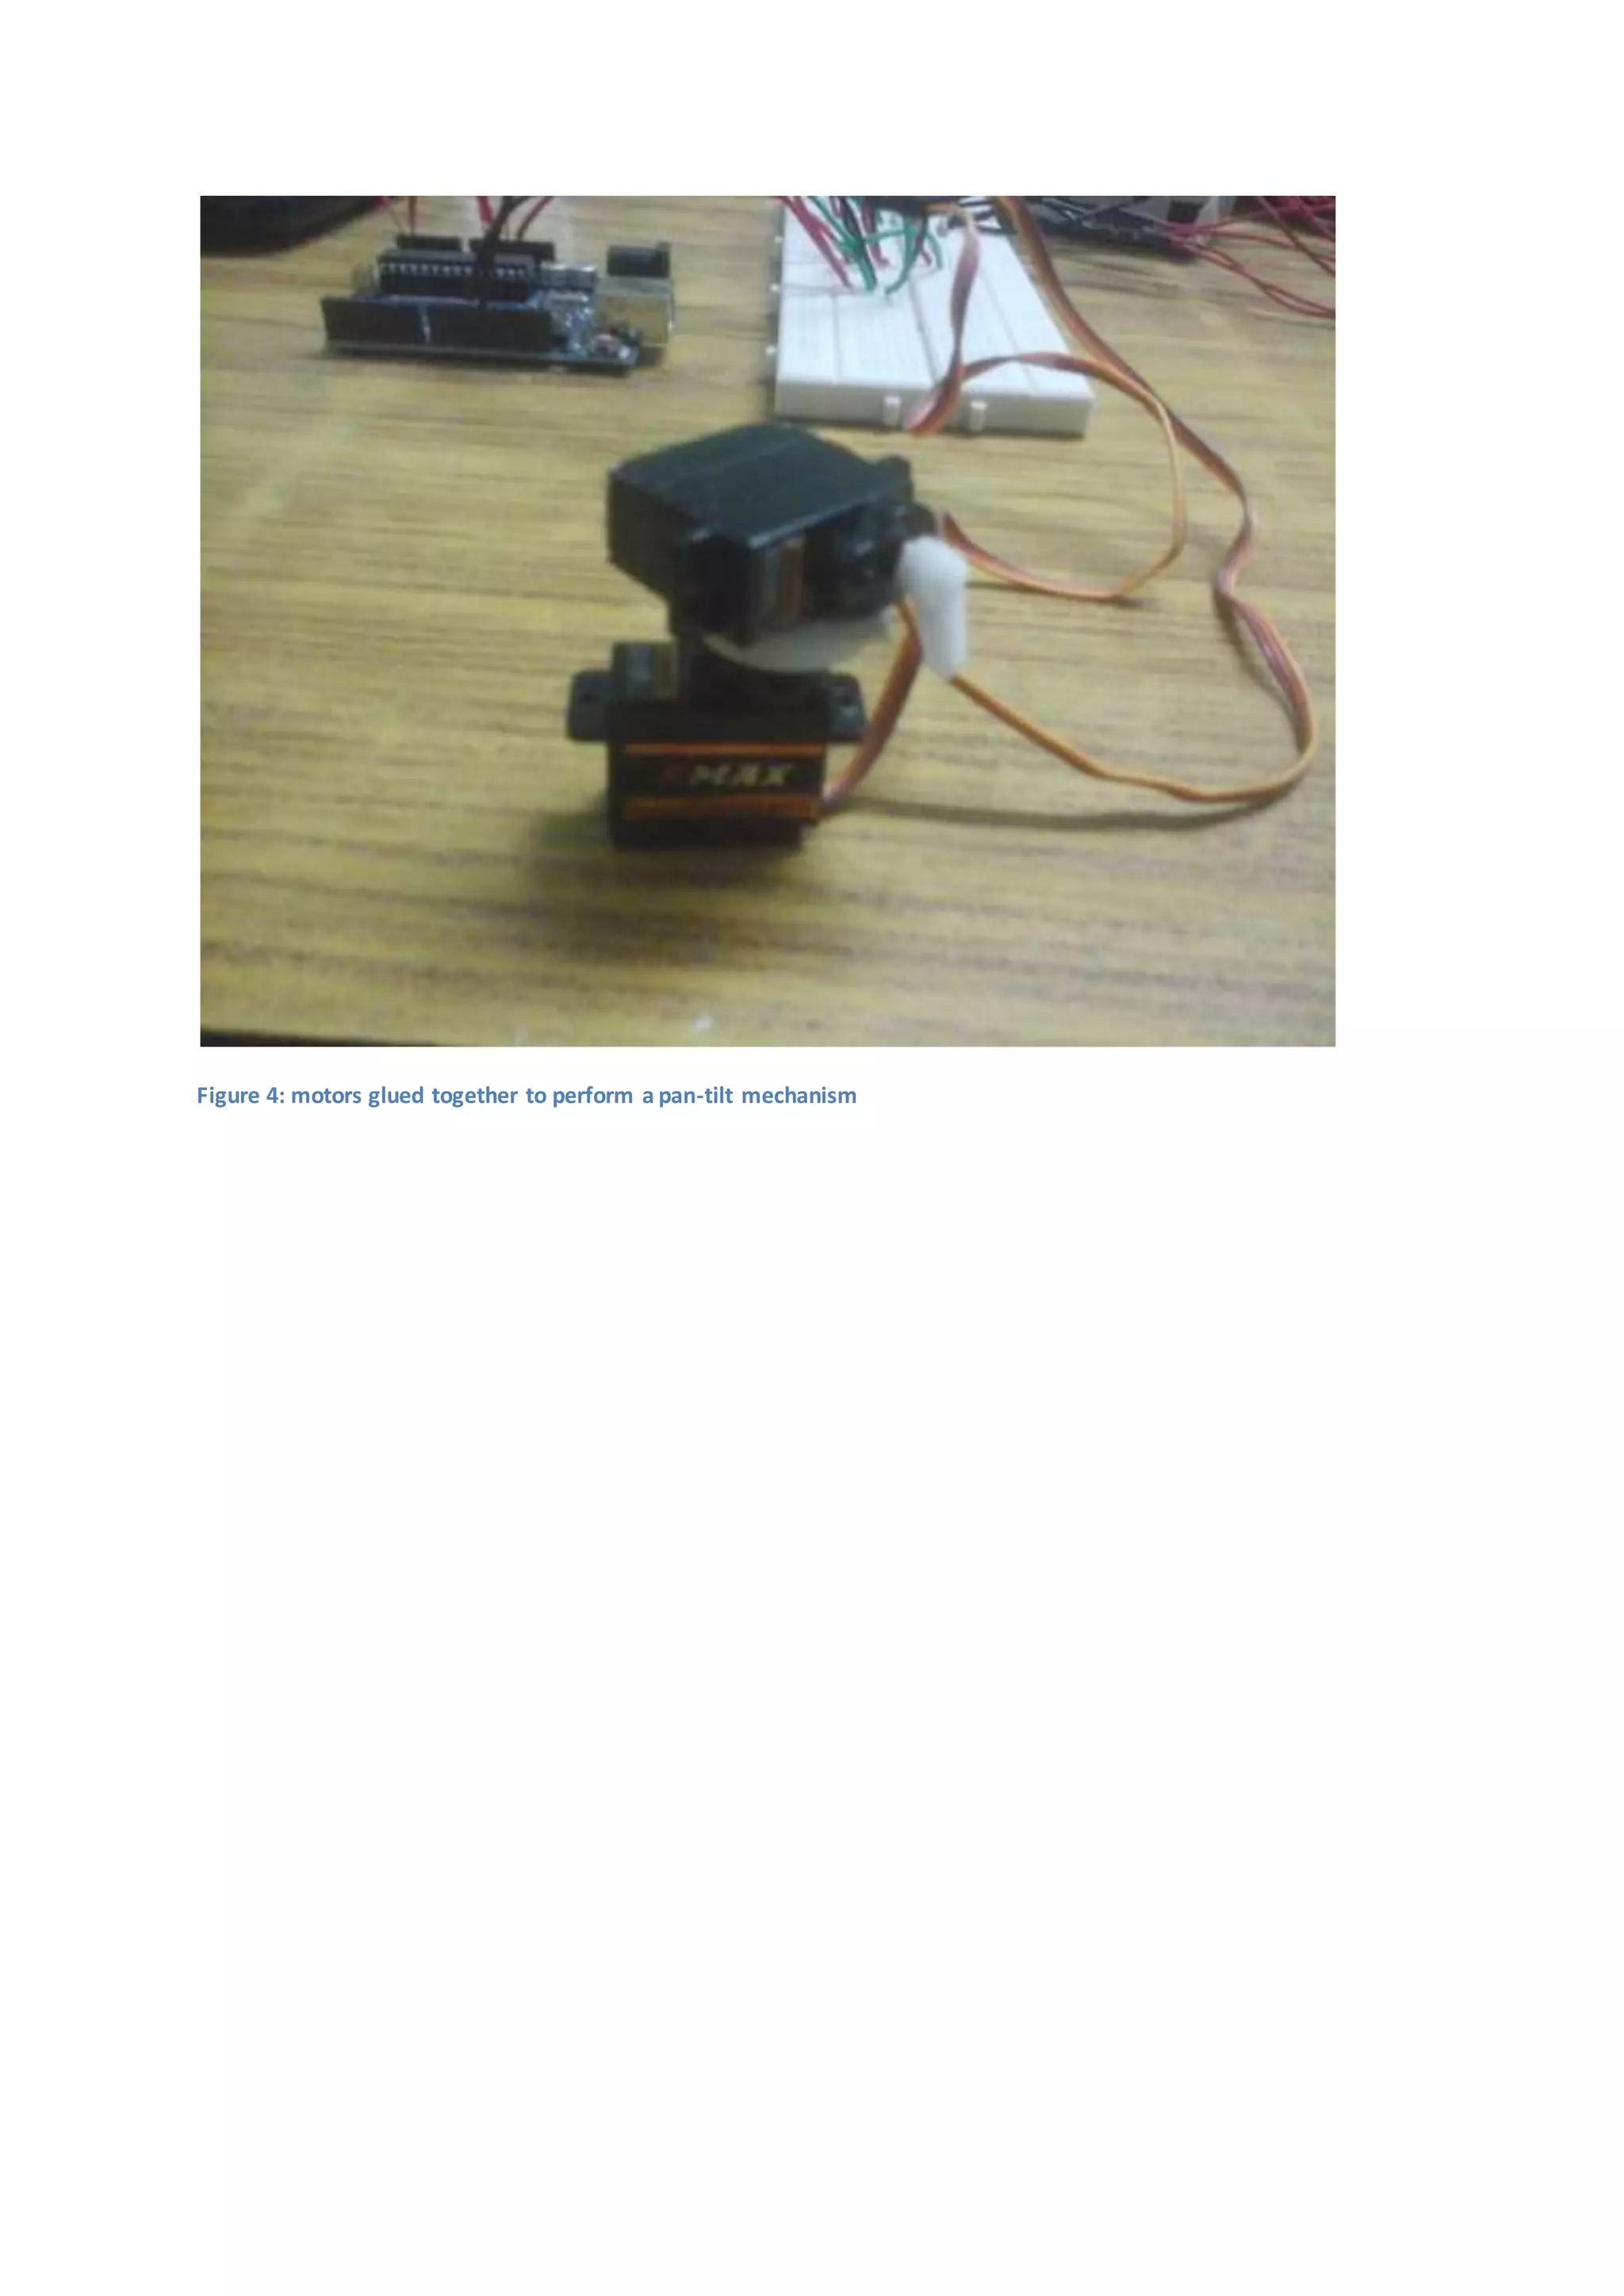
Actual photos of the project
Figure 1: Arduino UNO board setup with sensor](https://image.slidesharecdn.com/motorizedpan-tilt-140709102259-phpapp01/75/Motorized-pan-tilt-Arduino-based-13-2048.jpg)