Download to read offline

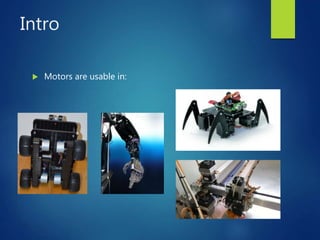
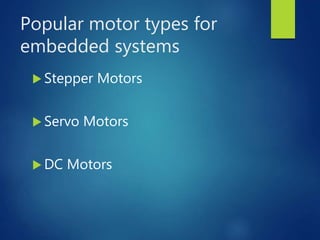
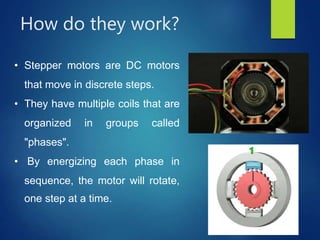
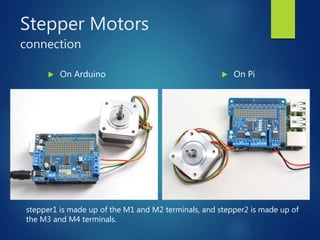

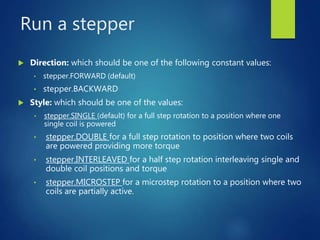
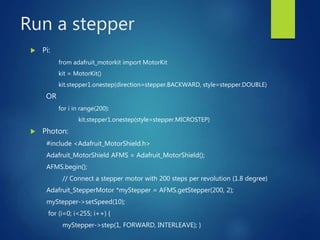
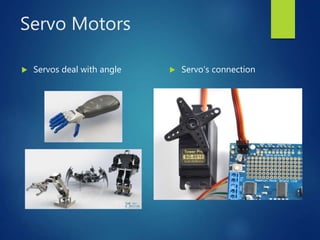
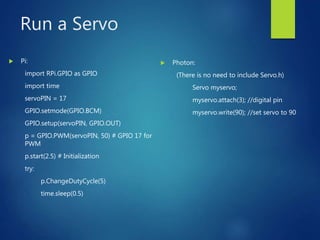
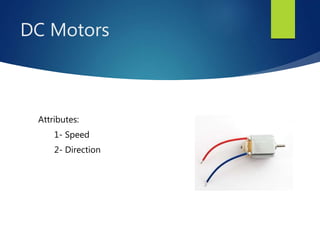
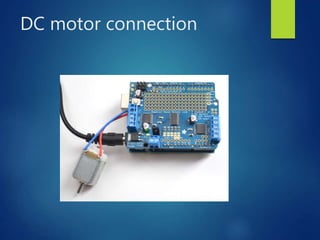
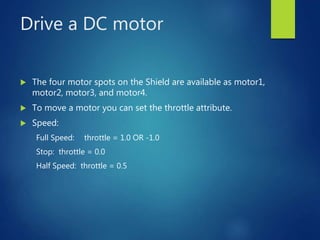
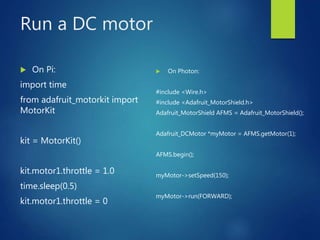
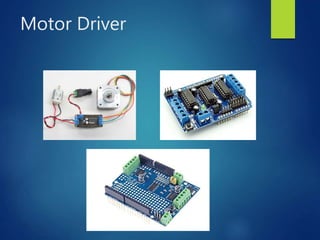
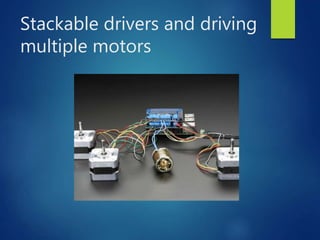
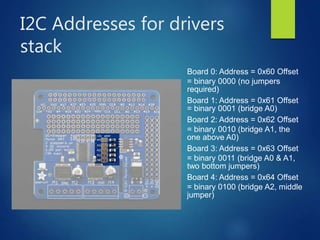
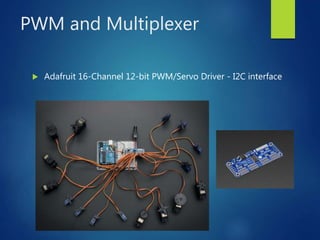


This document provides an introduction to different types of motors and motor controllers that are commonly used in embedded systems, including stepper motors, servo motors, and DC motors. It describes how each type of motor works and how they can be connected and controlled using an Arduino or Raspberry Pi. Stepper motors move in discrete steps by energizing coils in sequence. Servo motors control angular position. DC motors have variable speed and direction controlled by voltage polarity and magnitude. Motor drivers can control multiple motors and be stacked together using I2C addresses. PWM signals can also control servo position and motor speed.