Downloaded 53 times


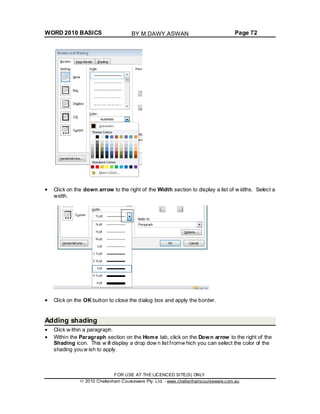
![WORD 2010 BASICS Page 49
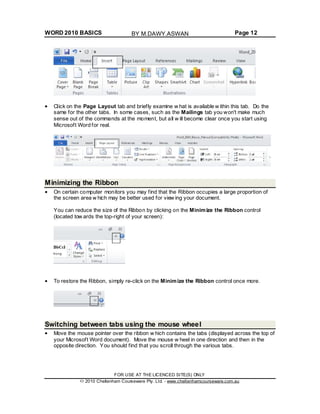
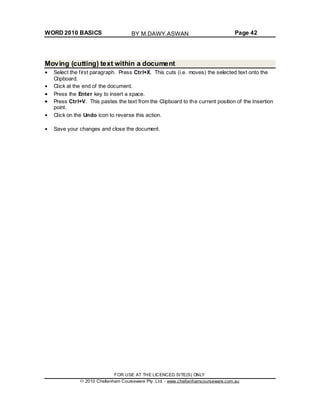
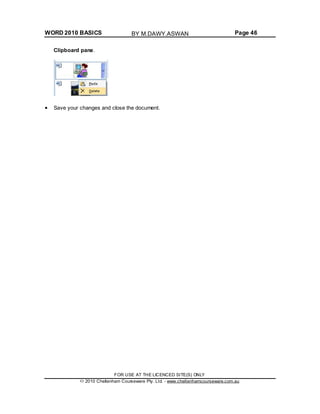
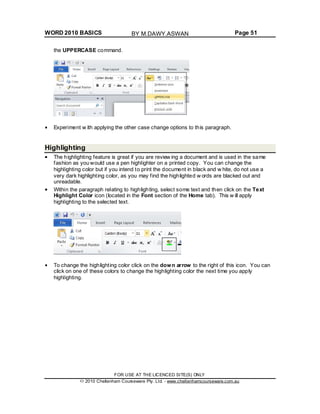
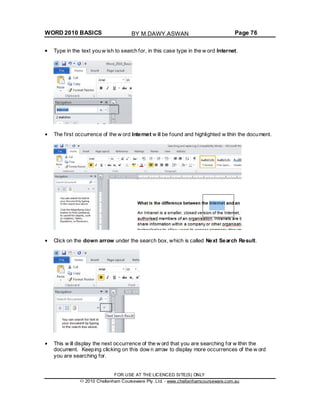
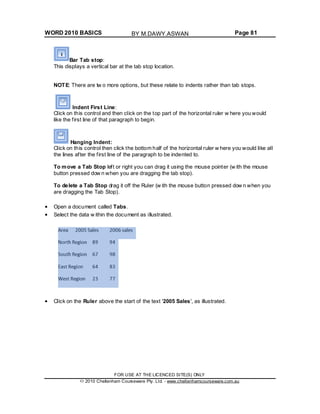
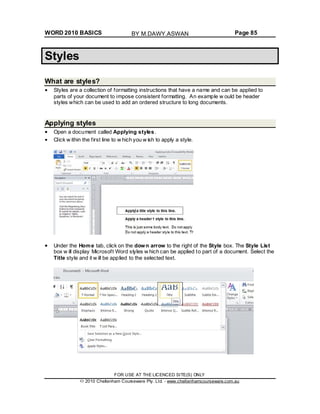
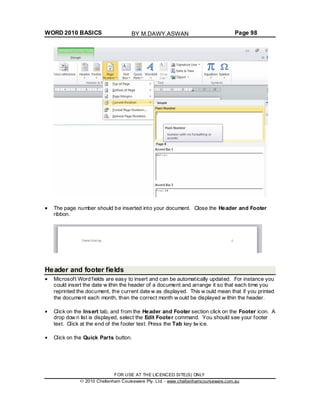
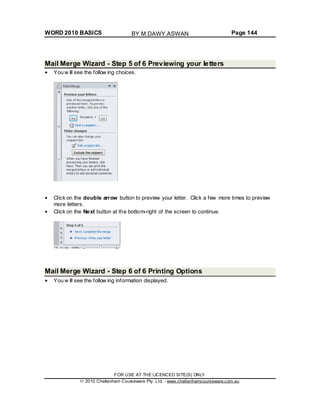
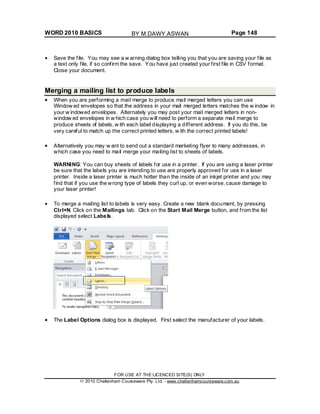
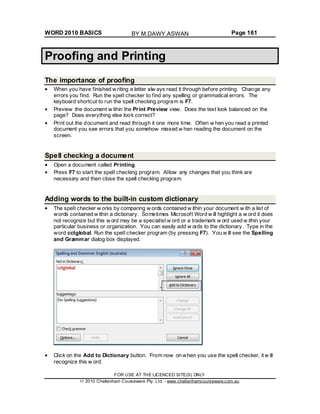
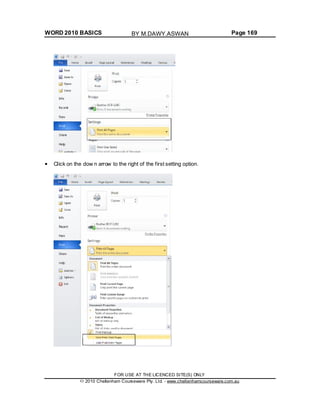
Grow Font and Shrink Font icons
Experiment w ith selecting text and then clicking on the Grow Font and Shrink Font icons.
Font size keyboard shortcut
Make sure that the paragraph starting w ith the text ‘FONT SIZE’ is selected. Press dow n
the Ctrl key and w hile keeping the Ctrl key pressed dow n, press the ‘closing square
brackets’ key ]. While keeping the Ctrl key pressed dow n, repeatedly press the ‘closing
square brackets’ key. As you can see, each time you press the ] key, the text gets bigger.
To make the selected text smaller, use the Ctrl+[ keys.
Bold, italic or underline
You can add emphasis to parts of your text by displaying them in Bold, Italic or Underlined,
or in a combination of these attributes. Select a w ord w ithin the paragraph relating to bold,
italic or underline.
TIP: To select a w ord, double click on the w ord.
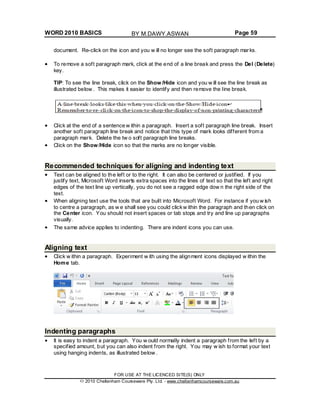
To format the selected w ord as bold, italic or underlined, click on the icons displayed on the
Home tab.
TIP: You can combine these attributes by clicking on the Bold icon and then the Italic icon.
To remove this formatting from a w ord, Select the w ord and re-click on the Bold, Italic or
Underline icon.
Experiment w ith applying this formatting to w ords or entire paragraphs.
FOR USE AT THE LICENCED SITE(S) ONLY
2010 Cheltenham Courseware Pty. Ltd. - www.cheltenhamcourseware.com.au
BY M.DAWY.ASWAN](https://image.slidesharecdn.com/module3word2010-150205013652-conversion-gate02/85/Module-3-word2010-49-320.jpg)

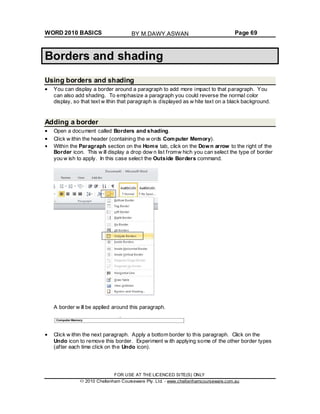
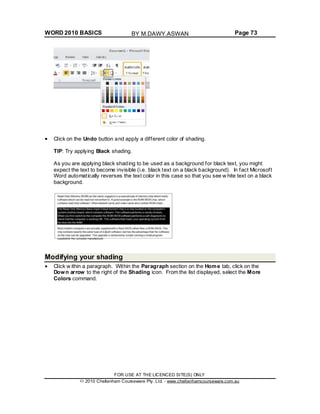


![WORD 2010 BASICS Page 103
Click on the [Type the document title] and then enter a title, such as 'About Computers'.
You can also insert a subtitle and abstract.
Click on the [Pick the date] control to insert today's date.
Scroll though the document to review your changes.
Save your changes and close the file.
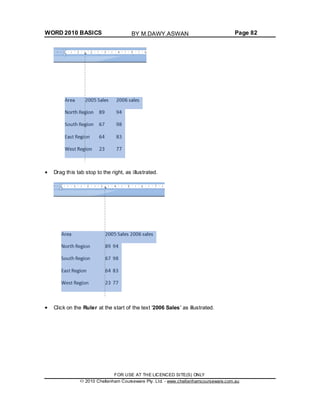
Applying Automatic Hyphenation
If a w ord at the end of a line of text is too long to fit on that line Word 2010 w ill move that
word to the beginning of the next line rather than hyphenate it. If you w ish you can set up
Word to automatically hyphenate text. You can even control the length of the area at the
end of a line that w ill trigger automatic hyphenation, w hen required.
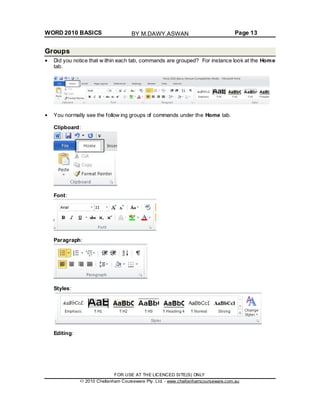
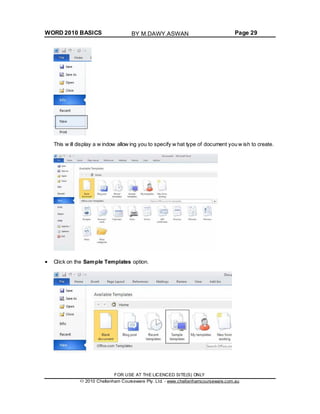
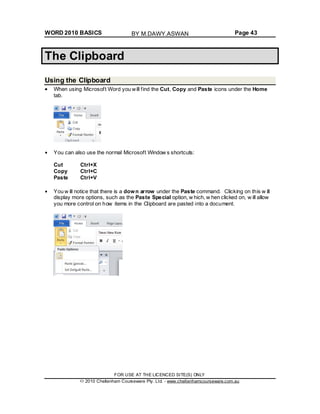
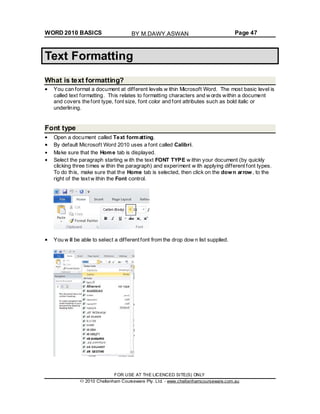
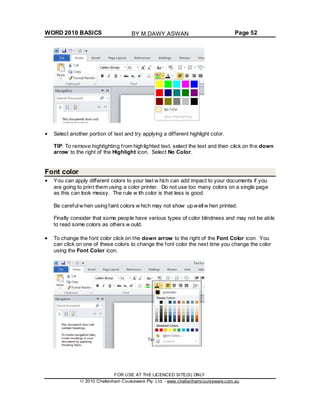
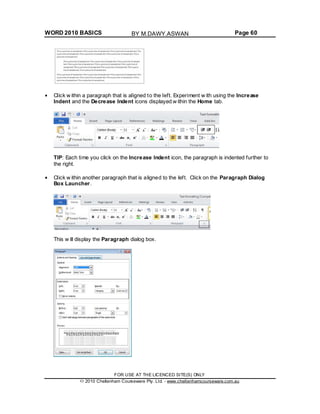
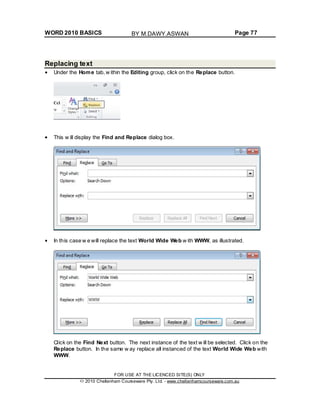
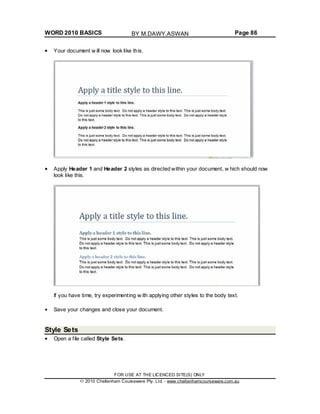
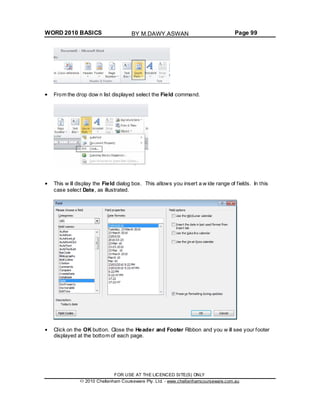
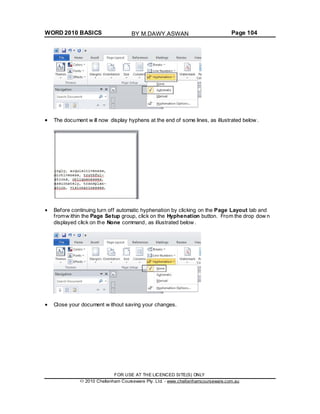
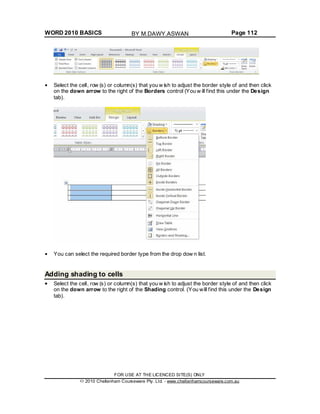
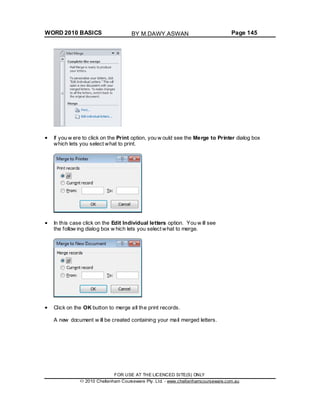
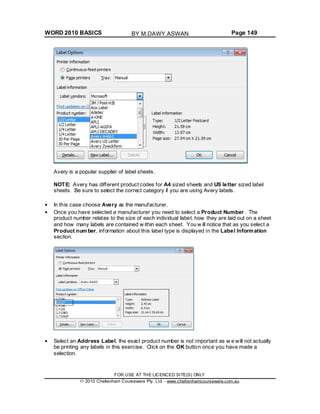
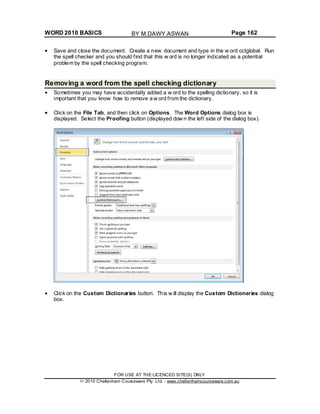
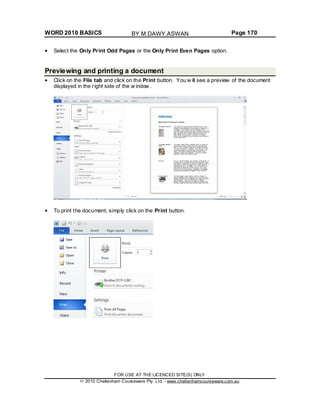
Open a document called Hyphenation. The document w ill look something like the
illustration below . You should see that hyphenation is not active.
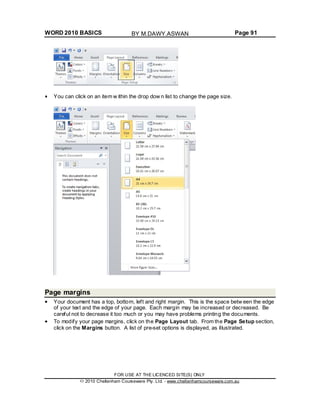
Click on the Page Layout tab and from w ithin the Page Setup group, click on the
Hyphenation button. From the drop dow n displayed click on the Automatic command.
FOR USE AT THE LICENCED SITE(S) ONLY
2010 Cheltenham Courseware Pty. Ltd. - www.cheltenhamcourseware.com.au
BY M.DAWY.ASWAN](https://image.slidesharecdn.com/module3word2010-150205013652-conversion-gate02/85/Module-3-word2010-103-320.jpg)


This document provides an overview of basic functions in Microsoft Word 2010, including how to start Word, open and save documents, navigate through a document, select and format text, insert special characters and symbols, and format paragraphs. It describes the main Word screen components like the ribbon, tabs, groups and dialog box launcher. It also covers how to use views, templates, zoom and help functions in Word 2010.


![ECDL module 5: using databases [To be continued]](https://cdn.slidesharecdn.com/ss_thumbnails/icdlmodule5usingdatabases-150417150536-conversion-gate02-thumbnail.jpg?width=640&height=640&fit=bounds)


