This document provides an overview and outline for a Microsoft PowerPoint 2019 Fundamentals workshop. The workshop is intended to teach University of Pittsburgh faculty and staff the fundamental features of PowerPoint for developing slide presentations. Topics that will be covered include learning the new Ribbon interface, creating and formatting slides, inserting pictures, applying transition effects, and organizing slides. The document outlines the various sections of the workshop, including how to launch PowerPoint, add text and slides, edit slides, work with slide masters, format text and placeholders, add transitions and animations, and print a presentation.
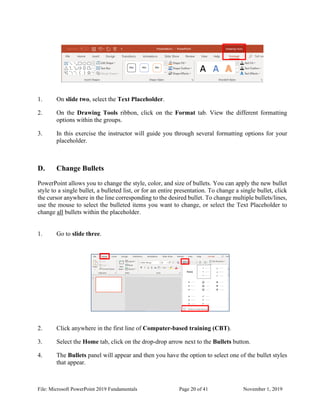
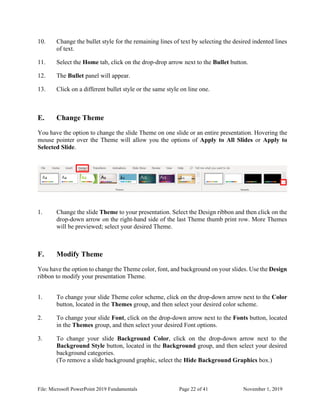
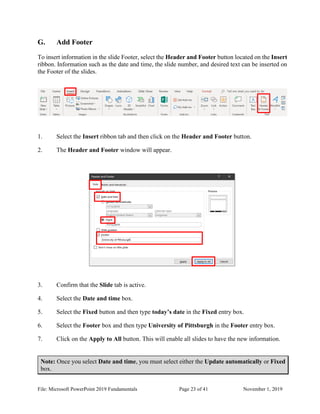
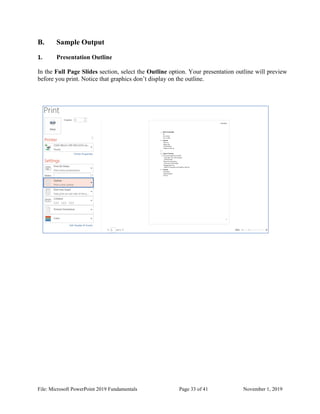
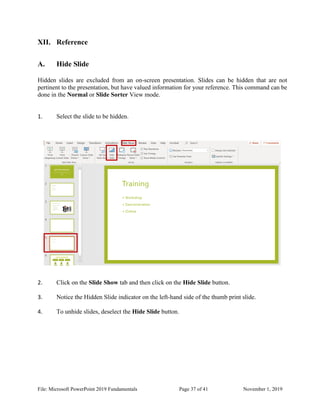
![File: Microsoft PowerPoint 2019 Fundamentals Page 2 of 41 November 1, 2019
Technology Help Desk
412 624-HELP [4357]
technology.pitt.edu
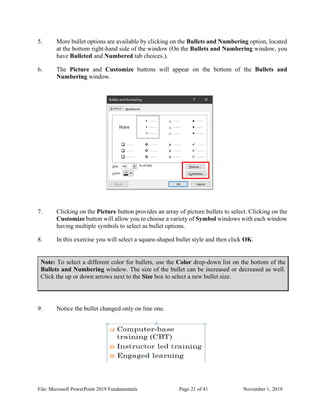
Microsoft PowerPoint 2019 Fundamentals Workshop
Overview
Microsoft PowerPoint 2019 is a presentation application that enables an individual from any technical level
to create a dynamic and professional-looking presentation. This is a hands-on workshop to help University
of Pittsburgh faculty and staff with the fundamental features of PowerPoint and will teach them how to
develop a slide presentation that will engage and inform an audience. Topics covered include:
• Learn about the new Ribbon interface in PowerPoint 2019
• Learn how to create slides, use Themes, and apply color schemes
• Master how to format text, colors, and bullets
• Create maximum impact slides by inserting and editing pictures in your slides
• Learn how to include transition and animation effects
• Organize and manage your slides using PowerPoint’s View options
Table of Contents
I. Introduction 4
a. Launch PowerPoint
b. Windows Features
c. Feature Terms and Descriptions
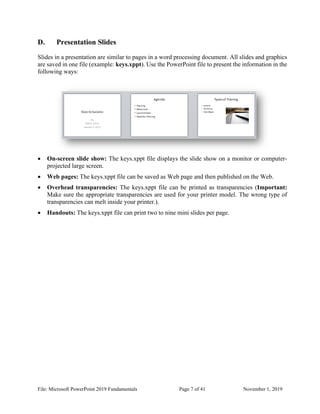
d. Presentation Slides
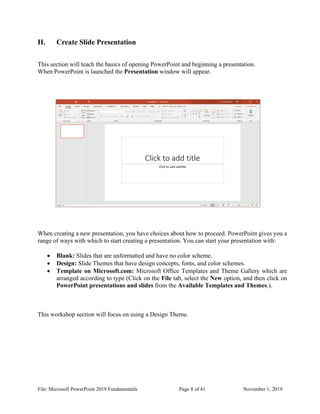
II. Create Slide Presentation 8
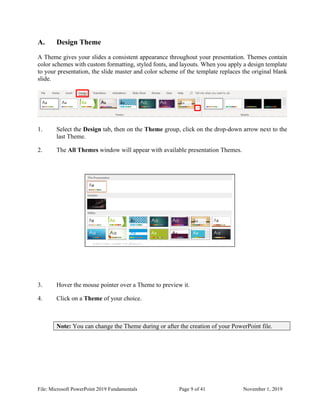
a. Design Theme
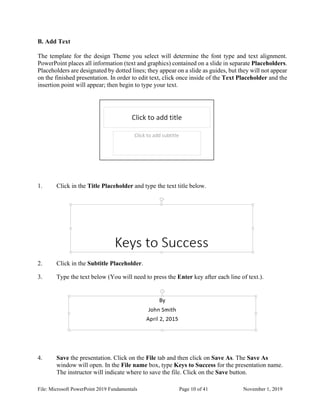
b. Add Text
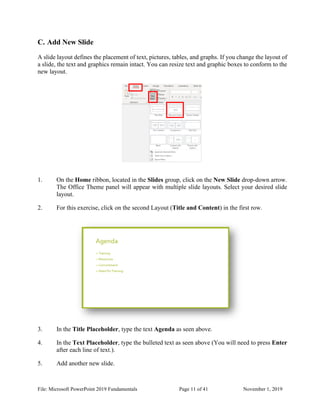
c. Add New Slide
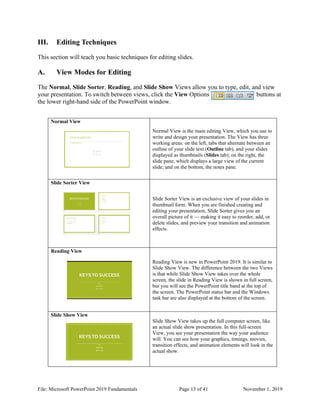
III. Editing Techniques 13
a. View Modes
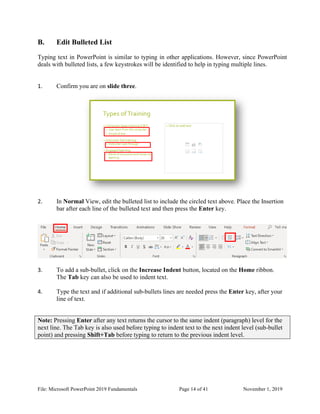
b. Edit Bulleted List
c. Add Clip Art
IV. Slide Master 17
a. Edit Slide Master
V. Format Slide 19
a. Replace Font
b. Format Text
c. Format Placeholder
d. Change Bullets
e. Change Theme
f. Modify Theme
g. Add Footer](https://image.slidesharecdn.com/microsoftpowerpoint2019fundamentals-221130052142-4473302f/85/Microsoft-PowerPoint-2019-Fundamentals-pdf-2-320.jpg)