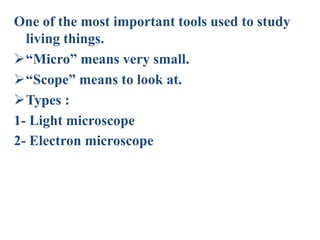
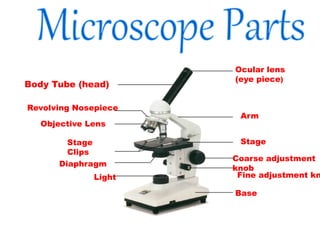
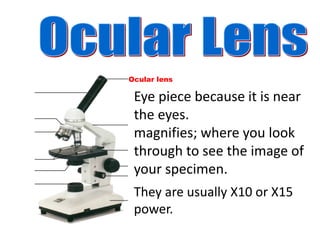
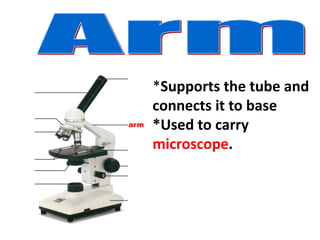
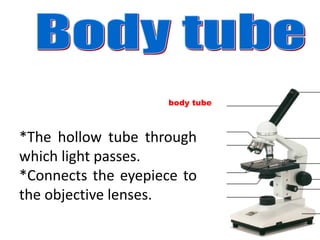
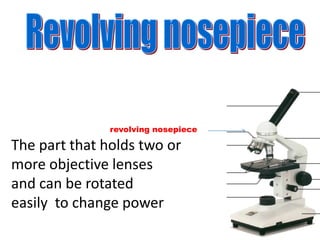
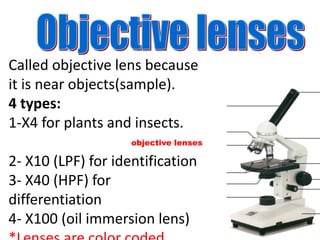
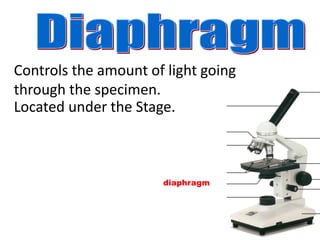
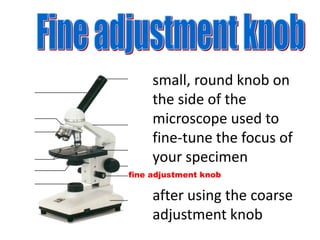
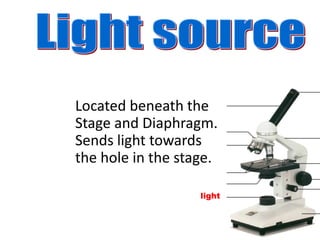
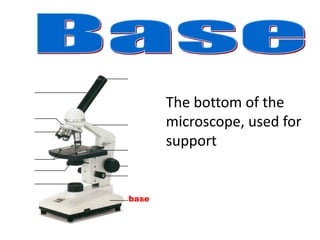
MICROSCOPE
One of the most important tools used to study
living things.
“Micro” means very small.
“Scope” means to look at.
Types :
1- Light microscope
2- Electron microscope
• Always carry with 2 hands.
• Never touch the lenses with your fingers.
• Only use lens paper for cleaning.
• Do not force knobs.
• Always store covered.
Ocular lens
(eye piece)
Body Tube (head)
Revolving Nosepiece
Arm
Objective Lens
Stage
Stage
Clips
Coarse adjustment
knob
Fine adjustment kn
Base
Diaphragm
Light
Ocular lens
Eye piece because it is near
the eyes.
magnifies; where you look
through to see the image of
your specimen.
They are usually X10 or X15
power.
arm
*Supports the tube and
connects it to base
*Used to carry
microscope.
stage
The flat platform
where you place
your slides
stage clips
Stage clips hold the slides in
place.
body tube
*The hollow tube through
which light passes.
*Connects the eyepiece to
the objective lenses.
revolving nosepiece
The part that holds two or
more objective lenses
and can be rotated
easily to change power
objective lenses
Called objective lens because
it is near objects(sample).
4 types:
1-X4 for plants and insects.
2- X10 (LPF) for identification
3- X40 (HPF) for
differentiation
4- X100 (oil immersion lens)
*System for collecting and directing light.
*Used to condense the light.
diaphragm
Controls the amount of light going
through the specimen.
Located under the Stage.
coarse adjustment knob
Large , round knob
on the side of the
microscope used to
moves stage up and
down
fine adjustment knob
small, round knob on
the side of the
microscope used to
fine-tune the focus of
your specimen
after using the coarse
adjustment knob
light
Located beneath the
Stage and Diaphragm.
Sends light towards
the hole in the stage.
base
The bottom of the
microscope, used for
support
THE END

MICROSCOPE.pptx