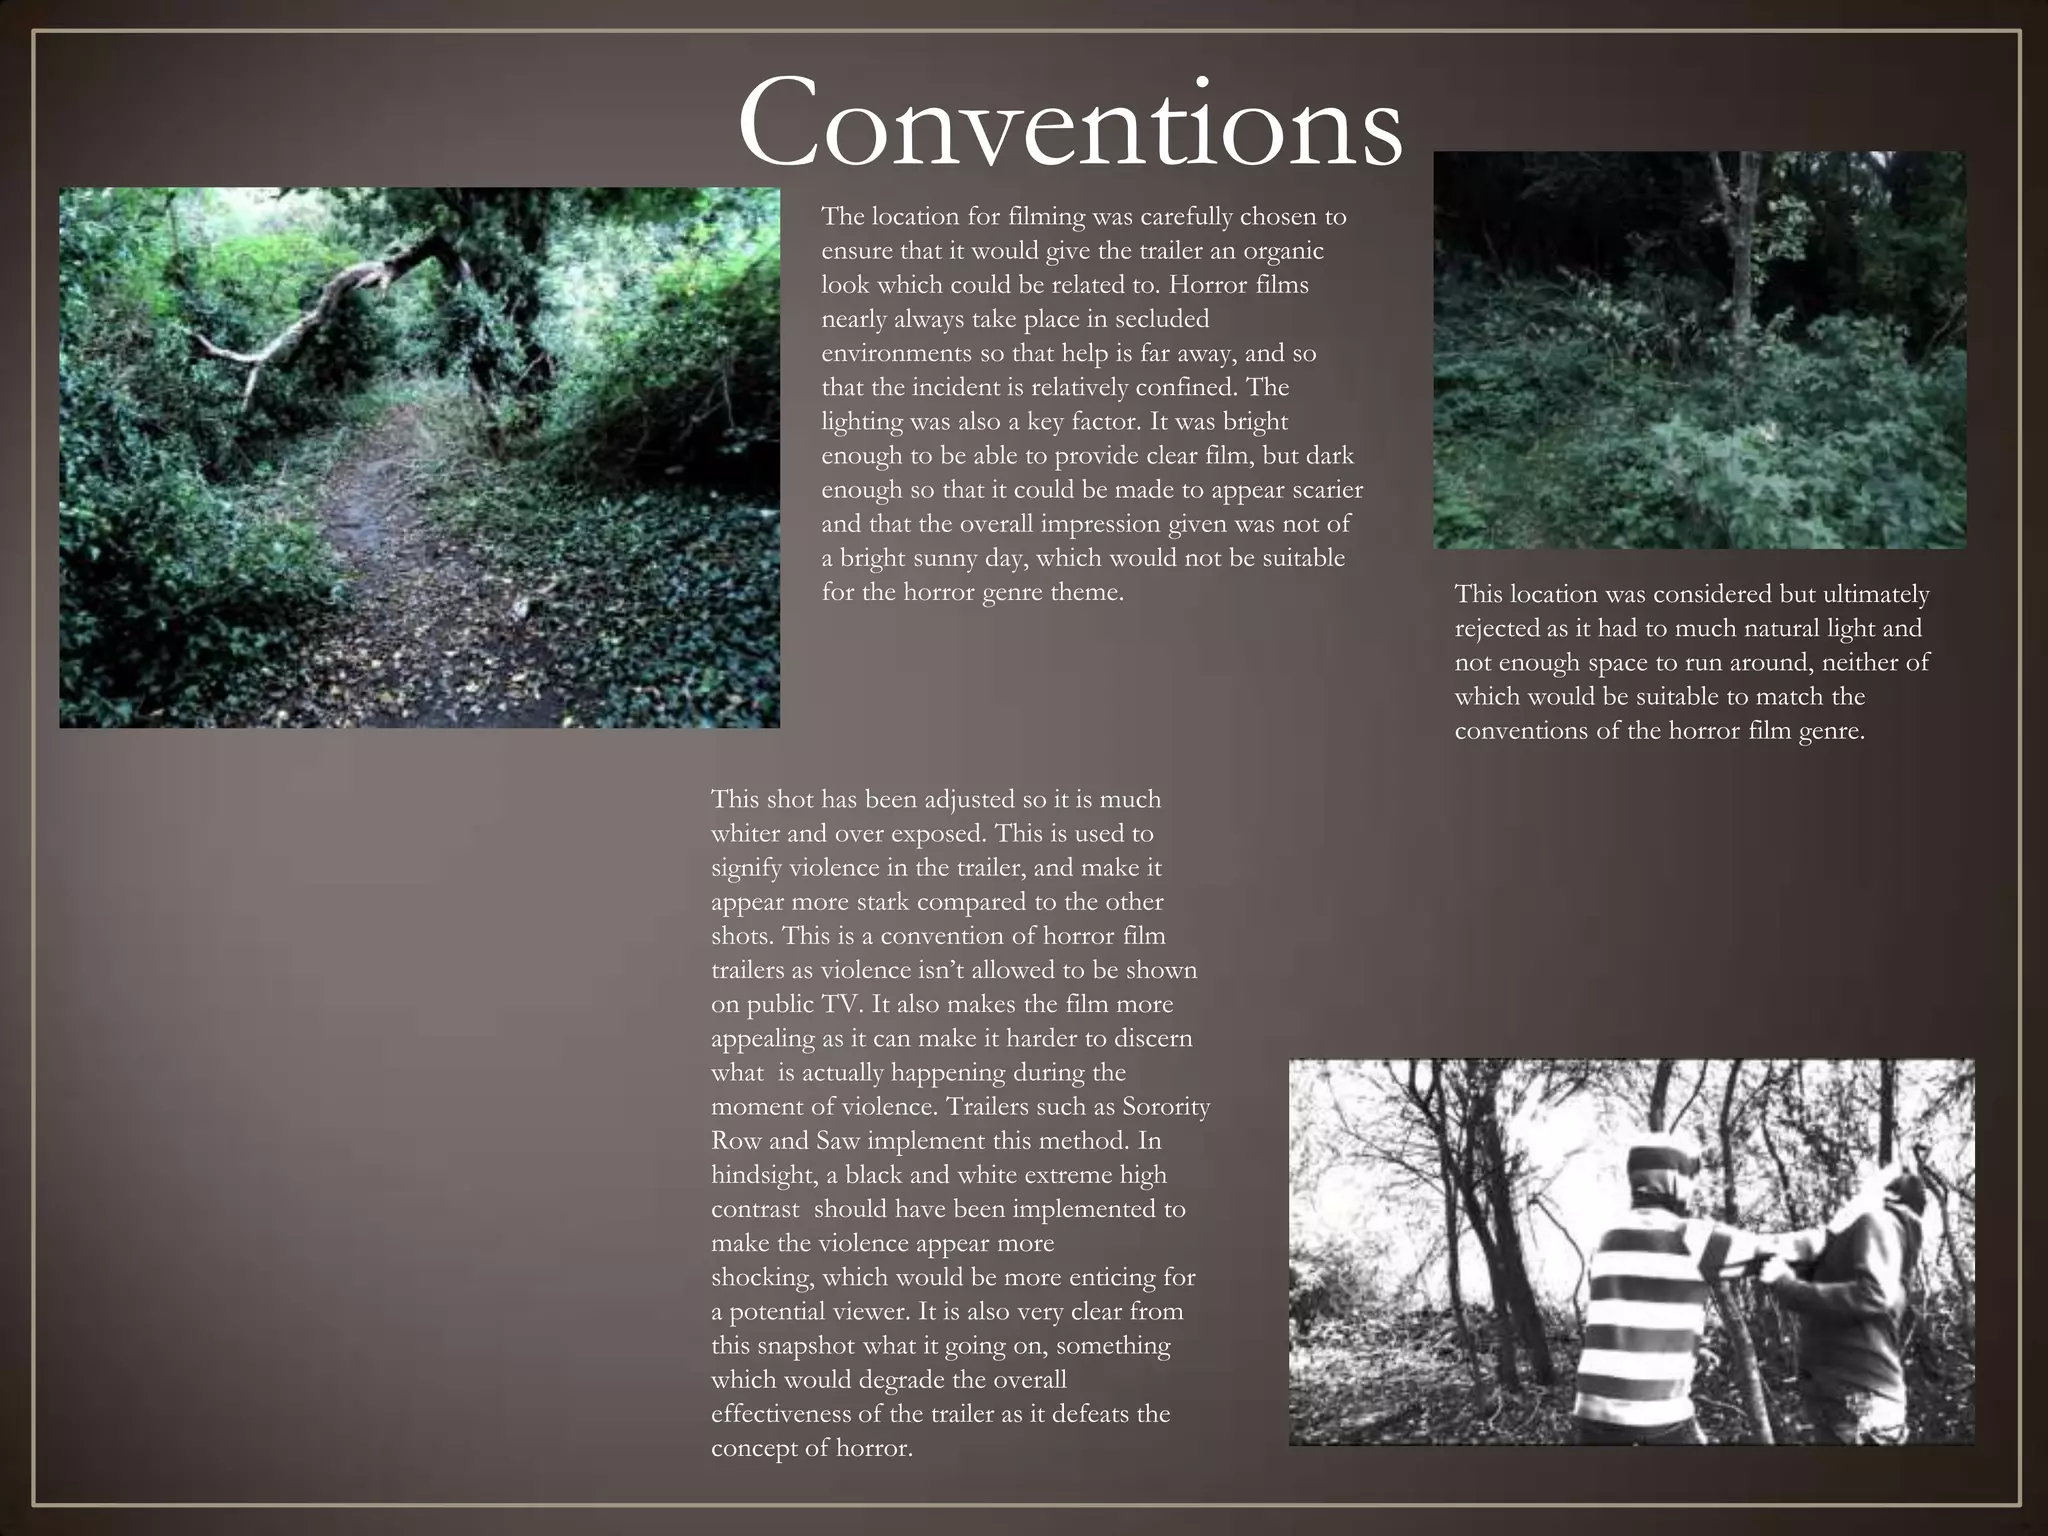
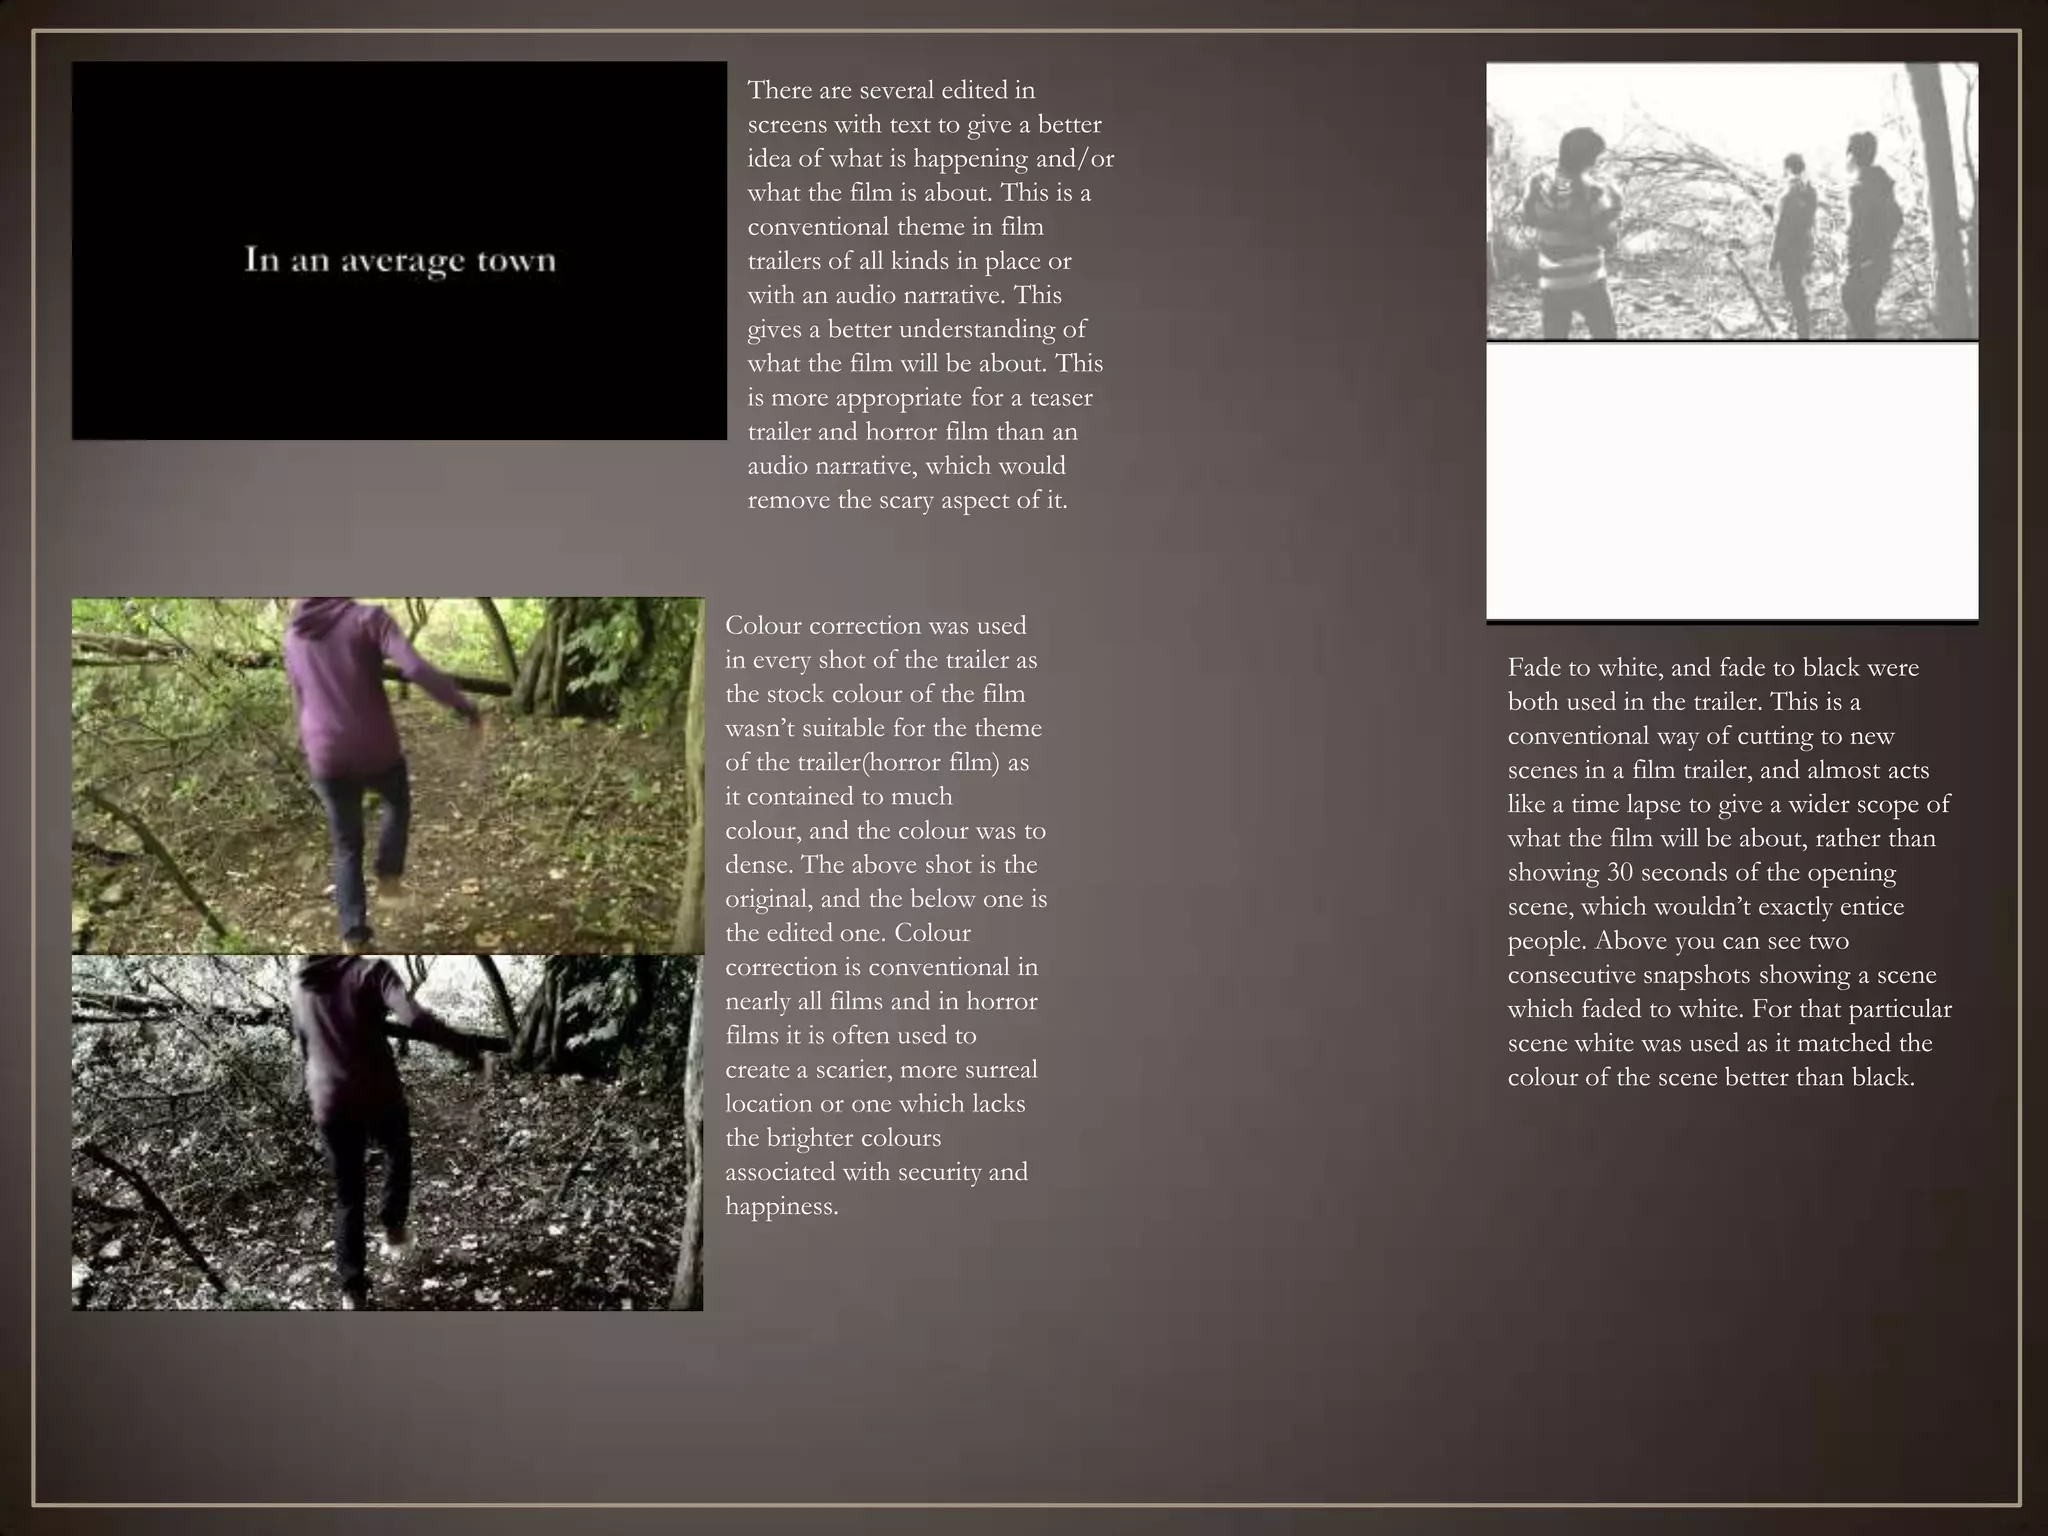
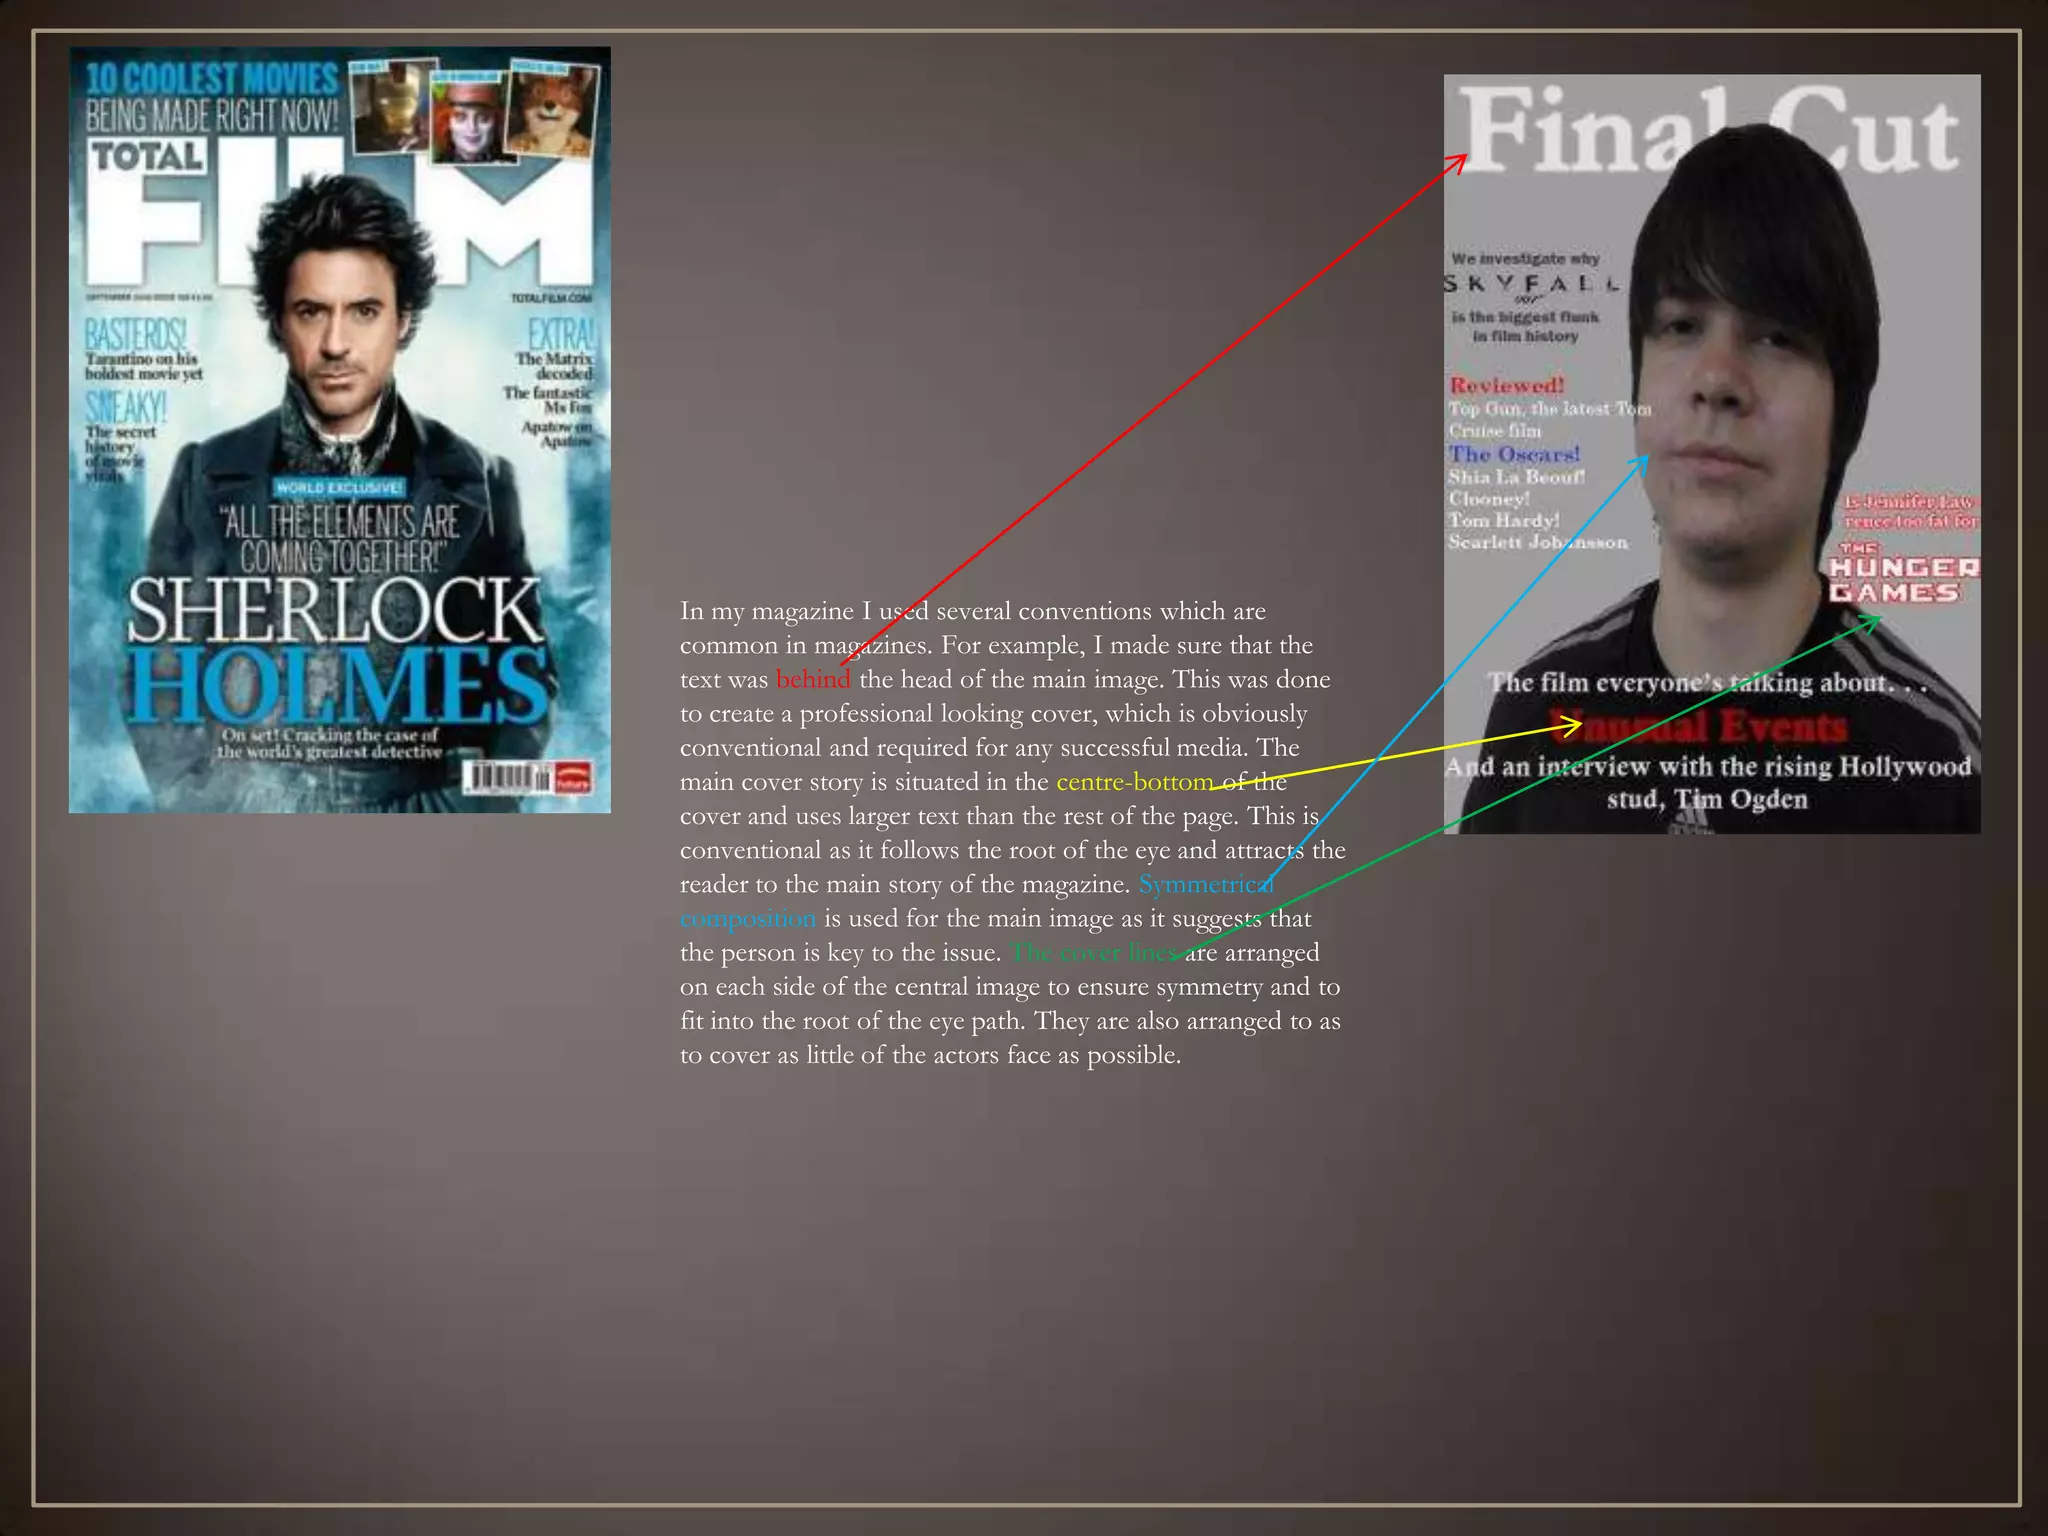
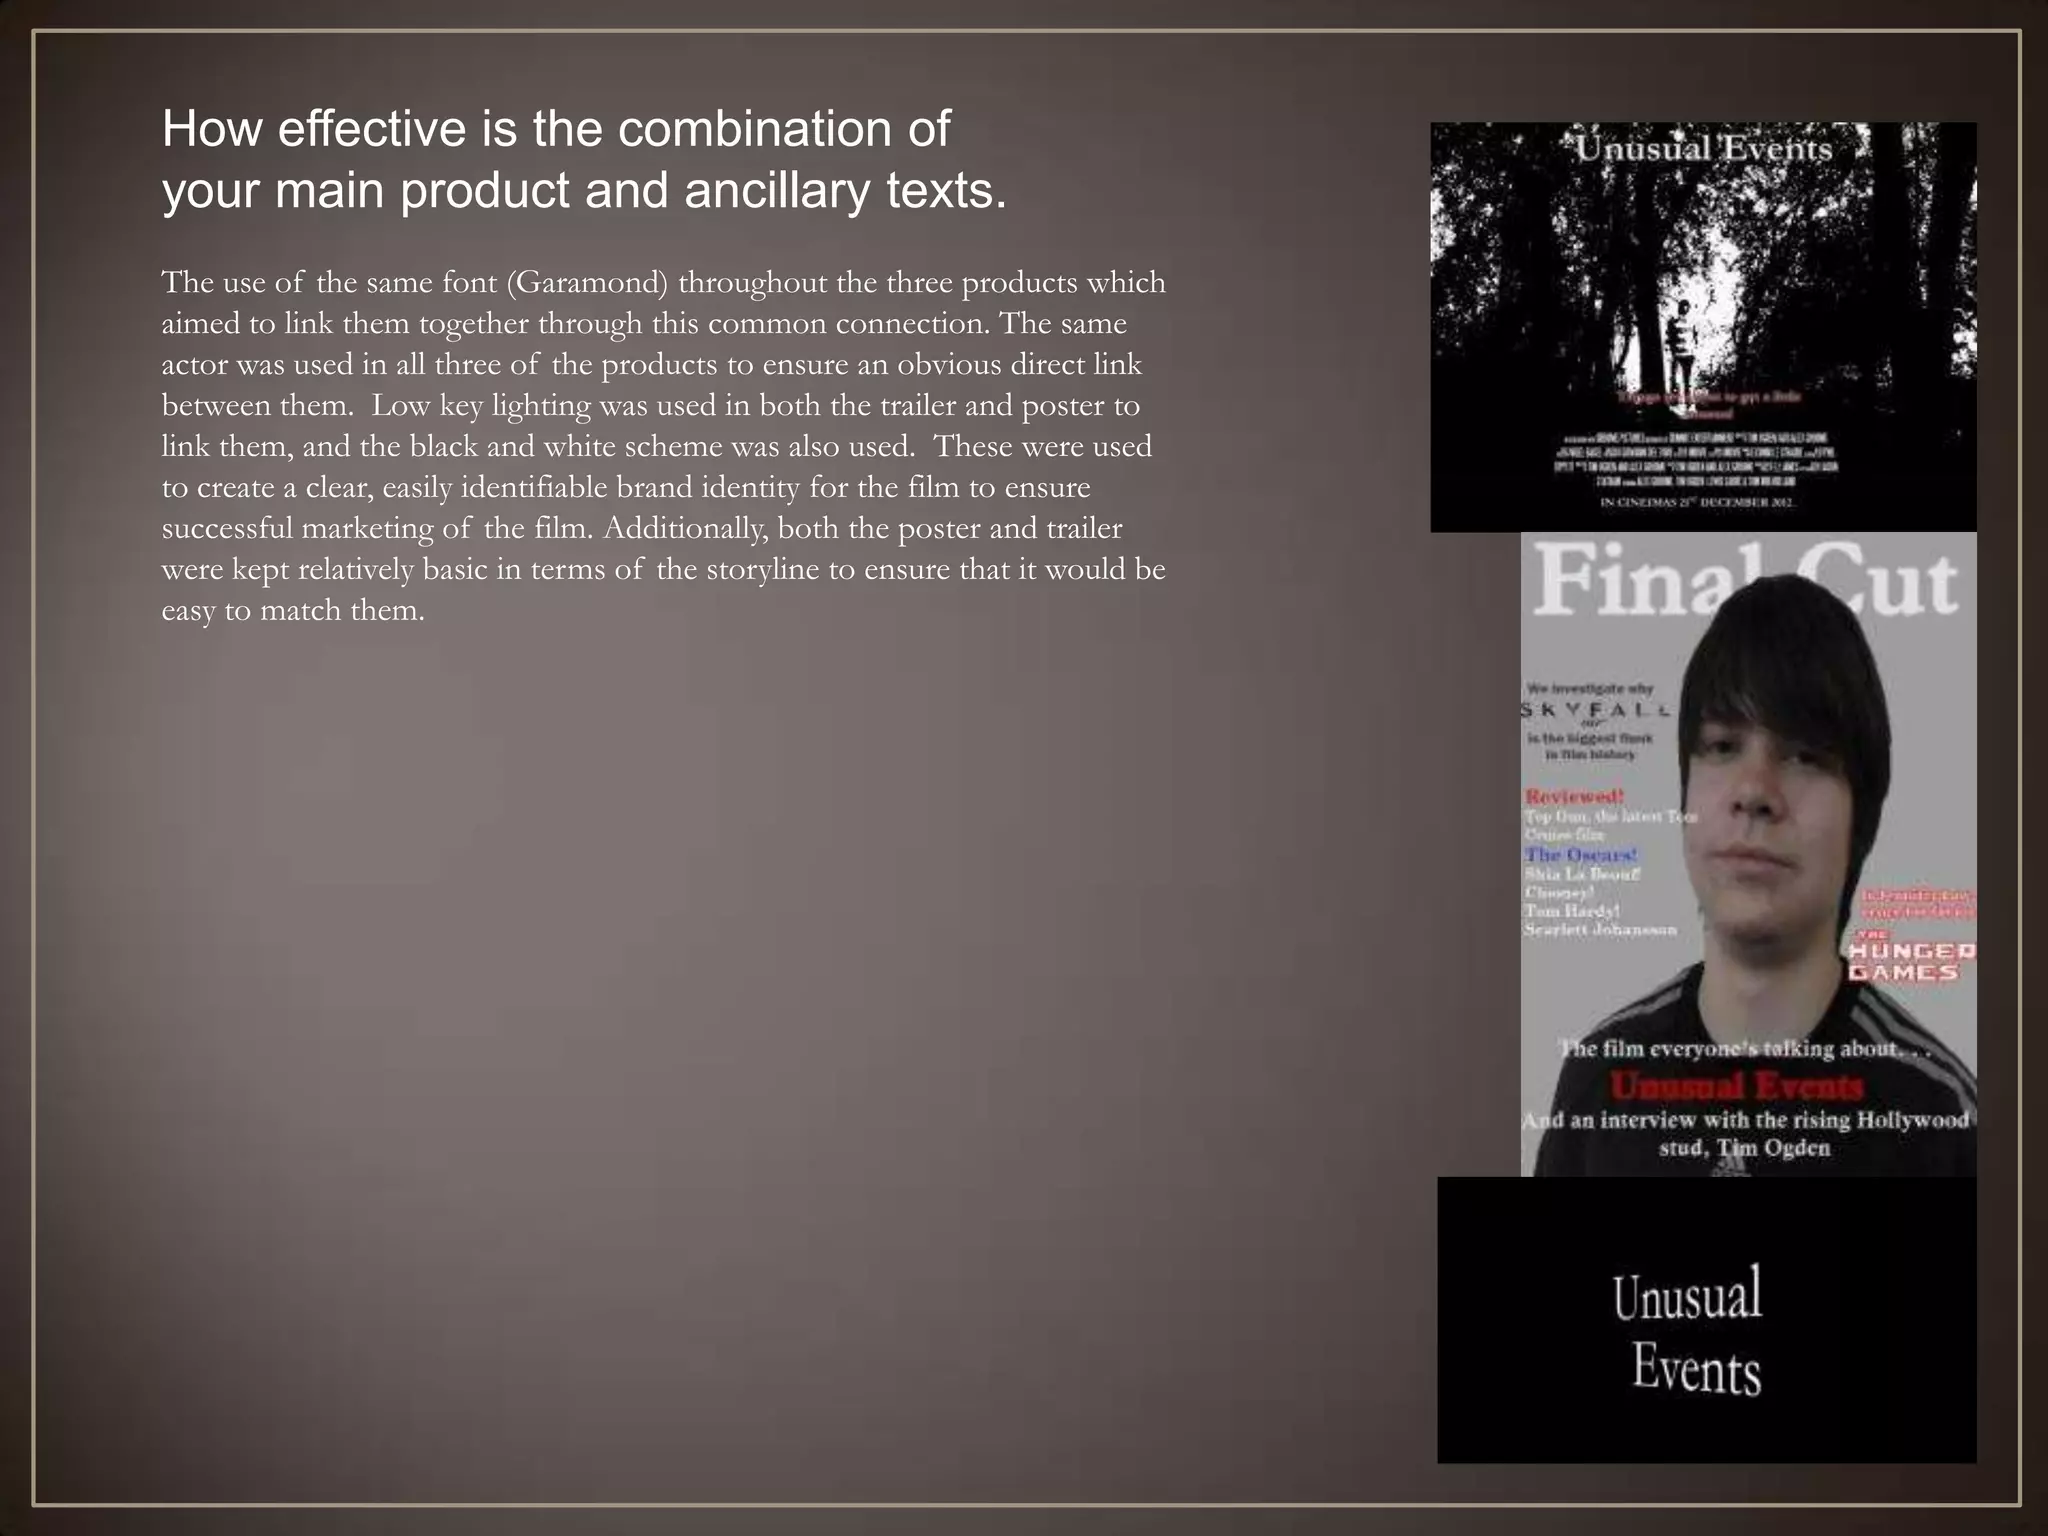
The document discusses conventions used in film trailers and posters. It analyzes the location, lighting, editing, and color correction choices made in a horror film trailer based on genre conventions. Text overlays and fades between scenes are described as conventional trailer techniques. Symmetry, prominent text, and obscured faces are discussed as conventions for magazine covers and horror movie posters. The effectiveness of maintaining consistent fonts, actors, and visual styles across the trailer, poster, and magazine cover is also assessed.
2. Conventions
The location for filming was carefully chosen to
ensure that it would give the trailer an organic
look which could be related to. Horror films
nearly always take place in secluded
environments so that help is far away, and so
that the incident is relatively confined. The
lighting was also a key factor. It was bright
enough to be able to provide clear film, but dark
enough so that it could be made to appear scarier
and that the overall impression given was not of
a bright sunny day, which would not be suitable
for the horror genre theme. This location was considered but ultimately
rejected as it had to much natural light and
not enough space to run around, neither of
which would be suitable to match the
conventions of the horror film genre.
This shot has been adjusted so it is much
whiter and over exposed. This is used to
signify violence in the trailer, and make it
appear more stark compared to the other
shots. This is a convention of horror film
trailers as violence isn’t allowed to be shown
on public TV. It also makes the film more
appealing as it can make it harder to discern
what is actually happening during the
moment of violence. Trailers such as Sorority
Row and Saw implement this method. In
hindsight, a black and white extreme high
contrast should have been implemented to
make the violence appear more
shocking, which would be more enticing for
a potential viewer. It is also very clear from
this snapshot what it going on, something
which would degrade the overall
effectiveness of the trailer as it defeats the
concept of horror.
3. There are several edited in
screens with text to give a better
idea of what is happening and/or
what the film is about. This is a
conventional theme in film
trailers of all kinds in place or
with an audio narrative. This
gives a better understanding of
what the film will be about. This
is more appropriate for a teaser
trailer and horror film than an
audio narrative, which would
remove the scary aspect of it.
Colour correction was used
in every shot of the trailer as Fade to white, and fade to black were
the stock colour of the film both used in the trailer. This is a
wasn’t suitable for the theme conventional way of cutting to new
of the trailer(horror film) as scenes in a film trailer, and almost acts
it contained to much like a time lapse to give a wider scope of
colour, and the colour was to what the film will be about, rather than
dense. The above shot is the showing 30 seconds of the opening
original, and the below one is scene, which wouldn’t exactly entice
the edited one. Colour people. Above you can see two
correction is conventional in consecutive snapshots showing a scene
nearly all films and in horror which faded to white. For that particular
films it is often used to scene white was used as it matched the
create a scarier, more surreal colour of the scene better than black.
location or one which lacks
the brighter colours
associated with security and
happiness.
4. In my magazine I used several conventions which are
common in magazines. For example, I made sure that the
text was behind the head of the main image. This was done
to create a professional looking cover, which is obviously
conventional and required for any successful media. The
main cover story is situated in the centre-bottom of the
cover and uses larger text than the rest of the page. This is
conventional as it follows the root of the eye and attracts the
reader to the main story of the magazine. Symmetrical
composition is used for the main image as it suggests that
the person is key to the issue. The cover lines are arranged
on each side of the central image to ensure symmetry and to
fit into the root of the eye path. They are also arranged to as
to cover as little of the actors face as possible.
5. The poster uses a large title situated at the top of the
poster, which is relatively conventional for a film poster. It also
has a large main image which more or less covers the entire
poster. The picture uses a black and white colour scheme which
matches the colour theme of the film. It also has a slogan, which
is in red and outlined with a red glow. Slogans are conventional of
most films and are often a key advertising point. It also features
the release date in the conventional format and location on the
poster. The billing block is also in the conventional location and
font on the poster. The main image is of a person standing in
front a patch on light in the woods. This gives some suggestion as
to the location but is also relatively surreal. This is conventional of
most film posters. The face of the actor is obscured, which adds
some mystery to the poster which is a conventional aspect of a
horror film poster, as revealing the actors face would largely
reduce the fear associated with the film.
6. How effective is the combination of
your main product and ancillary texts.
The use of the same font (Garamond) throughout the three products which
aimed to link them together through this common connection. The same
actor was used in all three of the products to ensure an obvious direct link
between them. Low key lighting was used in both the trailer and poster to
link them, and the black and white scheme was also used. These were used
to create a clear, easily identifiable brand identity for the film to ensure
successful marketing of the film. Additionally, both the poster and trailer
were kept relatively basic in terms of the storyline to ensure that it would be
easy to match them.
7. How did you use media technologies in the construction and research, planning and evaluation stages?
Research:
During my research I used Wall Wisher to do Audience Research on the
trailer I was reviewing, which made it much easier and faster to get
accurate opinions and views on the trailer compared to doing it by hand.
It also made it possible to share the page to get more results and embed
the YouTube clip.
I also used YouTube to find appropriate film trailers to review for my
genre.
Planning: During my planning I constructed an animatic, which was
scanned in and edited into a sequence with music in iMovie. This
allowed me to produce a relatively accurate representation of what the
scenes would be like, compared to a large poster of the animatic
drawings, which would not provide and sense of flow. I also used a still
camera to obtain shots of potential locations for the filming during the
planning process. This allowed me to show them and discuss the
locations with other members of the team.
Production:
During the production of my trailer I used a digital film camera to
capture the scenes. I then edited the scenes in iMovie. iMovie was useful
as it allowed to me to perfectly cut the scenes together and add effective
transitions to the trailer. I was also able to adjust settings such as
Exposure, Contrast, Brightness and Saturation of all of the scenes to
change the atmosphere. This was done as the original colouring of the
shots were far to vibrant and bright-which didn’t match the theme of the
film.
Evaluation:
I used websites like Survey Monkey to help me collect audience feedback
for my teaser trailer as they can collect data and easily turn it into a
graph.