Download to read offline
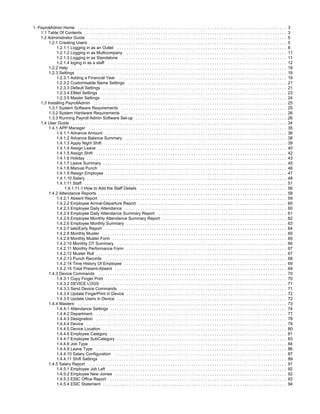

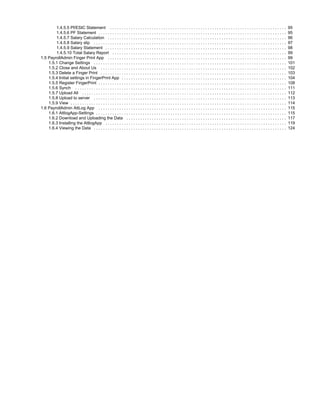
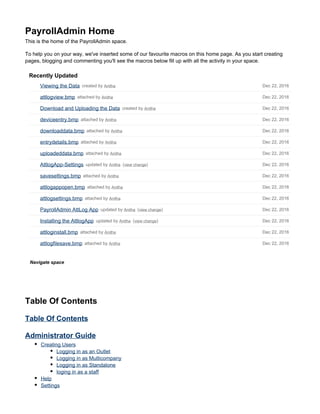
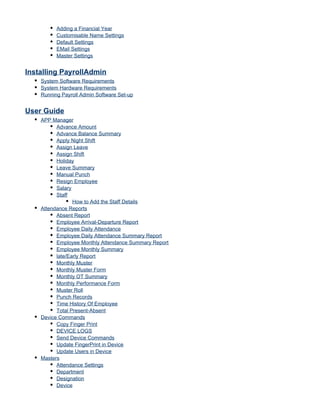


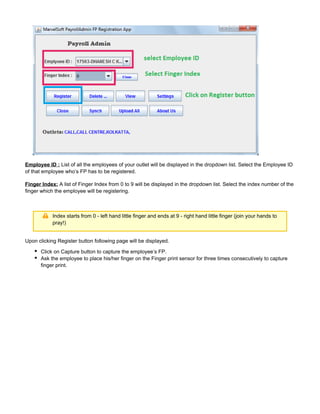
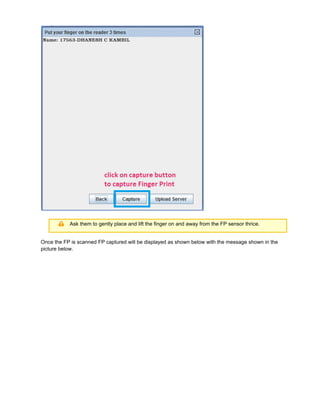
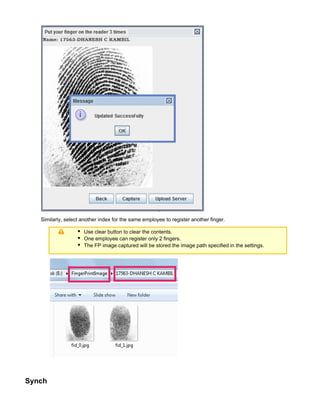
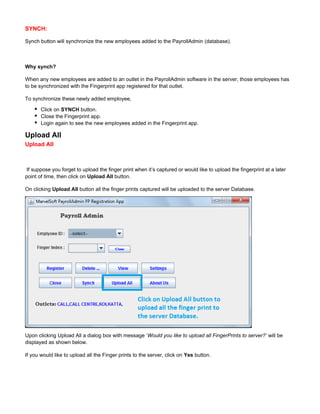


The document serves as an administrator and user guide for payroll management software. It covers topics such as user creation, system requirements, and various settings, along with detailed instructions for managing staff, attendance, and payroll processes. A comprehensive table of contents indicates extensive sections dedicated to functionalities, configurations, and reporting.


