Download as PDF, PPTX


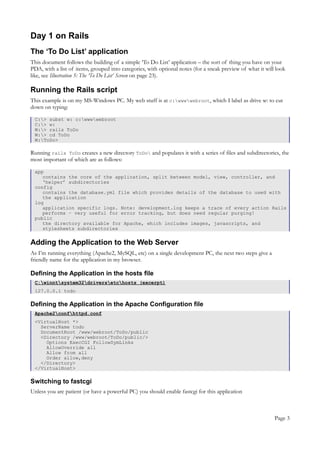


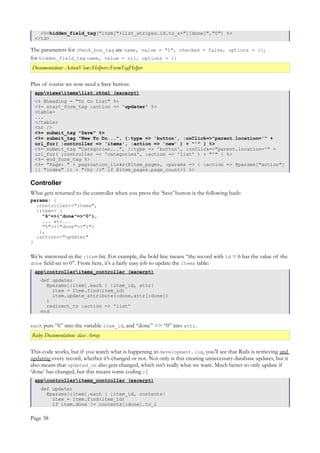


This document provides an overview of building a simple to-do list application in Rails over the course of four days. Day 1 covers generating the Rails application, setting up the database and web server, and generating a scaffold for the categories table. Day 2 analyzes the generated scaffold code and customizes it. Day 3 adds an items table, validations between tables, and more scaffolding. Day 4 links notes to items, adds navigation, and downloads the application. The goal is to demonstrate how to build a basic application with Rails and identify resources to continue learning.


![NPY Rule Book [constitution] catsi act approved at 14.11.08](https://cdn.slidesharecdn.com/ss_thumbnails/npyrulebookconstitutioncatsiactapprovedat14-11-08-120524022757-phpapp02-thumbnail.jpg?width=640&height=640&fit=bounds)