Downloaded 234 times


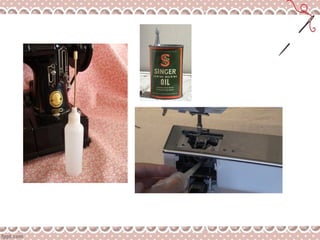


The document provides instructions for cleaning, oiling, and maintaining a sewing machine. Key points include: - The machine should be cleaned of dust and lint before and after each use to prevent damage. - Places on the machine that require oiling include the treadle, band-wheel crank, band wheel, and head. - Proper cleaning involves removing dust from exposed parts and cleaning the tension regulator, take-up lever, bobbin case, and machine surfaces with a soft cloth.


![Common Problems of machine [Autosaved].pptx](https://cdn.slidesharecdn.com/ss_thumbnails/commonproblemsofmachineautosaved-230828021712-77860c5c-thumbnail.jpg?width=640&height=640&fit=bounds)


