ACTIVITY
Scenario 1: Youwere tasked to create and
send out formal invitations for a promo
campaign that a company is running. You
were also initially given a list of ten names of
local customers to send out to.
3.
ACTIVITY
• From thescenario above, describe briefly
how you would most likely complete the
task of sending ten invitations with
individual names of recipients using
Microsoft Word 2010.
• Give examples of documents that you can
personalize and send or distribute.
4.
ACTIVITY
Scenario 2: Youare making a report on the
positive effects of using solar energy to the
environment. To make your report more
appealing, you thought of putting a picture of
a solar panel into your report. You also
considered presenting graphical data on the
trends of worldwide initiatives on the use of
solar energy.
5.
ACTIVITY
• Describe brieflyhow you can insert
pictures or images in a Word document.
• What other kinds of images or material
can be inserted in a Word document?
6.
• What canyou say about
the activity?
• Is it convenient to use
Word Processing?
• How does it make your
work easier?
7.
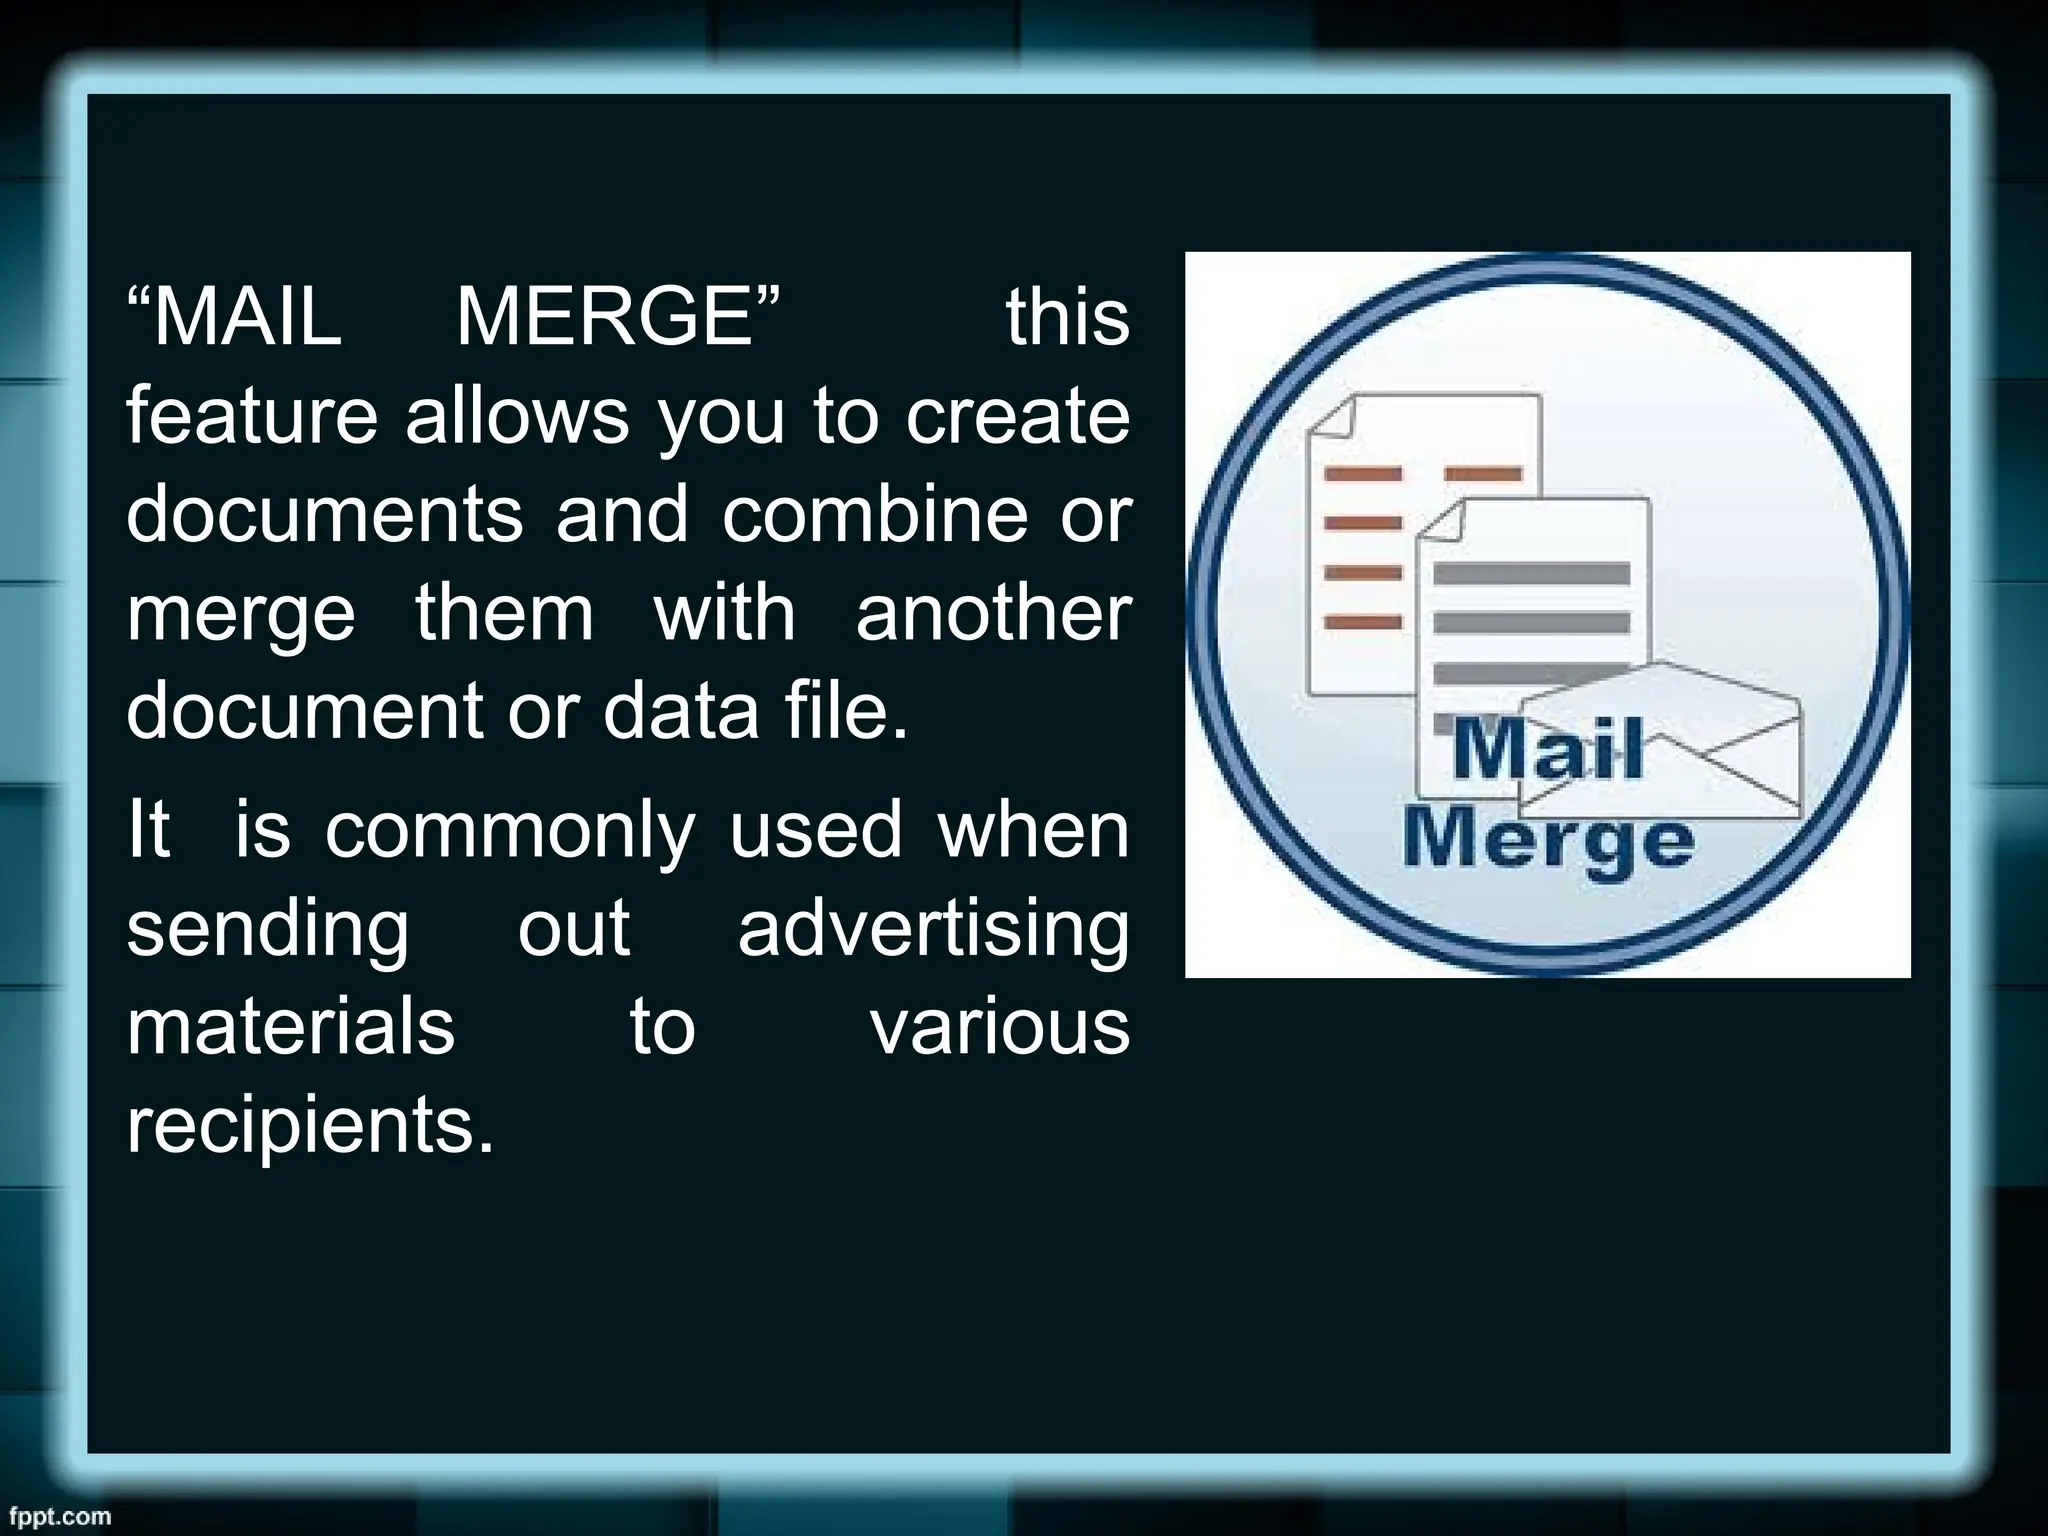
“MAIL MERGE” this
featureallows you to create
documents and combine or
merge them with another
document or data file.
It is commonly used when
sending out advertising
materials to various
recipients.
9.
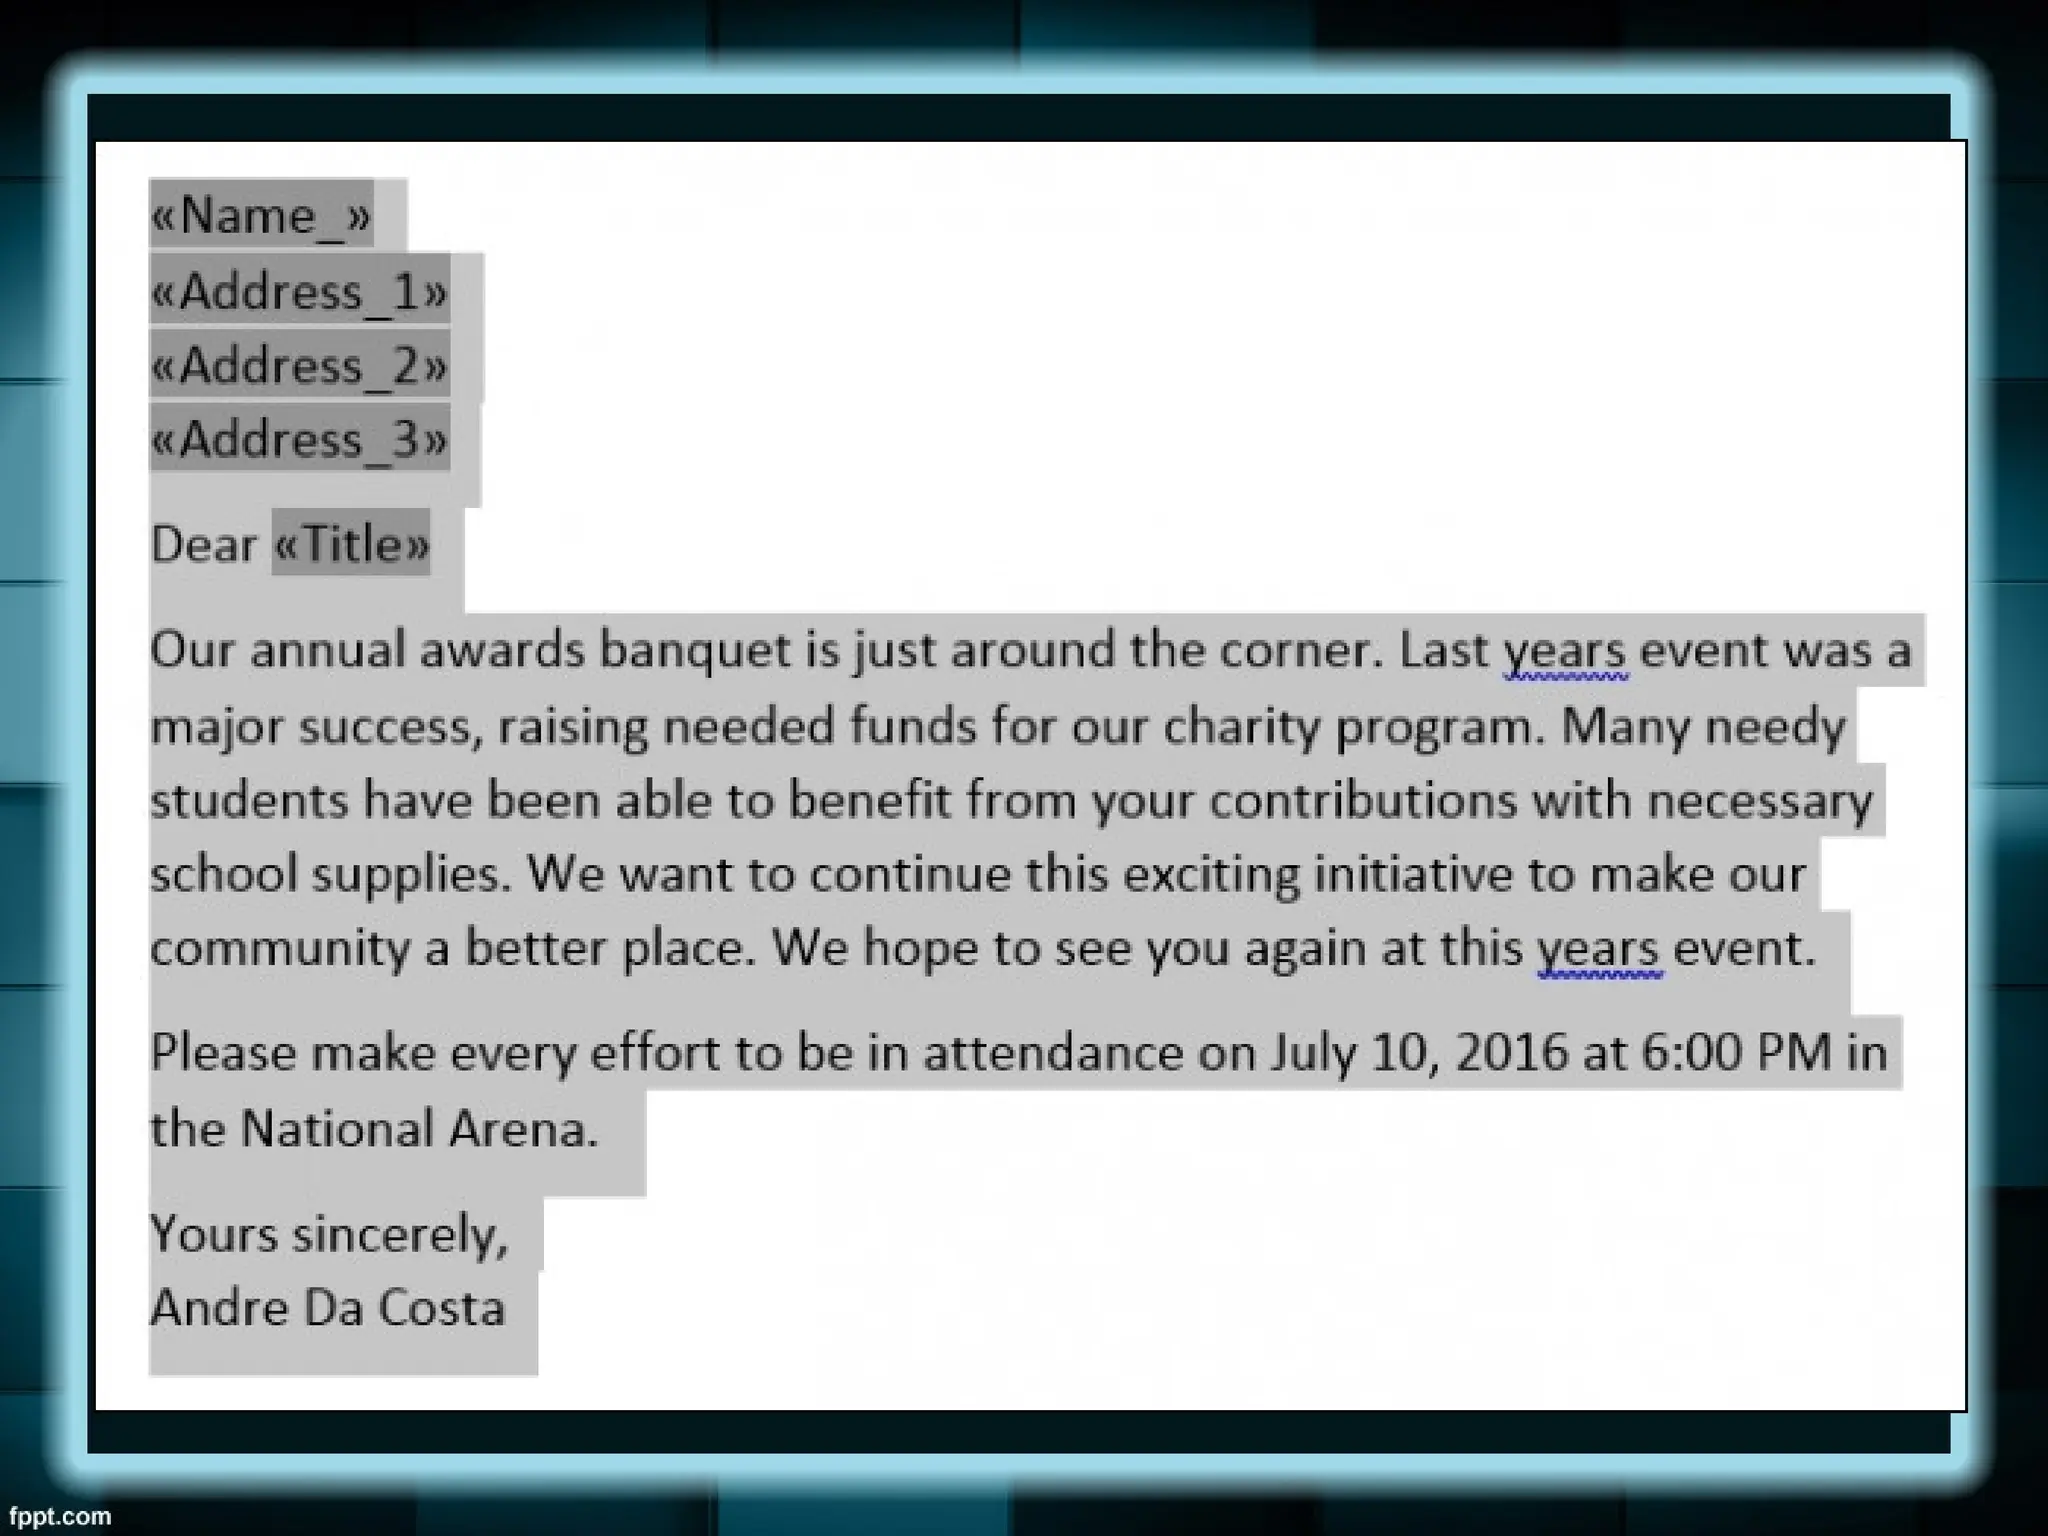
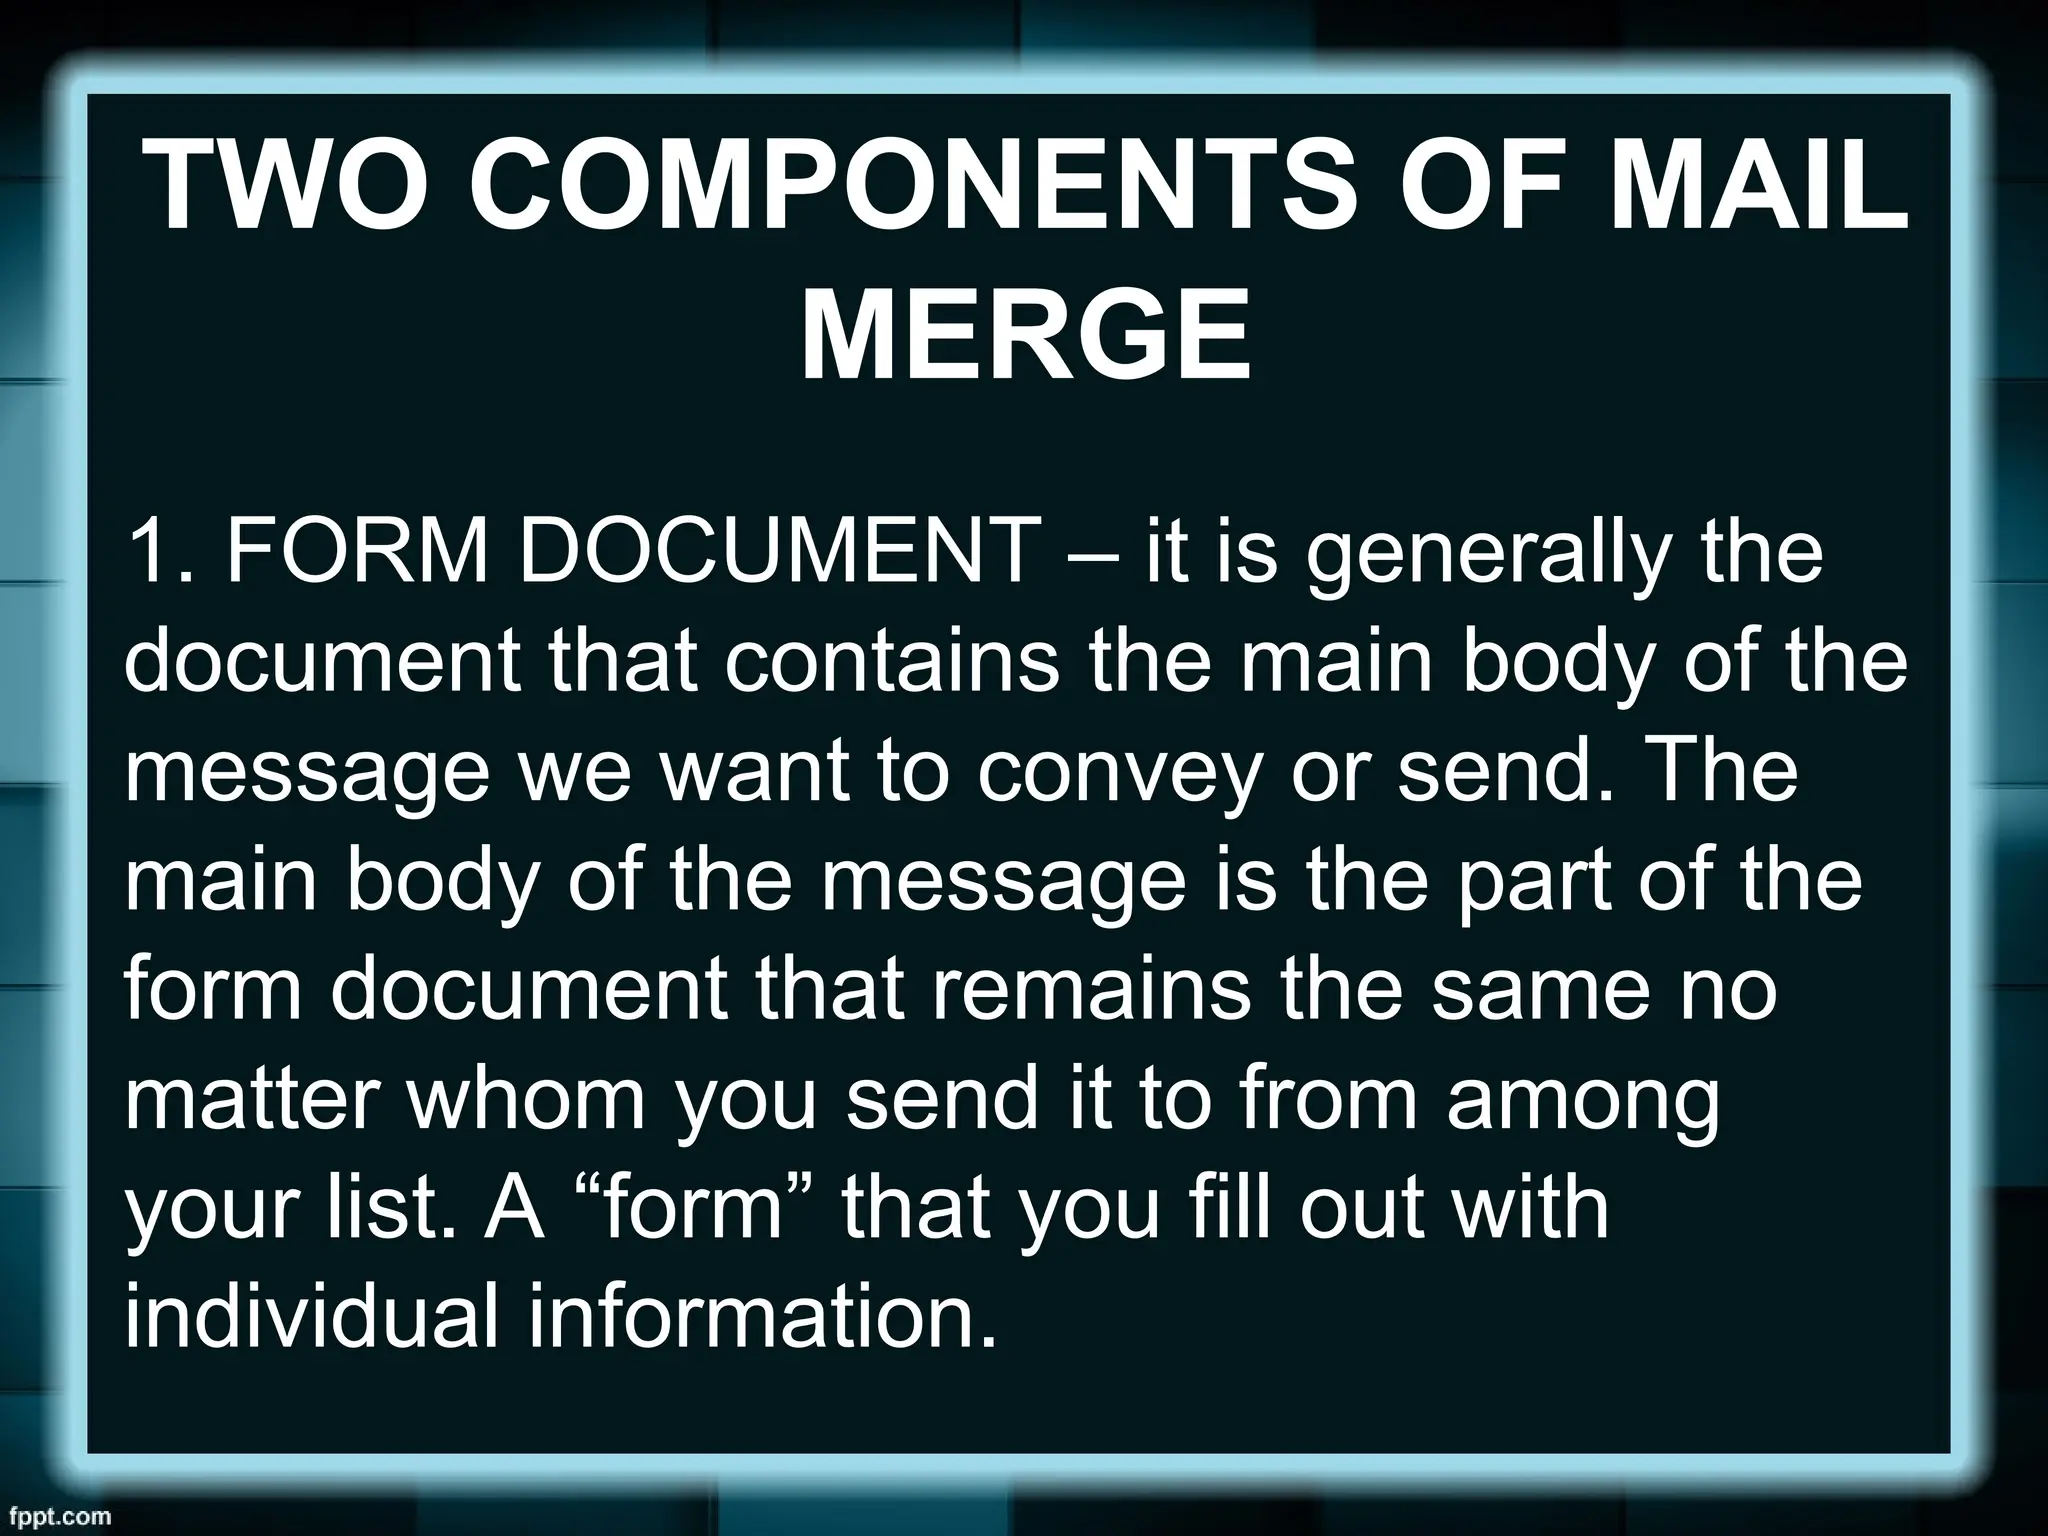
1. FORM DOCUMENT– it is generally the
document that contains the main body of the
message we want to convey or send. The
main body of the message is the part of the
form document that remains the same no
matter whom you send it to from among
your list. A “form” that you fill out with
individual information.
TWO COMPONENTS OF MAIL
MERGE
10.
Also included inthe form document:
•Place Holders – referred to as data fields
or merge fields. This marks the position on
your form document where individual data or
information will be inserted. It is denoted or
marked by the text with double-headed
arrows (<< >>) each side with a gray
background.
11.
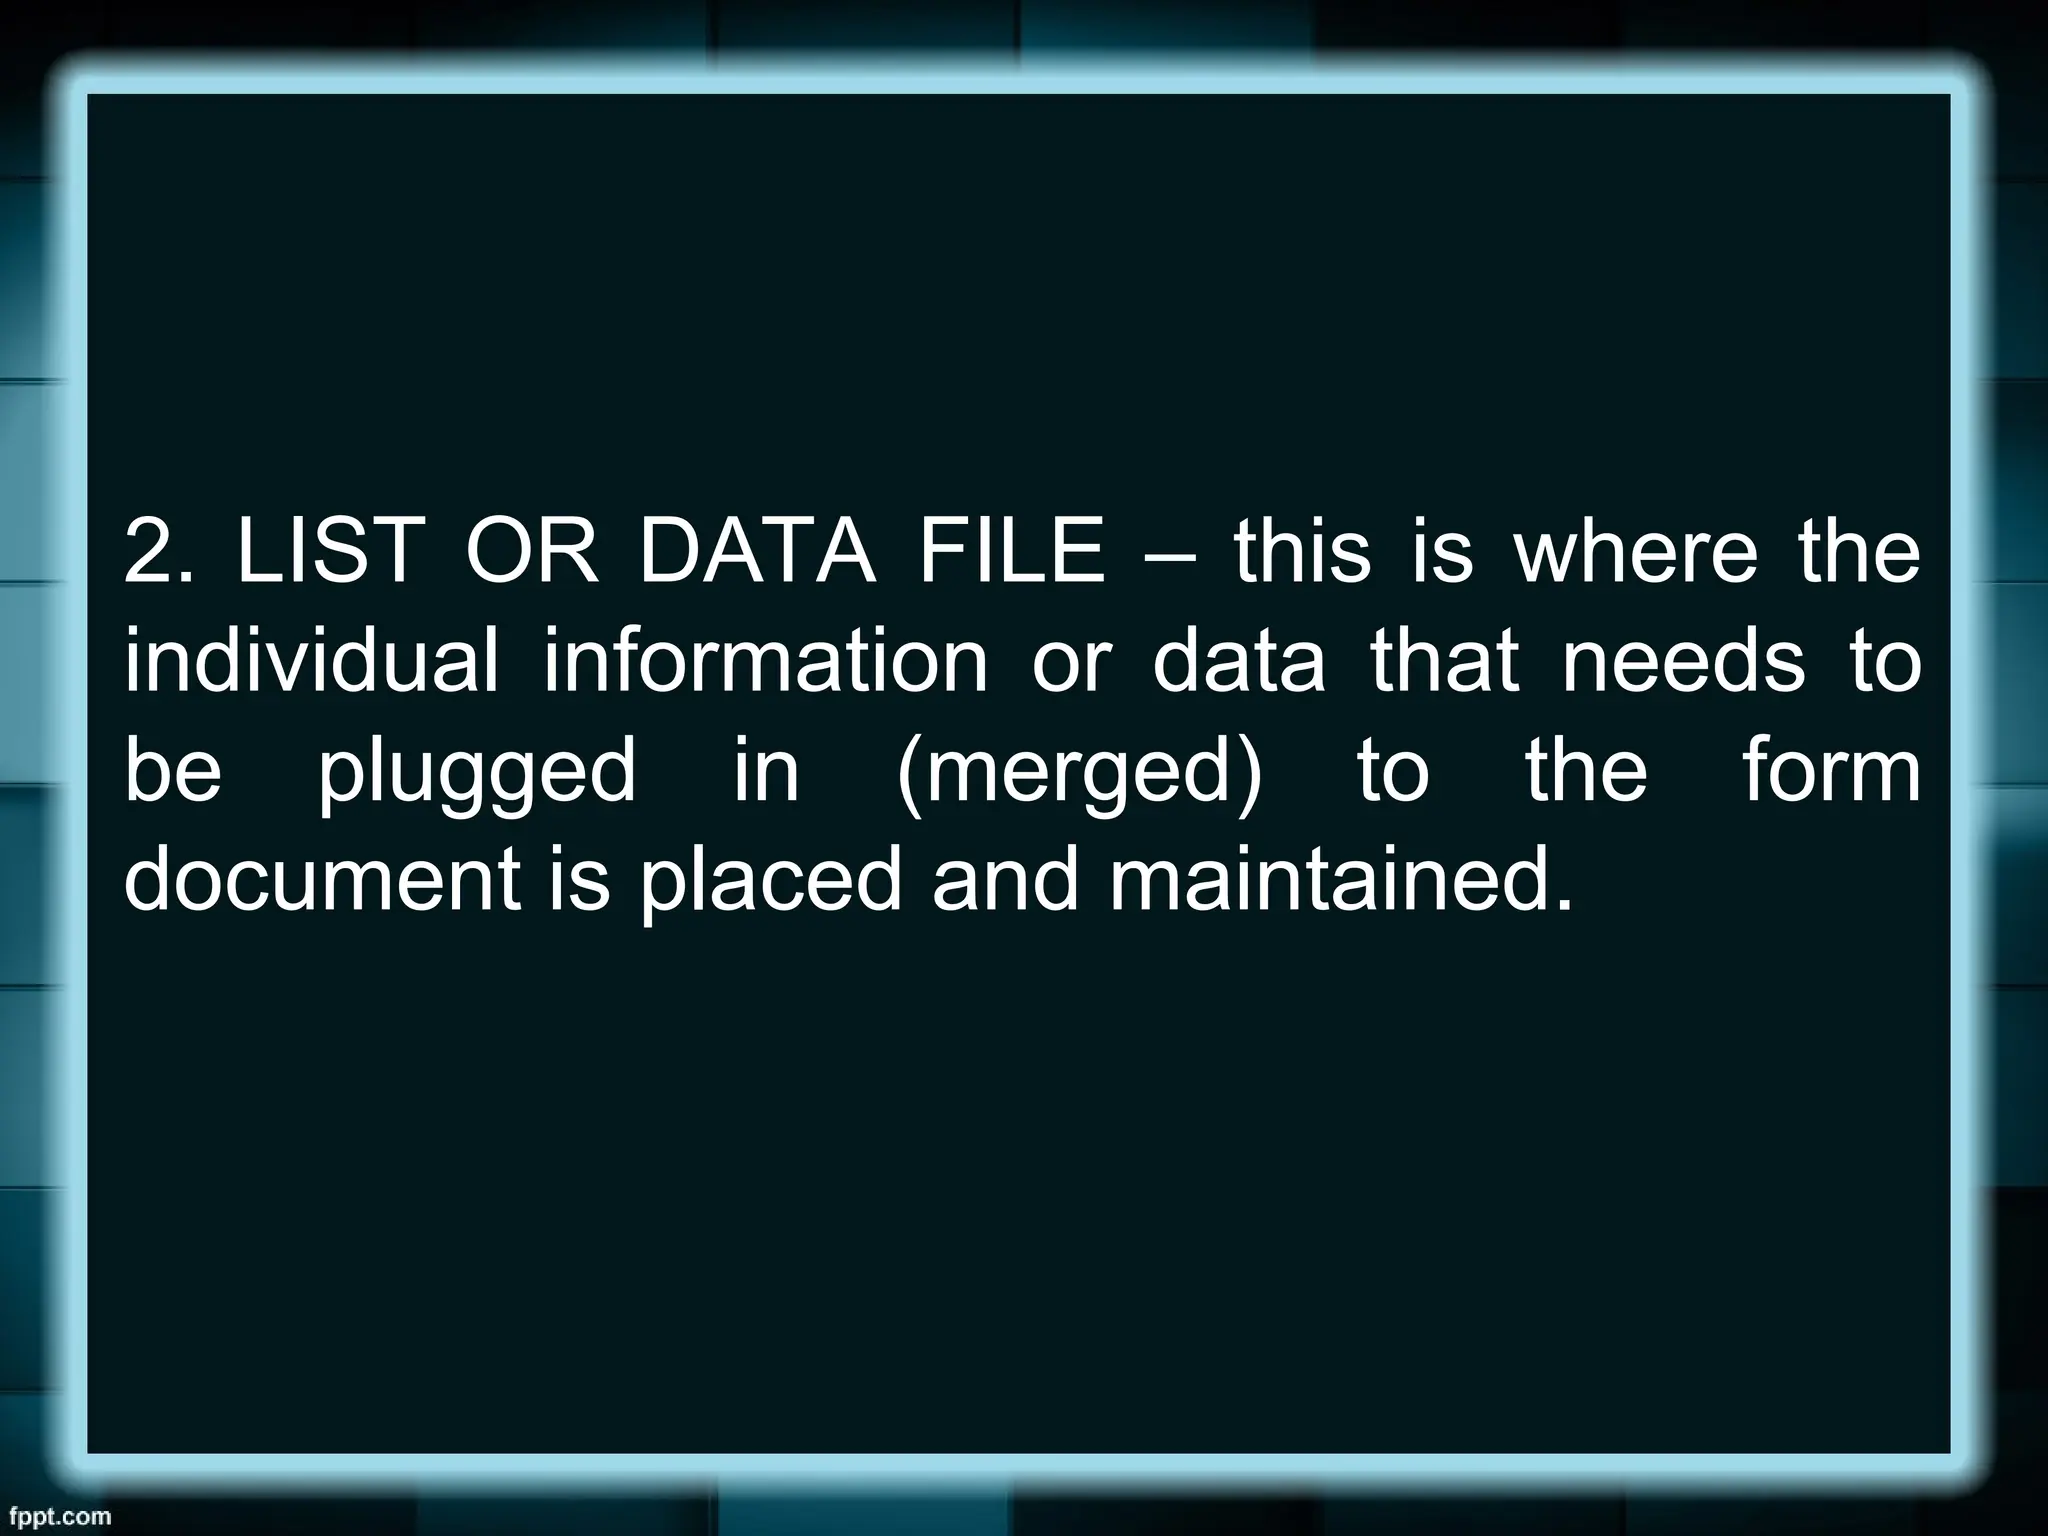
2. LIST ORDATA FILE – this is where the
individual information or data that needs to
be plugged in (merged) to the form
document is placed and maintained.
12.
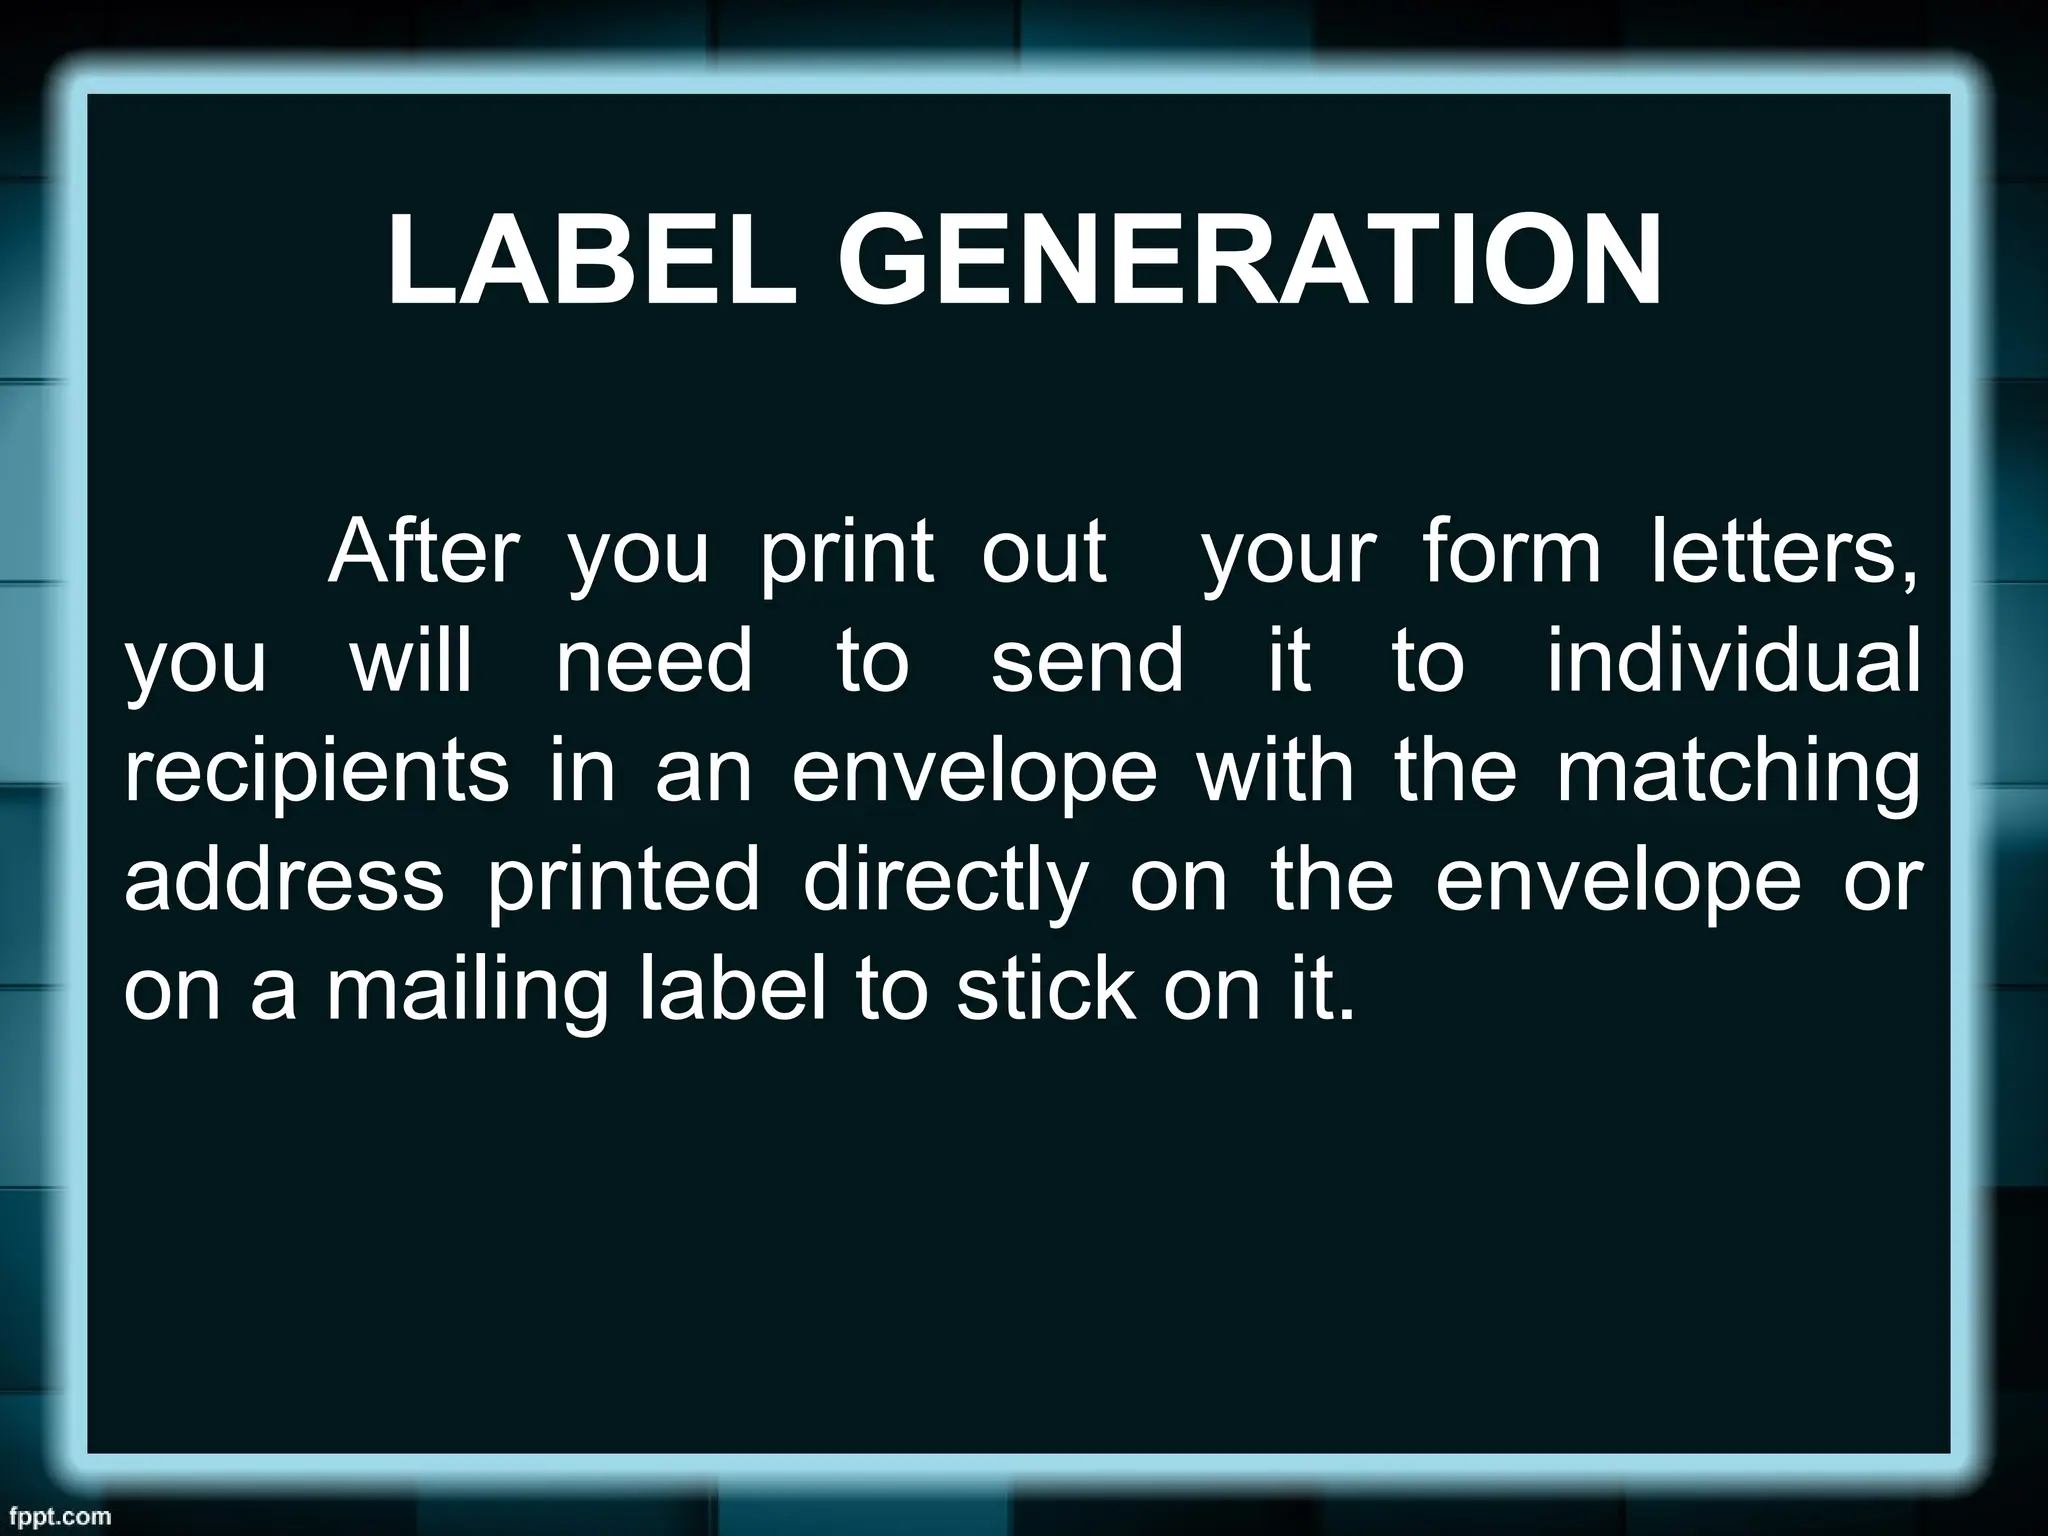
After you printout your form letters,
you will need to send it to individual
recipients in an envelope with the matching
address printed directly on the envelope or
on a mailing label to stick on it.
LABEL GENERATION
13.
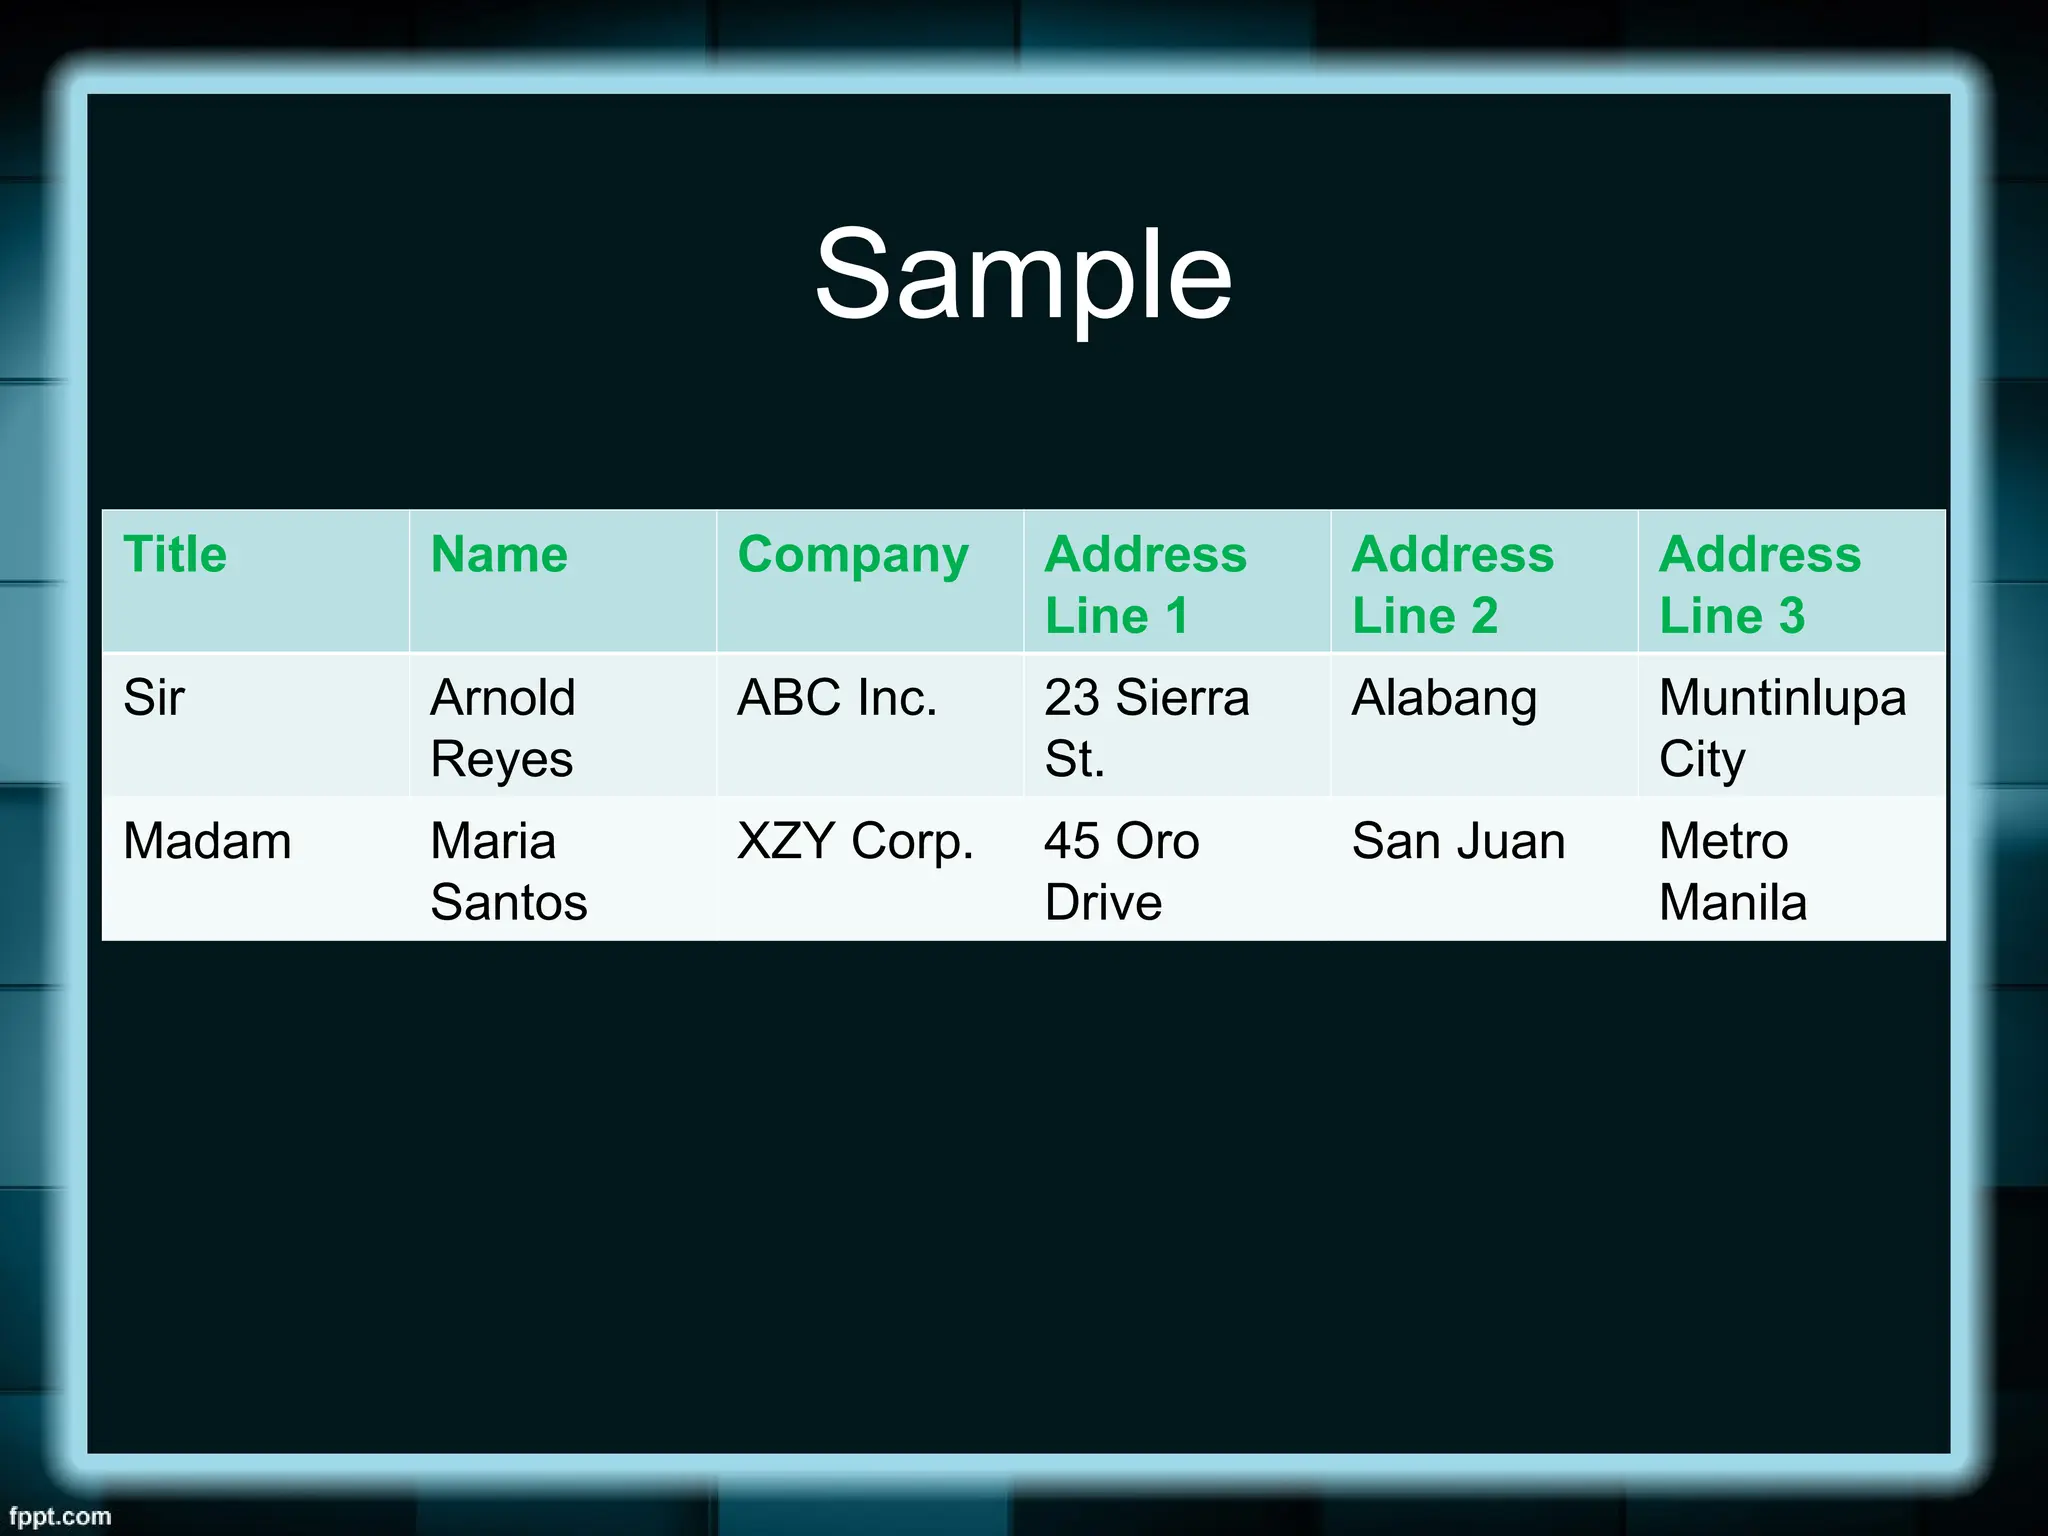
ACTIVITY
Create a listof ten
names of people with
their corresponding title,
company name, and
address. You may use
the following fields:
TITLE, NAME
COMPANY, ADDRESS
LINE 1, ADDRESS LINE
2, ADDRESS LINE 3
14.
Sample
Title Name CompanyAddress
Line 1
Address
Line 2
Address
Line 3
Sir Arnold
Reyes
ABC Inc. 23 Sierra
St.
Alabang Muntinlupa
City
Madam Maria
Santos
XZY Corp. 45 Oro
Drive
San Juan Metro
Manila
15.
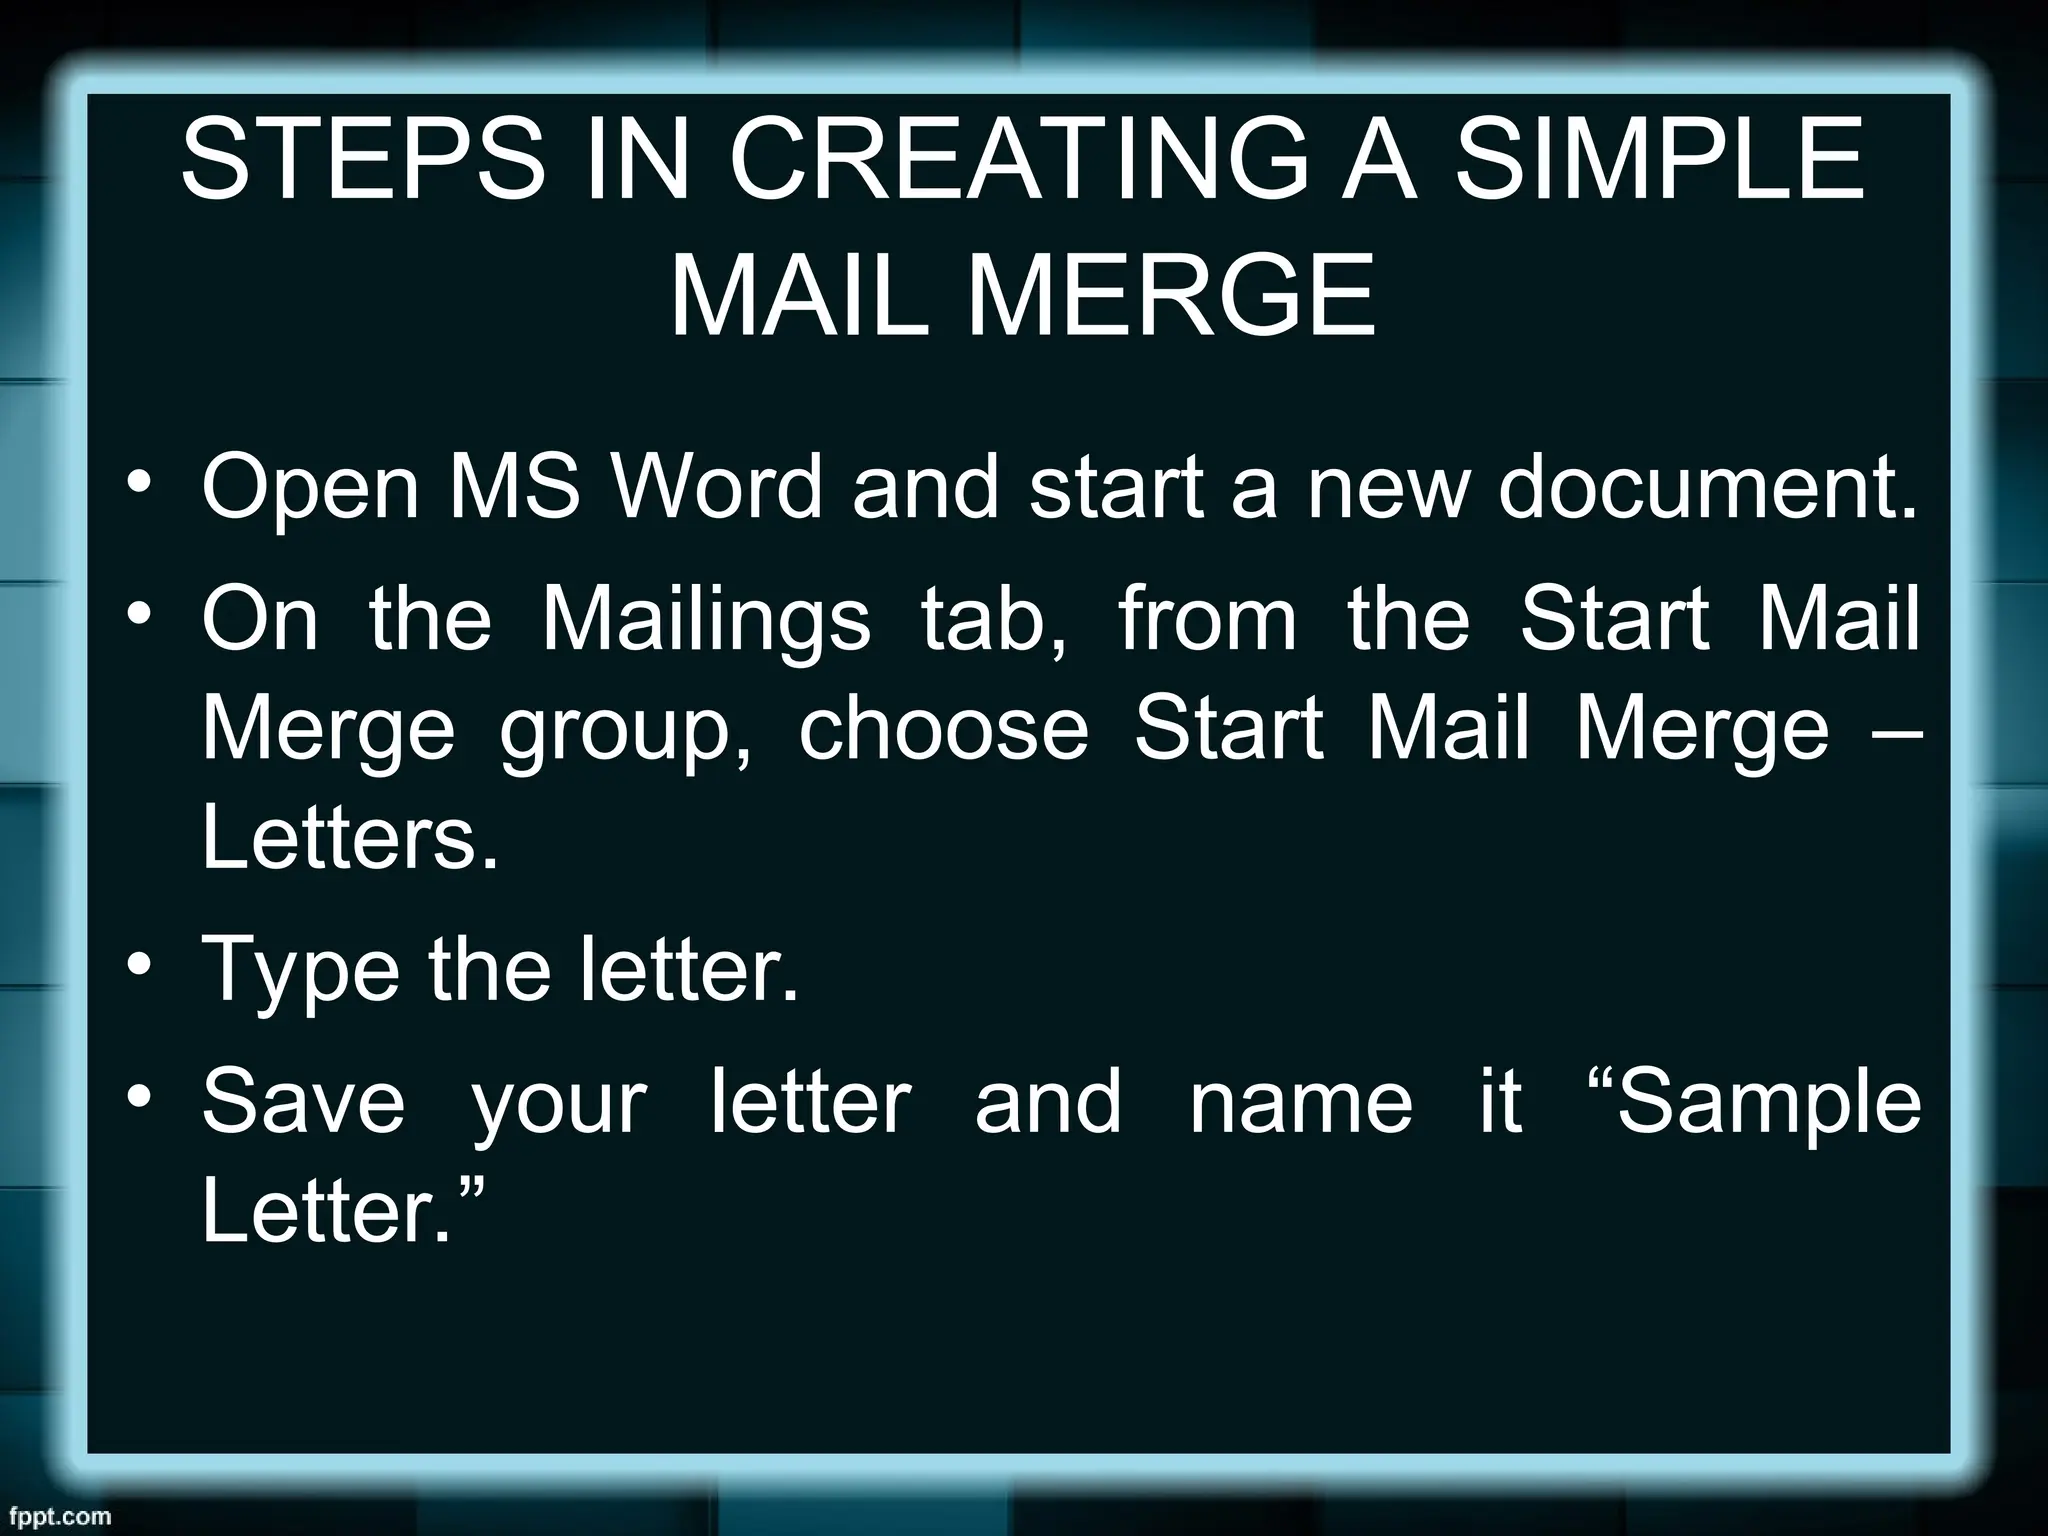
STEPS IN CREATINGA SIMPLE
MAIL MERGE
• Open MS Word and start a new document.
• On the Mailings tab, from the Start Mail
Merge group, choose Start Mail Merge –
Letters.
• Type the letter.
• Save your letter and name it “Sample
Letter.”
16.
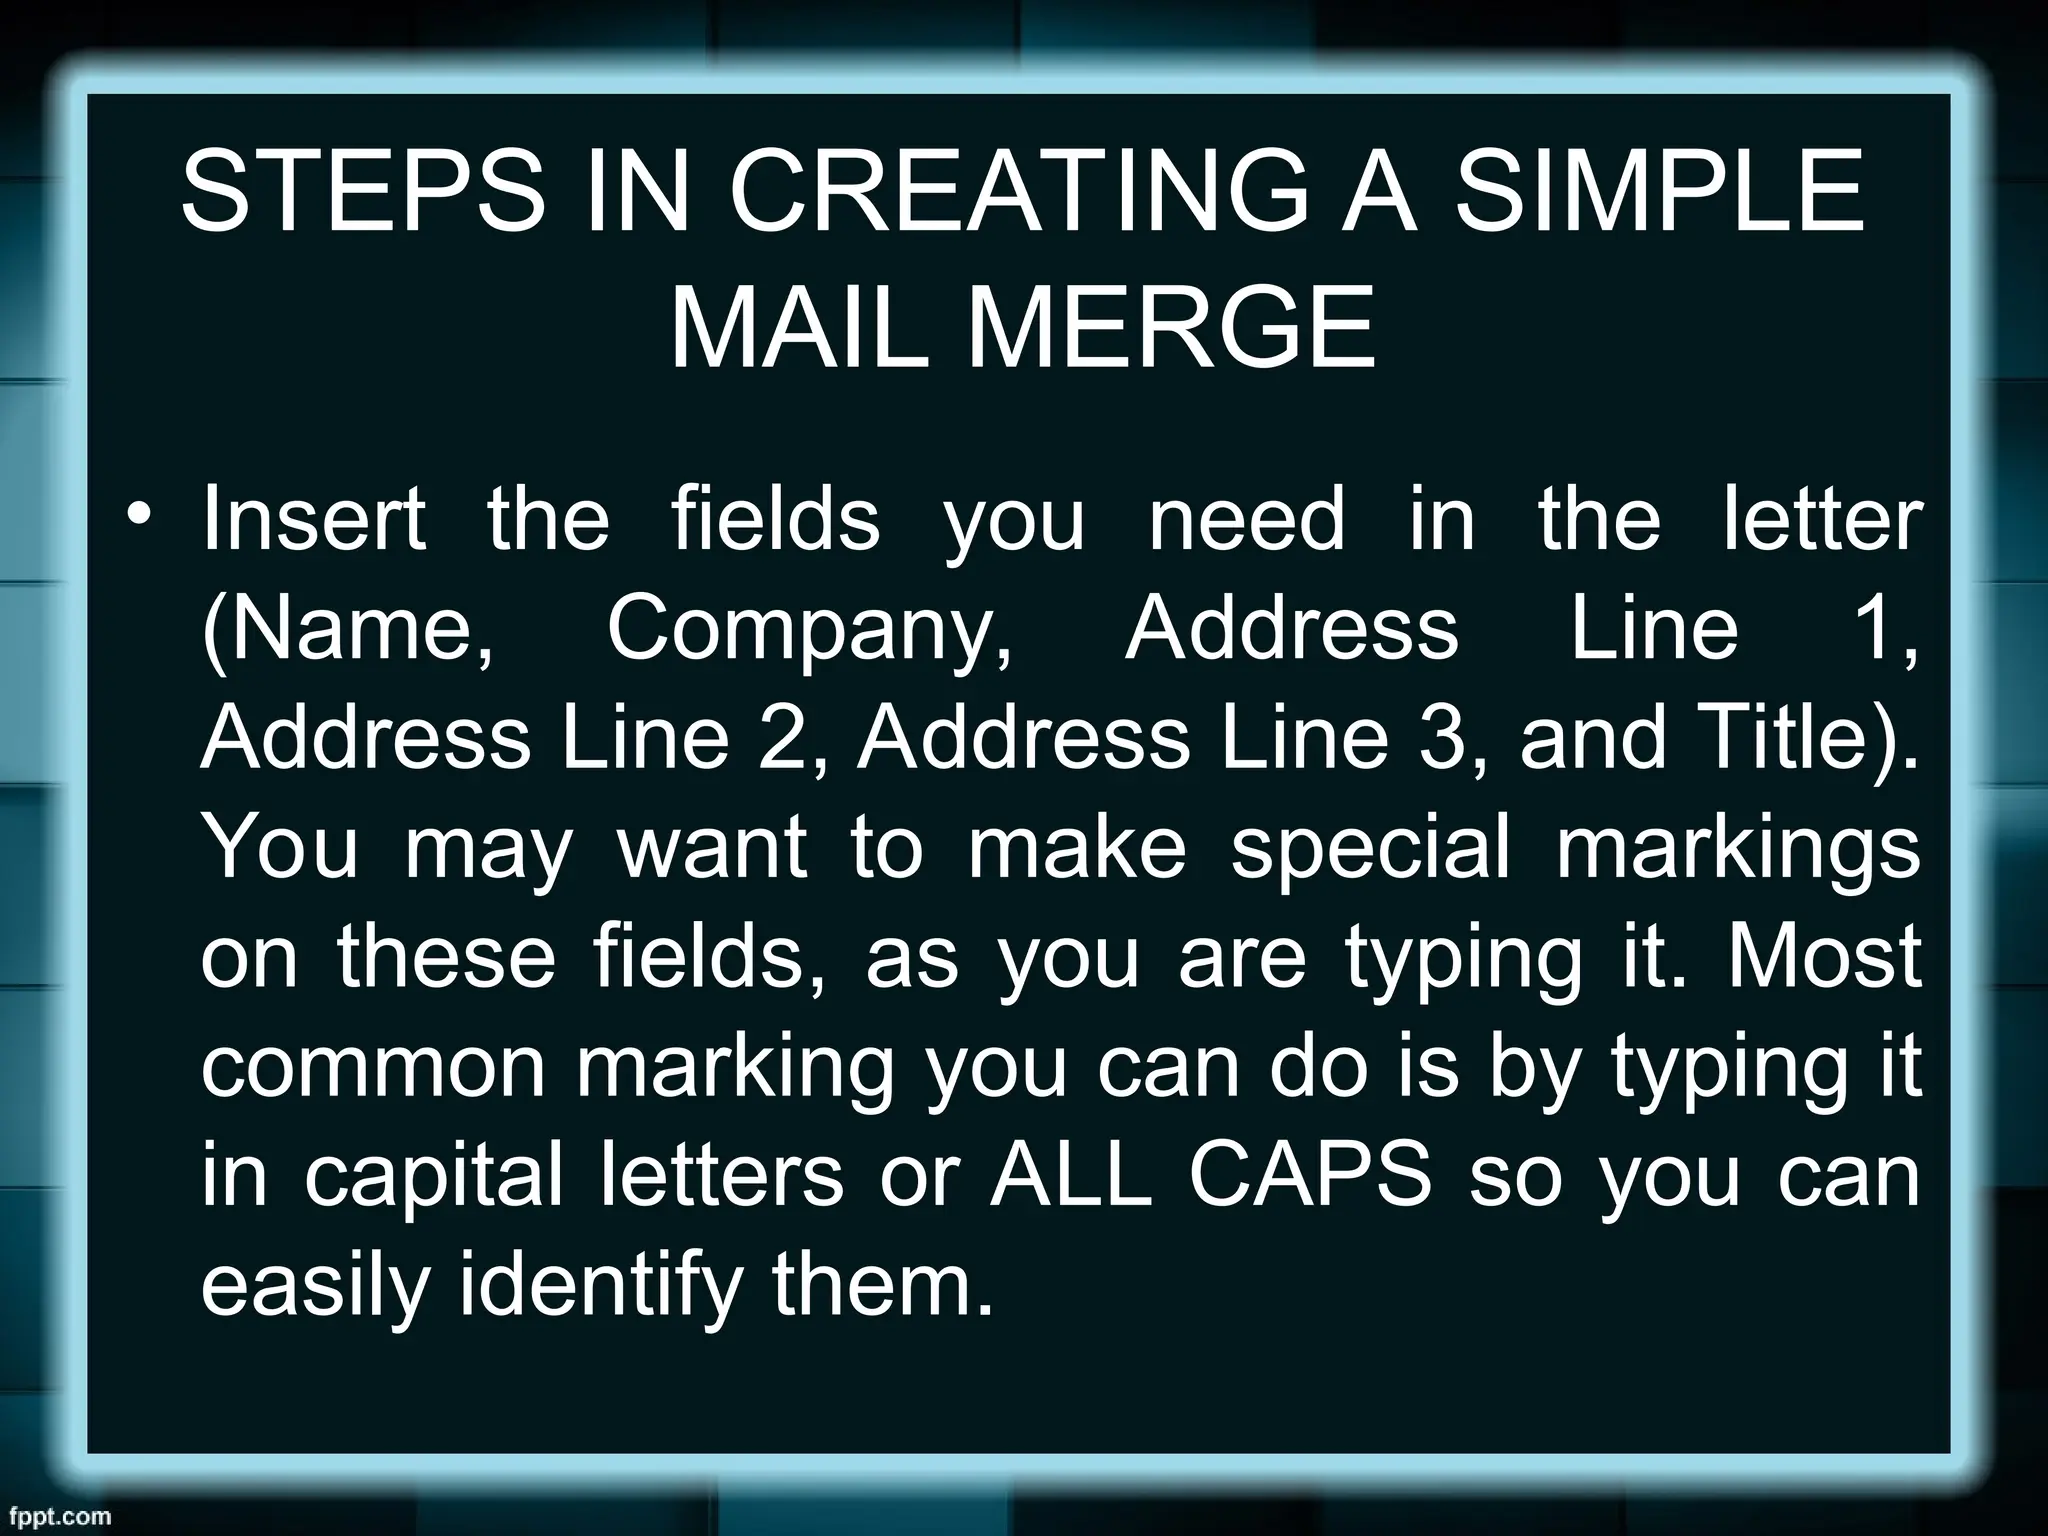
STEPS IN CREATINGA SIMPLE
MAIL MERGE
• Insert the fields you need in the letter
(Name, Company, Address Line 1,
Address Line 2, Address Line 3, and Title).
You may want to make special markings
on these fields, as you are typing it. Most
common marking you can do is by typing it
in capital letters or ALL CAPS so you can
easily identify them.
17.
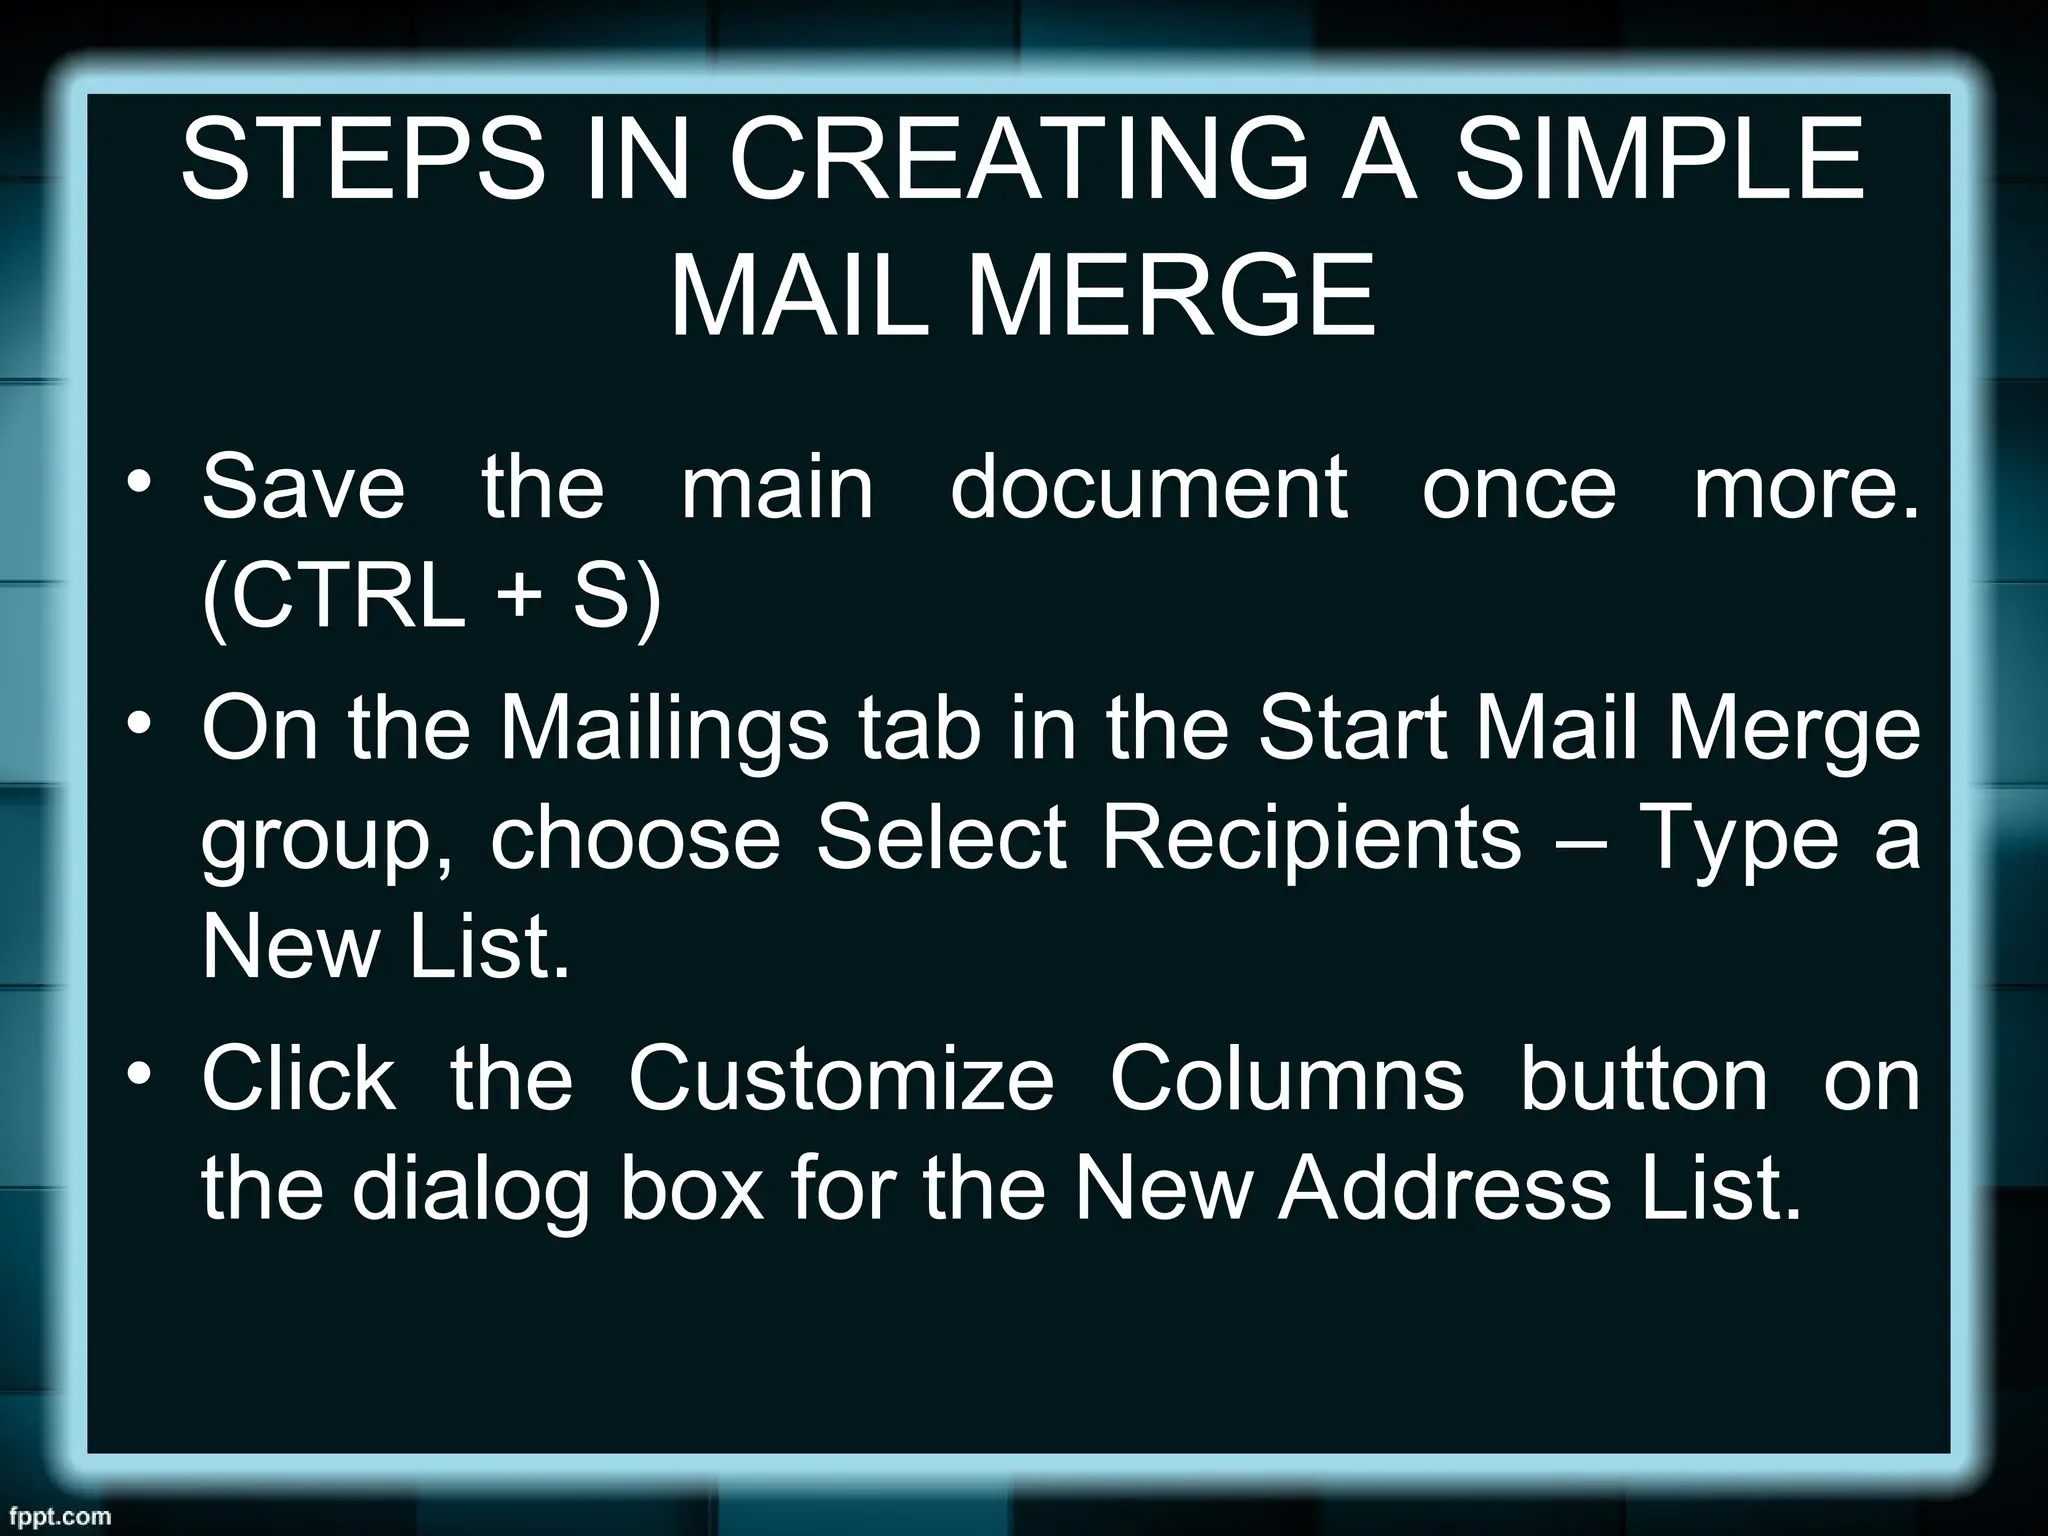
STEPS IN CREATINGA SIMPLE
MAIL MERGE
• Save the main document once more.
(CTRL + S)
• On the Mailings tab in the Start Mail Merge
group, choose Select Recipients – Type a
New List.
• Click the Customize Columns button on
the dialog box for the New Address List.
18.
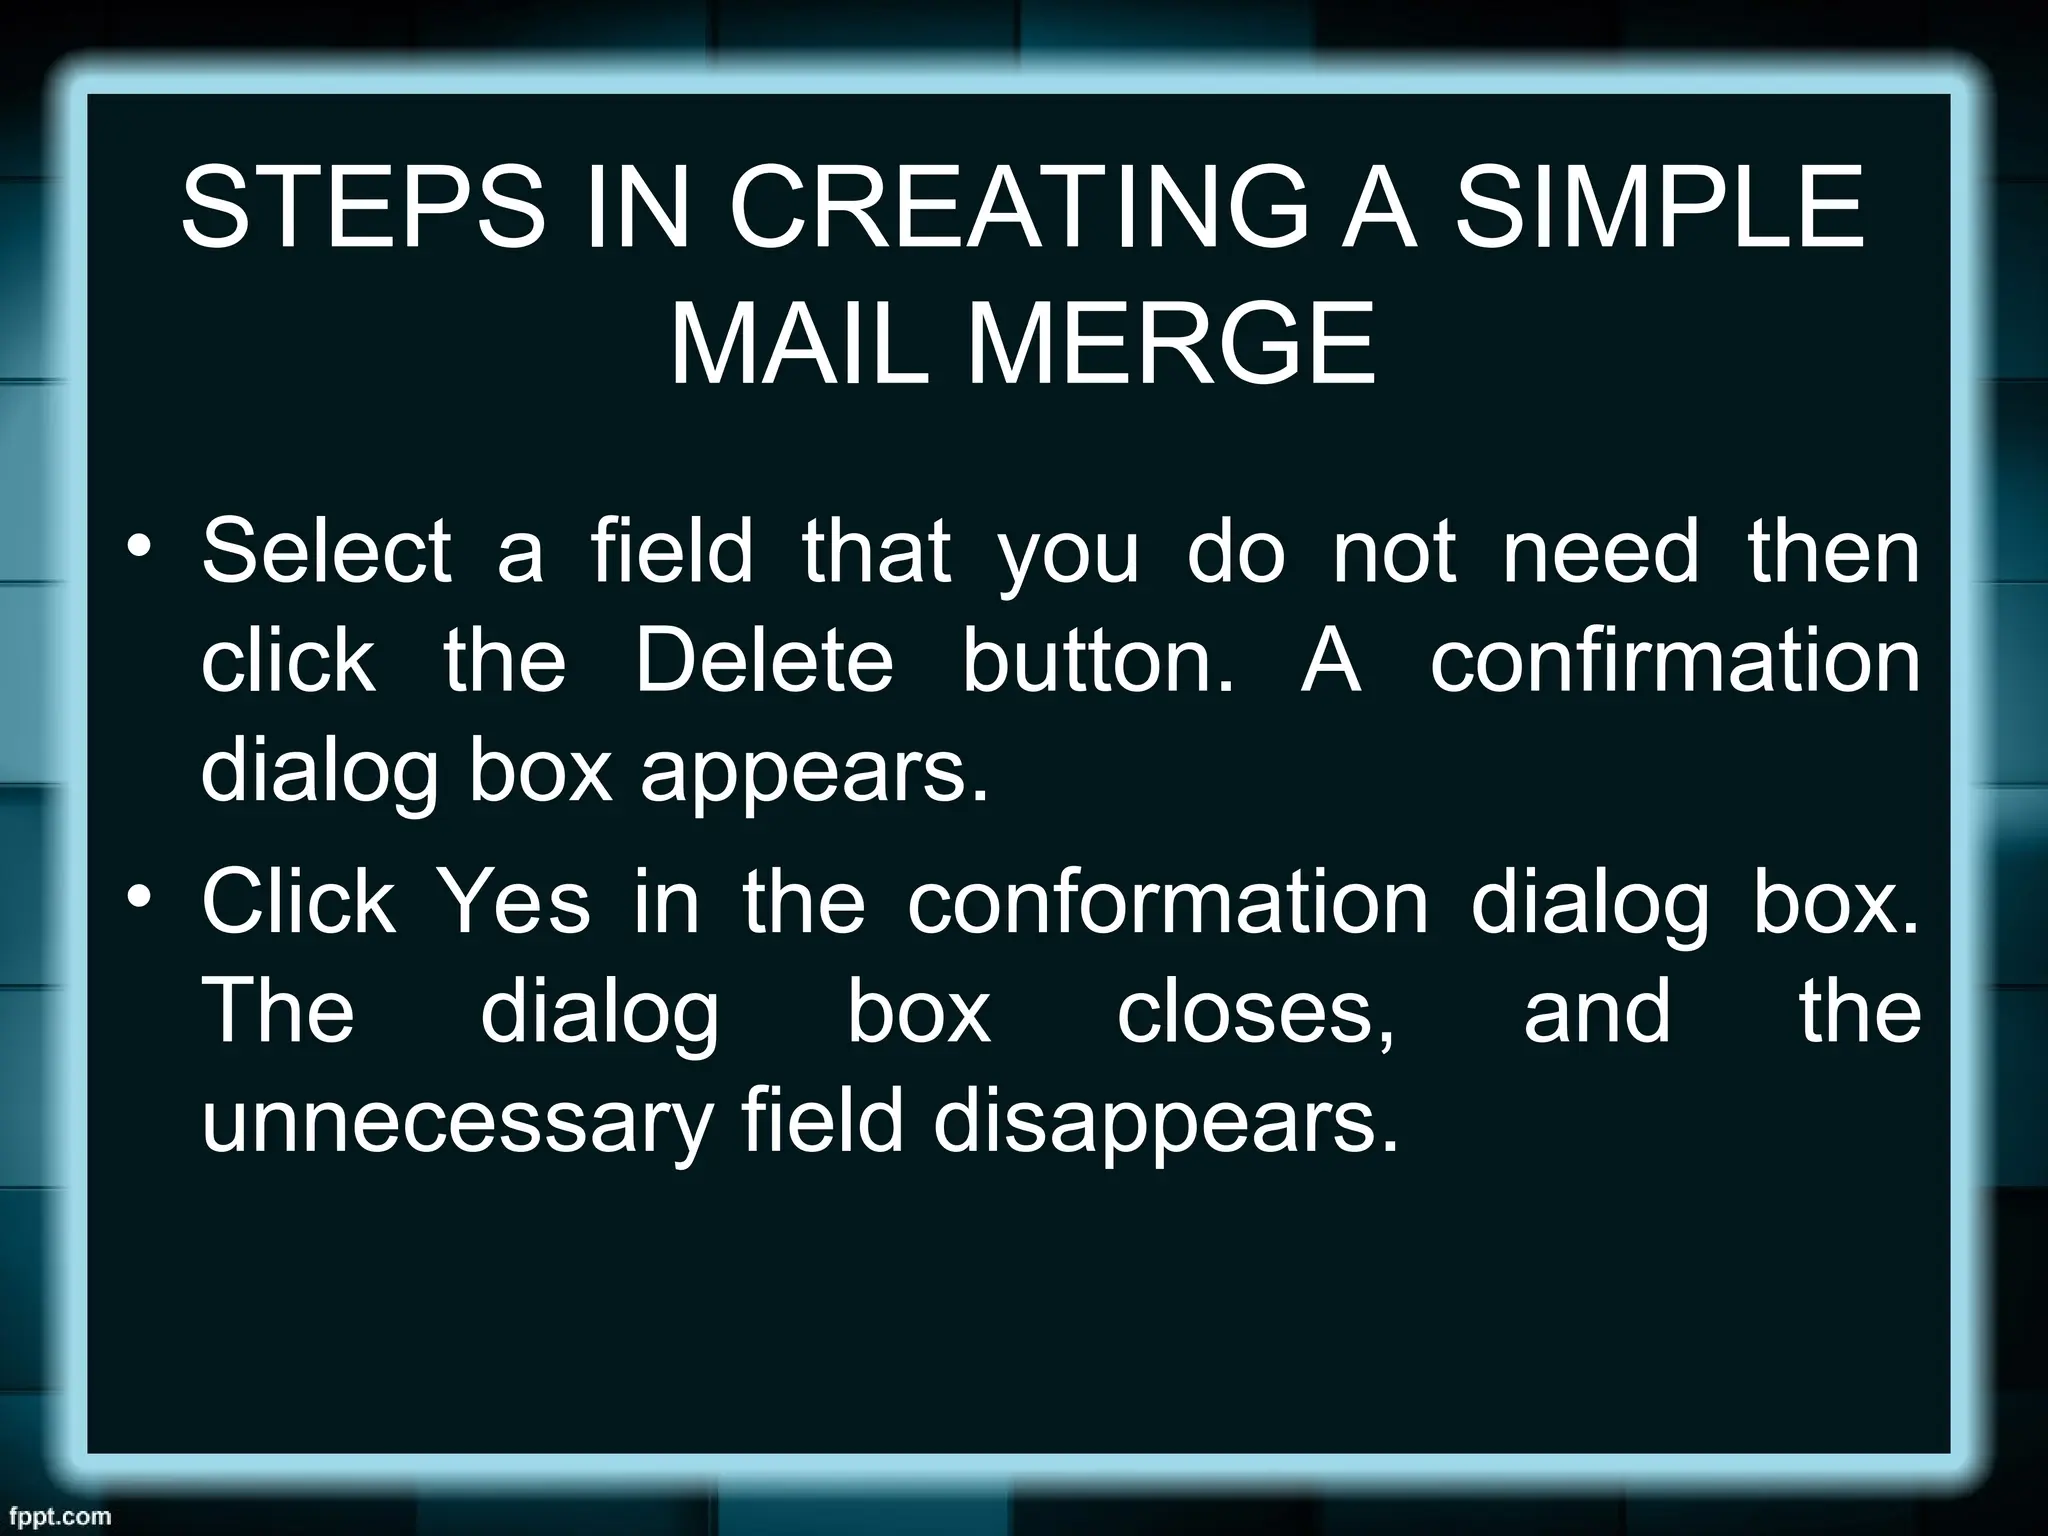
STEPS IN CREATINGA SIMPLE
MAIL MERGE
• Select a field that you do not need then
click the Delete button. A confirmation
dialog box appears.
• Click Yes in the conformation dialog box.
The dialog box closes, and the
unnecessary field disappears.
19.
STEPS IN CREATINGA SIMPLE
MAIL MERGE
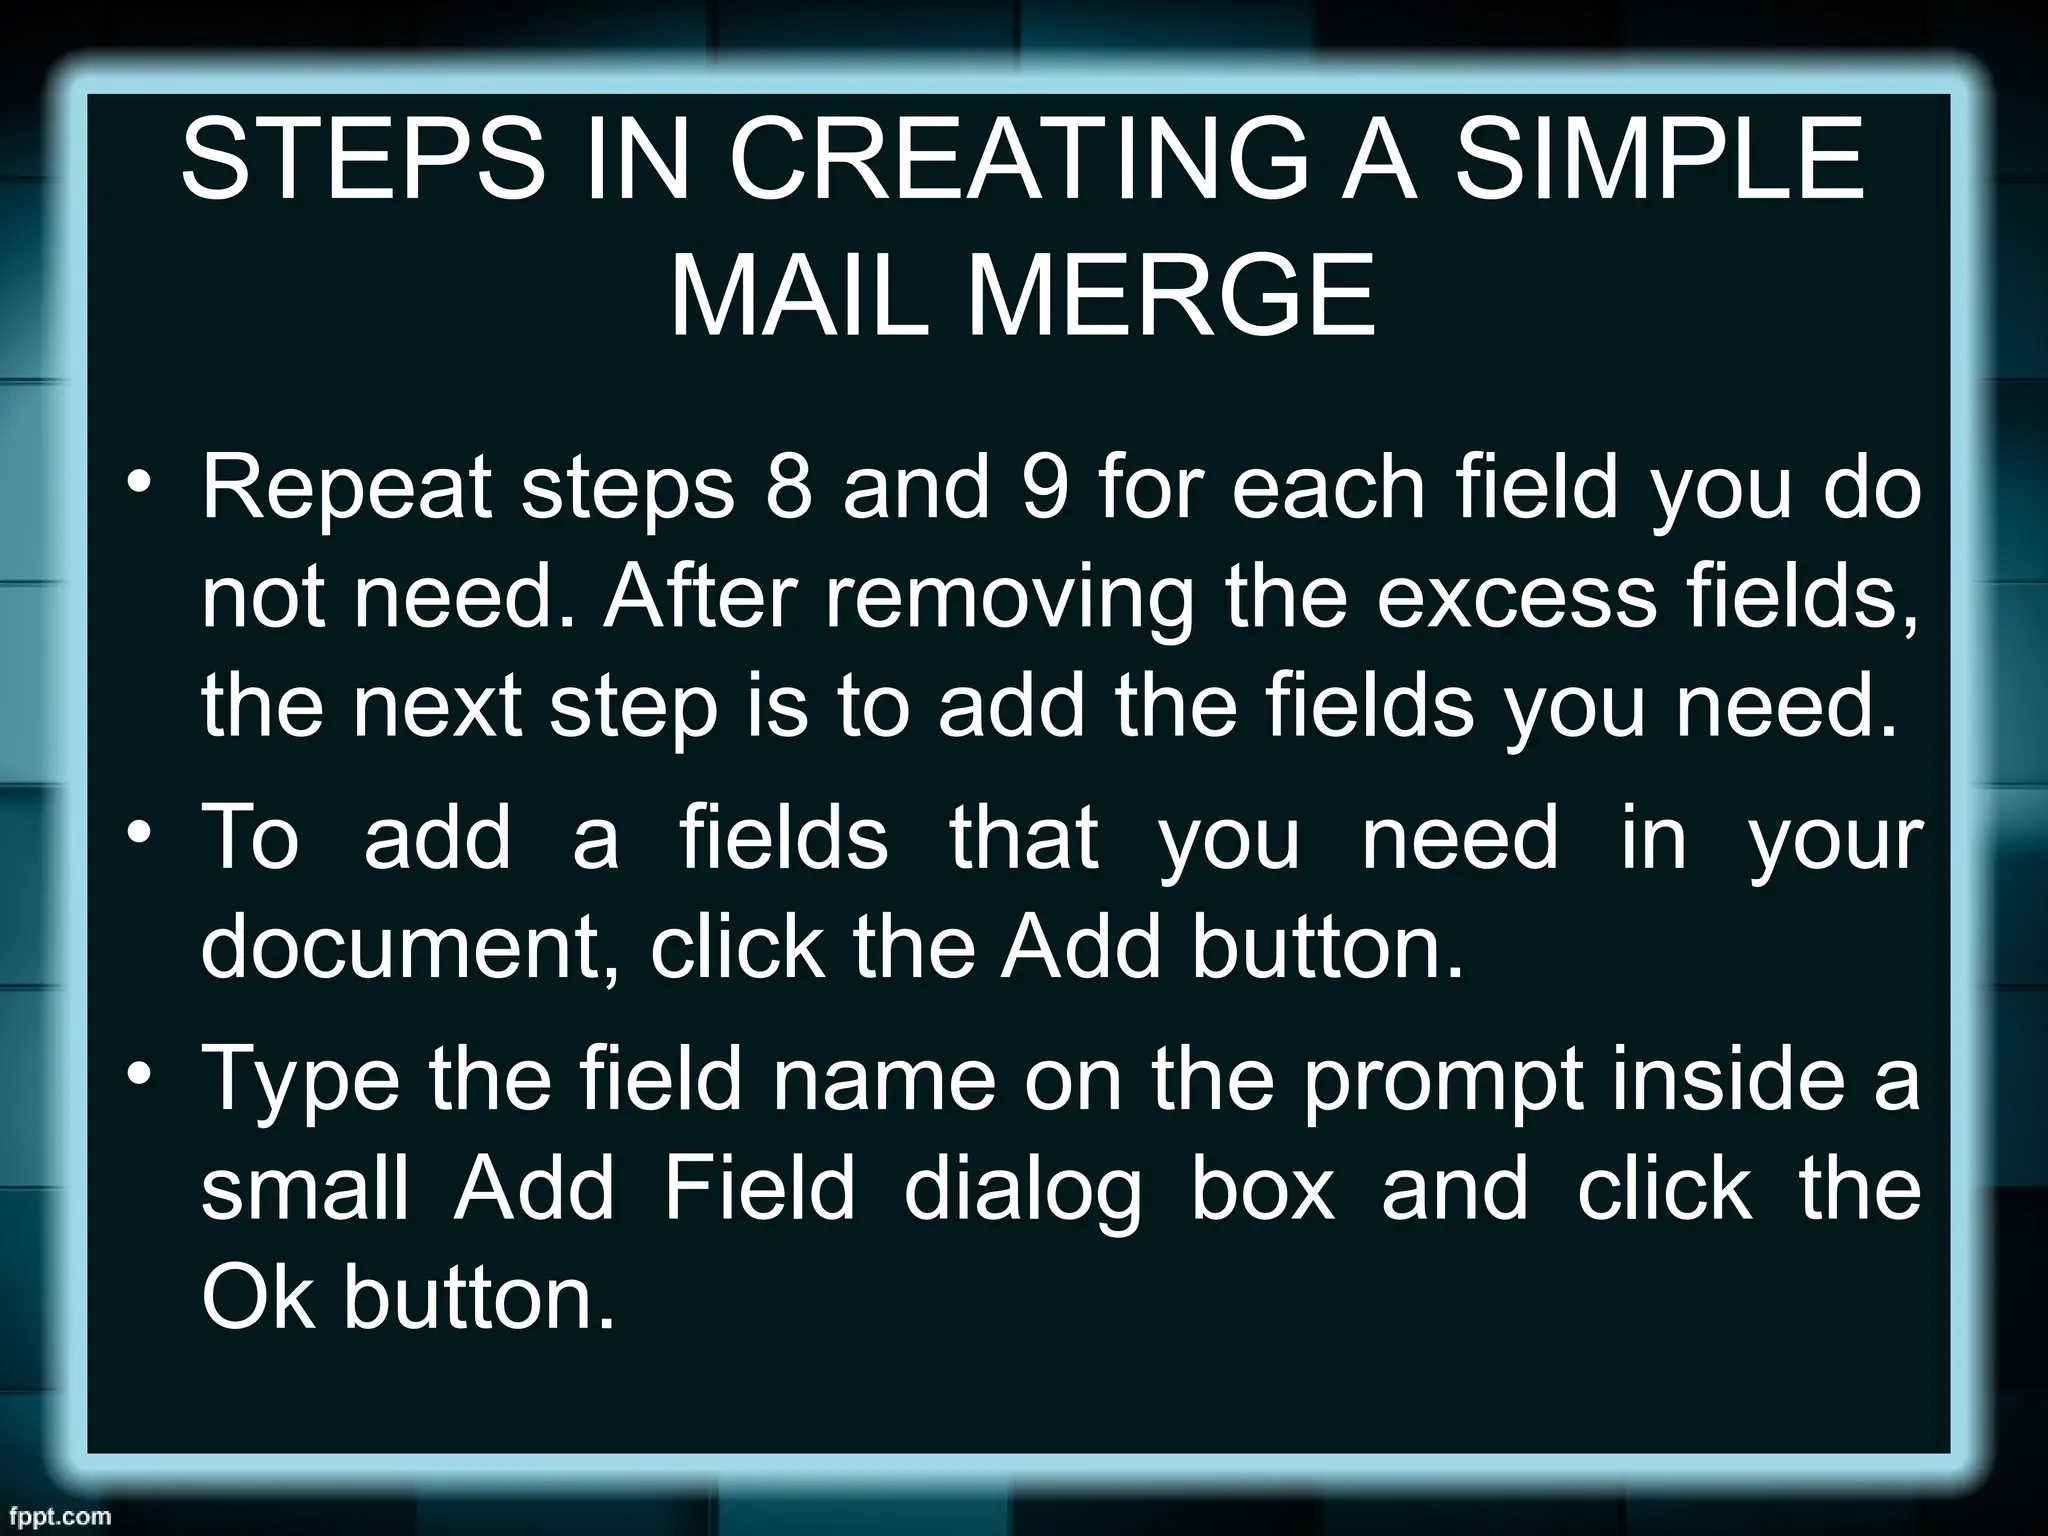
• Repeat steps 8 and 9 for each field you do
not need. After removing the excess fields,
the next step is to add the fields you need.
• To add a fields that you need in your
document, click the Add button.
• Type the field name on the prompt inside a
small Add Field dialog box and click the
Ok button.
20.
STEPS IN CREATINGA SIMPLE
MAIL MERGE
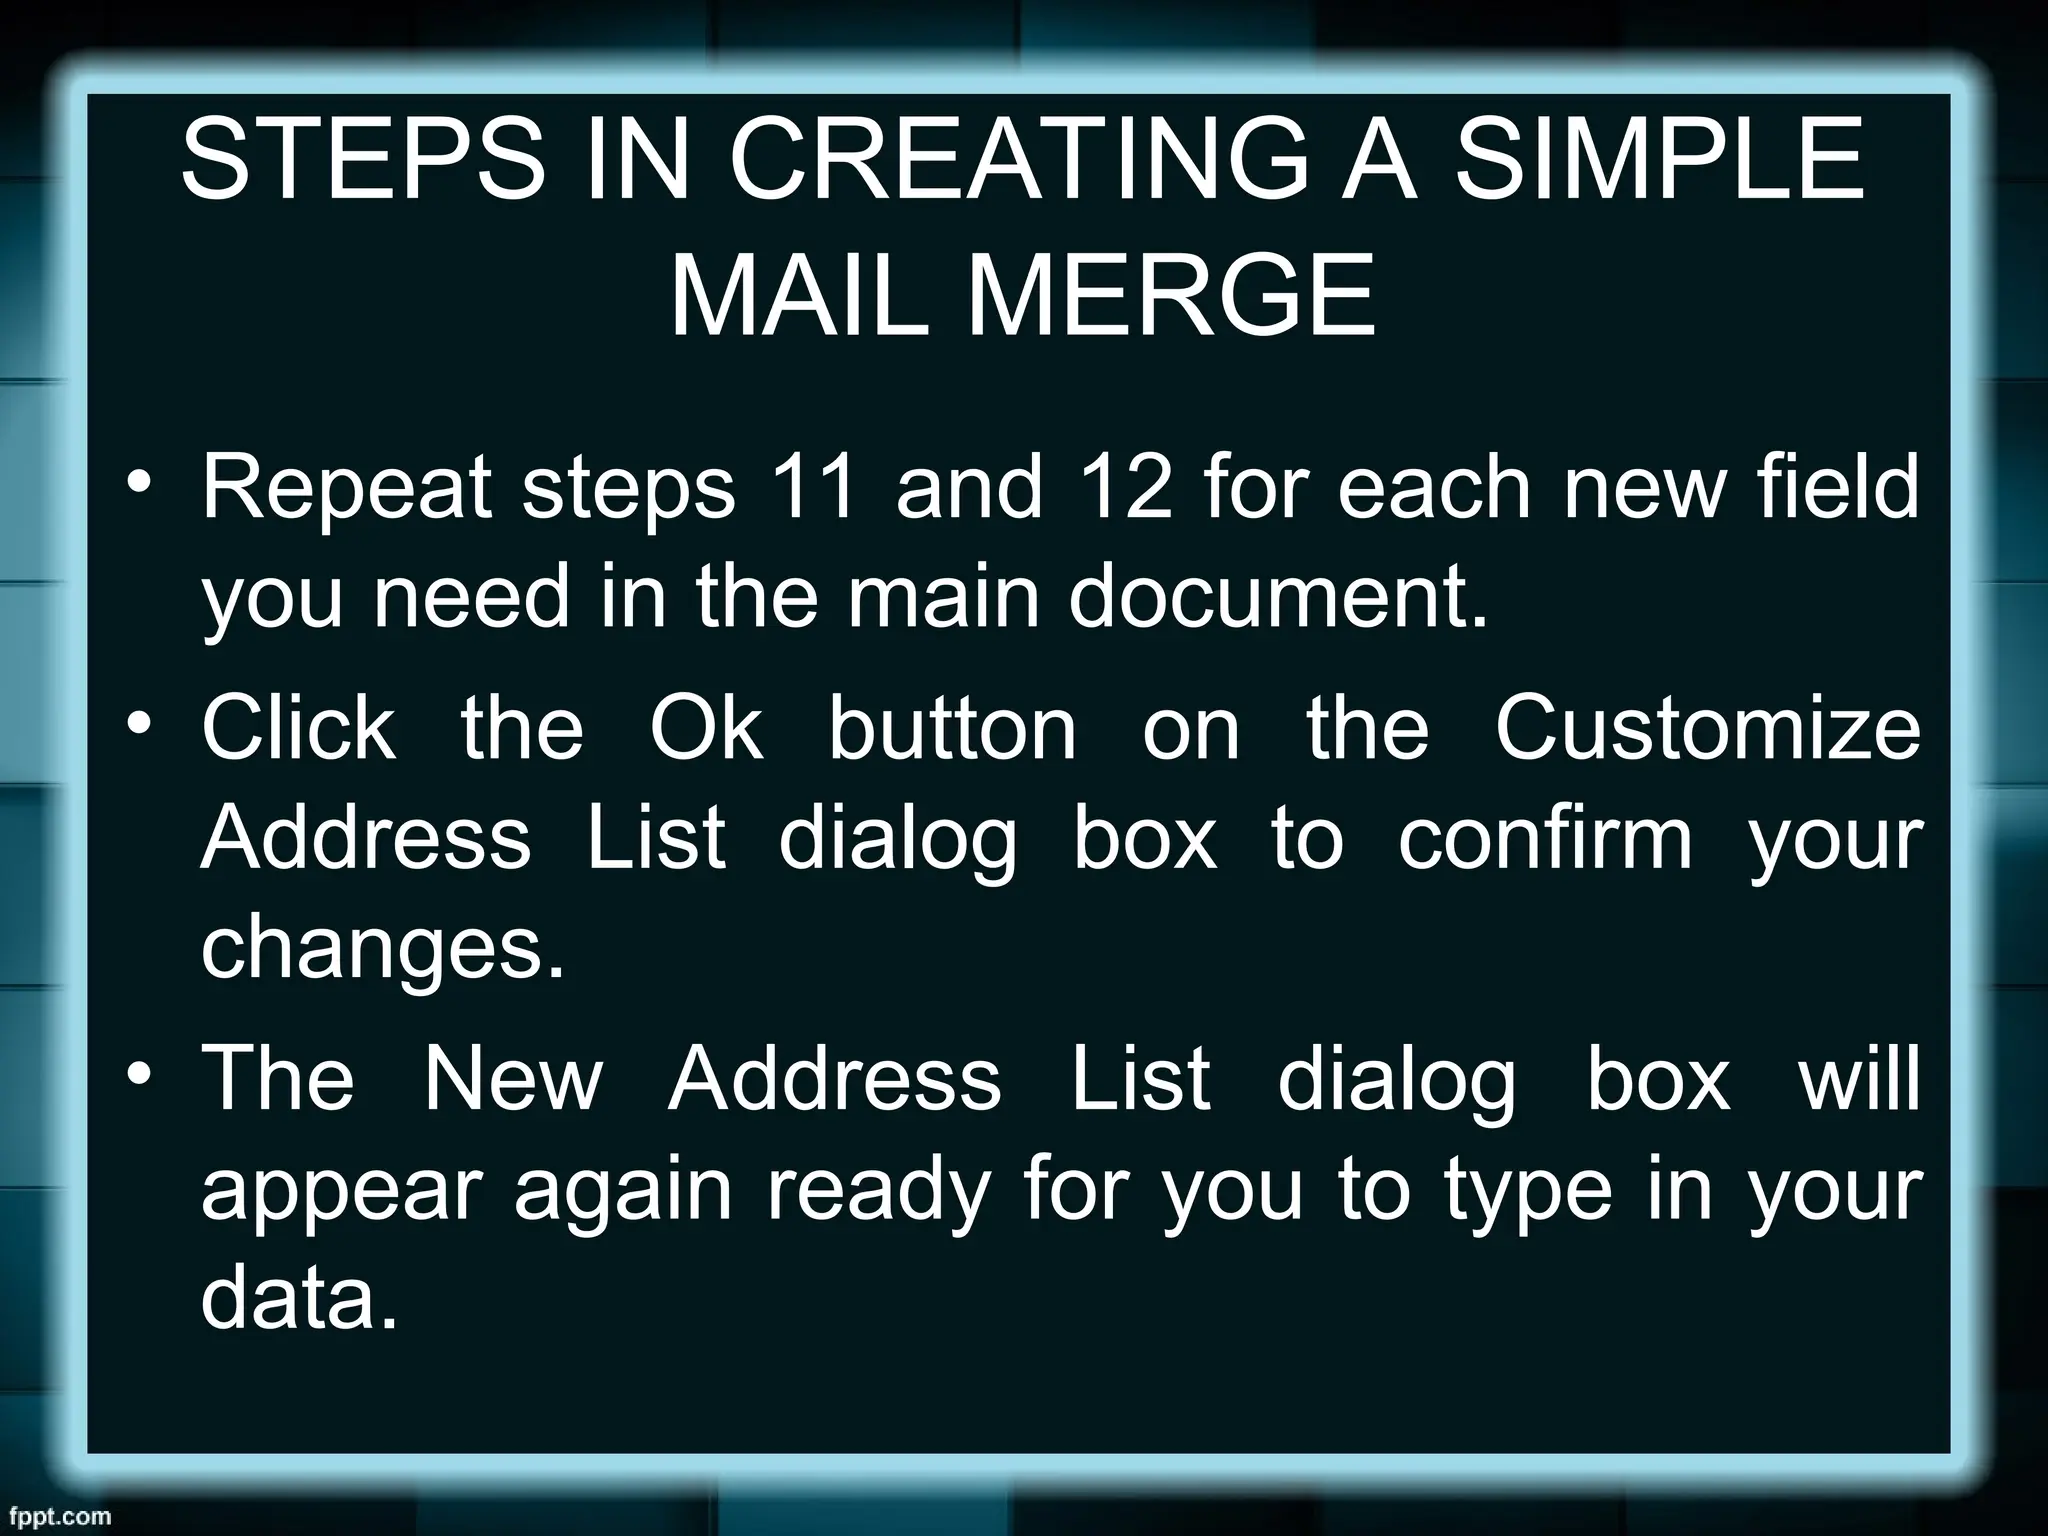
• Repeat steps 11 and 12 for each new field
you need in the main document.
• Click the Ok button on the Customize
Address List dialog box to confirm your
changes.
• The New Address List dialog box will
appear again ready for you to type in your
data.
21.
STEPS IN CREATINGA SIMPLE
MAIL MERGE
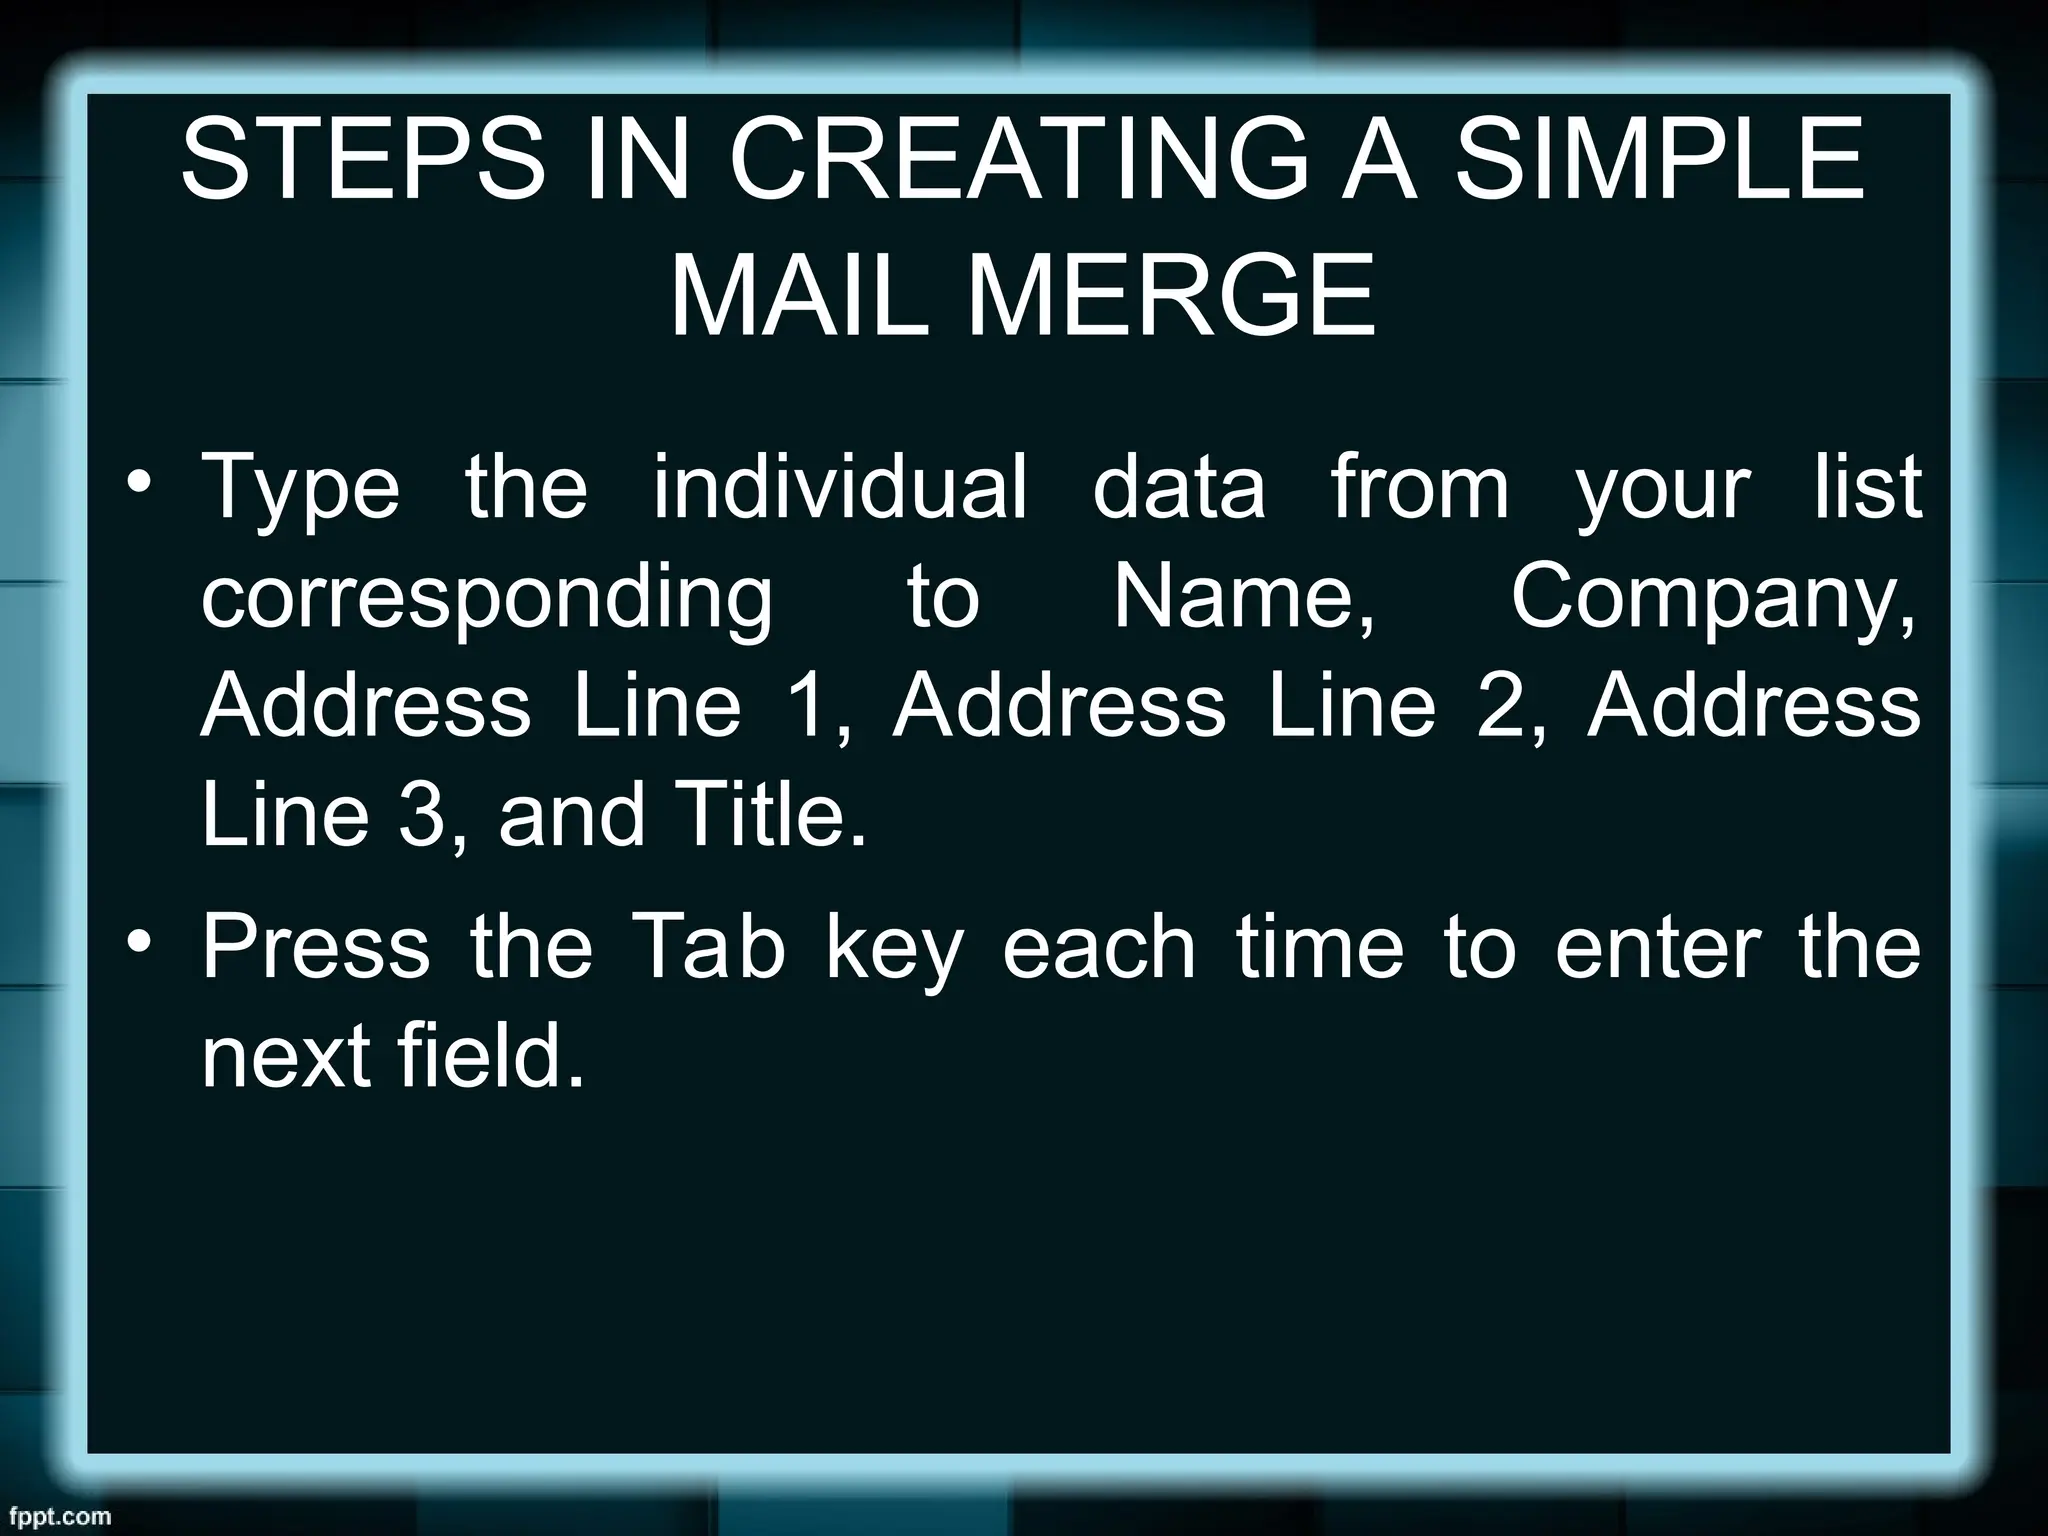
• Type the individual data from your list
corresponding to Name, Company,
Address Line 1, Address Line 2, Address
Line 3, and Title.
• Press the Tab key each time to enter the
next field.
22.
STEPS IN CREATINGA SIMPLE
MAIL MERGE
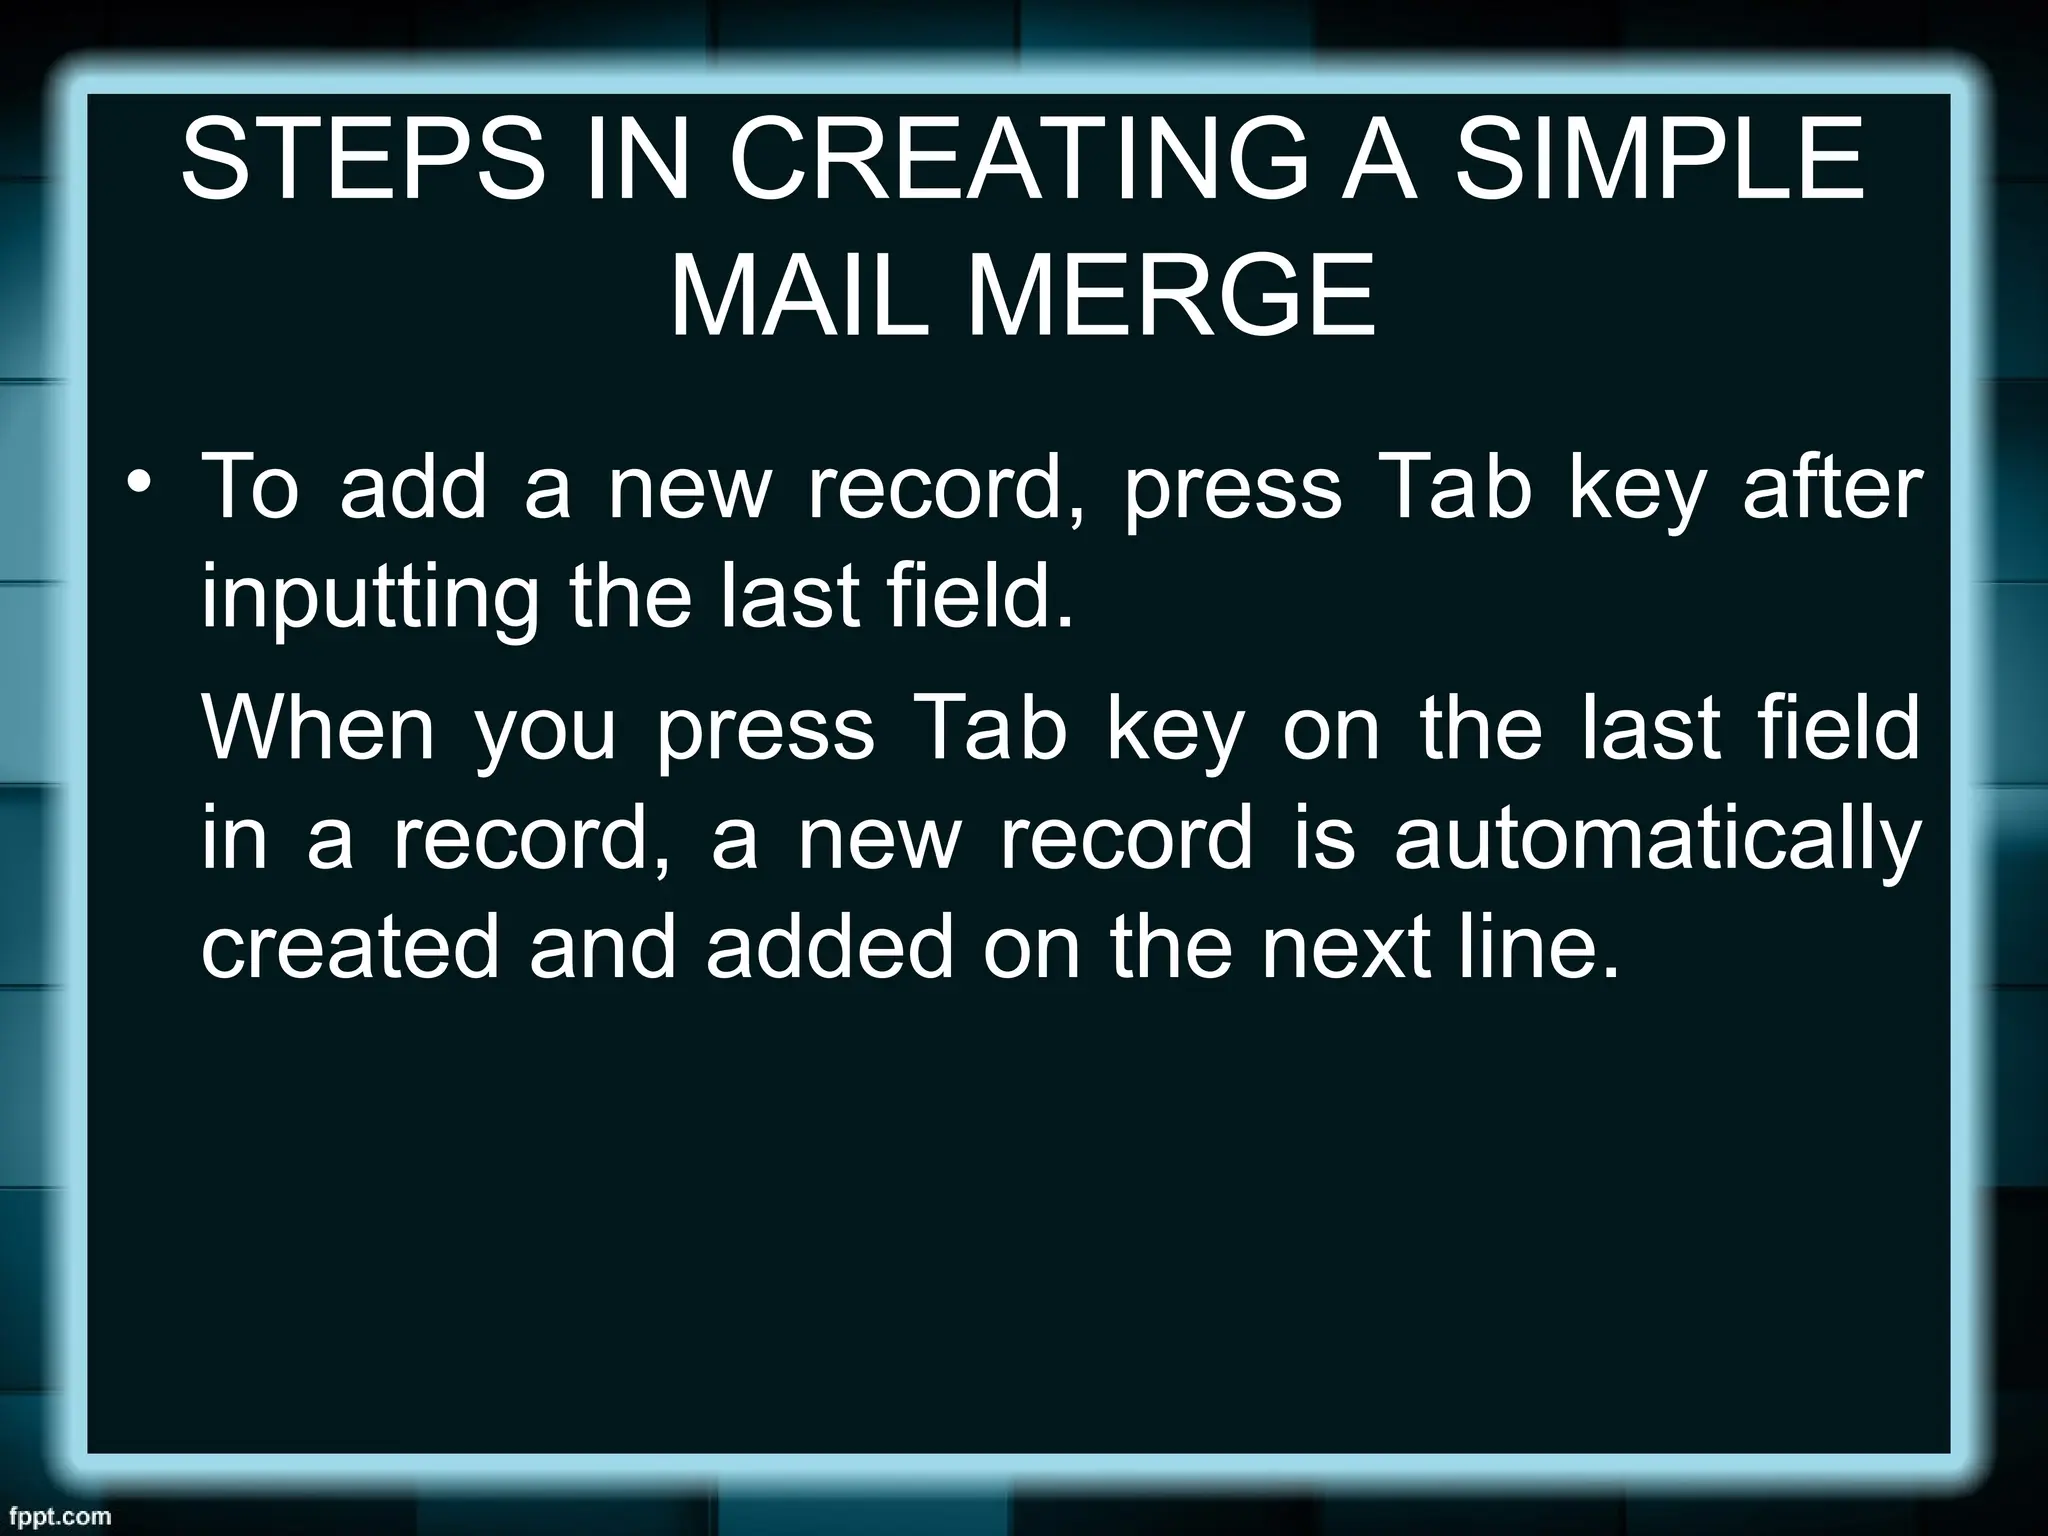
• To add a new record, press Tab key after
inputting the last field.
When you press Tab key on the last field
in a record, a new record is automatically
created and added on the next line.
23.
STEPS IN CREATINGA SIMPLE
MAIL MERGE
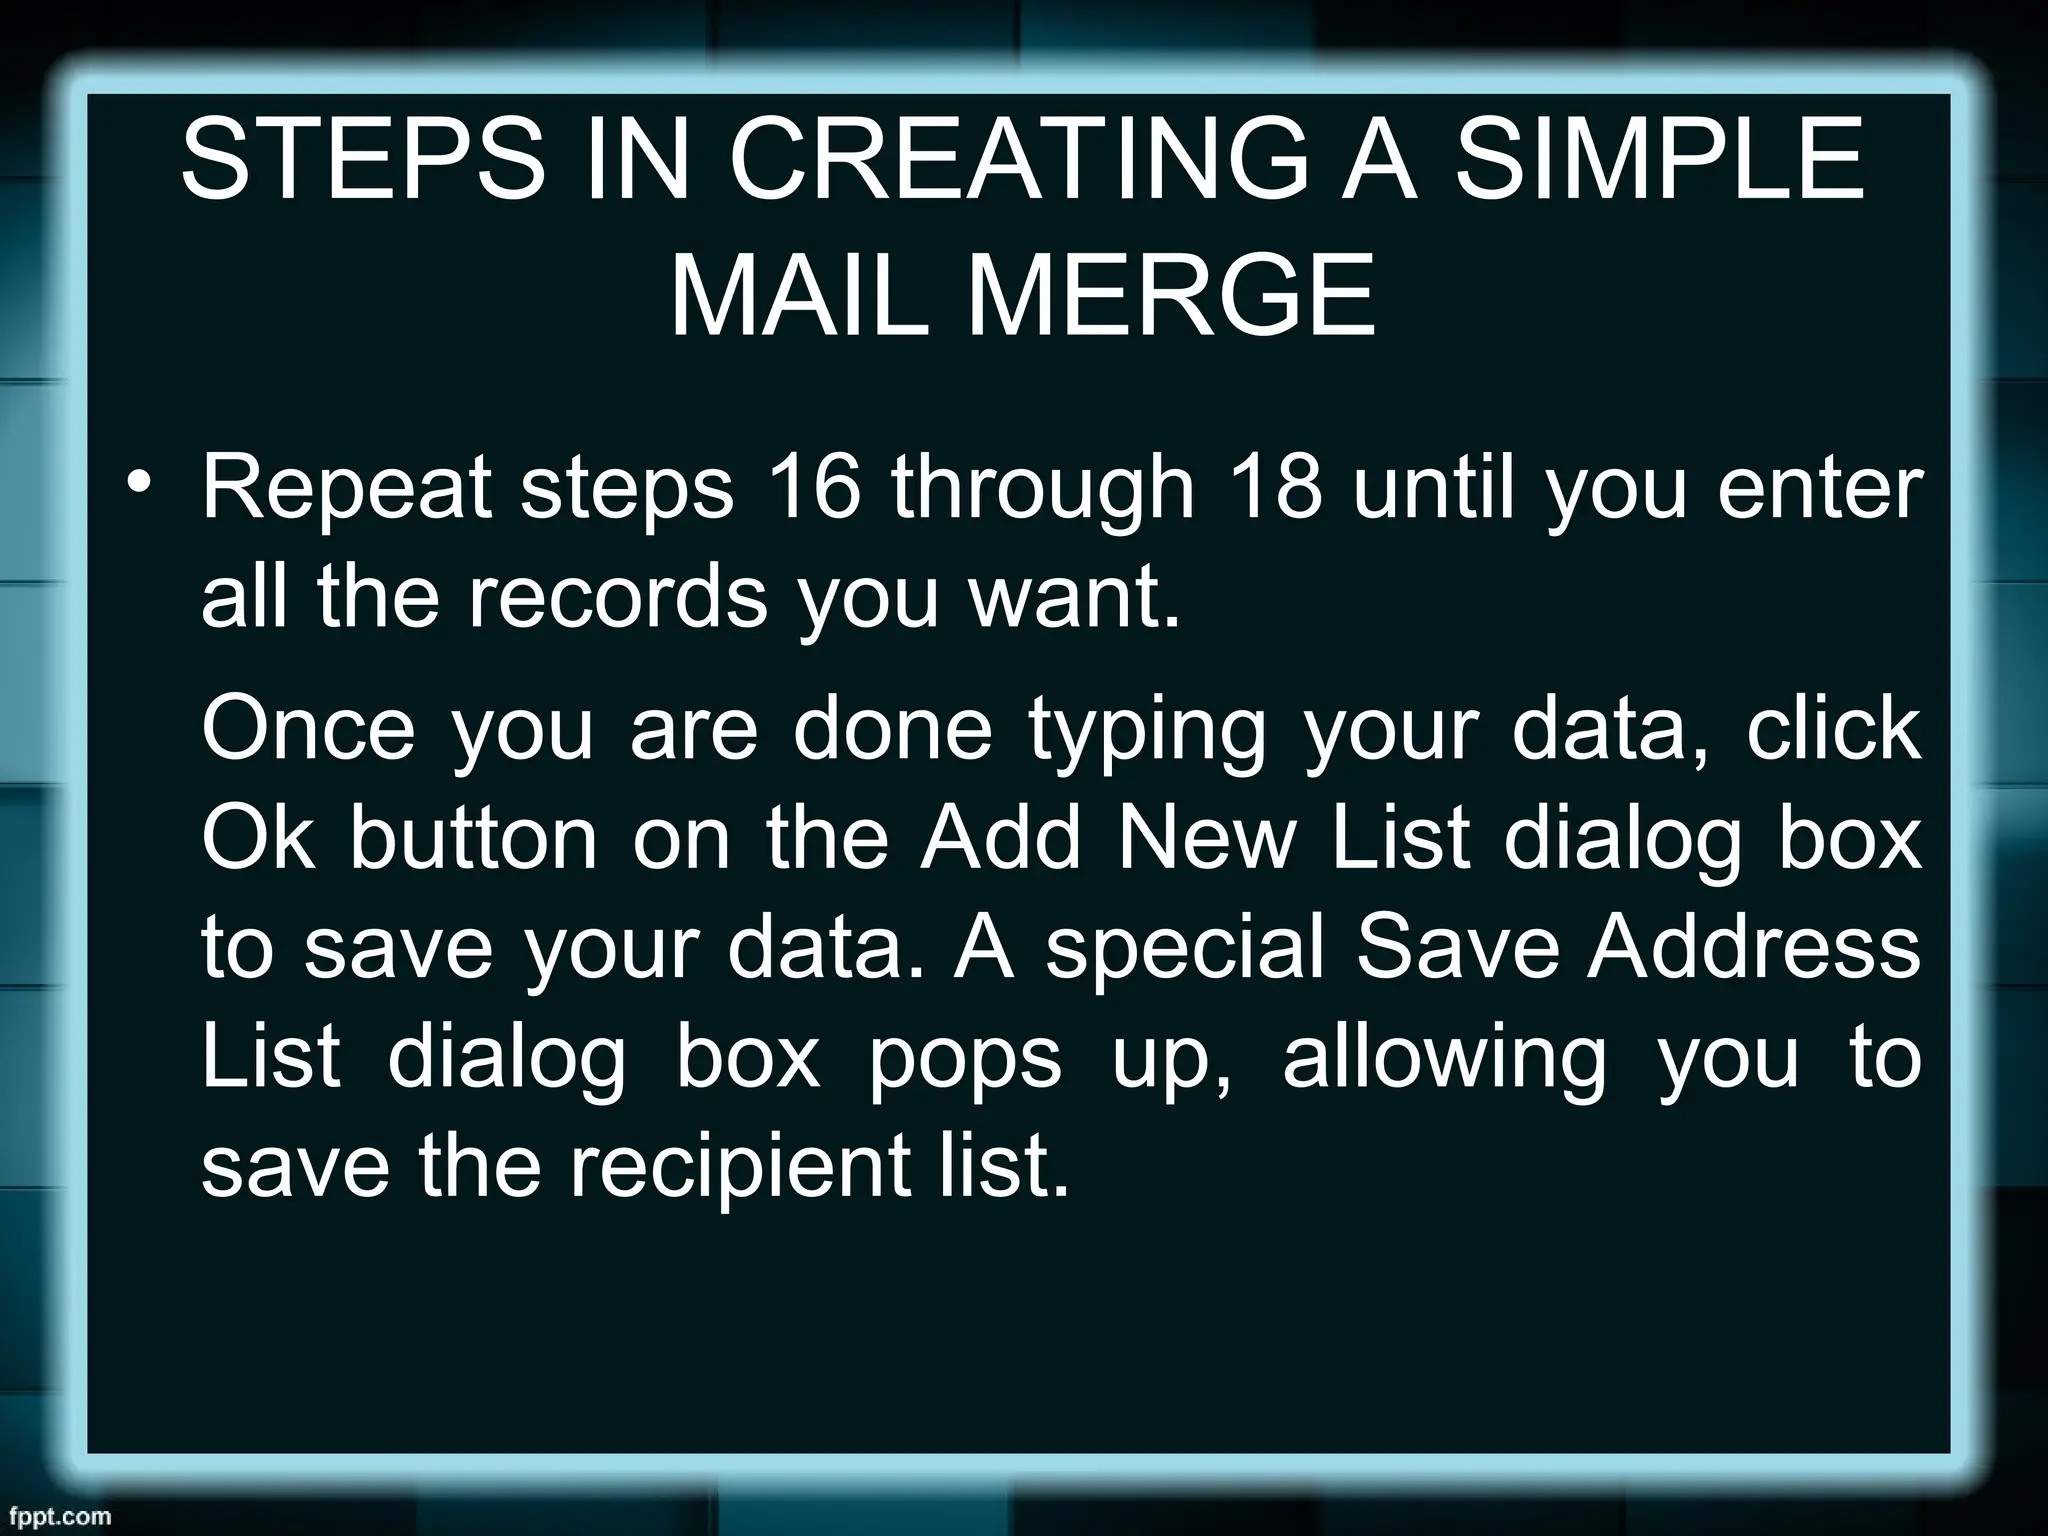
• Repeat steps 16 through 18 until you enter
all the records you want.
Once you are done typing your data, click
Ok button on the Add New List dialog box
to save your data. A special Save Address
List dialog box pops up, allowing you to
save the recipient list.
24.
STEPS IN CREATINGA SIMPLE
MAIL MERGE
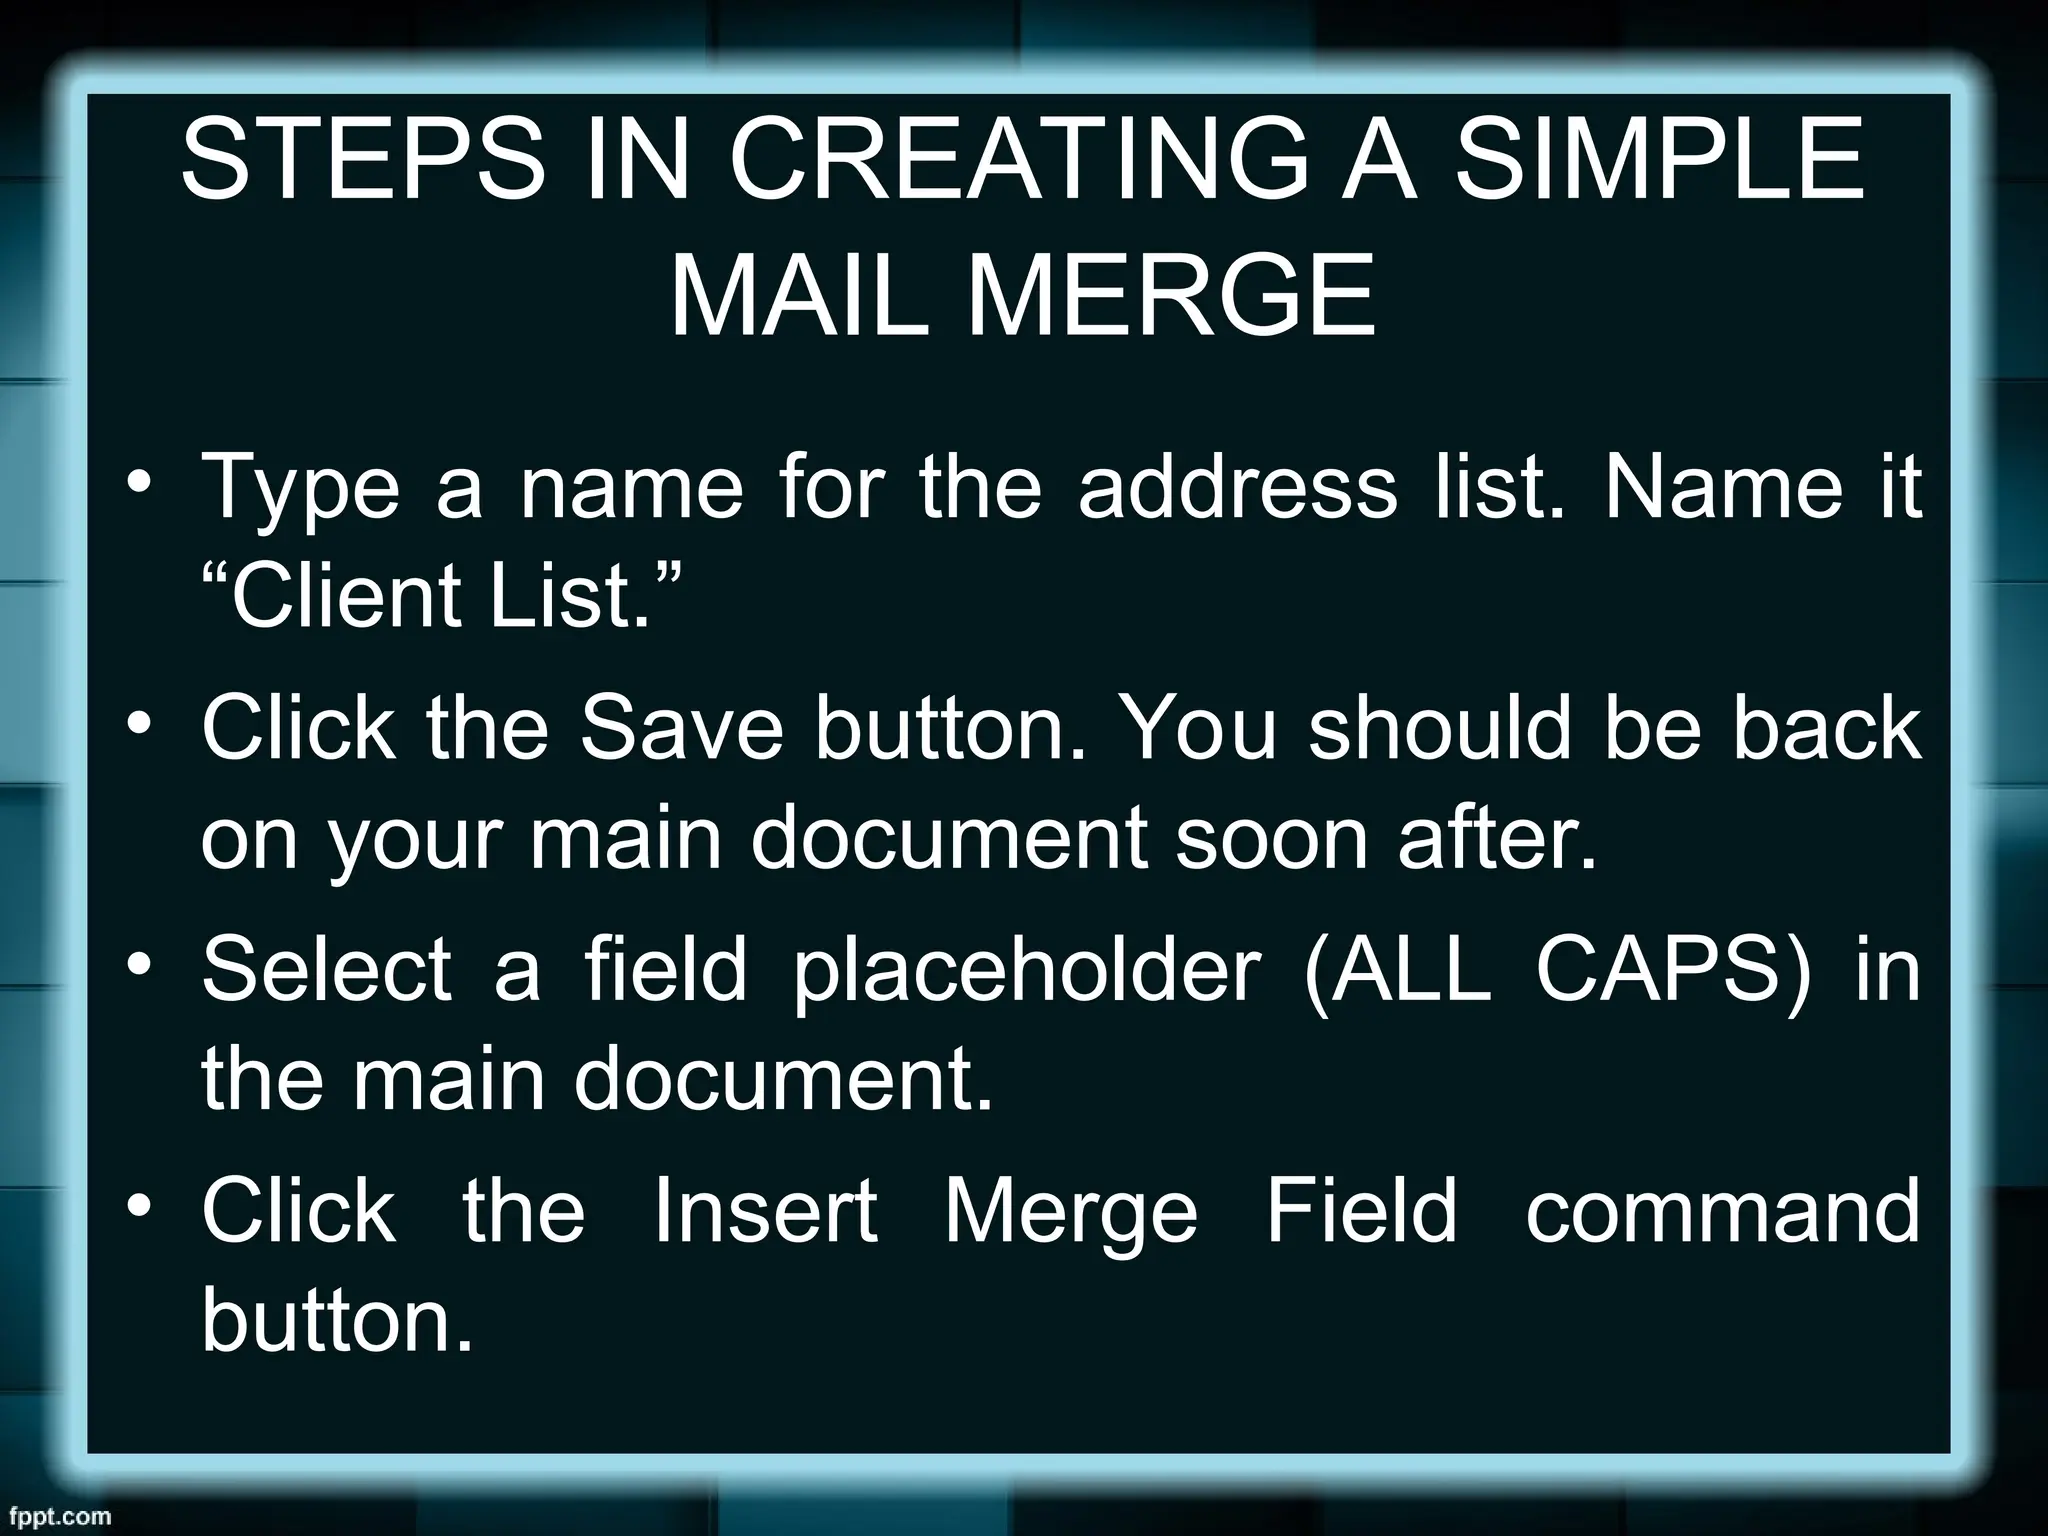
• Type a name for the address list. Name it
“Client List.”
• Click the Save button. You should be back
on your main document soon after.
• Select a field placeholder (ALL CAPS) in
the main document.
• Click the Insert Merge Field command
button.
25.
STEPS IN CREATINGA SIMPLE
MAIL MERGE
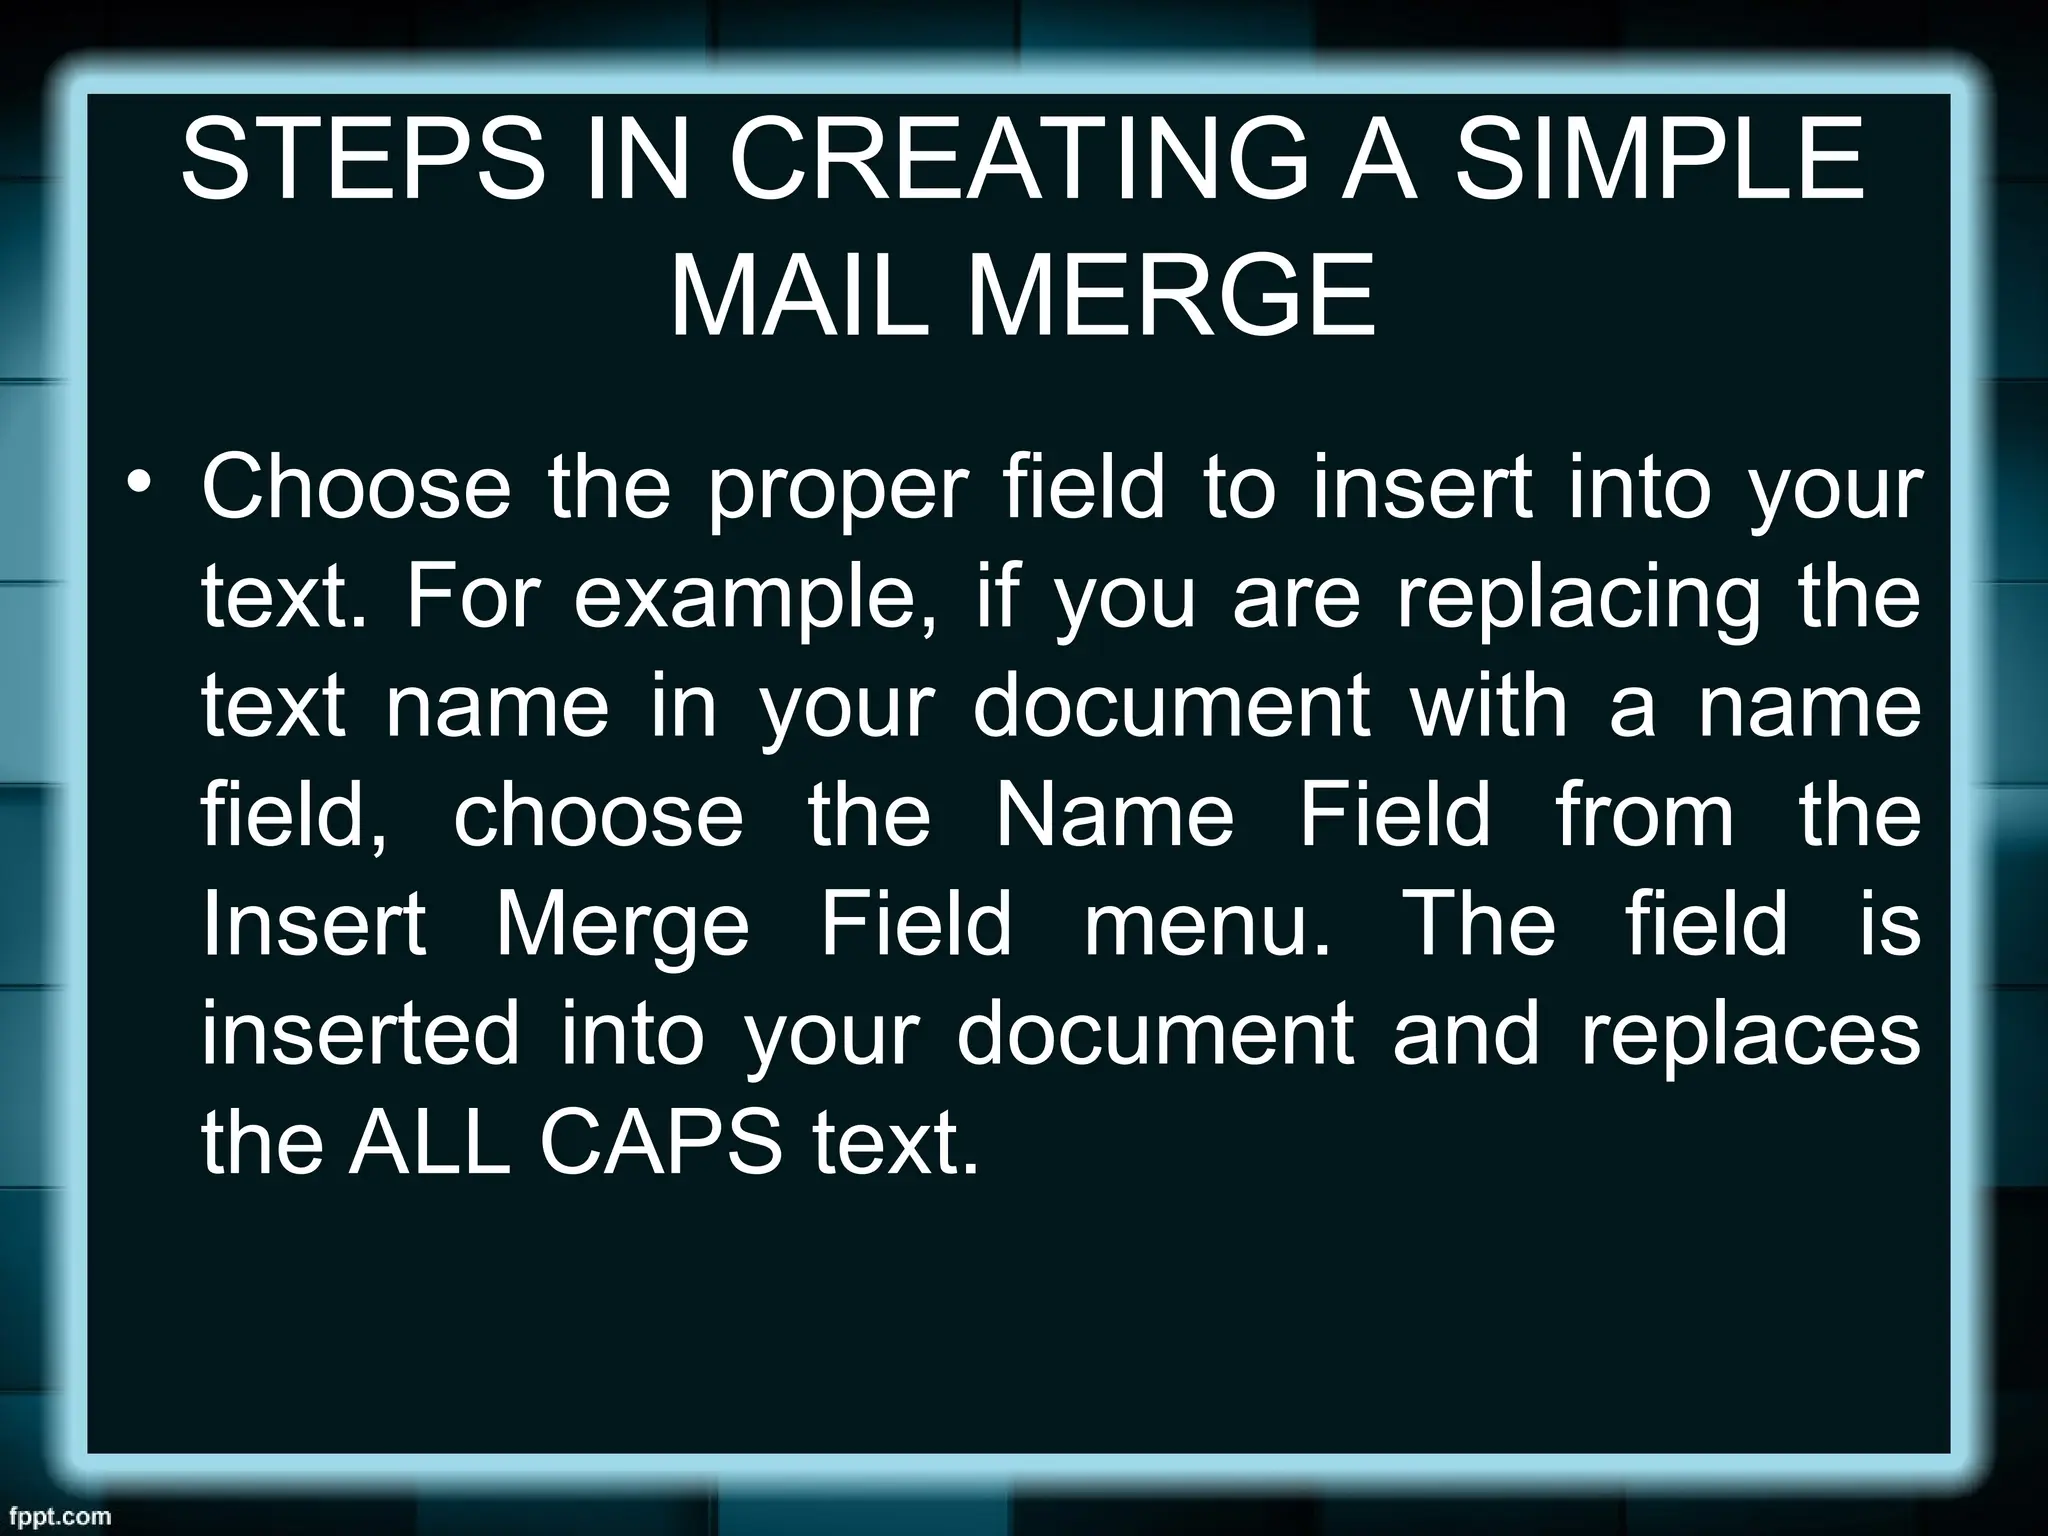
• Choose the proper field to insert into your
text. For example, if you are replacing the
text name in your document with a name
field, choose the Name Field from the
Insert Merge Field menu. The field is
inserted into your document and replaces
the ALL CAPS text.
26.
STEPS IN CREATINGA SIMPLE
MAIL MERGE
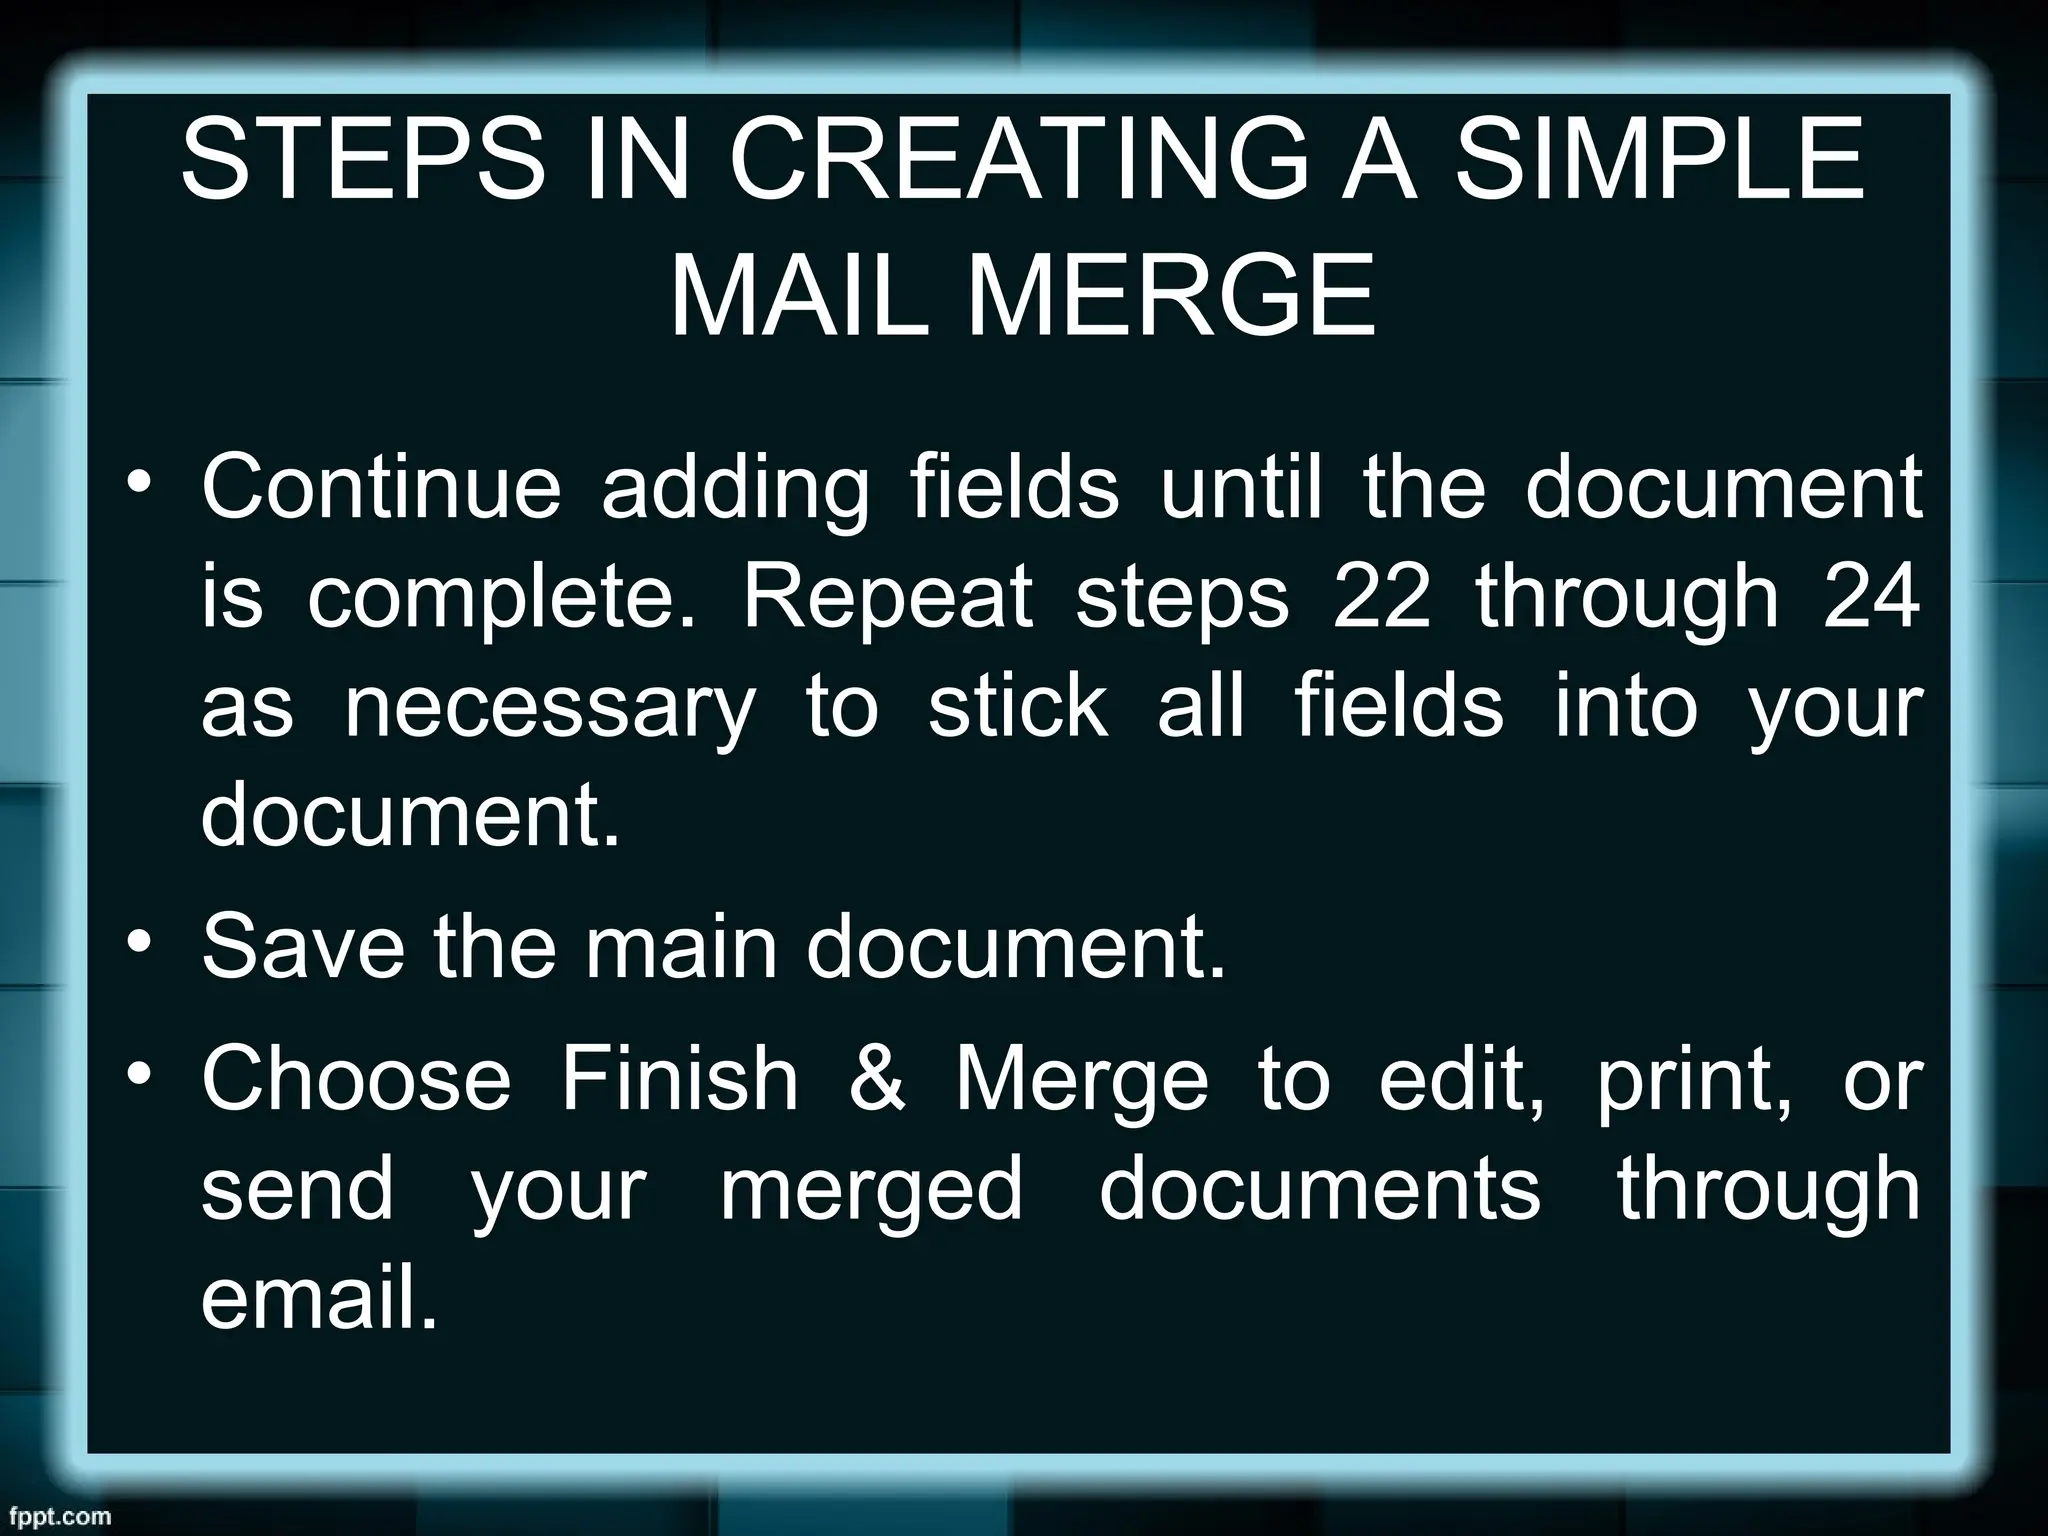
• Continue adding fields until the document
is complete. Repeat steps 22 through 24
as necessary to stick all fields into your
document.
• Save the main document.
• Choose Finish & Merge to edit, print, or
send your merged documents through
email.
27.
STEPS IN CREATINGA SIMPLE
MAIL MERGE
• Or you may want to choose Preview
Results to check your work before you
send it.
• Save and close your document.
28.
INTEGRATING IMAGES AND
EXTERNALMATERIALS
There are various kinds of materials
MS Word is capable of integrating to make
the document richer, more impressive, and
more informative.
29.
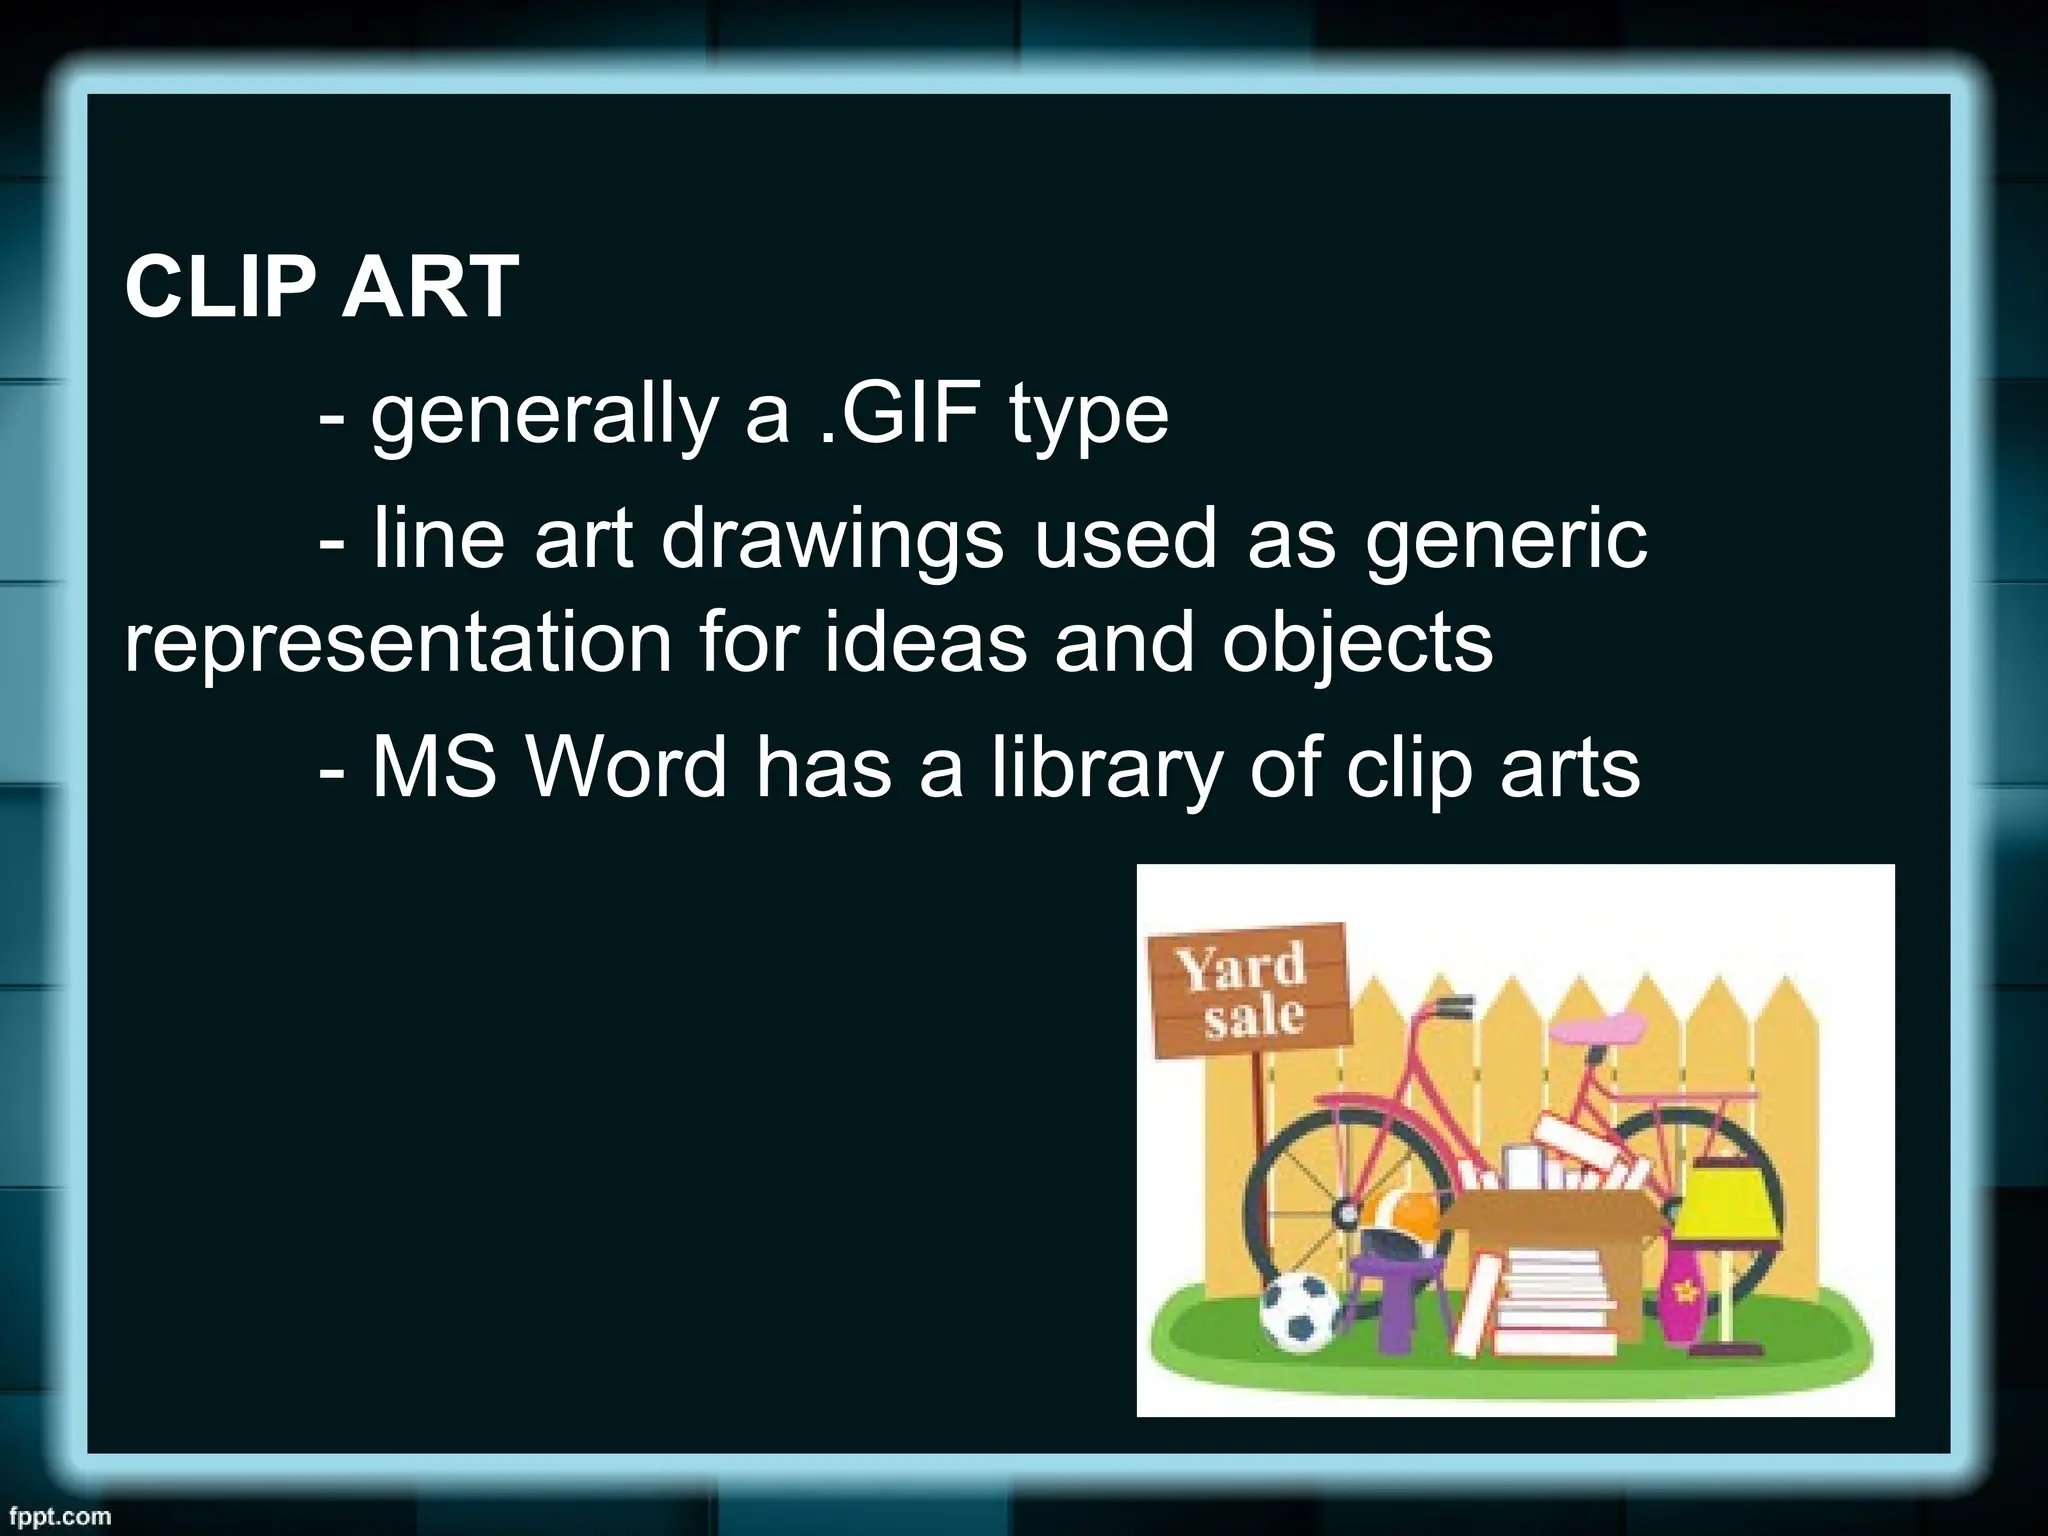
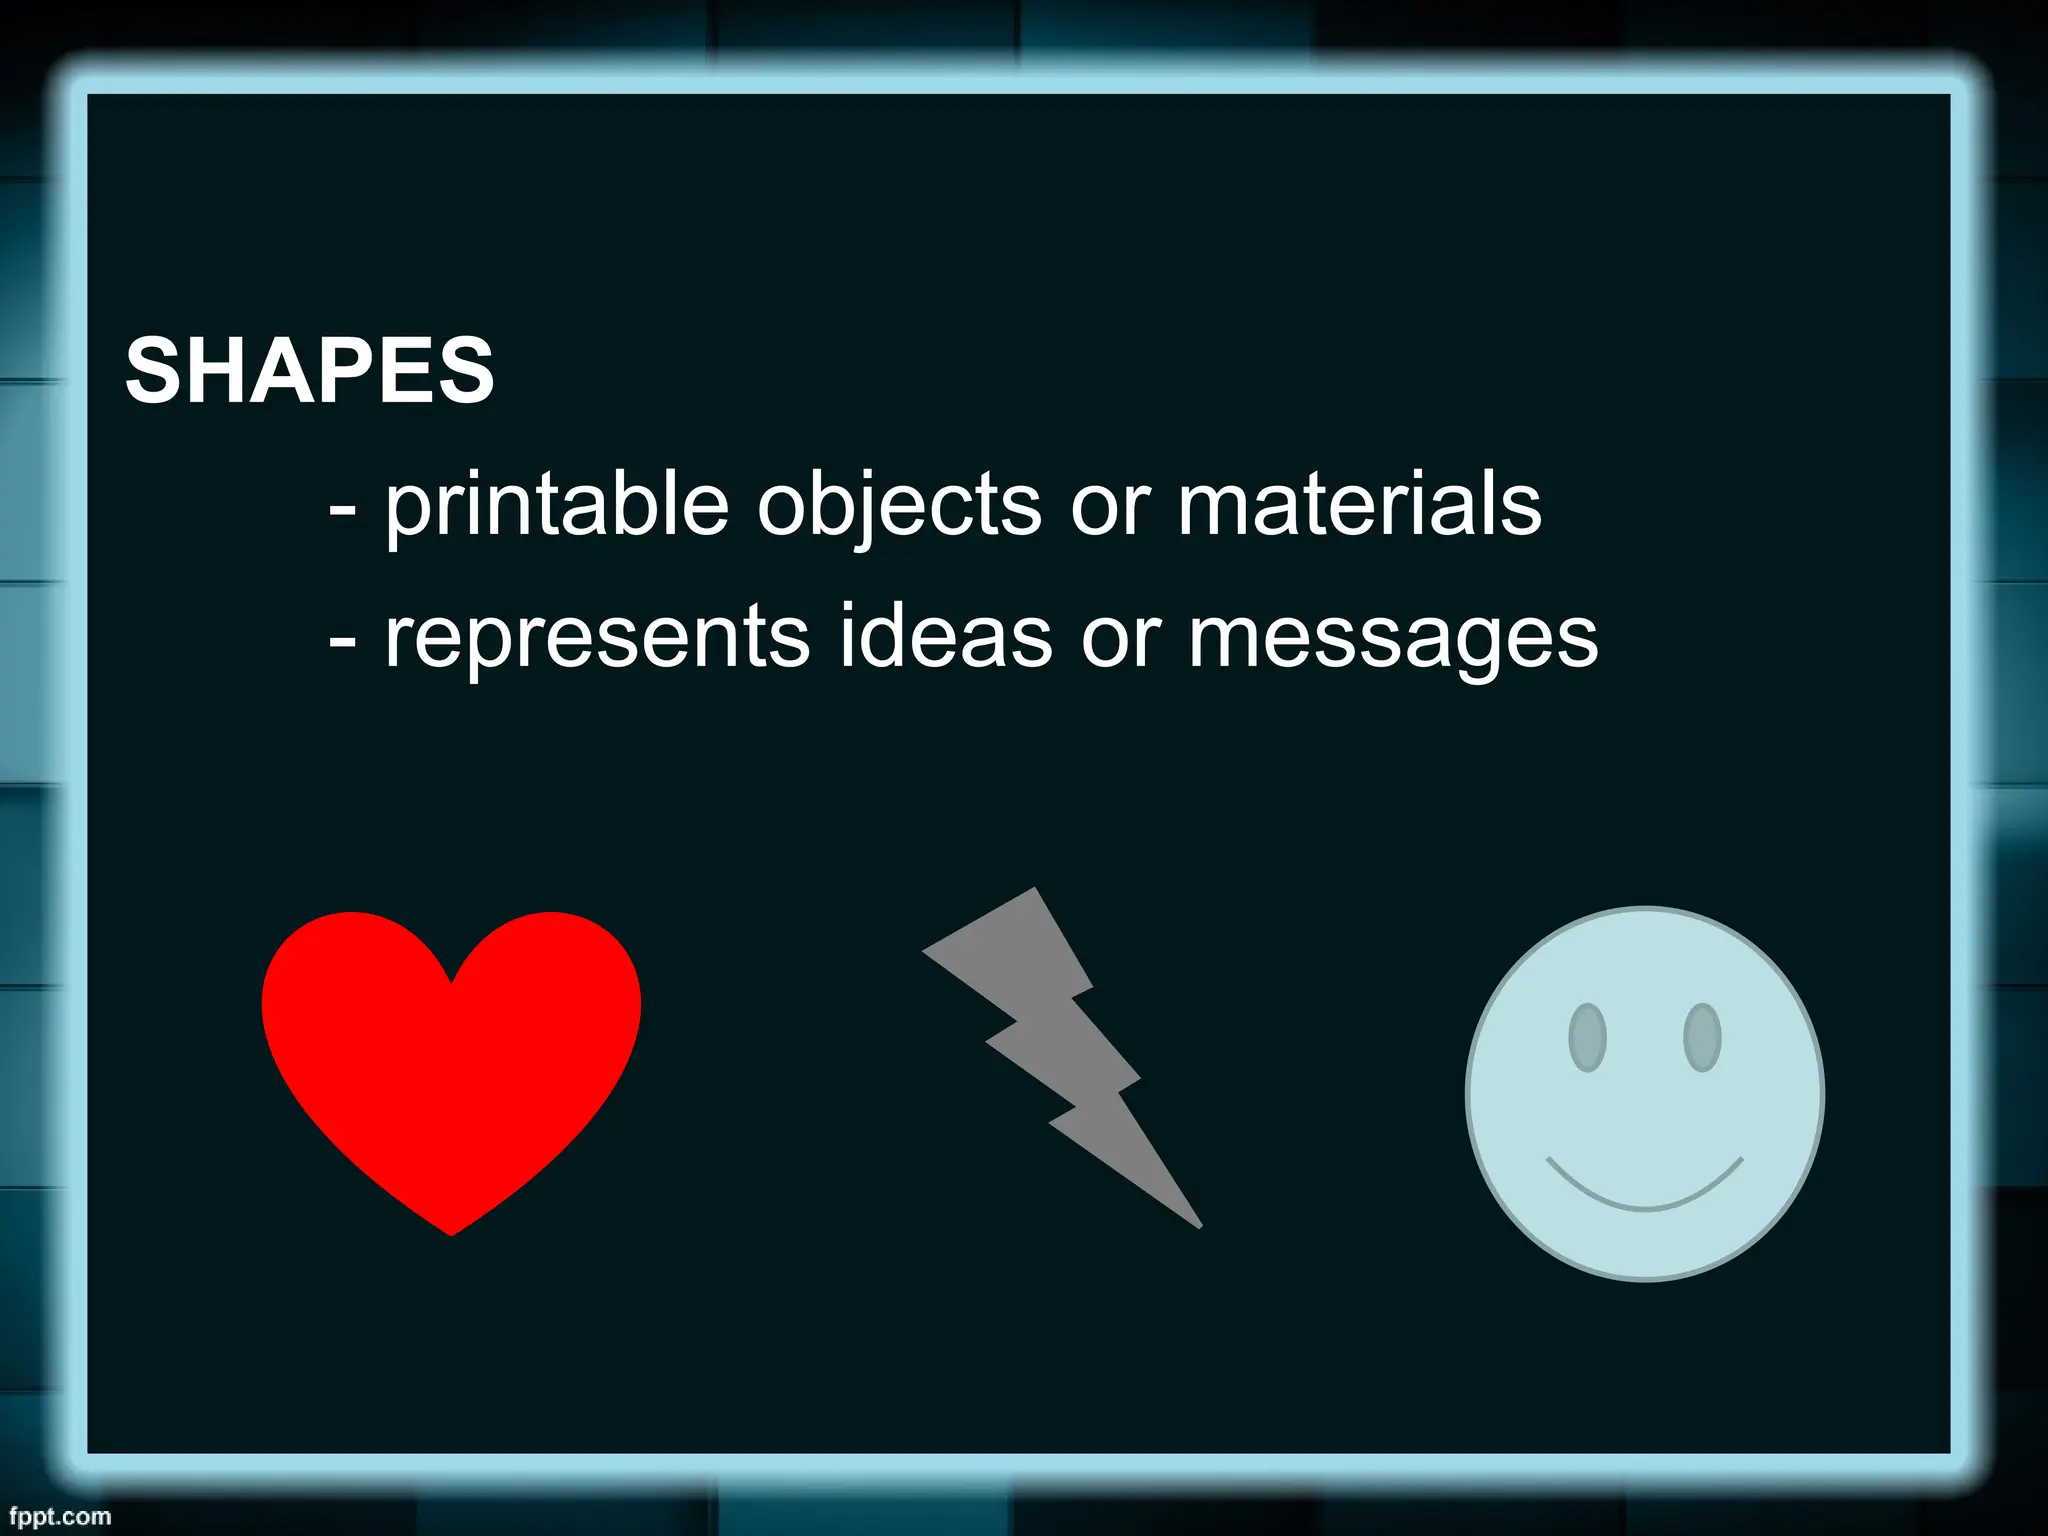
KINDS OF MATERIALS
PICTURES– These are electronic or digital
pictures or photographs you have saved in any
local storage device.
There are three commonly types of picture files:
30.
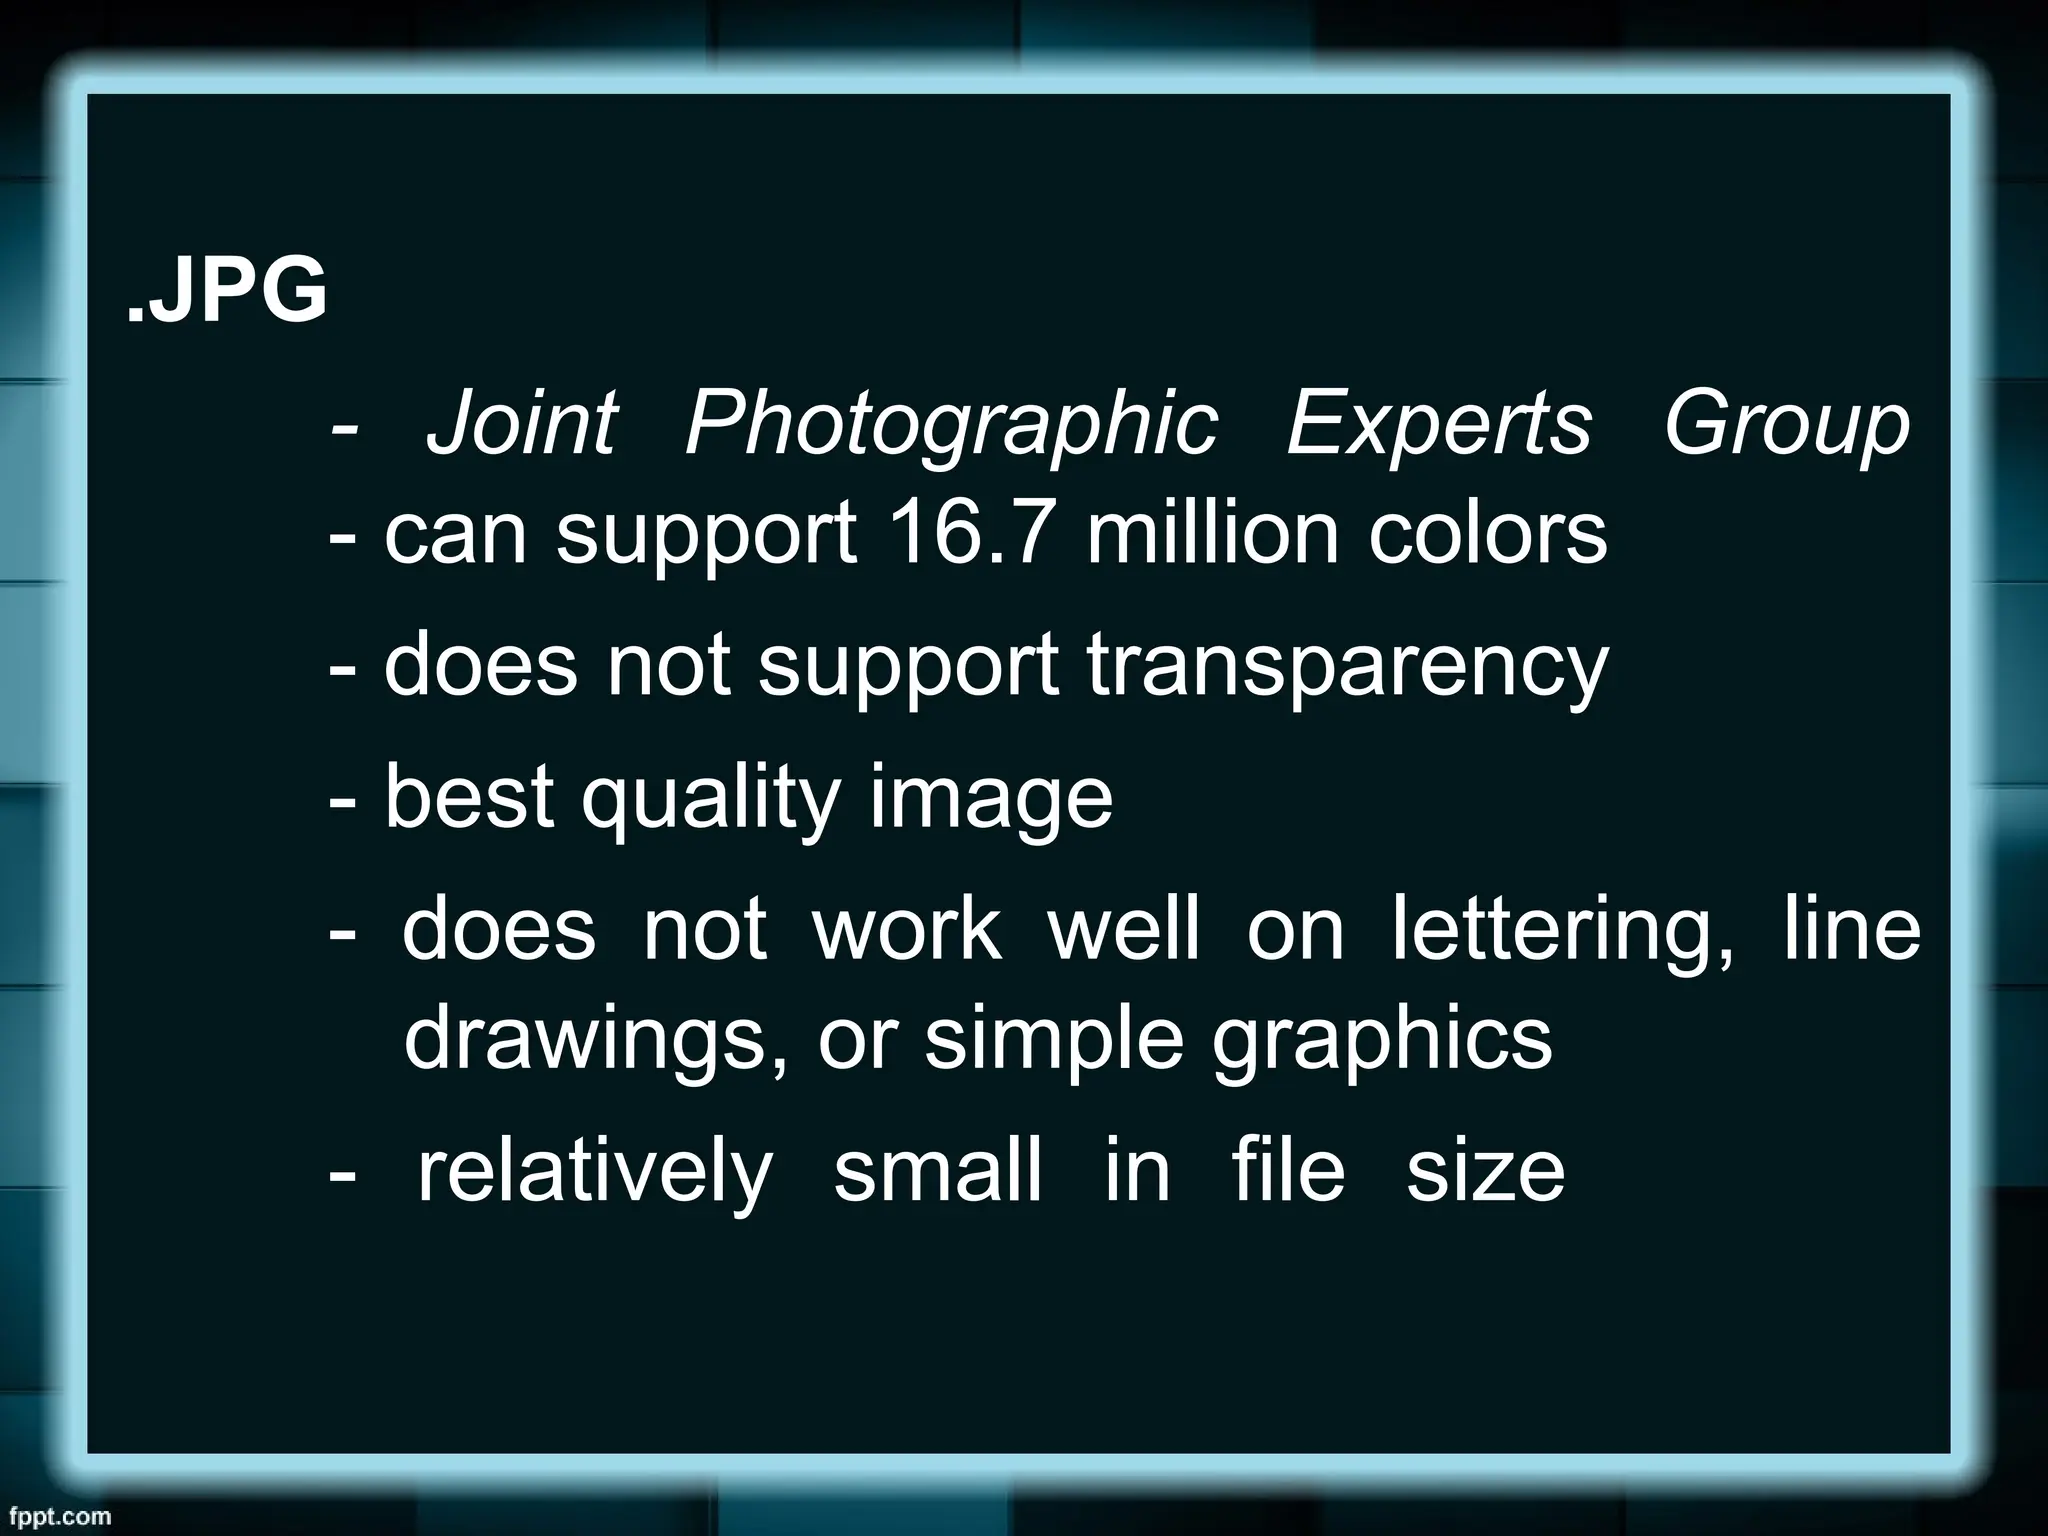
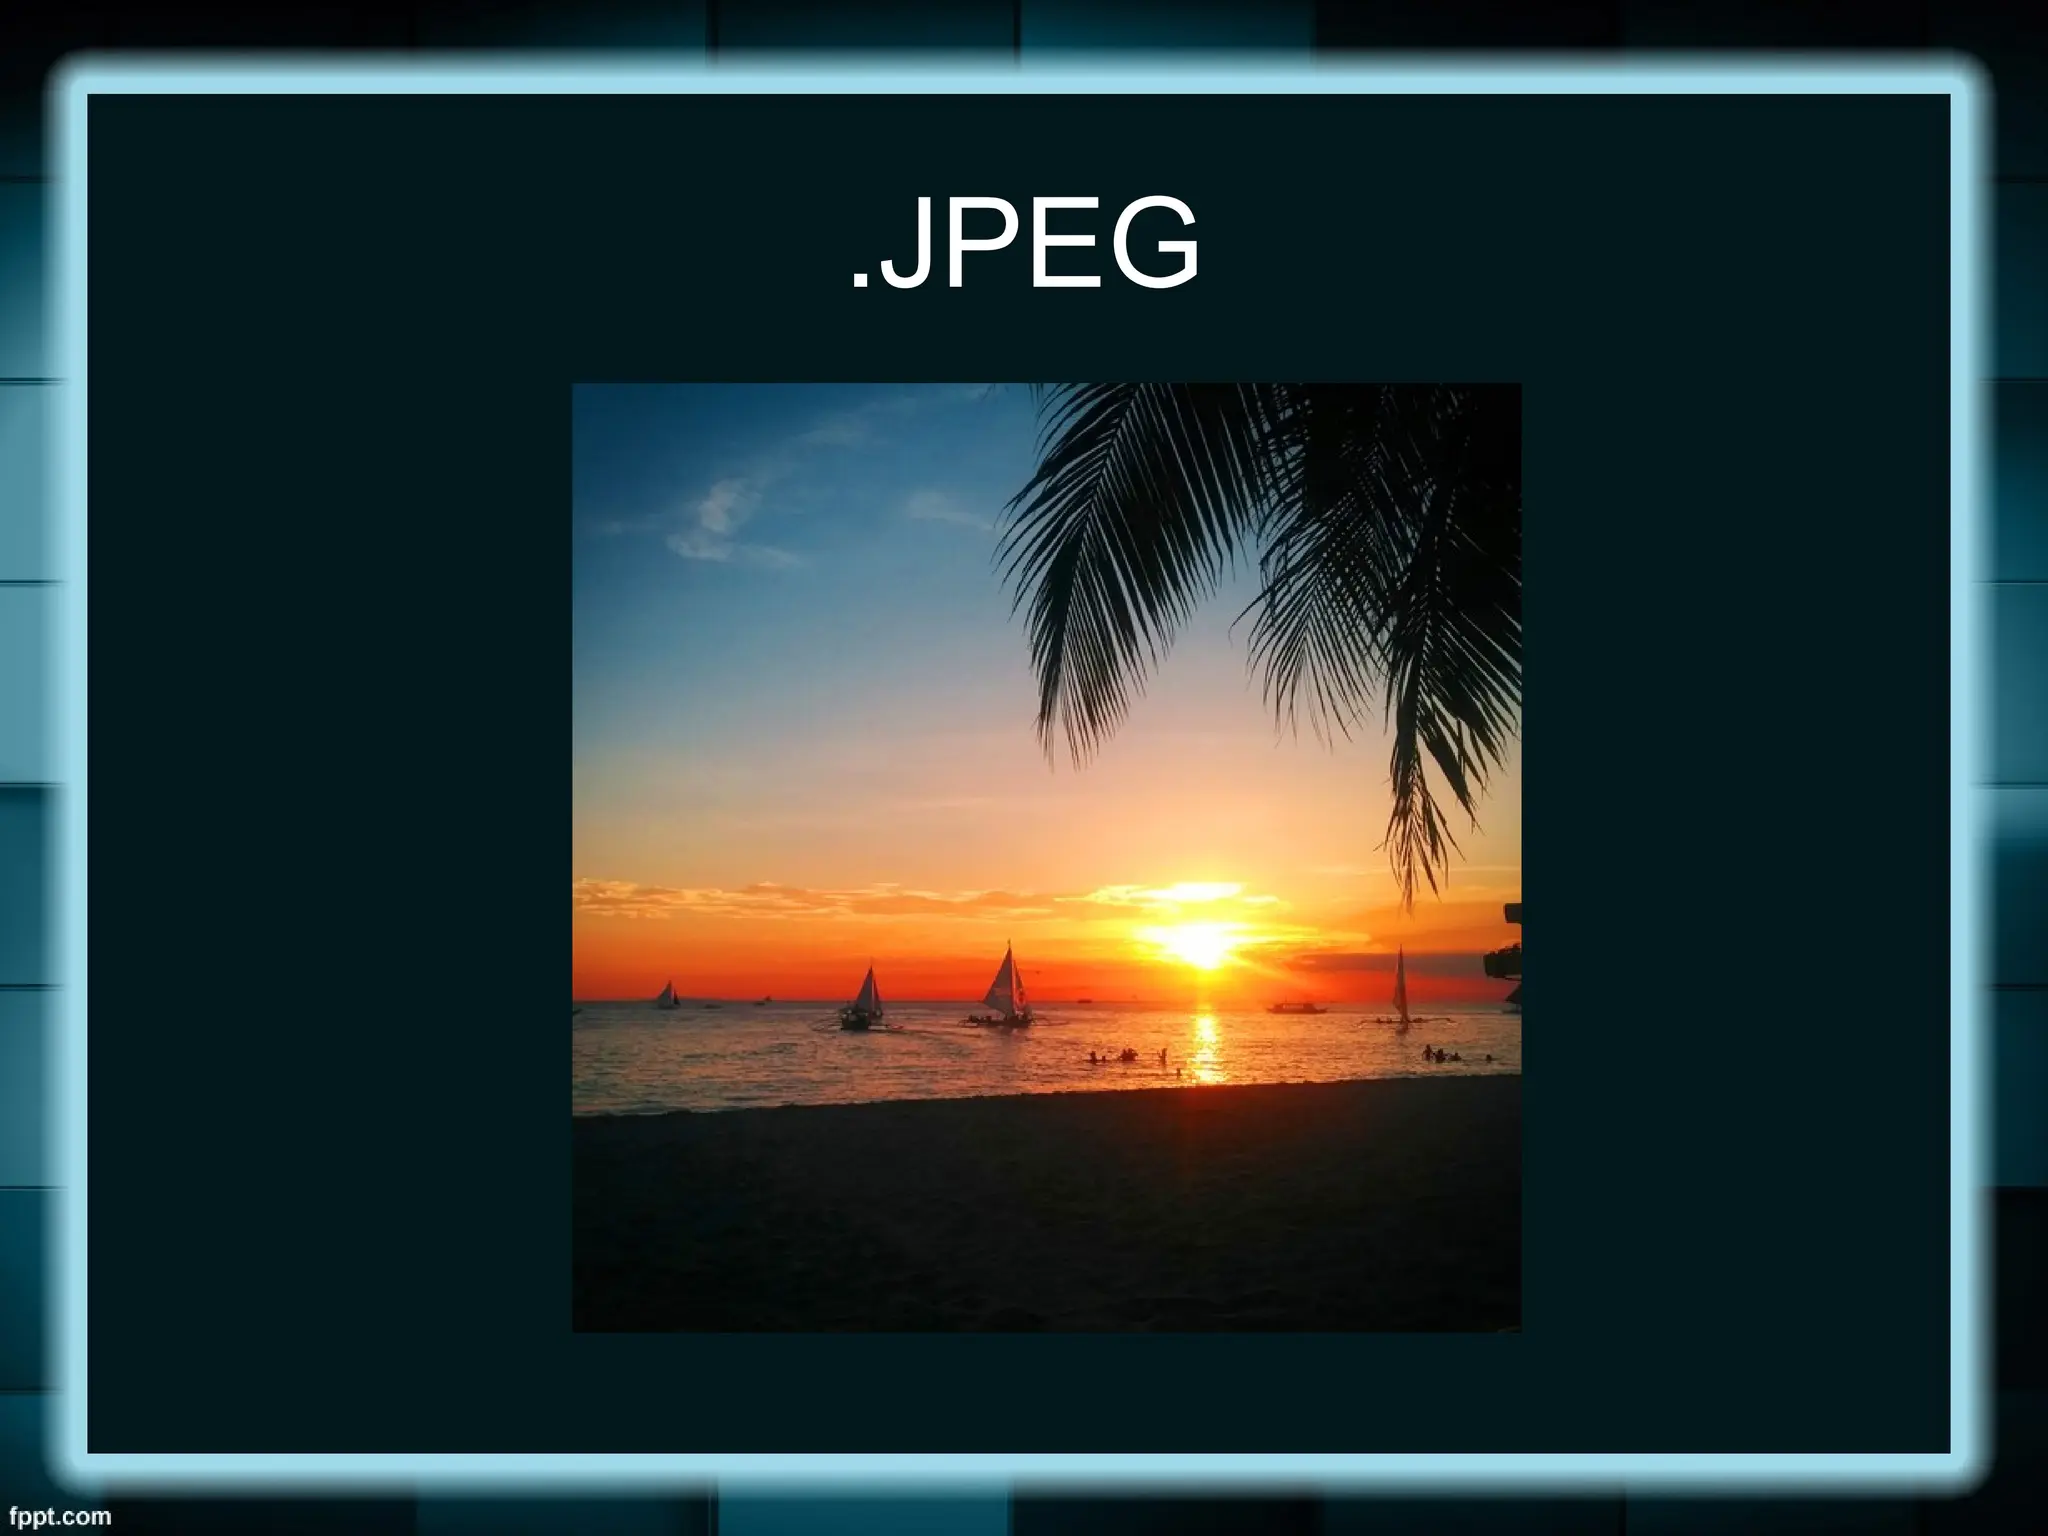
.JPG
- Joint PhotographicExperts Group
- can support 16.7 million colors
- does not support transparency
- best quality image
- does not work well on lettering, line
drawings, or simple graphics
- relatively small in file size
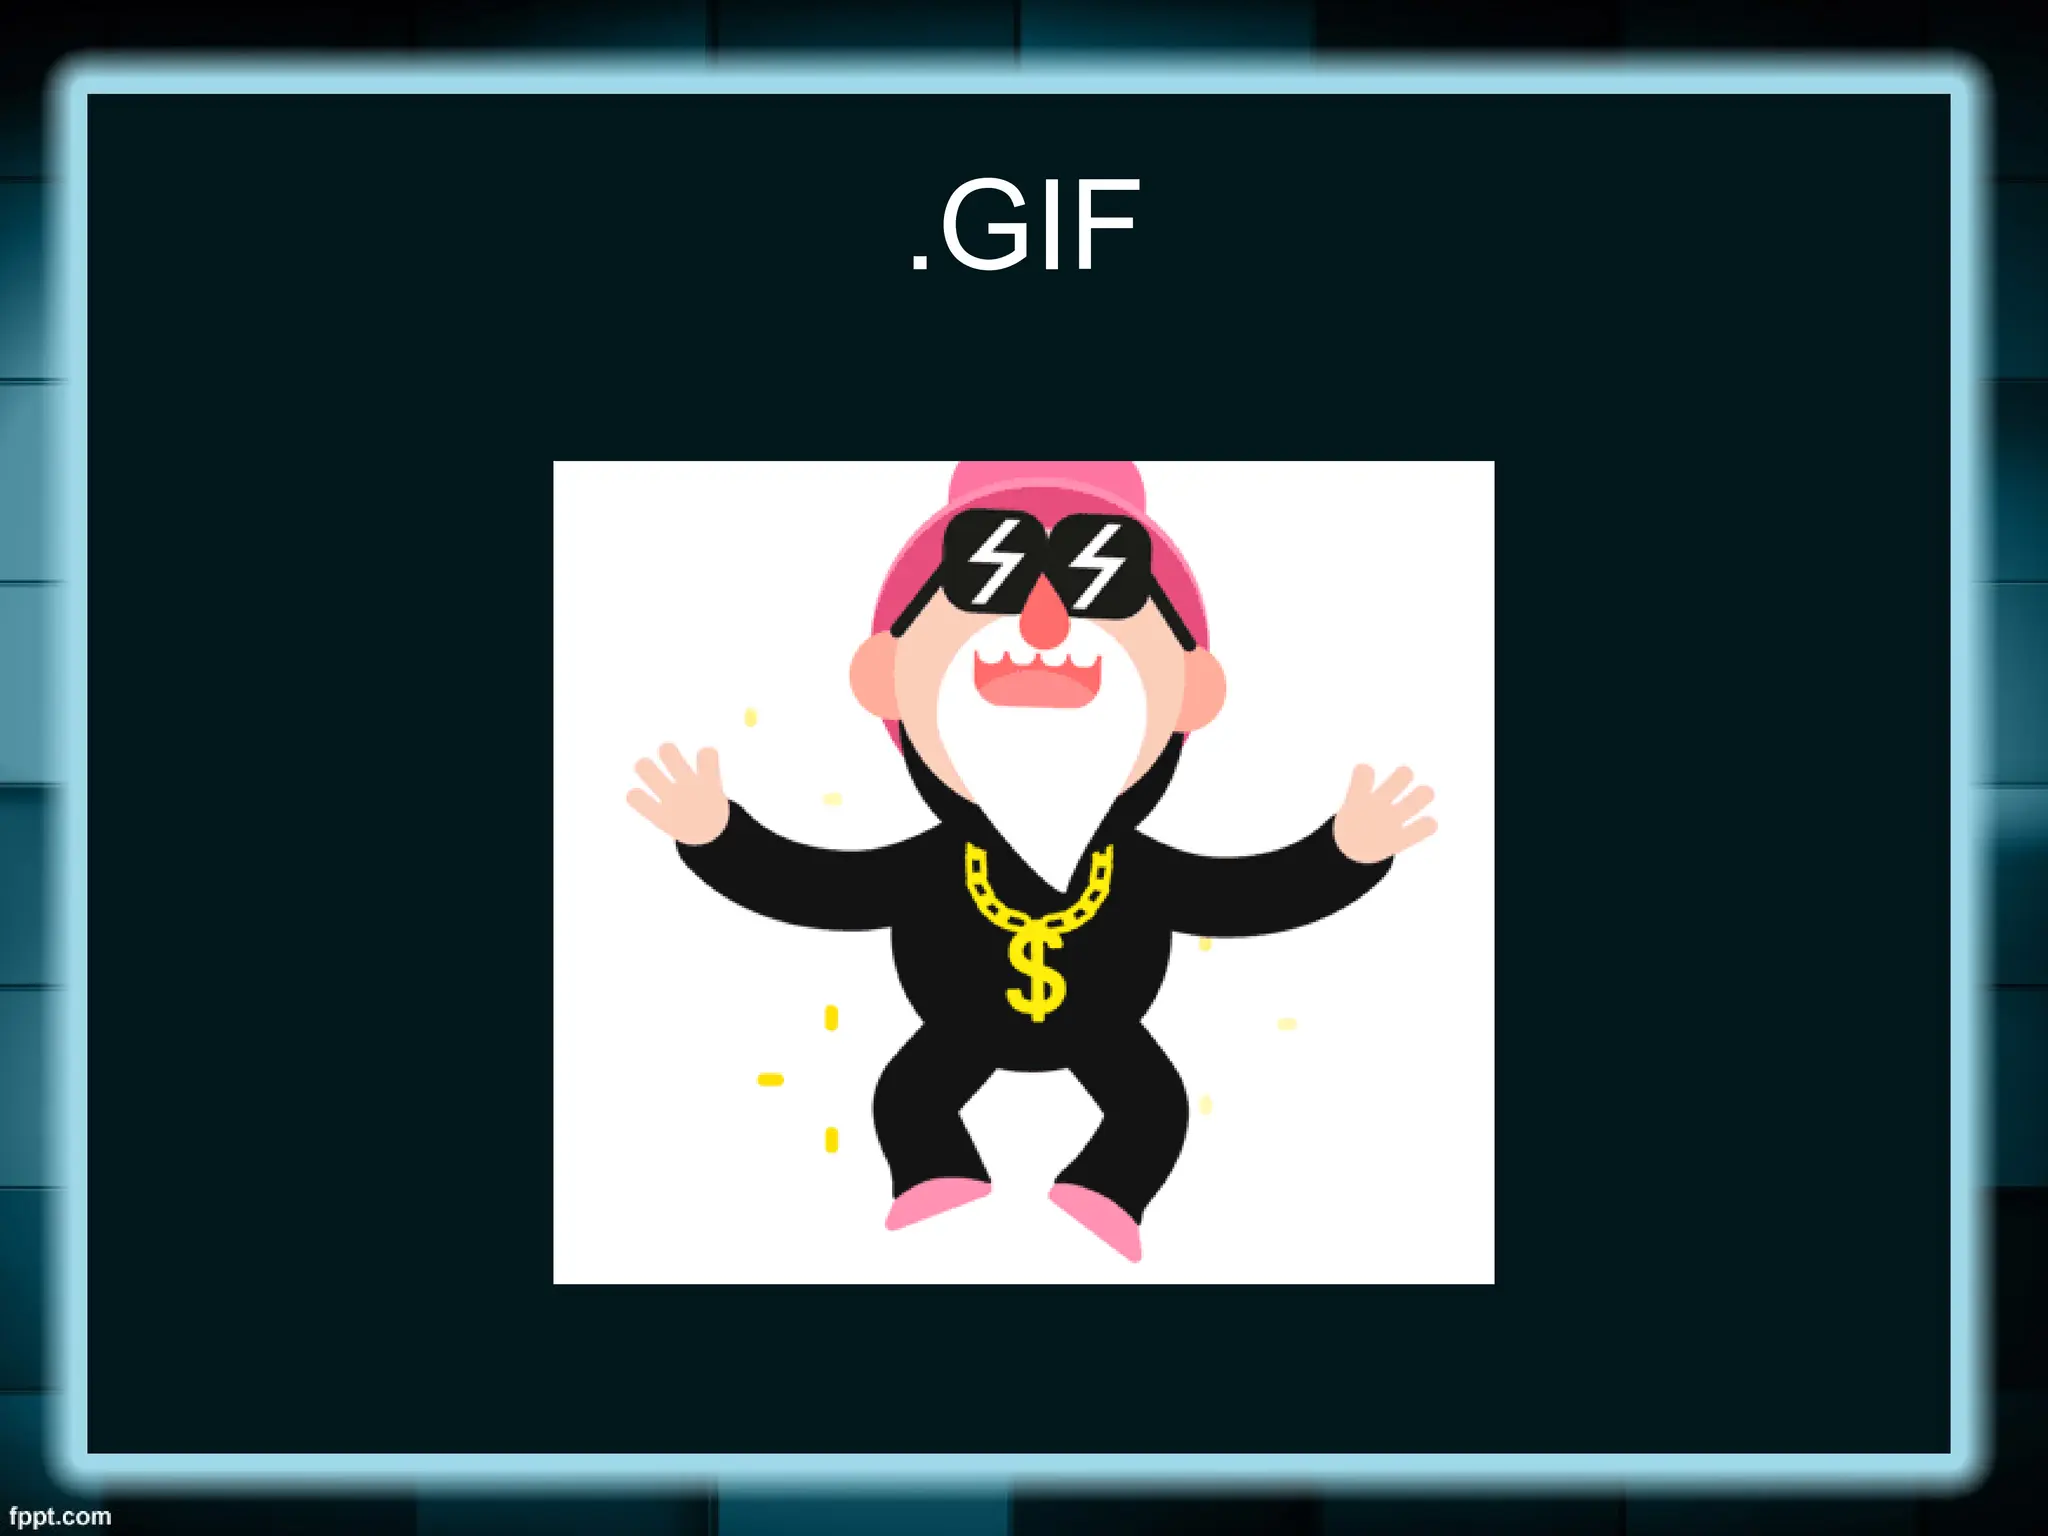
.GIF
- Graphics InterchangeFormat
- capable of displaying transparencies
- display simple animation
- can only support 256 colors
- mostly good on logos and art decor,
drawings, small text, black and white
images, or low-resolution files.
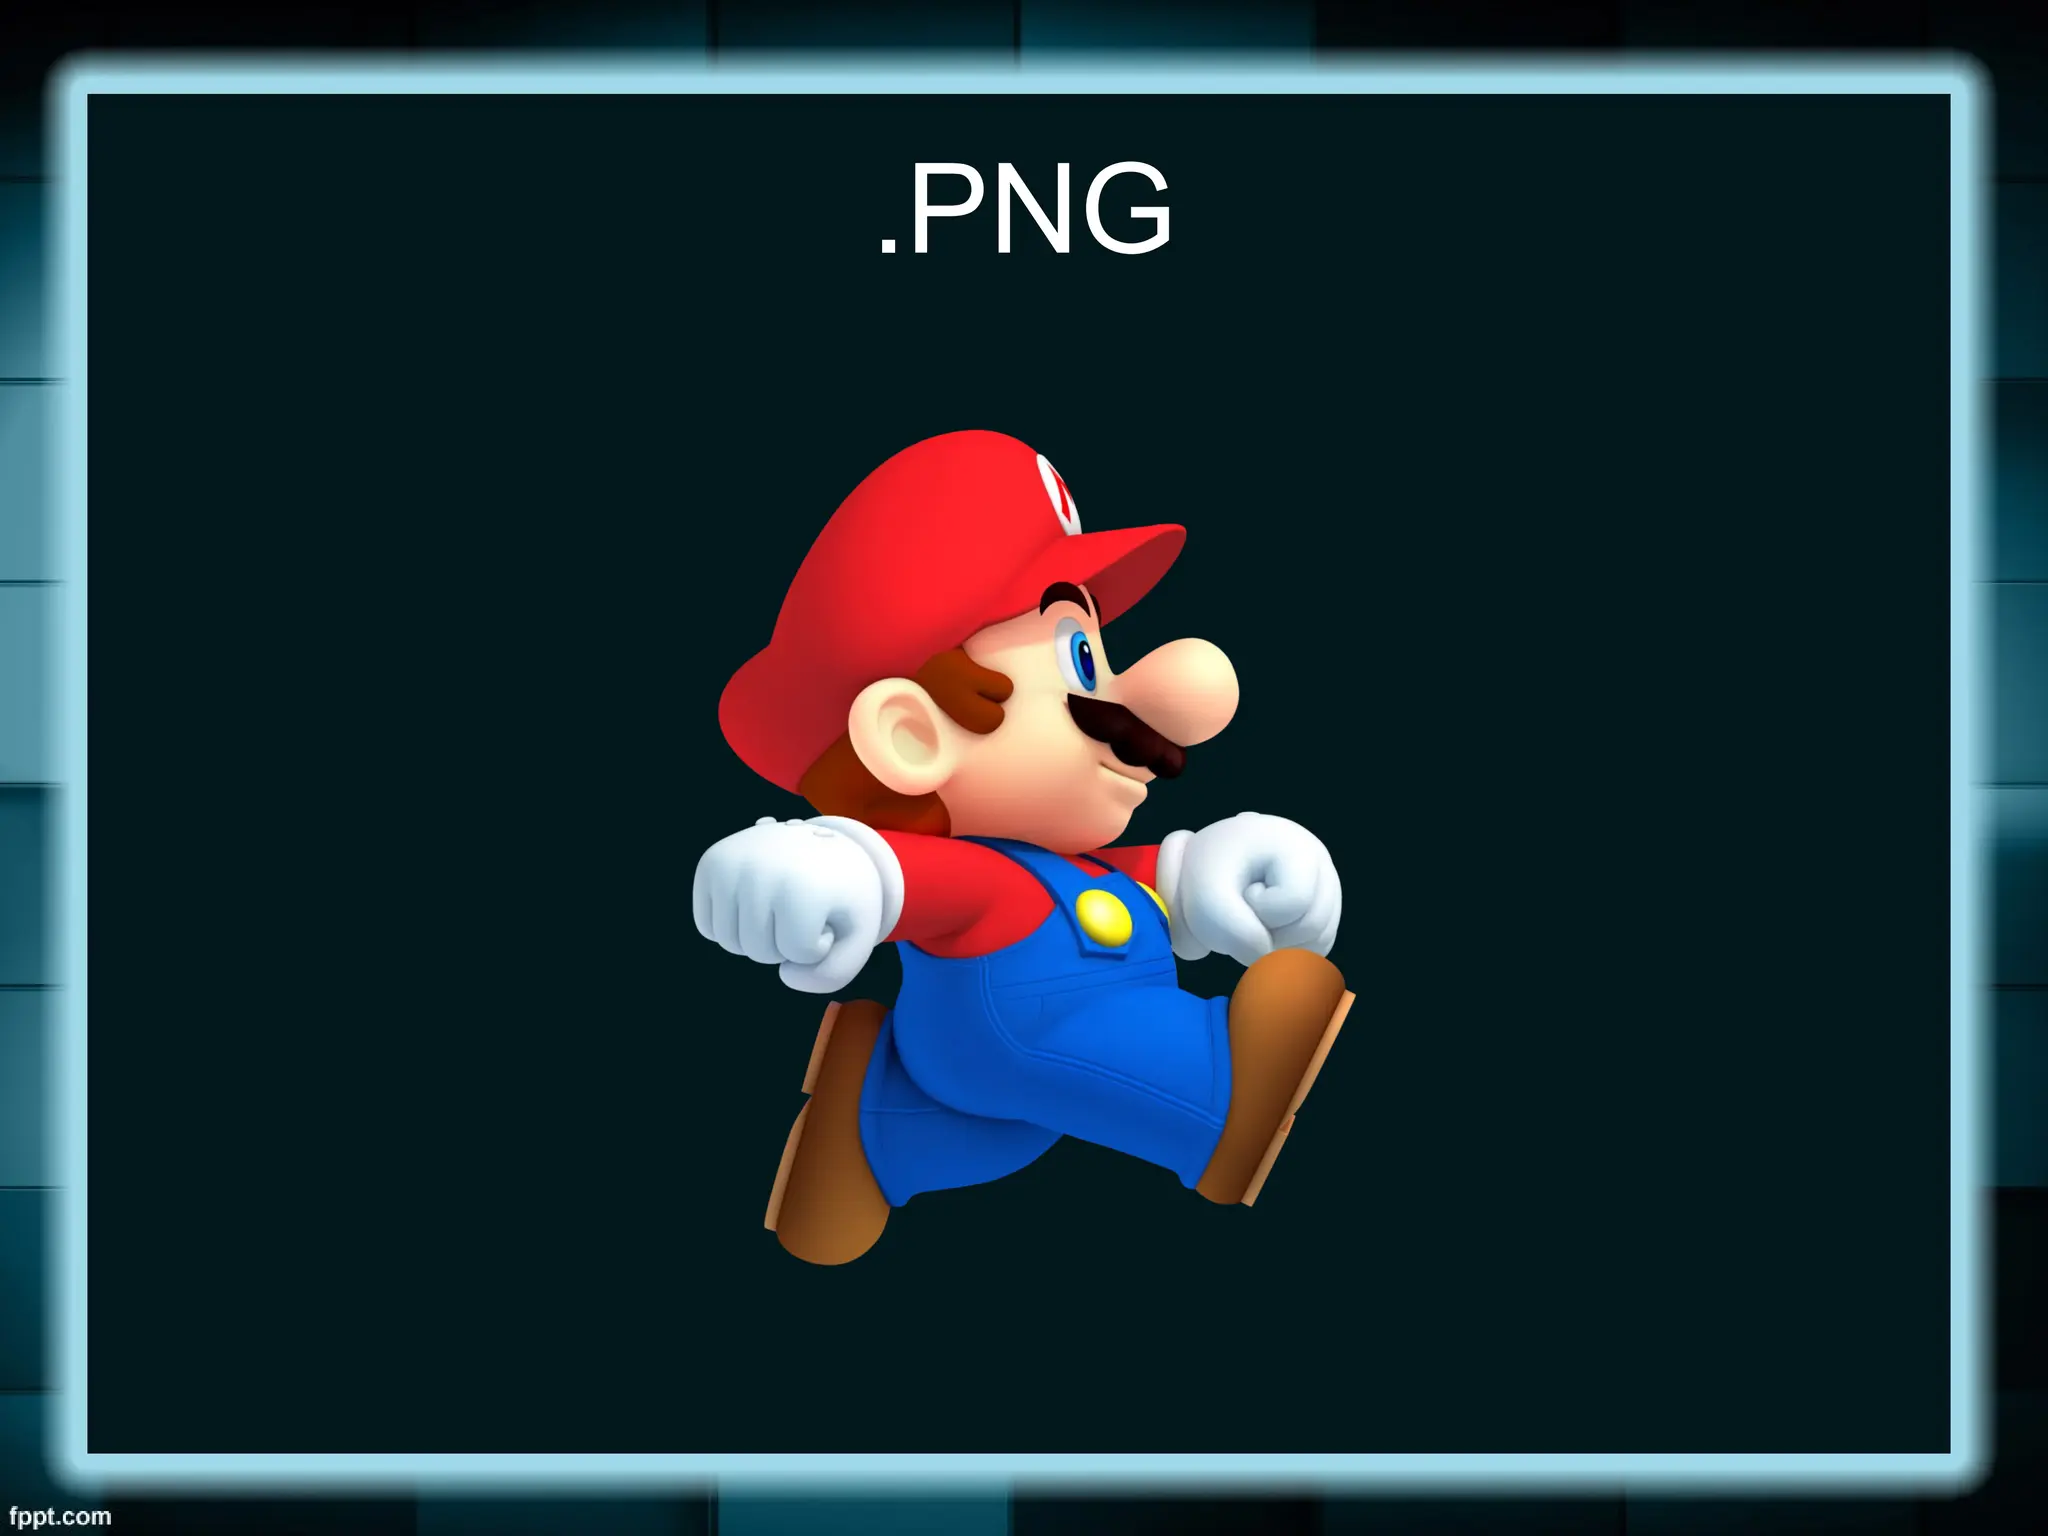
.PNG
- Portable NetworkGraphics
- was built around the capabilities of
.GIF
- does not support animation
- can display up to 16 million colors
- allows the control of the transparency
level or opacity of images
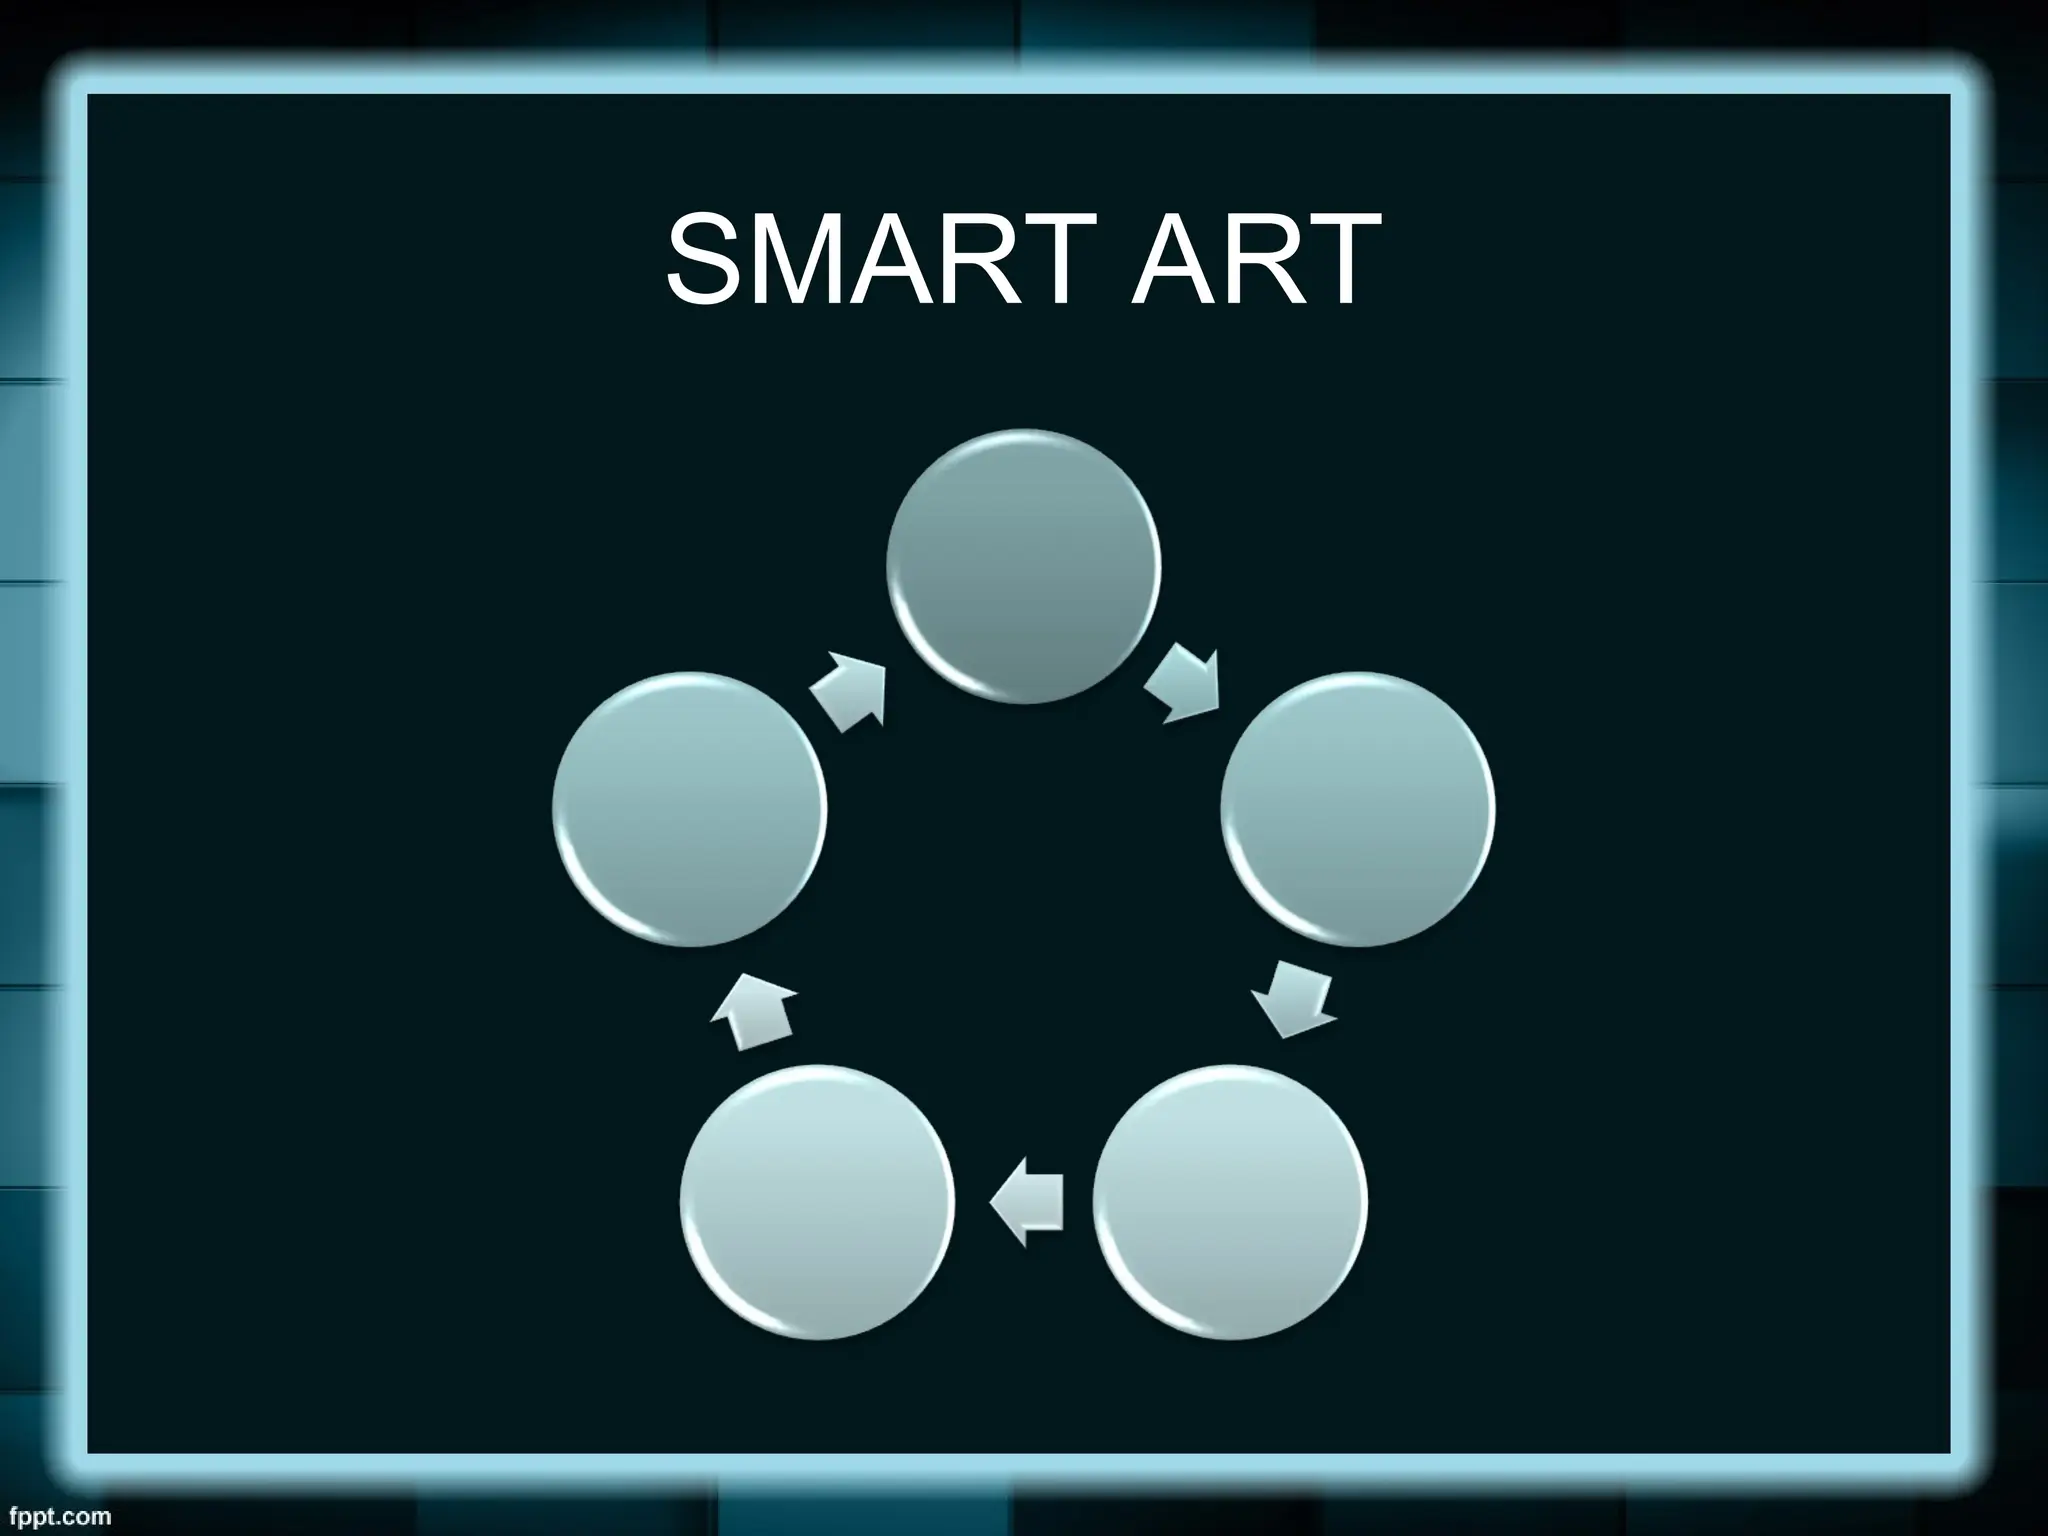
SMART ART
- predefinedsets of different shapes
grouped together to form ideas that
are organizational or structural in
nature
- represents organization, process,
relationships, or flow for infographic
documents
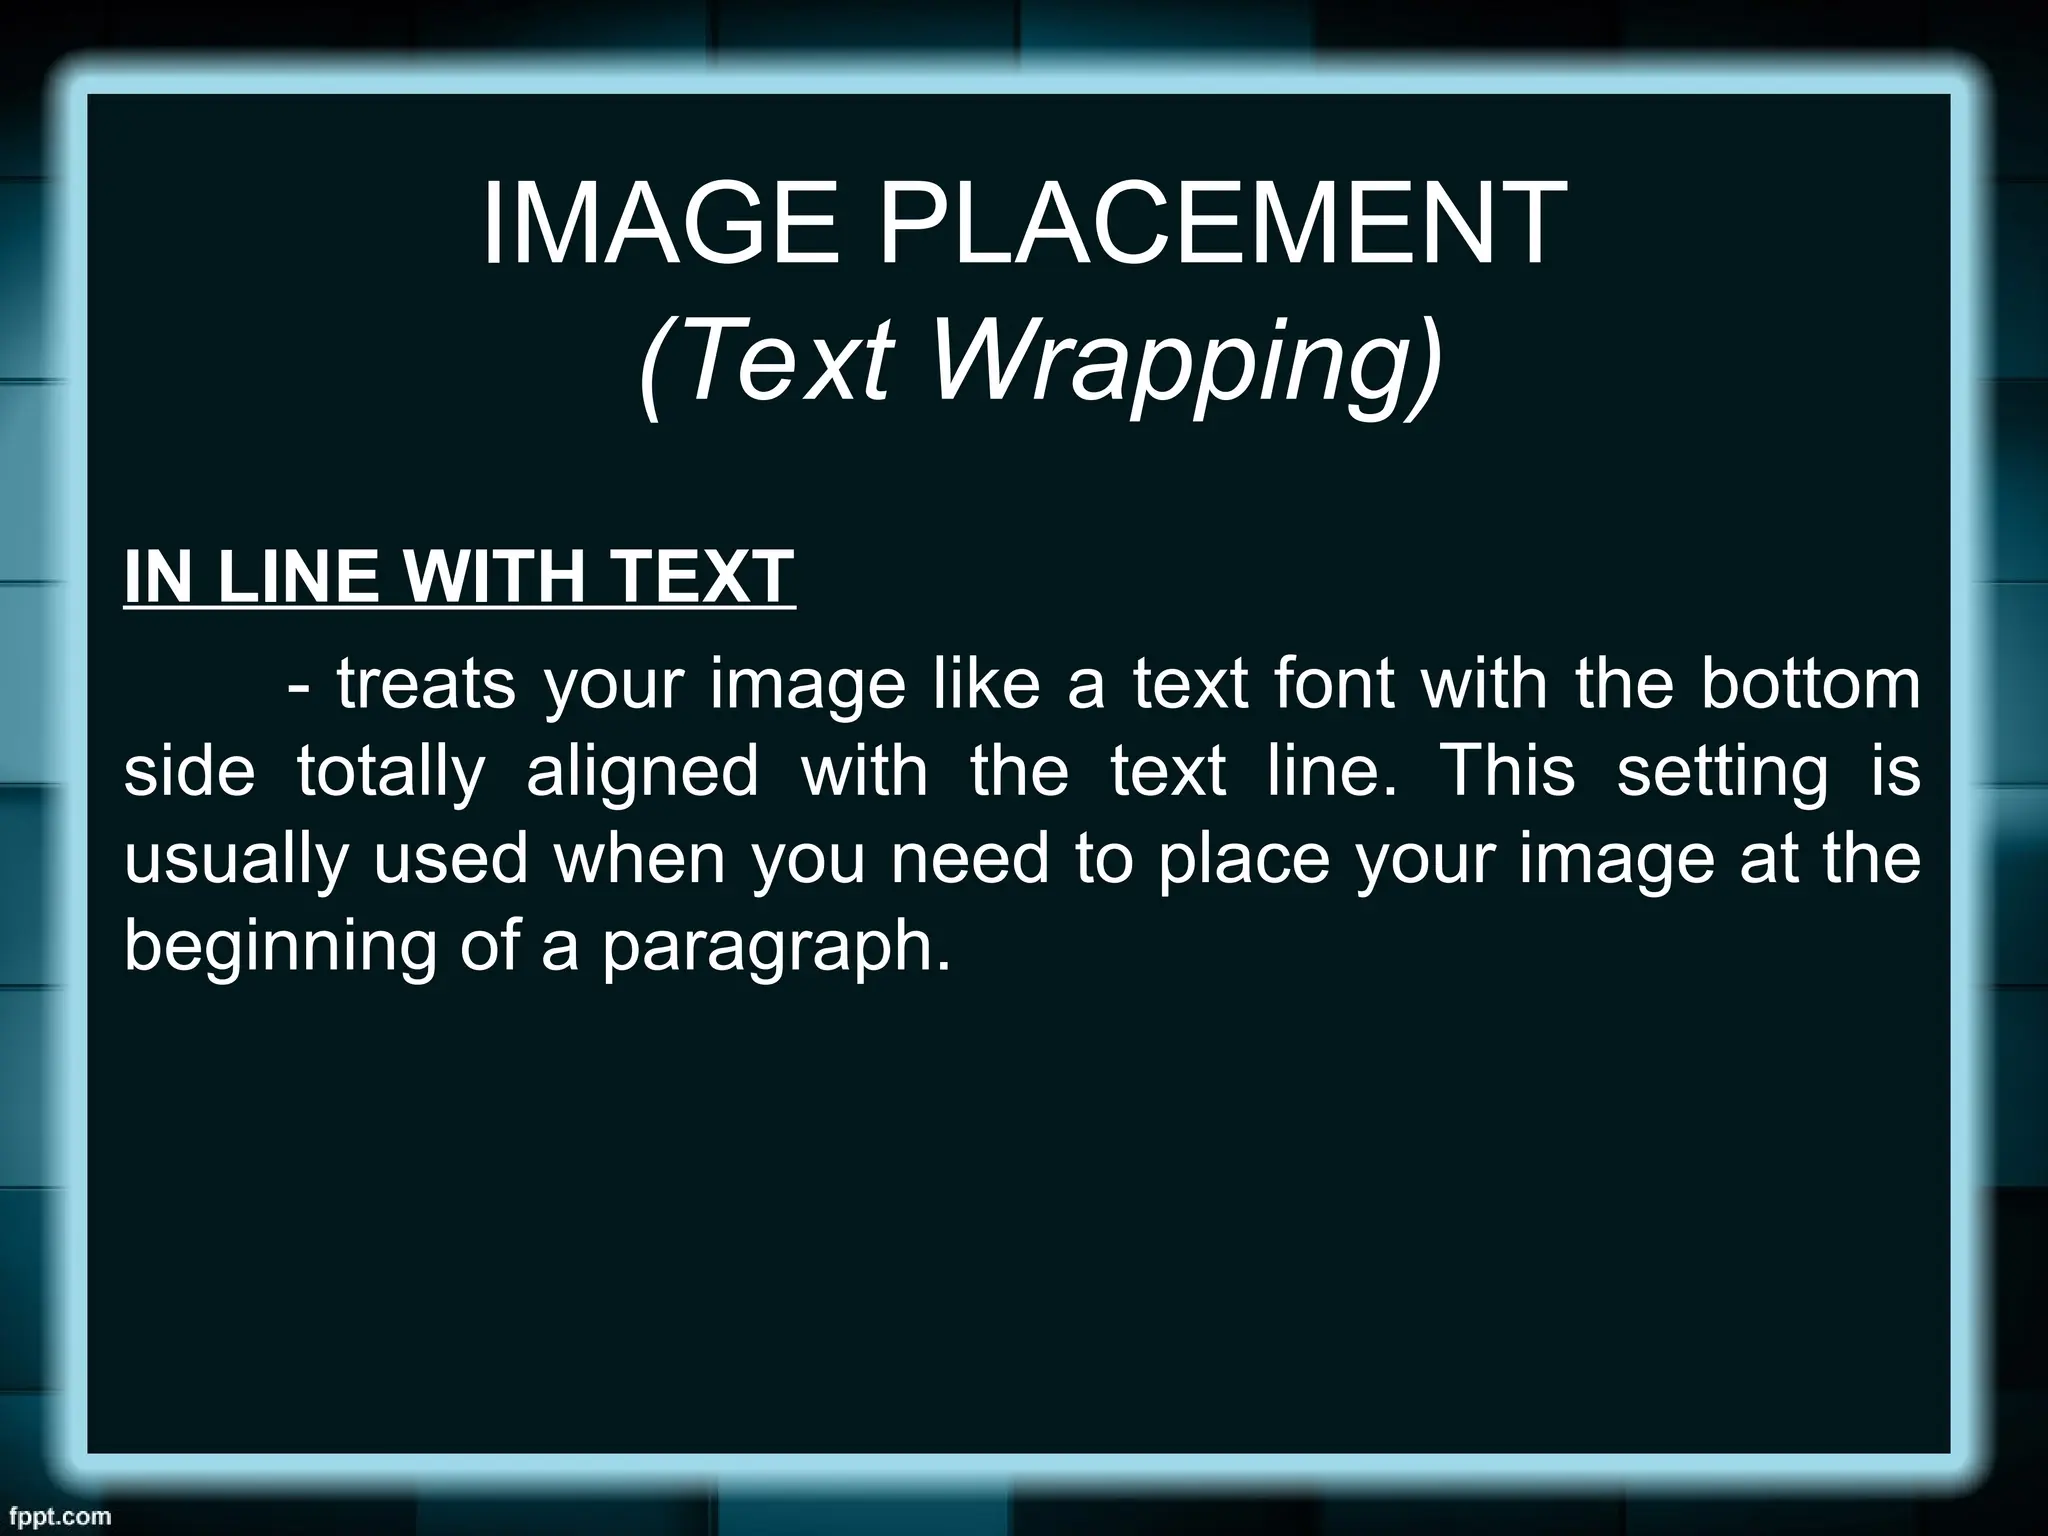
IMAGE PLACEMENT
(Text Wrapping)
INLINE WITH TEXT
- treats your image like a text font with the bottom
side totally aligned with the text line. This setting is
usually used when you need to place your image at the
beginning of a paragraph.
43.
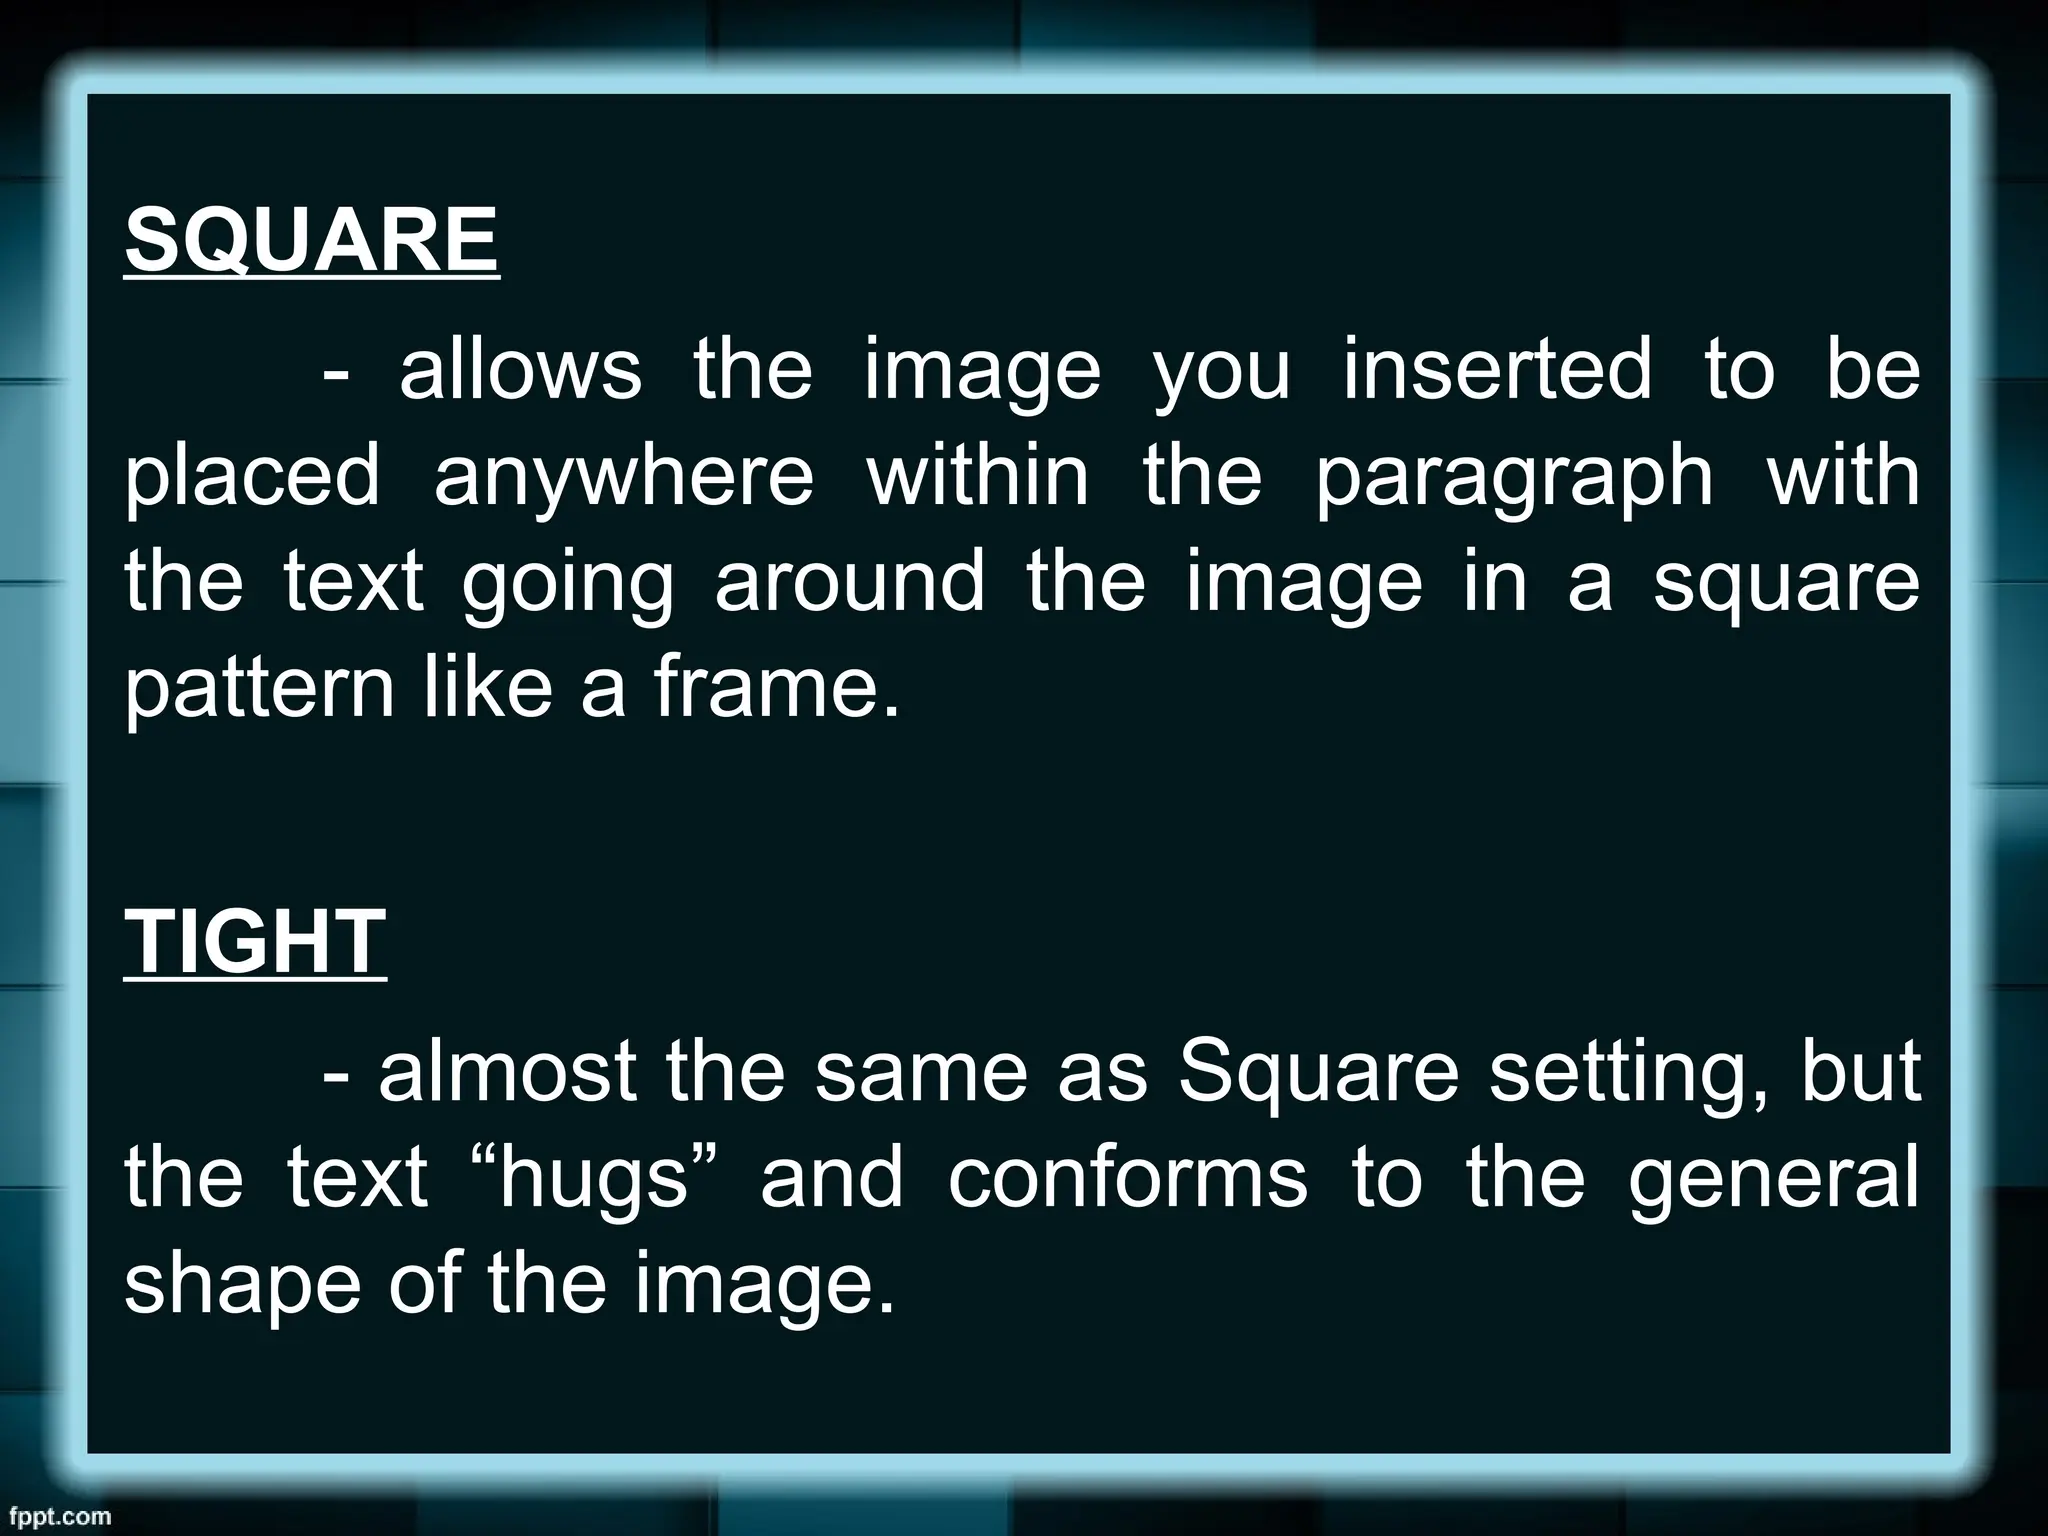
SQUARE
- allows theimage you inserted to be
placed anywhere within the paragraph with
the text going around the image in a square
pattern like a frame.
TIGHT
- almost the same as Square setting, but
the text “hugs” and conforms to the general
shape of the image.
44.
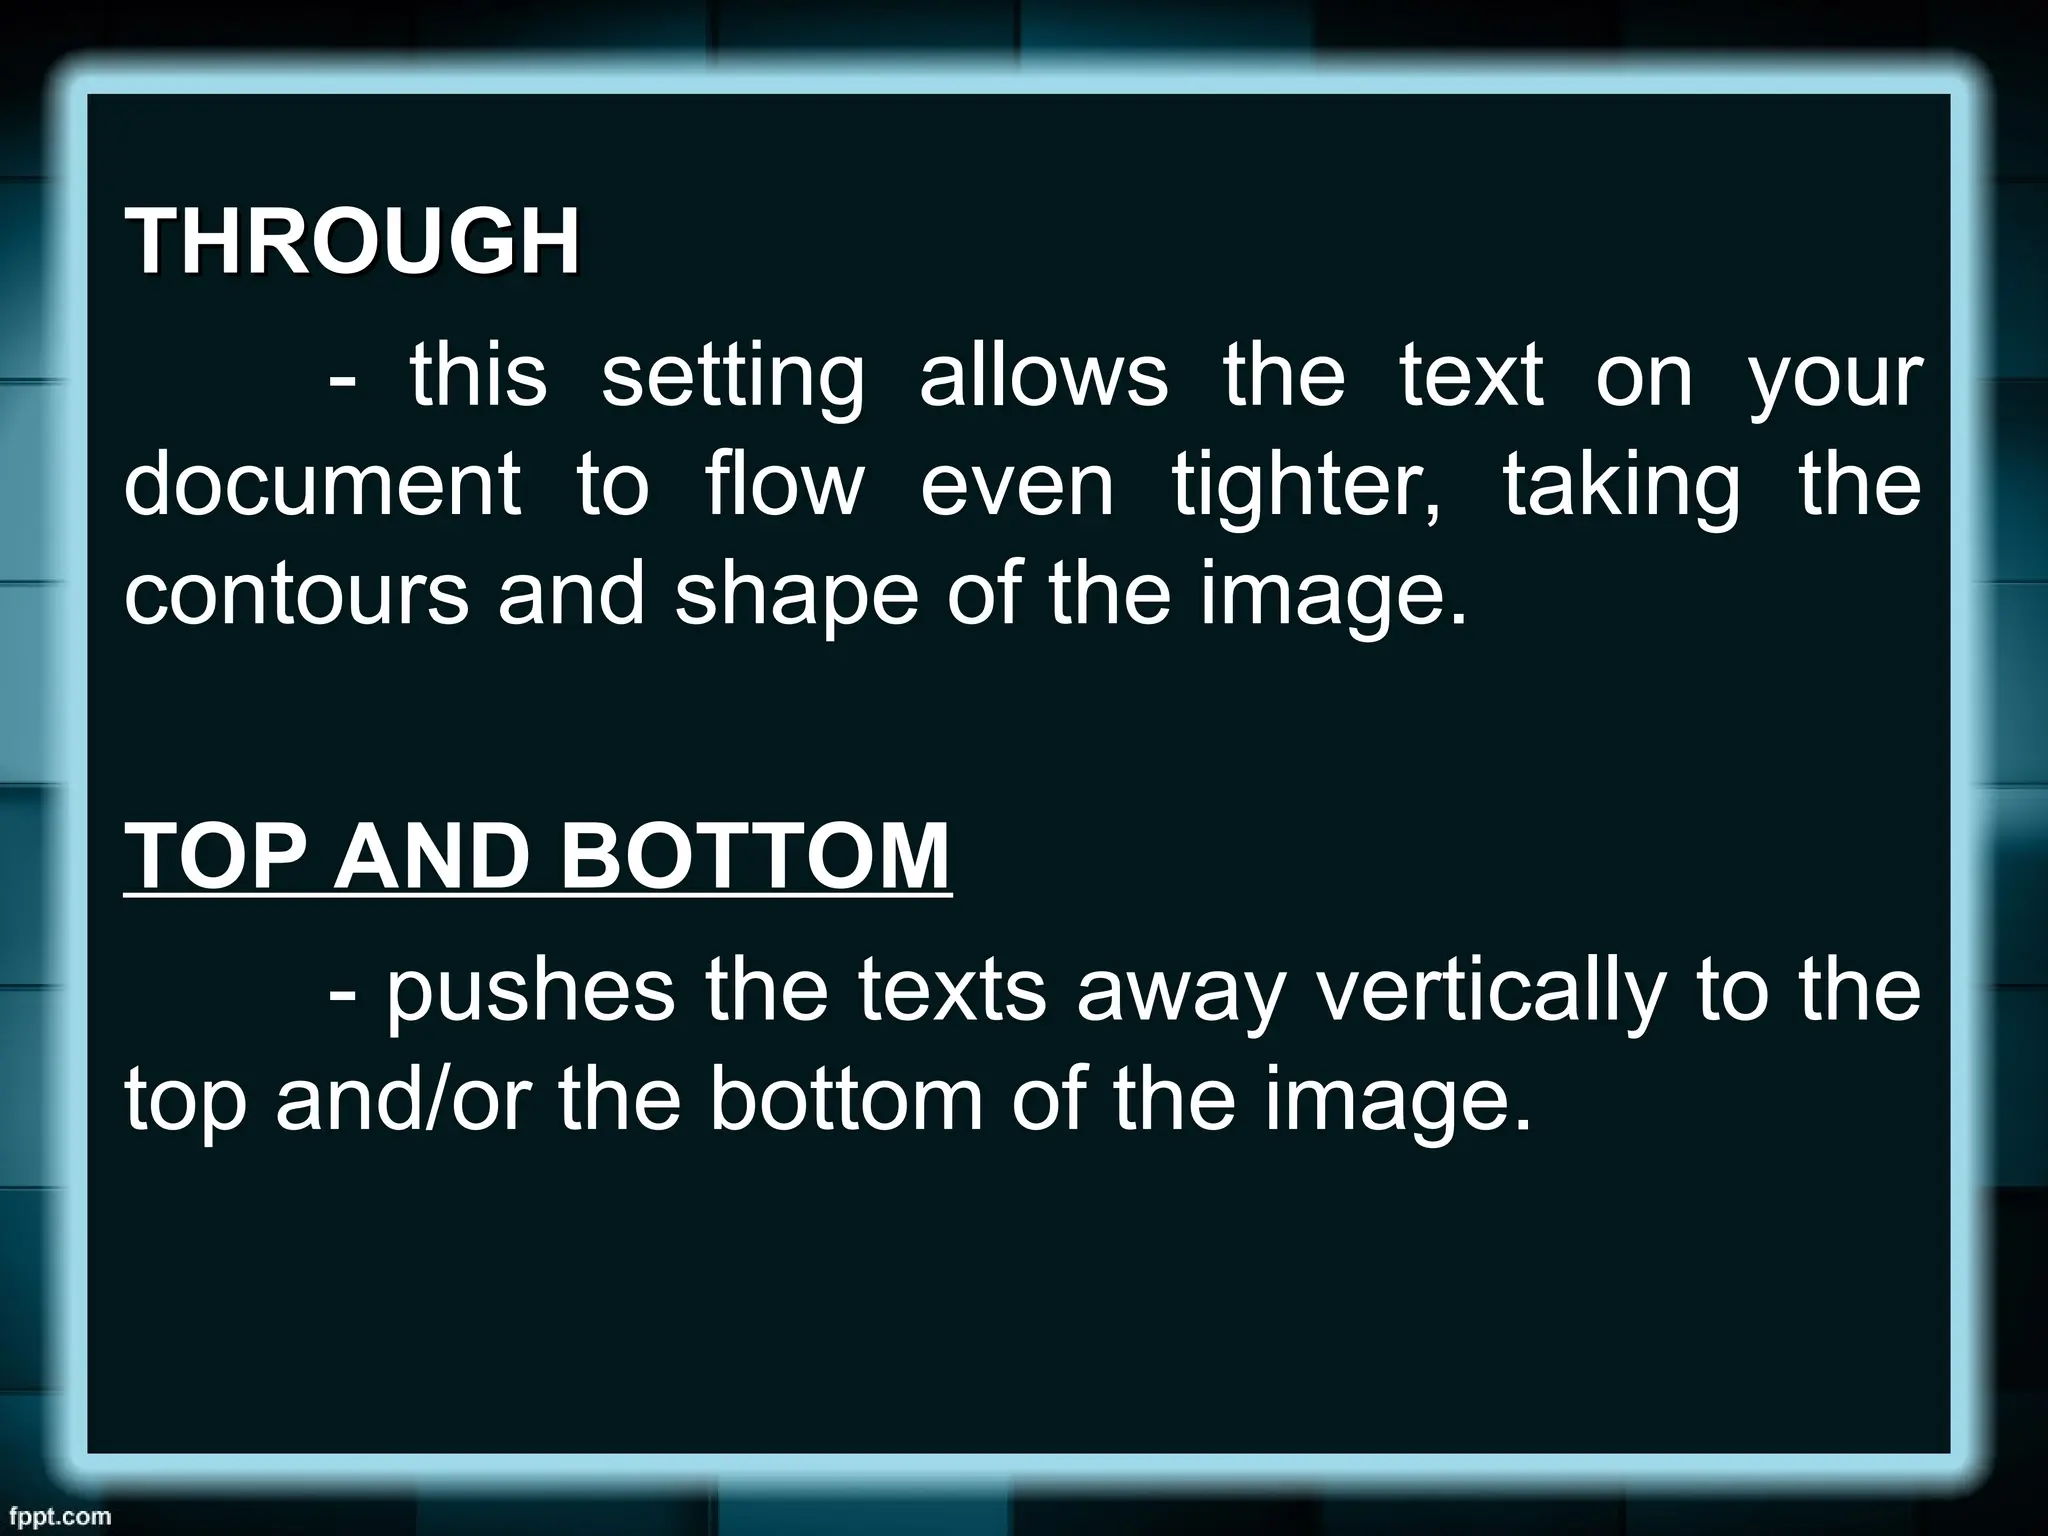
THROUGH
THROUGH
- this settingallows the text on your
document to flow even tighter, taking the
contours and shape of the image.
TOP AND BOTTOM
- pushes the texts away vertically to the
top and/or the bottom of the image.
45.
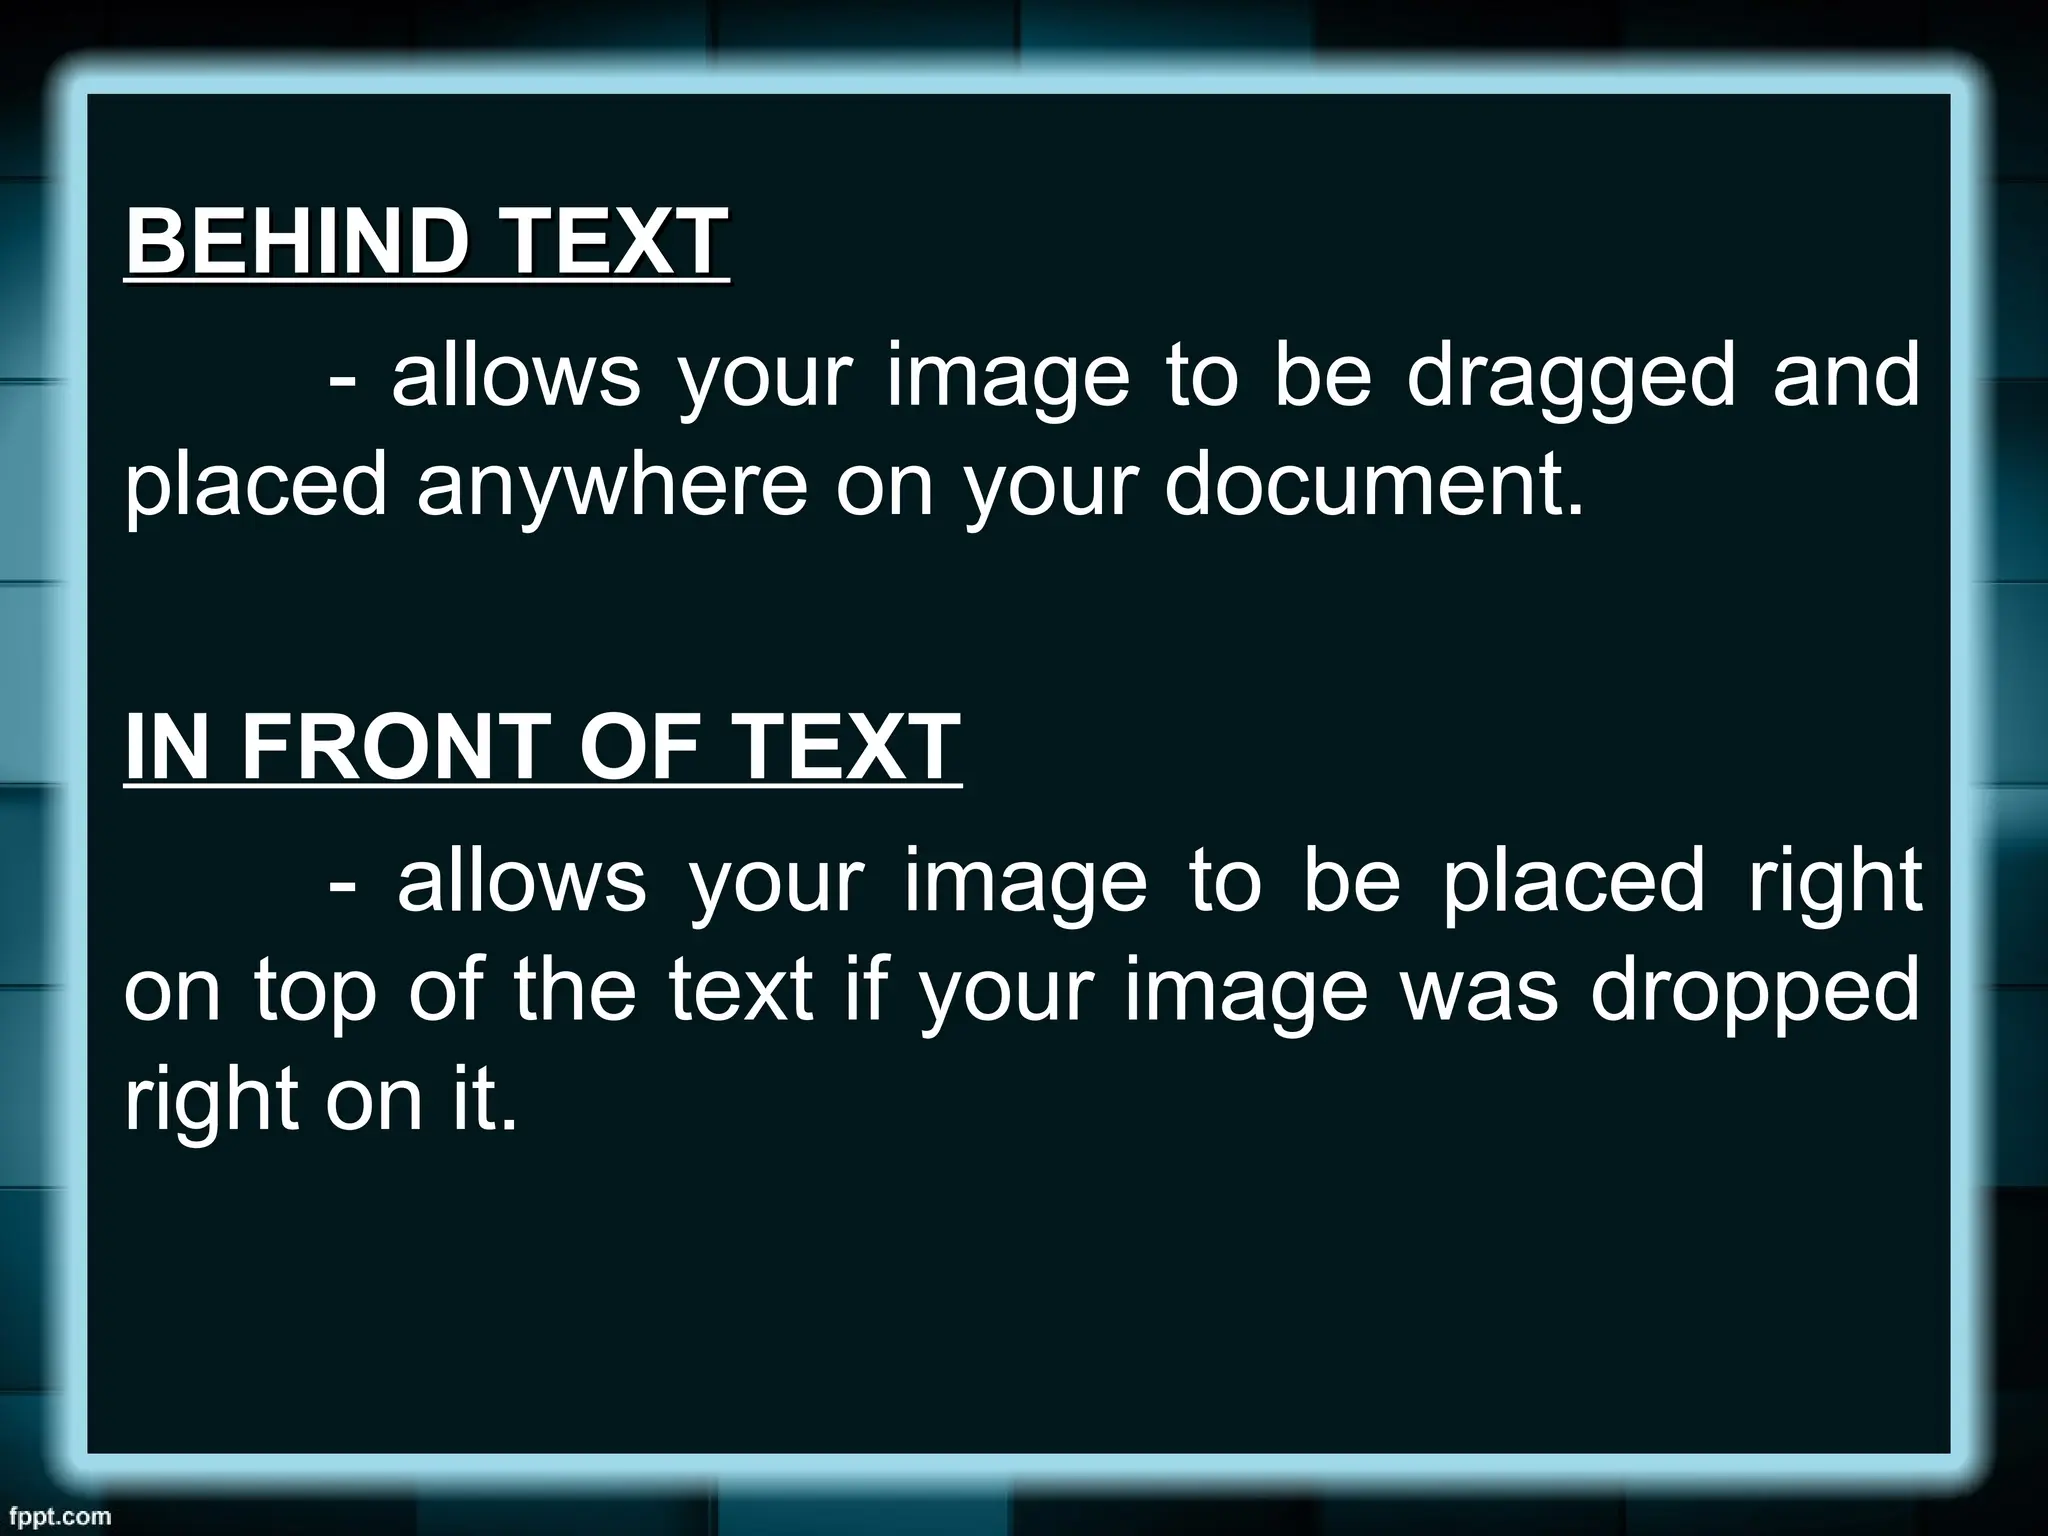
BEHIND TEXT
BEHIND TEXT
-allows your image to be dragged and
placed anywhere on your document.
IN FRONT OF TEXT
- allows your image to be placed right
on top of the text if your image was dropped
right on it.
Editor's Notes
#7 One of the important reasons in using computers per se is its ability to do recurring tasks automatically.
In this particular part of our lesson, we will learn one of the most powerful and commonly used features of MS Word called “Mail Merge”
#9 Mail Merging basically requires two components:
1. the document that contains the message, and
2. the document or file that generally contains the list of names and addresses.
#10 In its simplest form, a form document is literally a “form” that you fill out with individual information.
#11 One of the best things about the mail merge feature is that it allows data file to be created from within the Microsoft Word application itself, or it gets data from a file created in Microsoft Excel or other data formats.
#12 Same process as a standard mail merges, Microsoft Word will print individual addresses to a standard form that it has already pre-formatted.
Even in the generating labels, the two essential components of creating a merged document are present:
The form document
The data file
Only in this case you do not have to type or create the form document yourself because it was already created and pre-formatted in MS Word.


![[EMPOWERMENT TECHNOLOGIES] - ADVANCED WORD PROCESSING SKILLS](https://cdn.slidesharecdn.com/ss_thumbnails/lesson3-advancedwordprocessingskills2-211128024207-thumbnail.jpg?width=640&height=640&fit=bounds)