Download as PDF, PPTX


![Controlling the LED
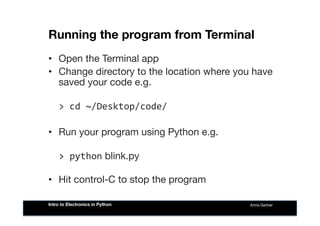
• Then we can control the LED via the pin it is
connected to (in this case, pin 13)
• Use a variable for the pin number to make it easier to
change later
– PIN
=
13
• Turn on LED on pin 13
– board.digital[PIN].write(1)
• Turn off LED on pin 13
– board.digital[PIN].write(0)
Anna Gerber
Intro to Electronics in Python](https://image.slidesharecdn.com/pyfirmataworkshop-140731202706-phpapp01/85/Intro-to-Electronics-in-Python-18-320.jpg)
![Delayed behaviour
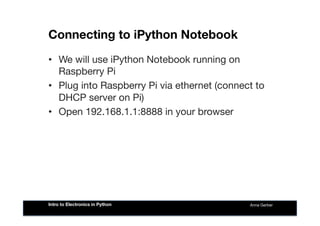
• Use the pass_time function to delay functions
by a certain number of seconds e.g. blink LED
on then off after one second:
board.digital[PIN].write(0)
board.pass_time(1)
board.digital[PIN].write(1)
Anna Gerber
Intro to Electronics in Python](https://image.slidesharecdn.com/pyfirmataworkshop-140731202706-phpapp01/85/Intro-to-Electronics-in-Python-19-320.jpg)
![Repeating behaviour (loops)
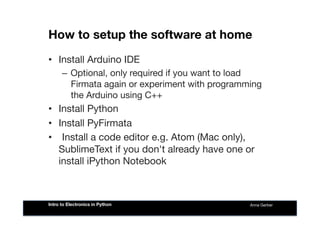
Use a while loop to blink indefinitely:
while
True
:
board.digital[PIN].write(0)
board.pass_time(1)
board.digital[PIN].write(1)
board.pass_time(1)
Anna Gerber
Intro to Electronics in Python](https://image.slidesharecdn.com/pyfirmataworkshop-140731202706-phpapp01/85/Intro-to-Electronics-in-Python-20-320.jpg)
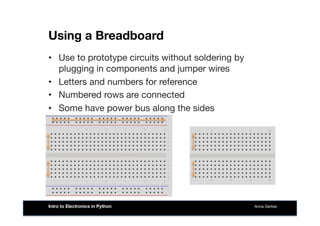
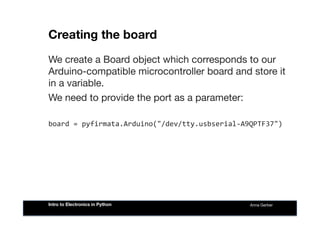
![The entire blink program
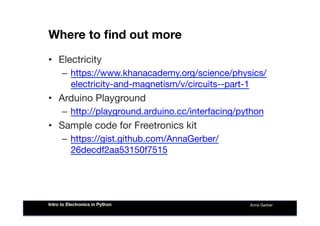
import
pyfirmata
PORT
=
"/dev/tty.usbserial-‐A9QPTF37"
PIN
=
13
board
=
pyfirmata.Arduino(PORT)
while
True:
board.digital[PIN].write(0)
board.pass_time(1)
board.digital[PIN].write(1)
board.pass_time(1)
Anna Gerber
Intro to Electronics in Python](https://image.slidesharecdn.com/pyfirmataworkshop-140731202706-phpapp01/85/Intro-to-Electronics-in-Python-21-320.jpg)

1. The document introduces electronics and programming concepts for using sensors and actuators with a microcontroller like Arduino. 2. It explains basic electrical concepts like current, voltage, resistance and Ohm's law. 3. It provides examples of connecting an LED to an Arduino board and writing a Python program to blink the LED using the PyFirmata library.