Download to read offline


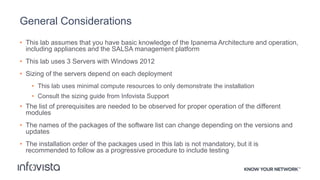
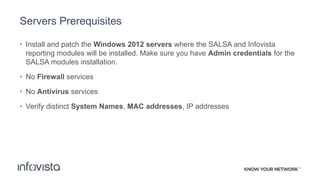

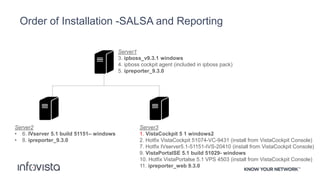

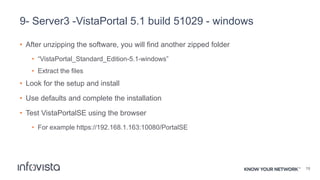
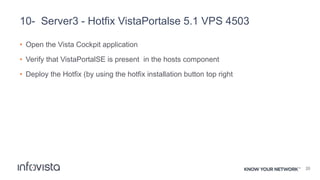
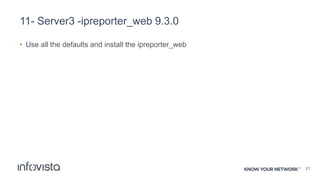
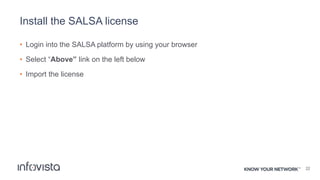


This document provides a detailed guide for installing Salsa and Infovista reporting on three Windows 2012 servers, outlining prerequisites, software requirements, and the installation process. It specifies the order of package installations, server configurations, and licensing requirements necessary for successful setup. Users are advised to follow the installation steps closely and ensure proper server communication throughout the process.


![[old] Network Performance Monitoring for DevOps and IT](https://cdn.slidesharecdn.com/ss_thumbnails/site24x7-networkmonitoringwebinar7cdec16th-151229132512-thumbnail.jpg?width=640&height=640&fit=bounds)