Download to read offline

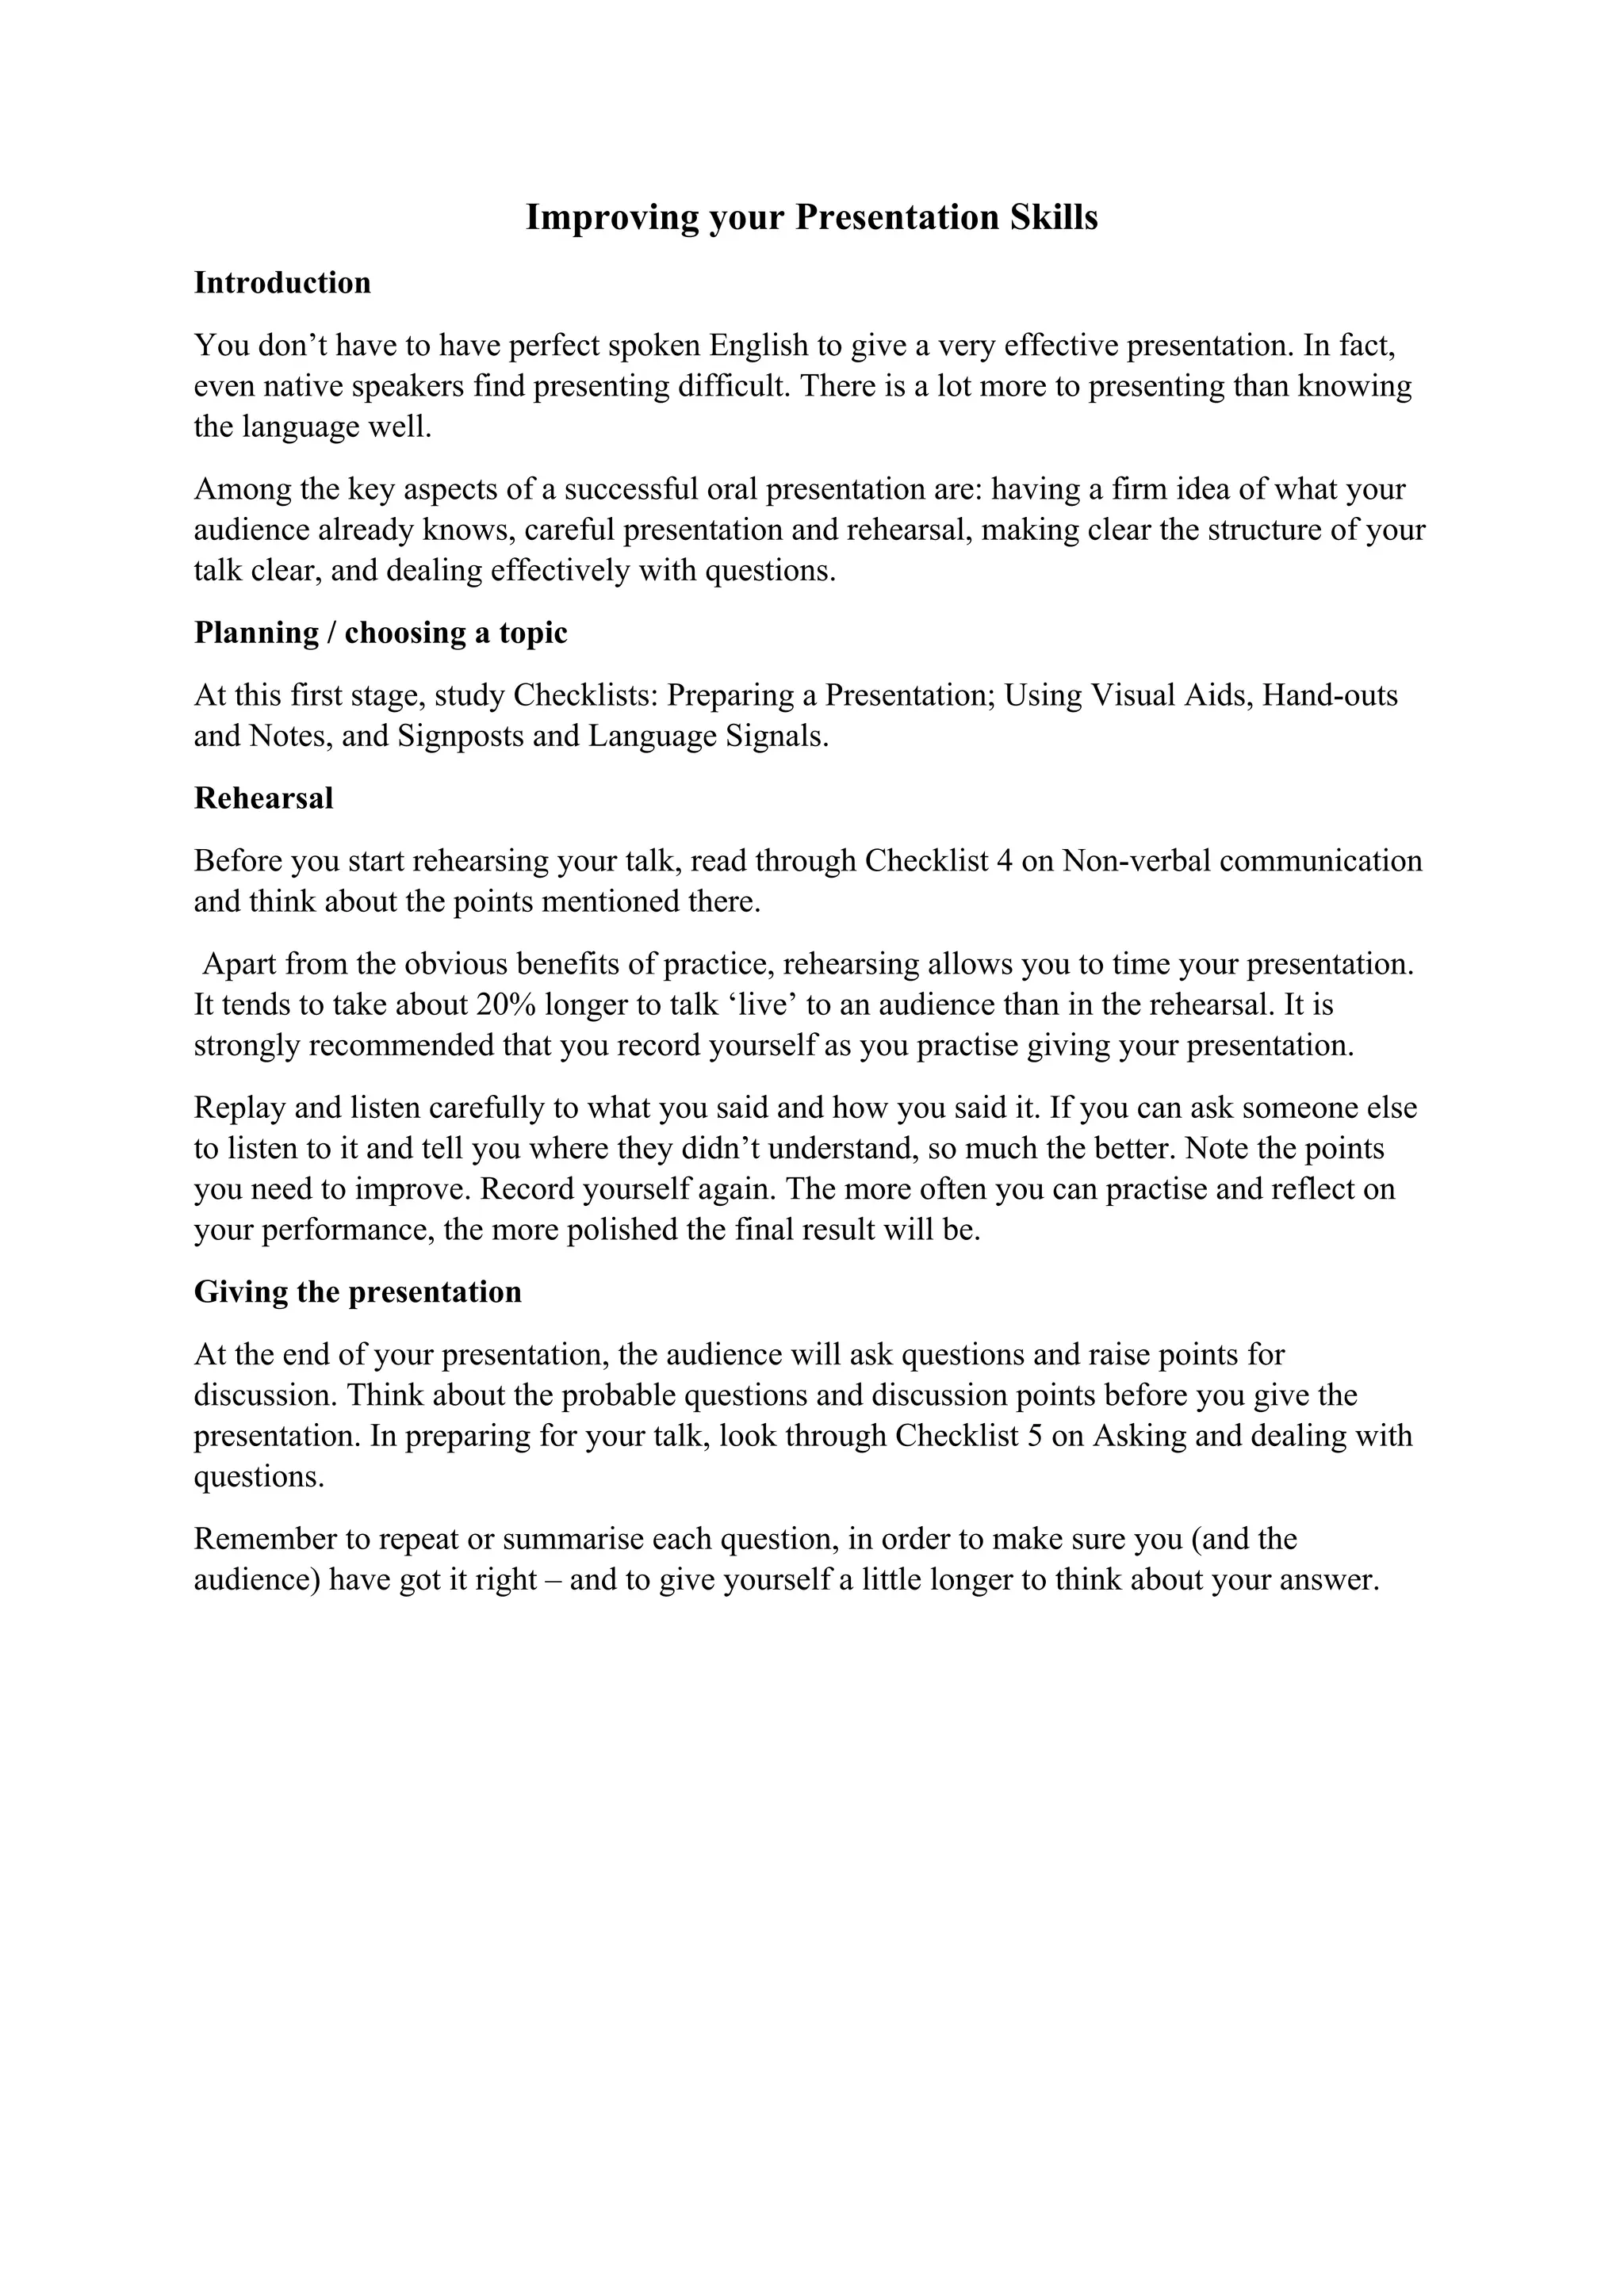
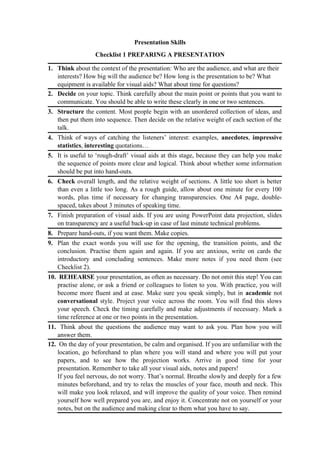
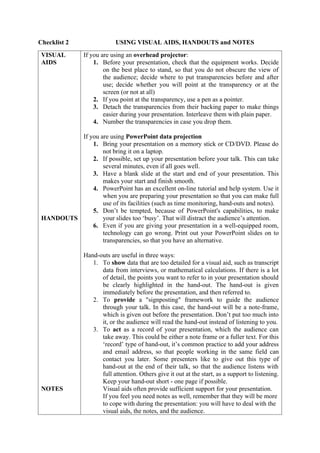

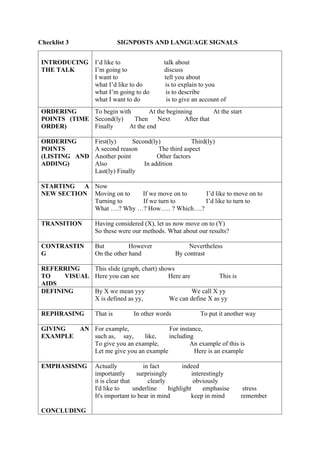

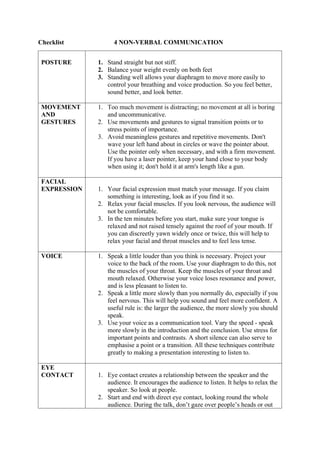
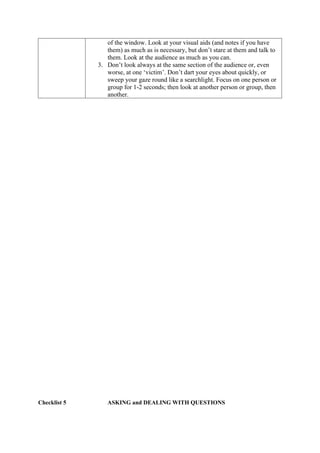
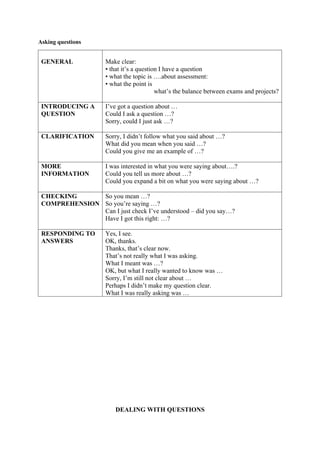
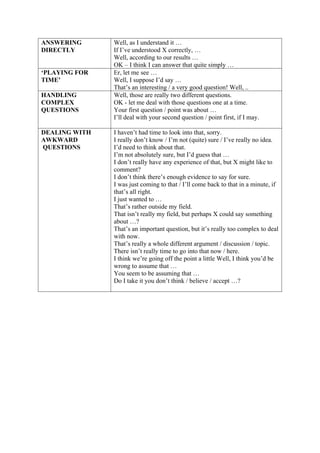

The document provides an extensive guide on improving presentation skills, emphasizing that effective presentations are not solely reliant on language proficiency but also on understanding the audience, rehearsal, organization, and handling questions. It includes checklists for preparation, use of visual aids, non-verbal communication, and dealing with audience queries to create a polished presentation. Practical tips on planning, structuring content, and improving delivery through practice are also outlined.


