Download to read offline
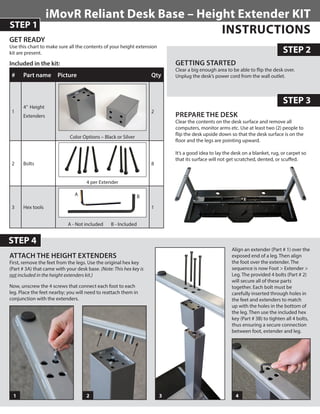
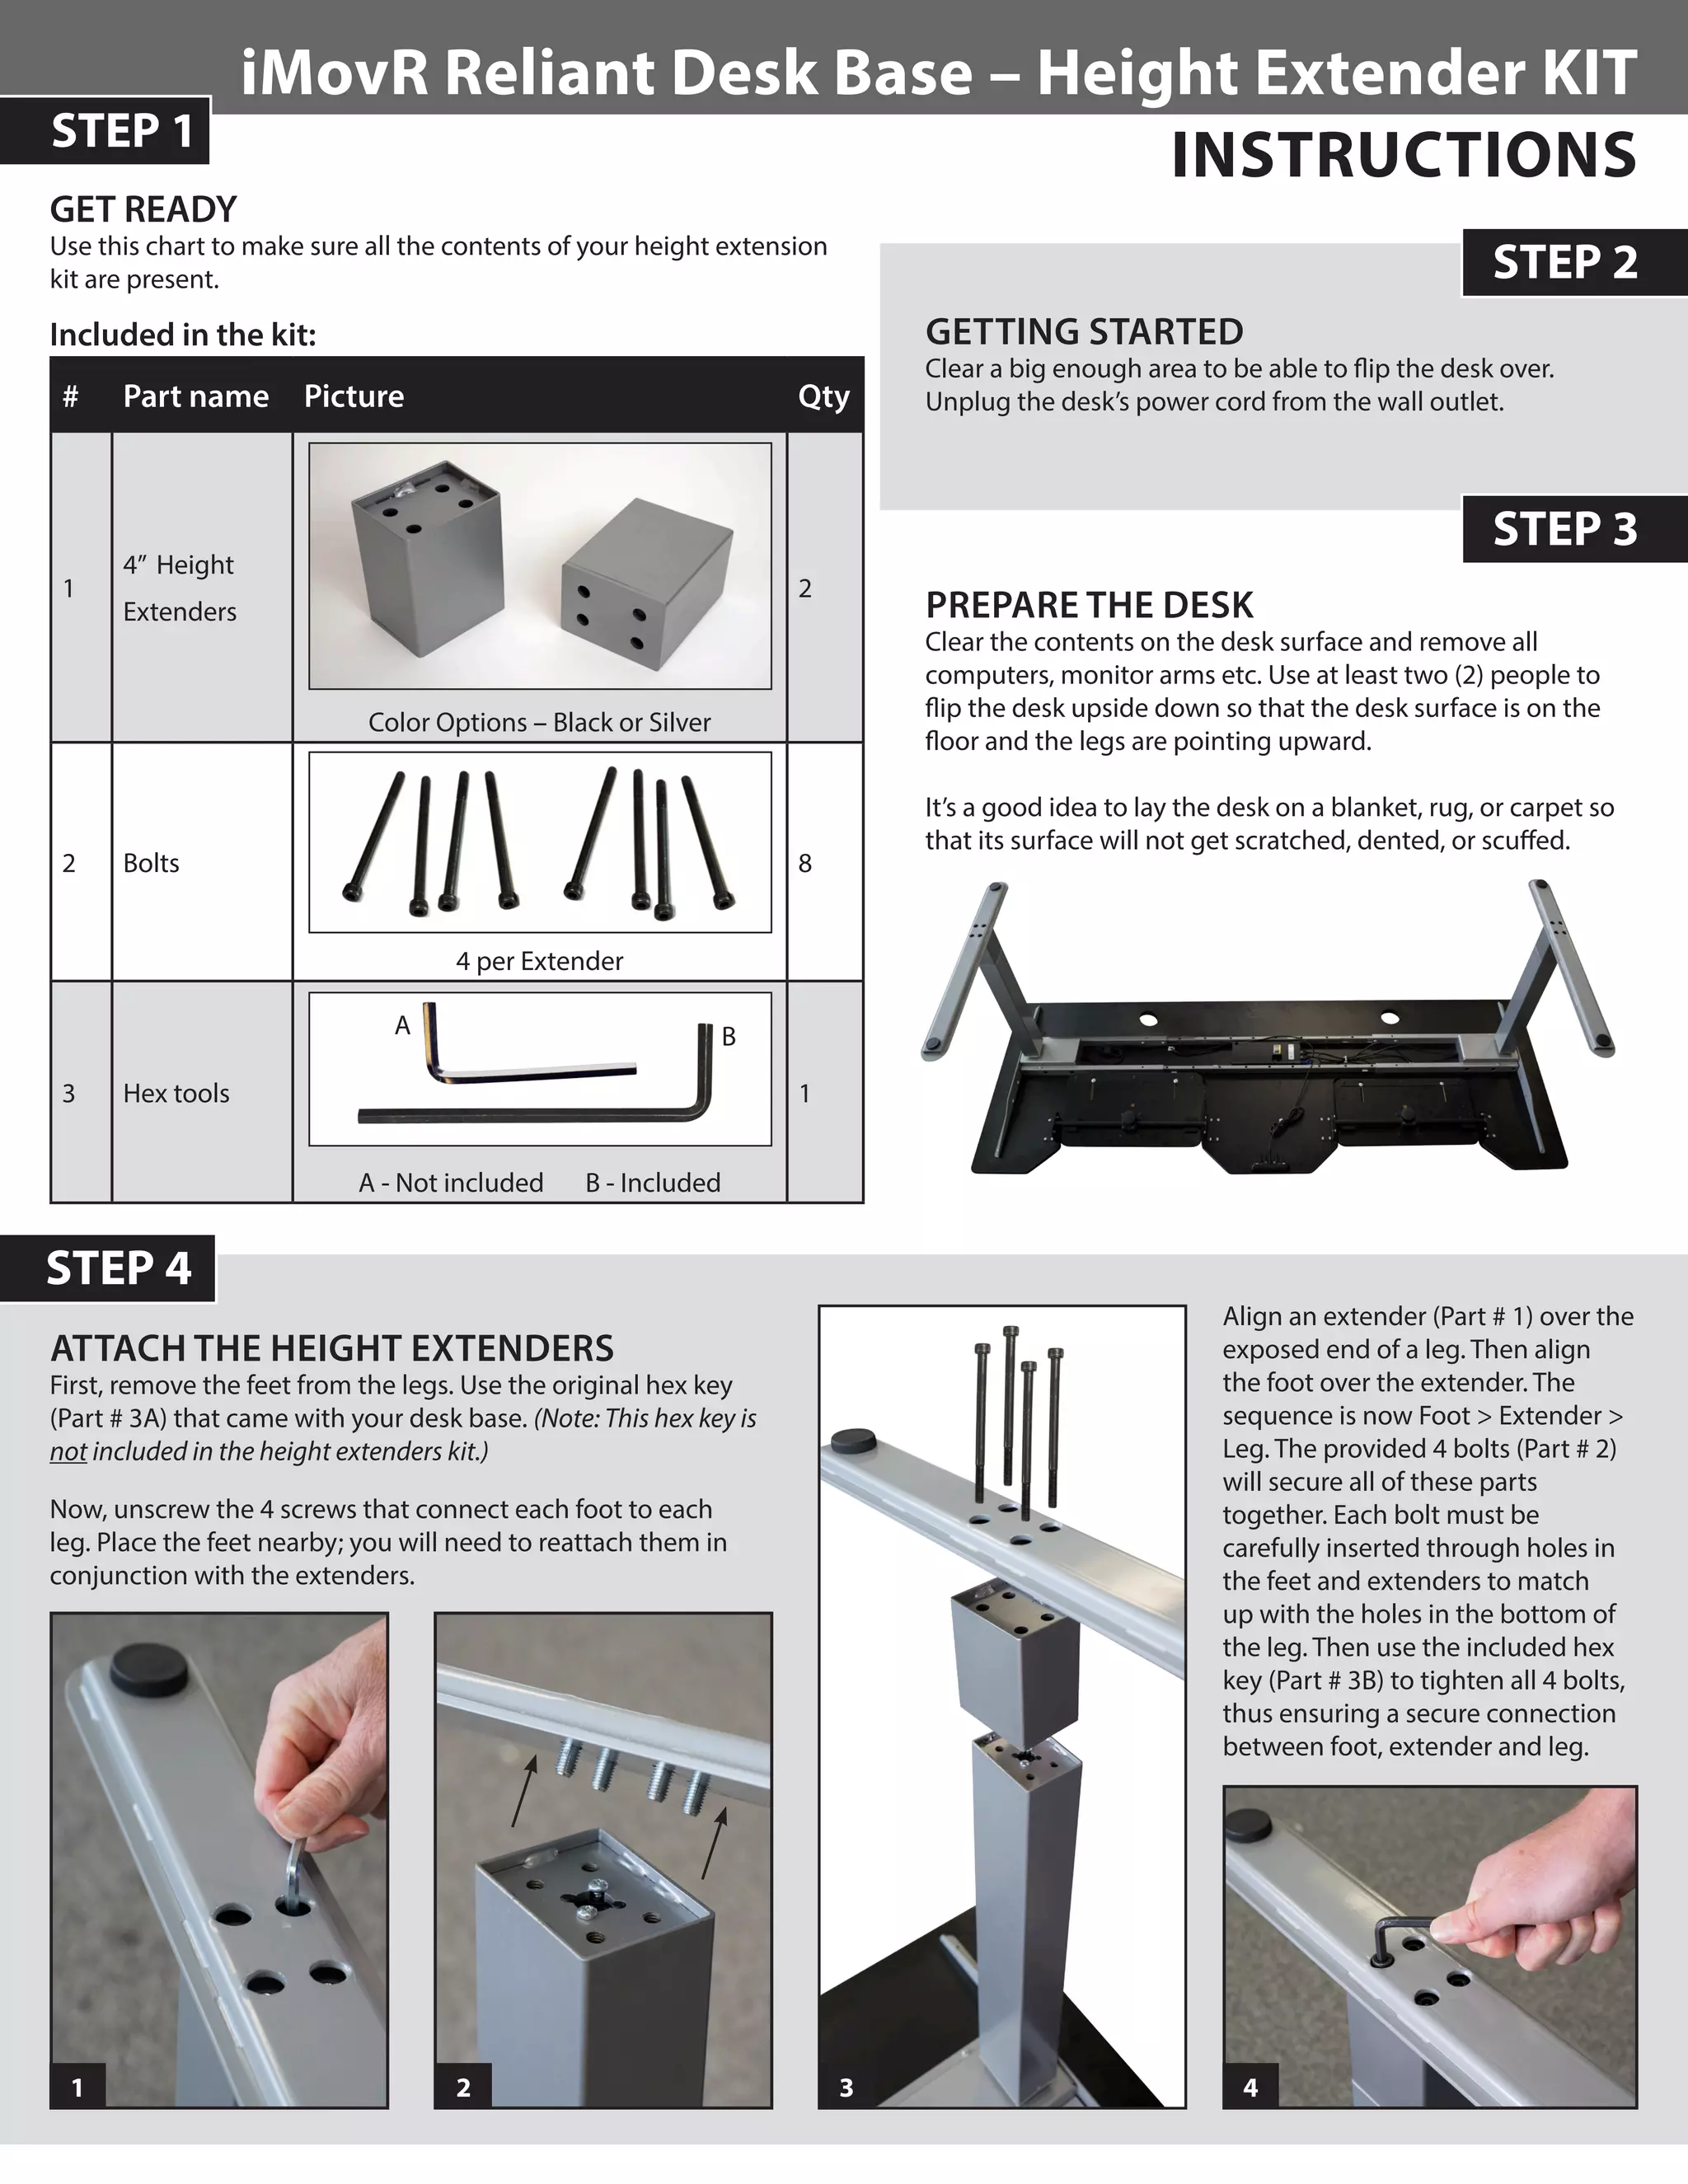
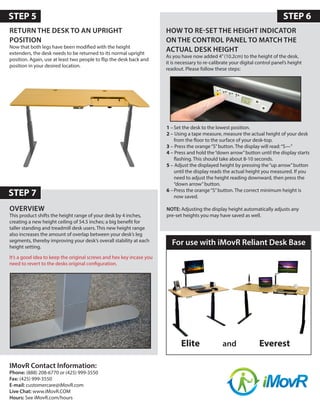

This document provides instructions for installing a height extender kit on an iMovR Reliant desk to increase the height range. The instructions involve flipping the desk upside down, removing the feet, attaching 4-inch height extenders to each leg using bolts, reattaching the feet, flipping the desk right-side up, and recalibrating the height display. The extenders increase the maximum height to 54.5 inches and improve stability at each height setting.


