Download to read offline
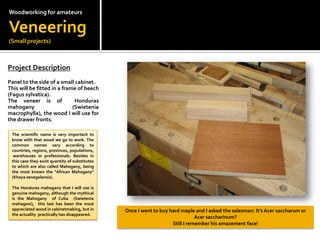
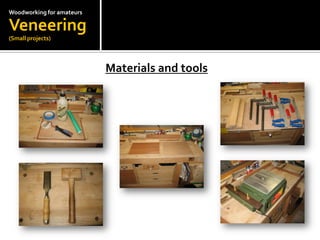


The document provides instructions for veneering a small cabinet panel using Honduras mahogany veneer. It describes preparing the materials, including the mahogany veneer and beech frame. It then outlines the gluing process using a special veneer glue and roller, pressing the panel overnight, and removing excess veneer using chisels and a table saw. The detailed steps and accompanying diagrams provide a concise tutorial for veneering a small woodworking project.


![400 proyectos de_mini_reloj[1]](https://cdn.slidesharecdn.com/ss_thumbnails/400proyectosdeminireloj1-161204170443-thumbnail.jpg?width=640&height=640&fit=bounds)


![Sổ tay dung sai lắp ghép ninh đức tốn [4 c-haui]](https://cdn.slidesharecdn.com/ss_thumbnails/staydungsailpghp-ninhctn4chaui-140504044715-phpapp01-thumbnail.jpg?width=640&height=640&fit=bounds)


