Downloaded 1,009 times
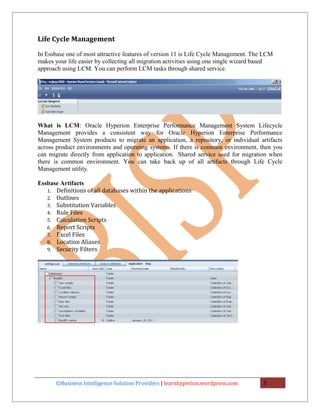
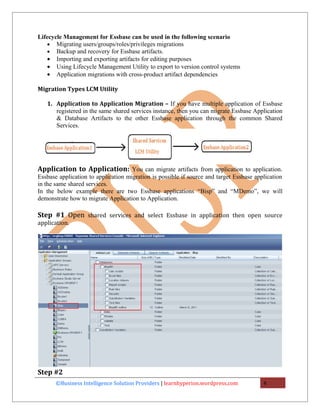
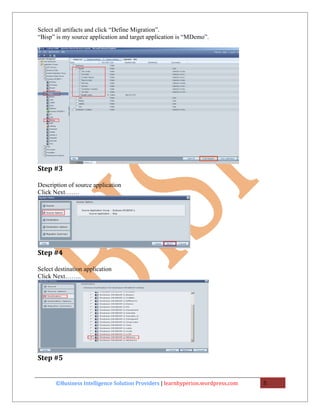
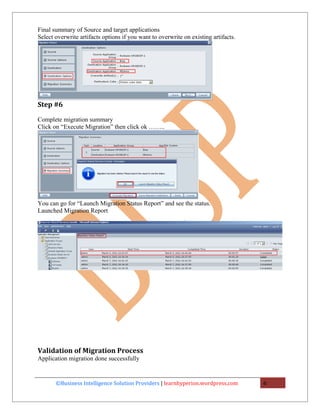
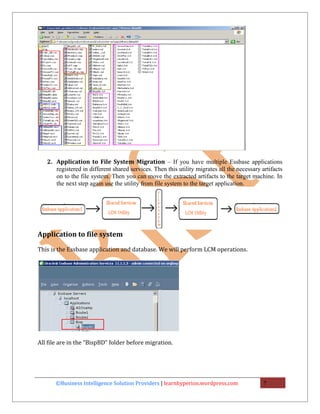
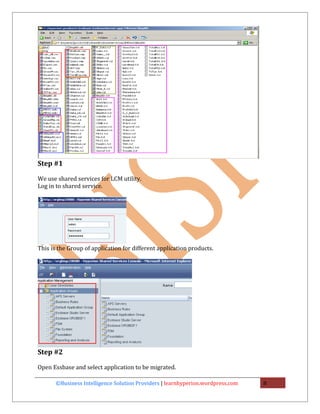
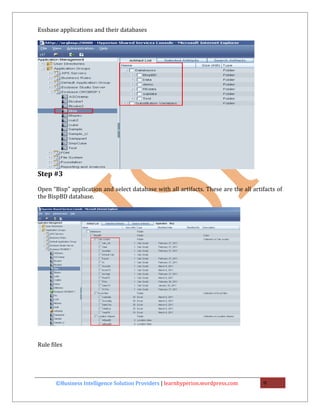

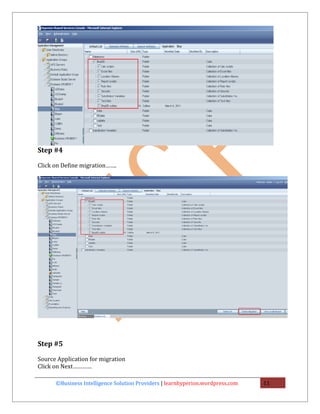
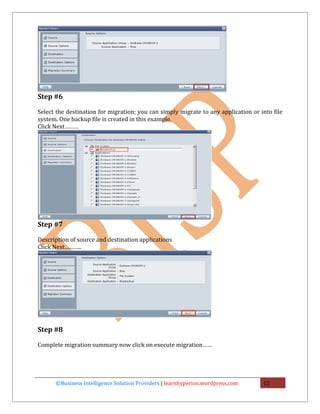
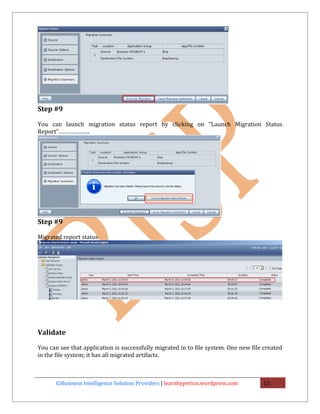
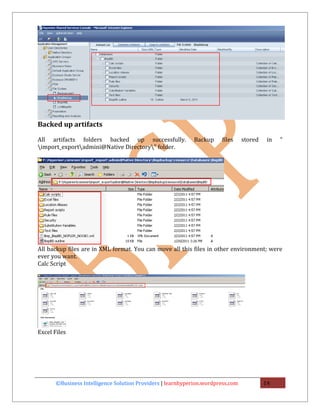
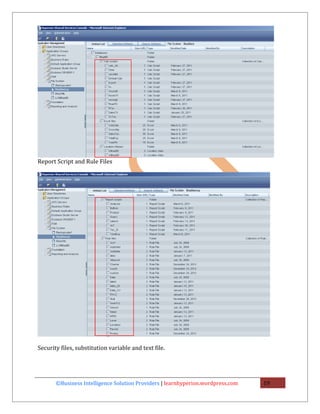
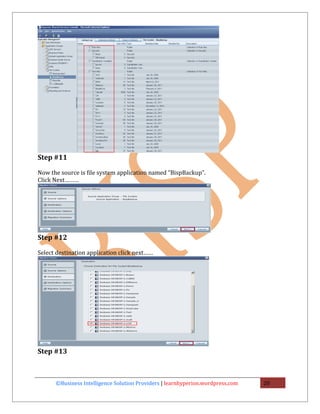
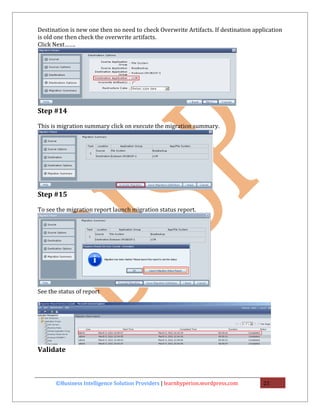
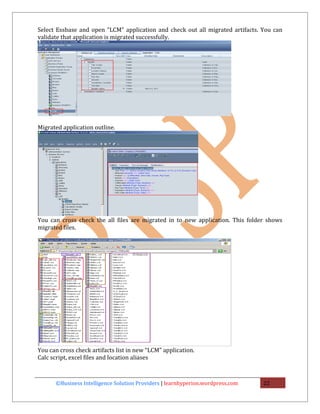
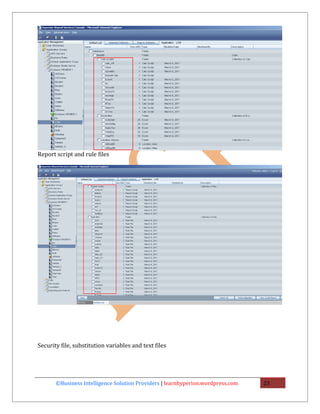
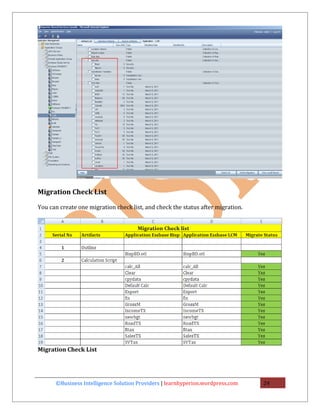
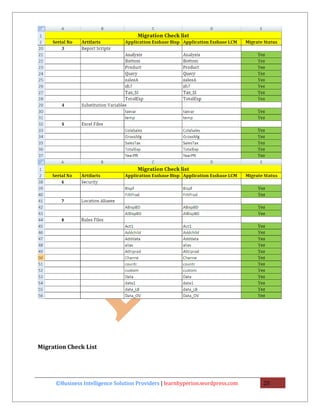
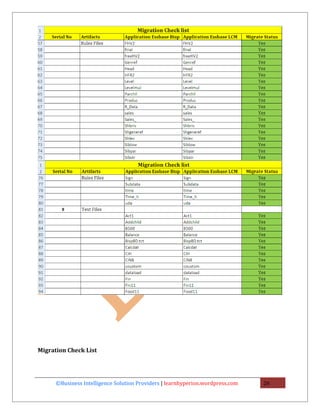
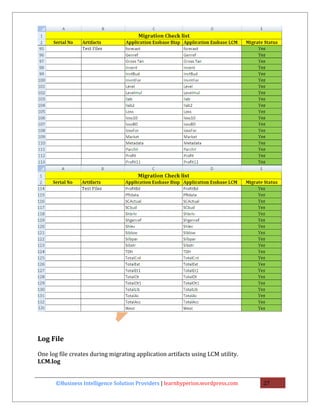
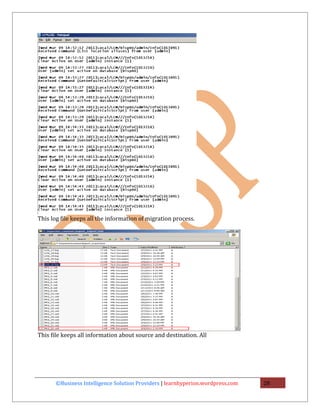


The document provides steps to migrate an Essbase application from one environment to another using Oracle's Life Cycle Management (LCM) utility. There are two types of migrations covered: application to application migration which can be done if the applications are registered in the same shared services instance, and application to file system migration which backs up application artifacts to files that can then be moved to a new environment. The document outlines the detailed steps for both types of migrations and validating the migrations were successful.