Downloaded 139 times


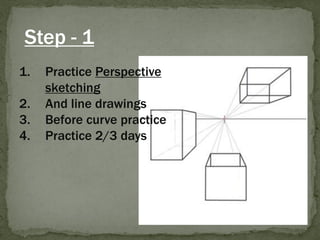
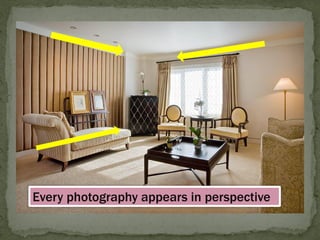

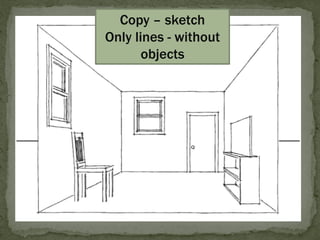
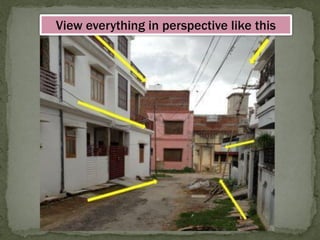
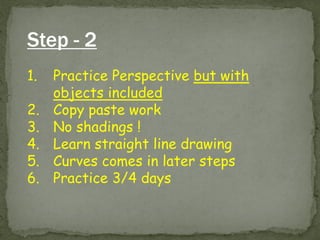
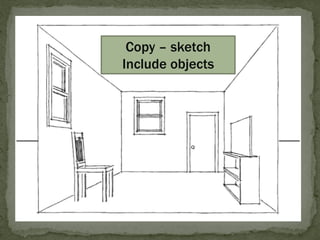
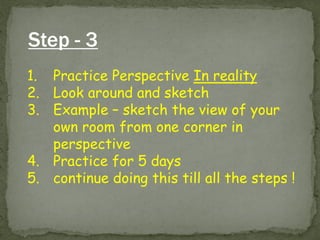
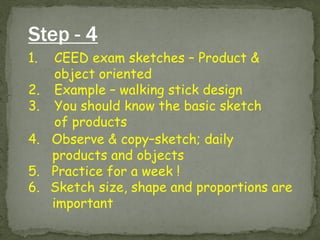
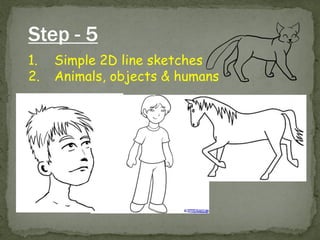

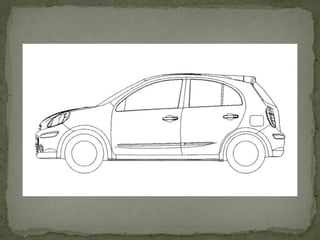
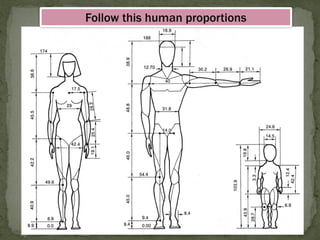
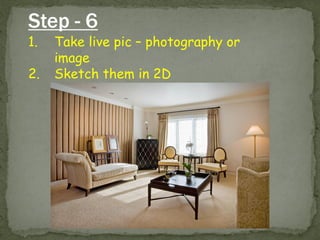


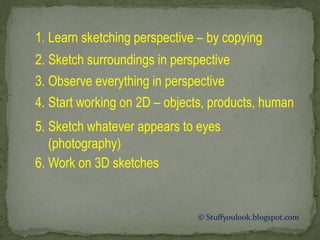


The document outlines a step-by-step guide for practicing perspective sketching, covering techniques for drawing both objects and scenes from different angles. It emphasizes the importance of consistent practice, copying from reality, and gradually incorporating details and shading into sketches. The guide also includes tips for creativity development and preparing for design exams.