Download to read offline


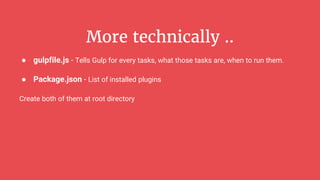
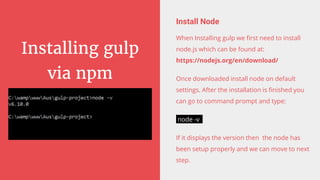
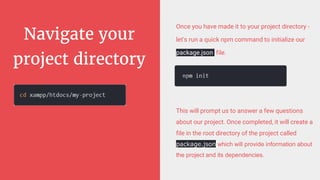


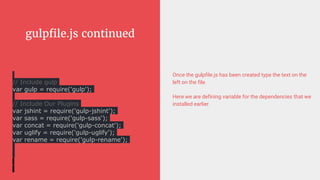
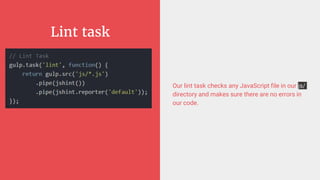

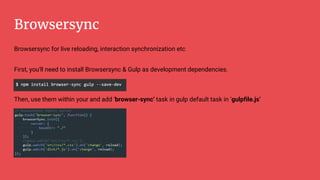


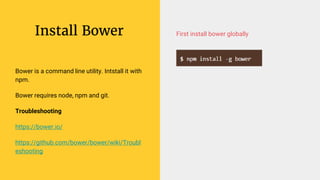
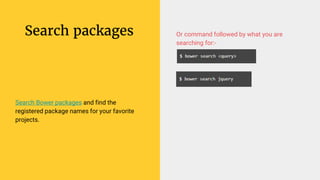
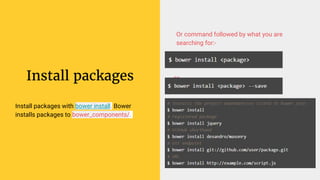

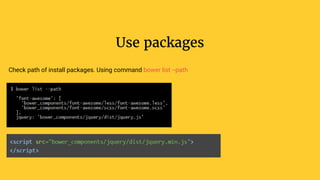
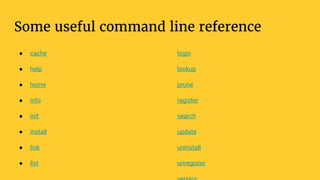

Gulp is a JavaScript task runner for front-end development that automates tasks such as file bundling, browser refreshing, and file copying. It utilizes a gulpfile.js to define tasks like linting, SASS compilation, and file watching, and requires Node.js and npm for installation. Additionally, Bower serves as a front-end package manager that installs packages and their dependencies, but does not process them further.