Download to read offline
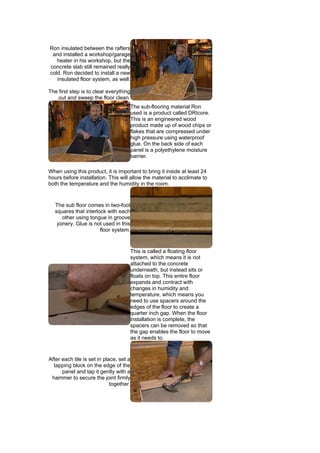

Ron installed a new insulated floor system in his workshop to make it less cold. He used Dricore subflooring panels, which are composed of compressed wood flakes and have a moisture barrier. The panels interlock without glue using tongue-and-groove joints. This creates a floating floor that can expand and contract without being attached to the concrete. Ron cut and installed the panels, filling gaps with shims as needed. He then installed G-floor garage flooring over the top, which rolls out without adhesive. The new insulated floor system helped warm up Ron's workshop.


![Air Barrier[1]](https://cdn.slidesharecdn.com/ss_thumbnails/airbarrier1-090422103337-phpapp02-thumbnail.jpg?width=640&height=640&fit=bounds)


