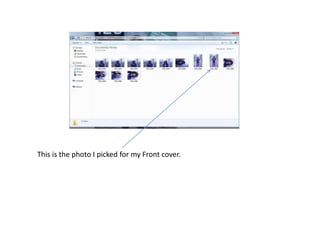
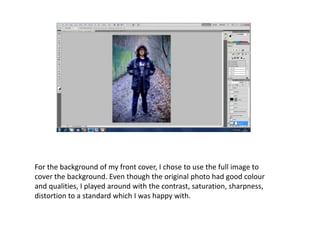
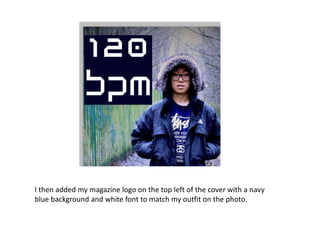
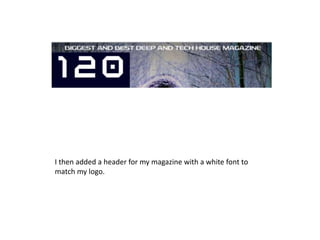
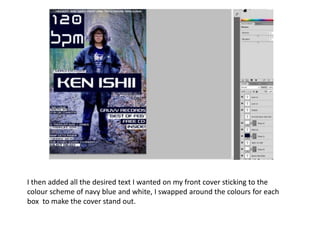
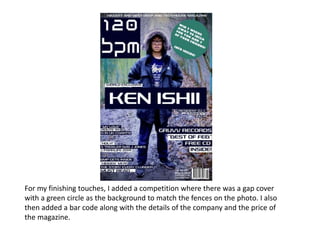
Front Cover Process
This is the photo I picked for my Front cover.
For the background of my front cover, I chose to use the full image to
cover the background. Even though the original photo had good colour
and qualities, I played around with the contrast, saturation, sharpness,
distortion to a standard which I was happy with.
I then added my magazine logo on the top left of the cover with a navy
blue background and white font to match my outfit on the photo.
I then added a header for my magazine with a white font to
match my logo.
I then added all the desired text I wanted on my front cover sticking to the
colour scheme of navy blue and white, I swapped around the colours for each
box to make the cover stand out.
For my finishing touches, I added a competition where there was a gap cover
with a green circle as the background to match the fences on the photo. I also
then added a bar code along with the details of the company and the price of
the magazine.

Front cover process

  • 1.
  • 2.
    This is thephoto I picked for my Front cover.
  • 3.
    For the backgroundof my front cover, I chose to use the full image to cover the background. Even though the original photo had good colour and qualities, I played around with the contrast, saturation, sharpness, distortion to a standard which I was happy with.
  • 4.
    I then addedmy magazine logo on the top left of the cover with a navy blue background and white font to match my outfit on the photo.
  • 5.
    I then addeda header for my magazine with a white font to match my logo.
  • 6.
    I then addedall the desired text I wanted on my front cover sticking to the colour scheme of navy blue and white, I swapped around the colours for each box to make the cover stand out.
  • 7.
    For my finishingtouches, I added a competition where there was a gap cover with a green circle as the background to match the fences on the photo. I also then added a bar code along with the details of the company and the price of the magazine.