Downloaded 26 times


![Practice: Multi Node Swarm
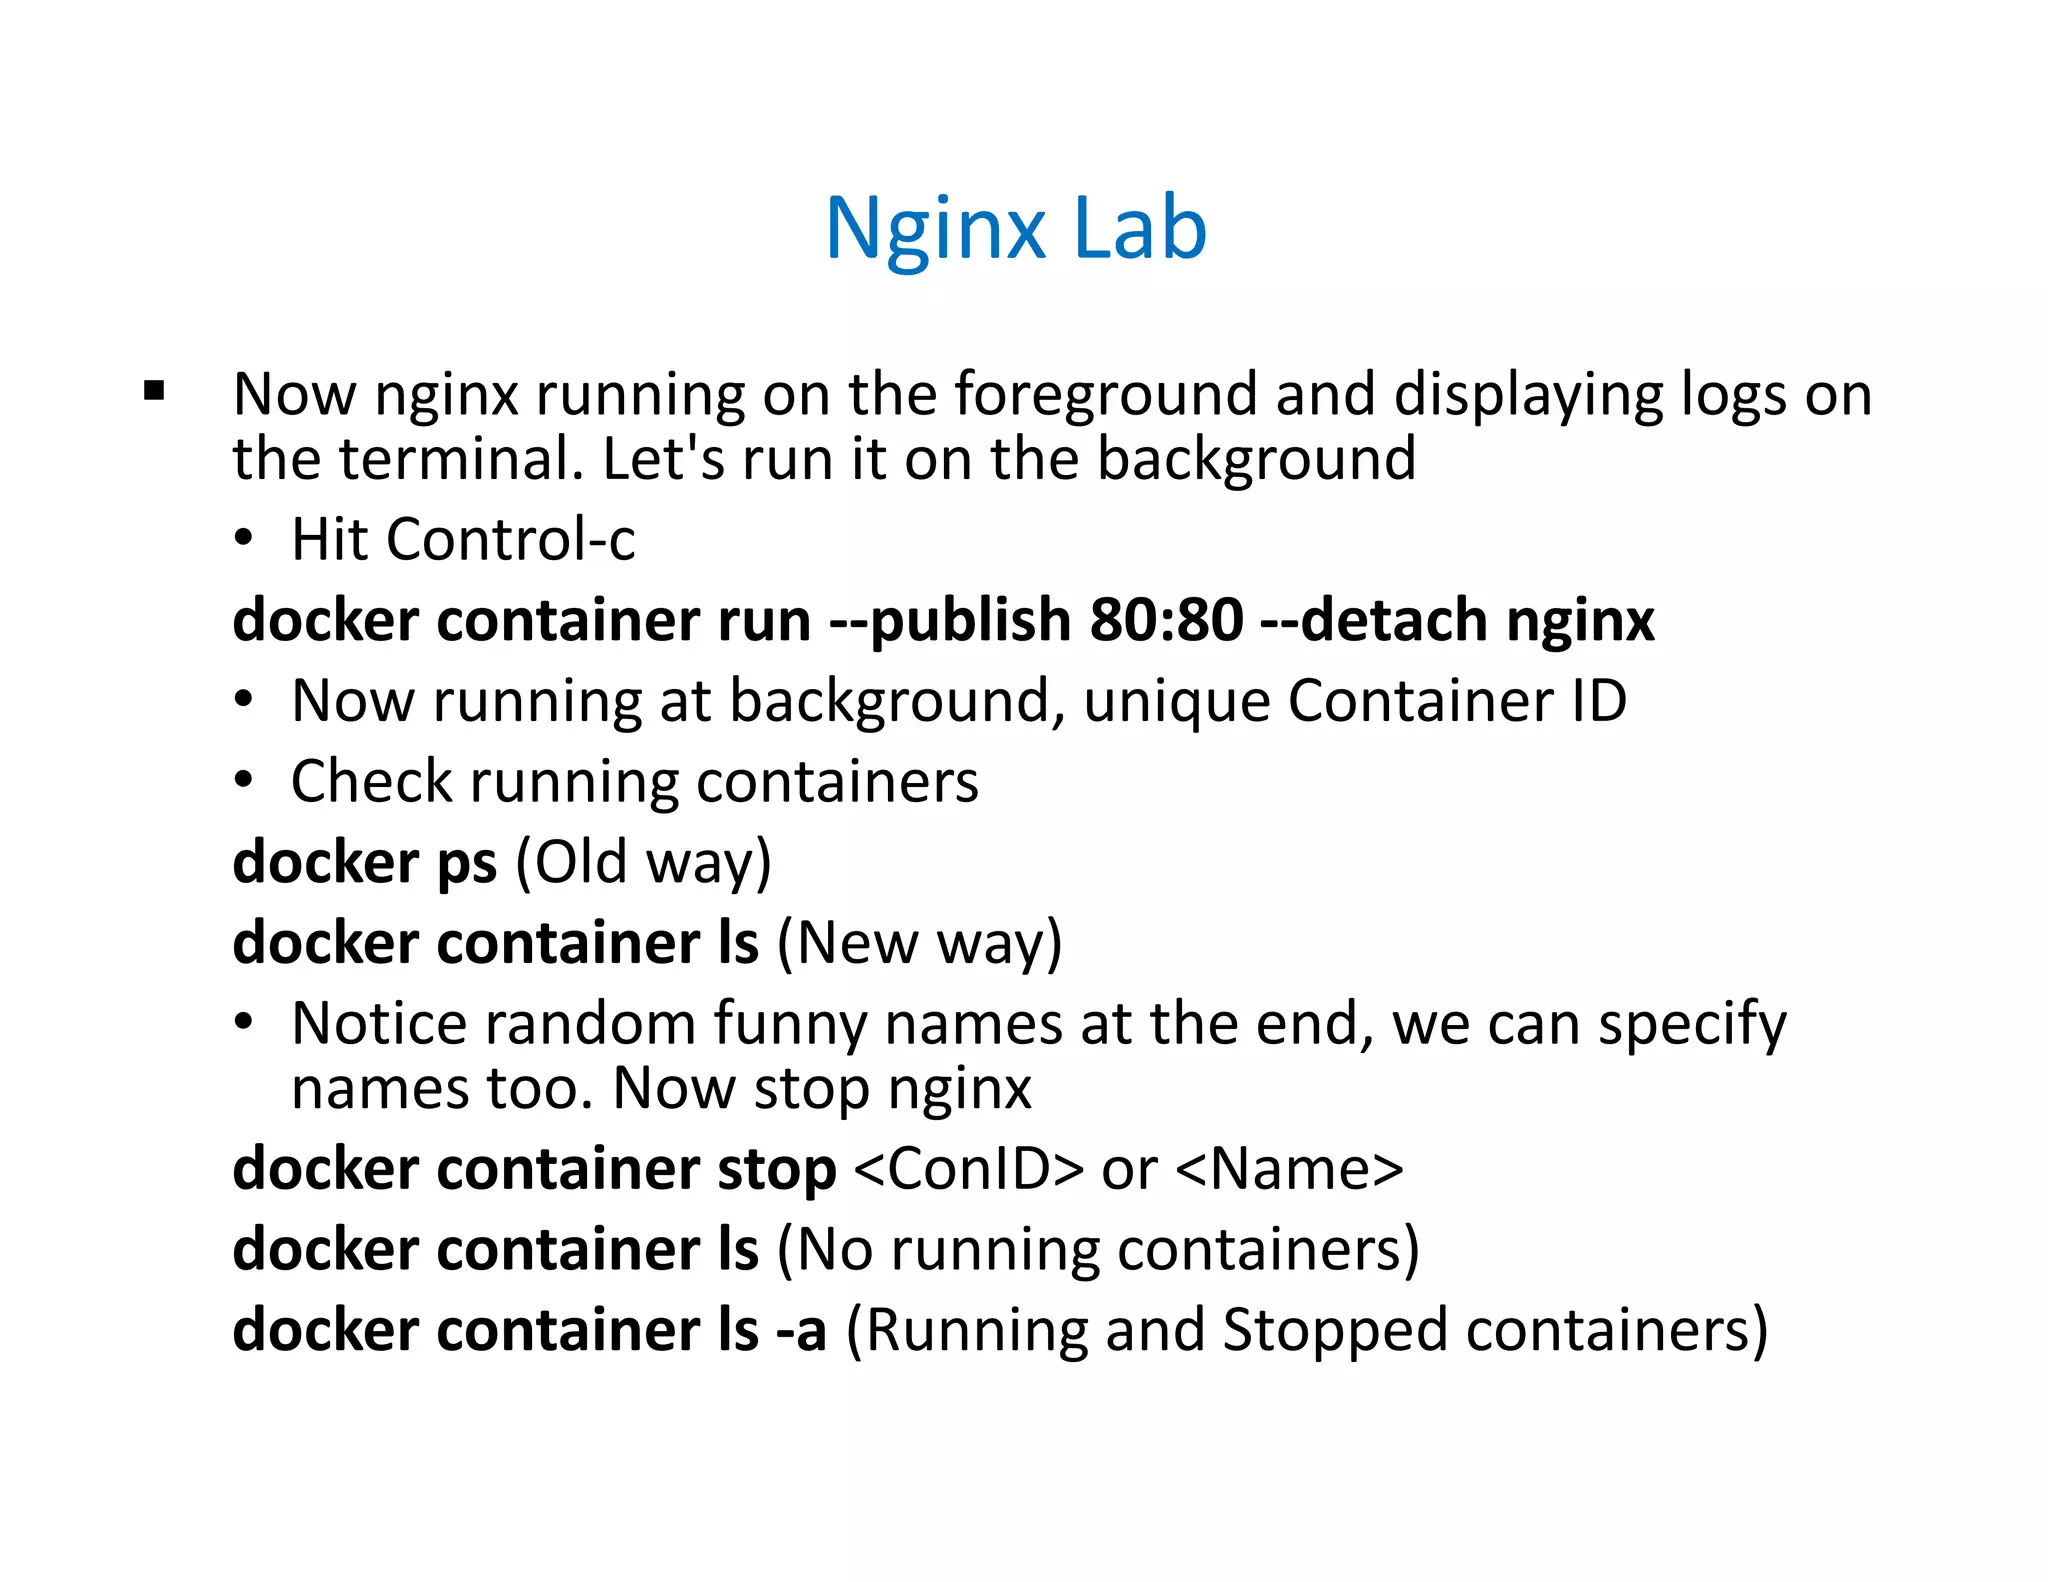
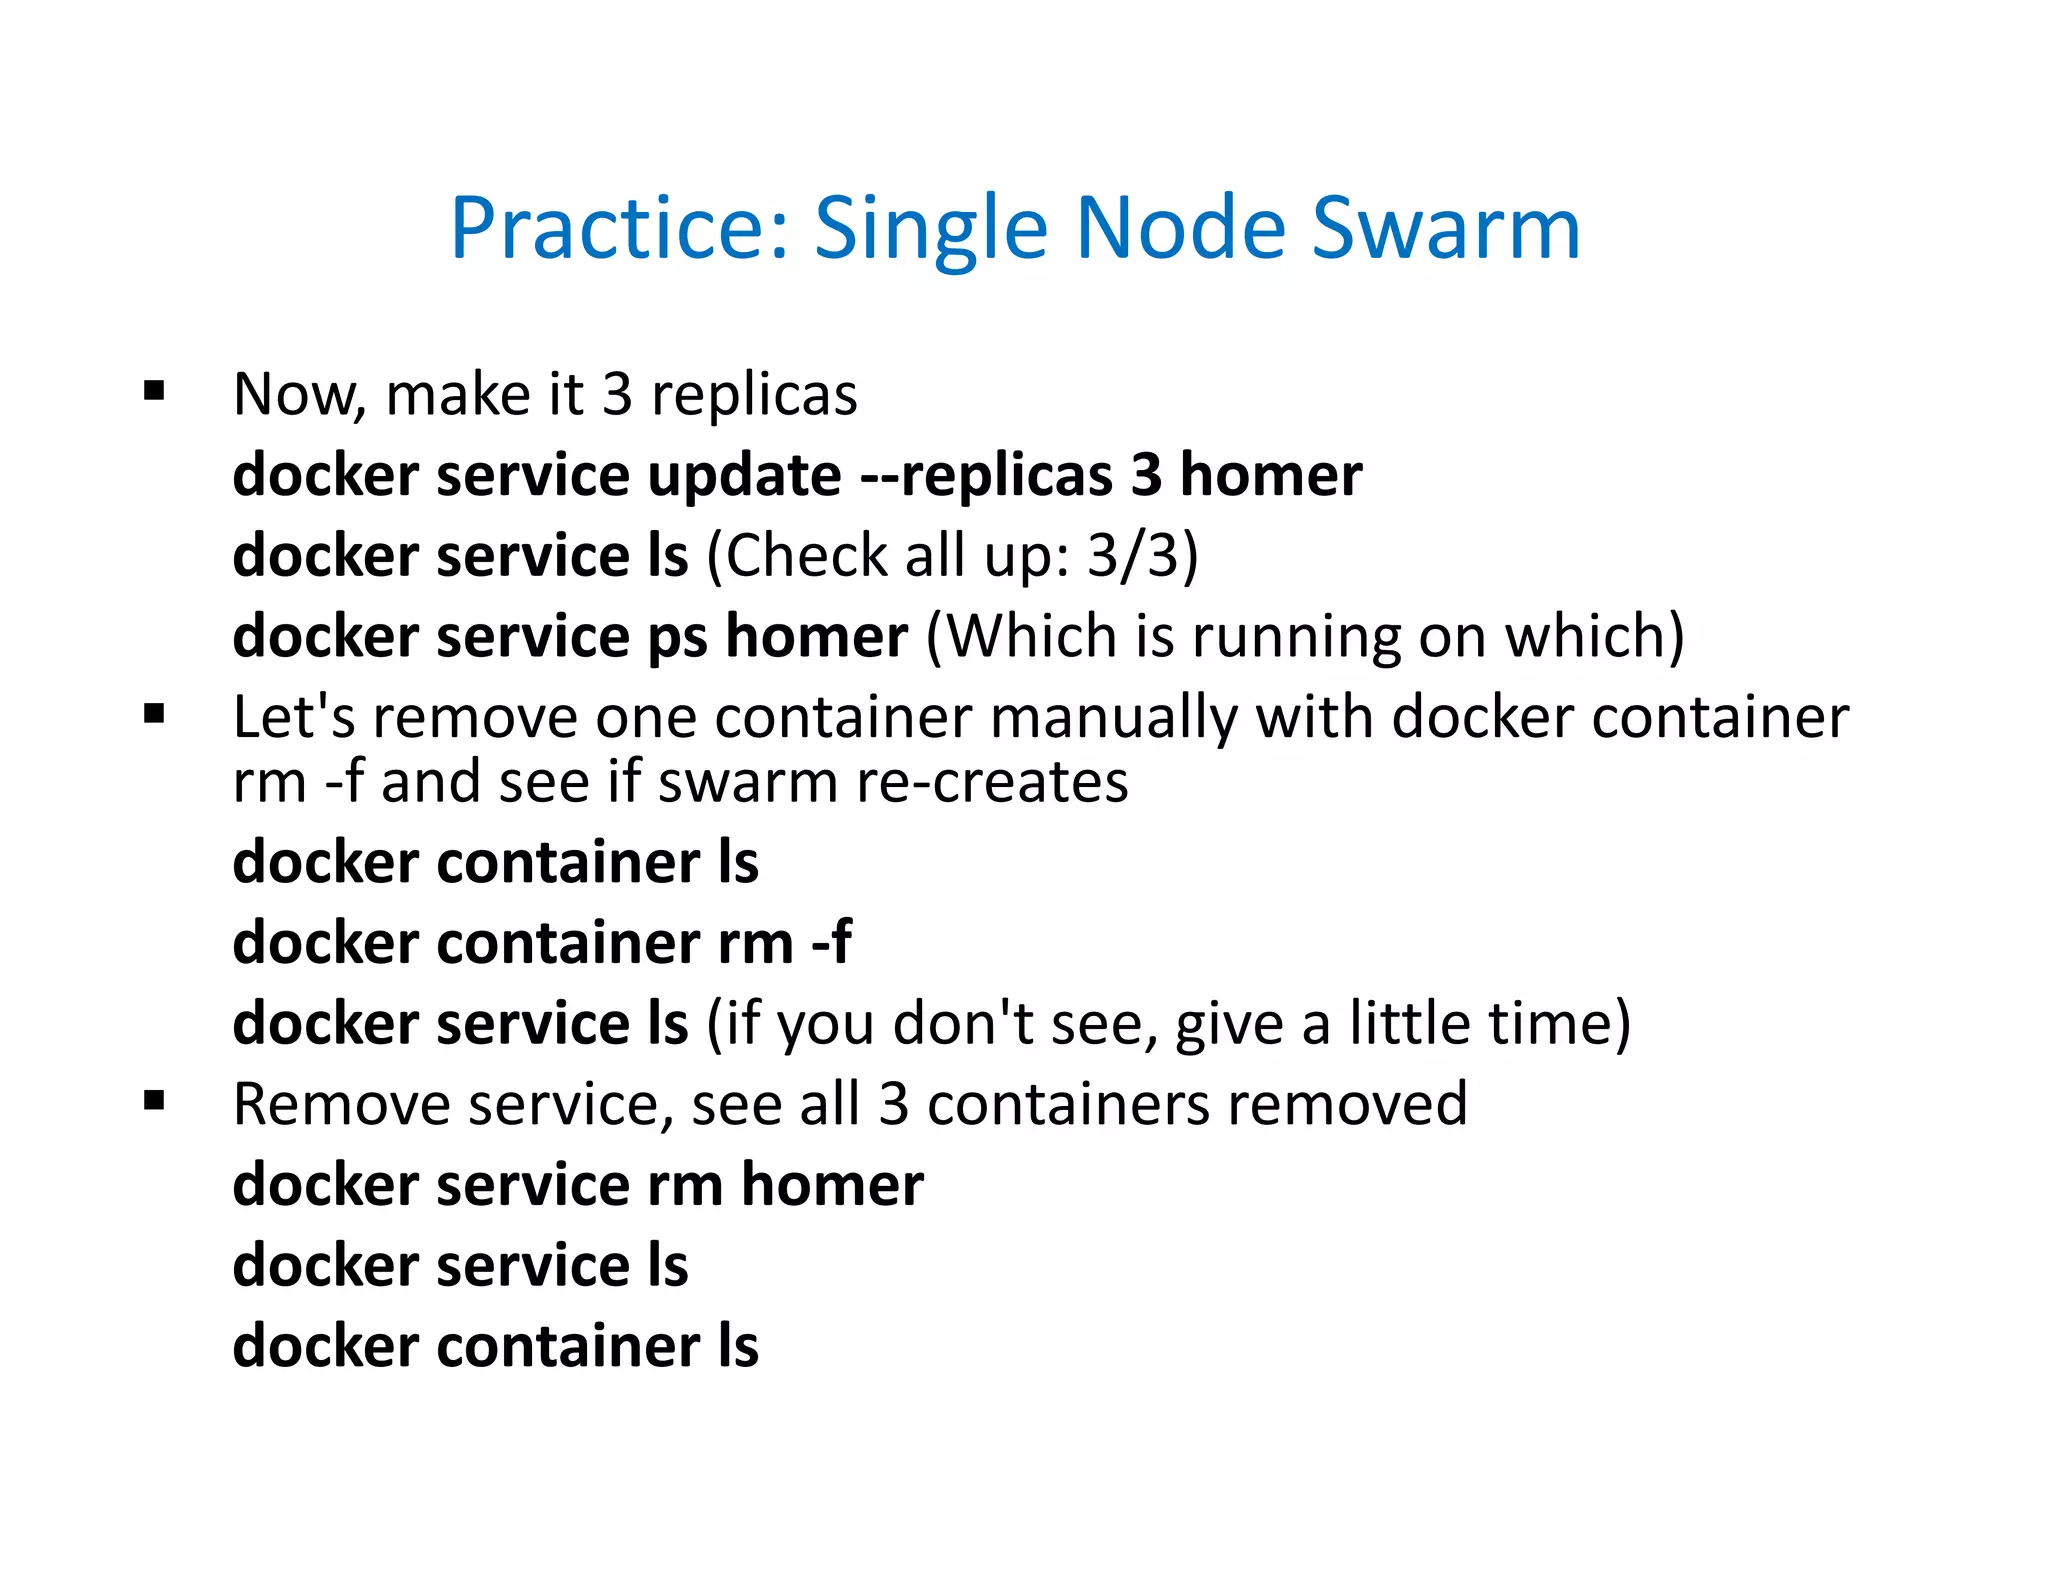
Create a service again with alpine and 3 replicas
docker service create --name homer --replicas 3 alpine ping
8.8.8.8
docker service ls
docker node ps [node2]
docker service ps homer (To see containers on nodes)
On node2 remove container, check recovery
docker container ls
docker container rm -f <name>
On node1 check service and remove
docker service ls
docker service update --replicas 5 homer
docker service ps homer
docker service rm homer](https://image.slidesharecdn.com/dockerfundamentals-191230091417/75/Docker-fundamentals-82-2048.jpg)

The document provides an overview of Docker fundamentals, including an introduction to Docker and containerization, how to install Docker on various platforms, and how to use basic Docker commands to run containers from images. It covers topics such as Docker architecture, images vs containers, managing containers, networking, Docker Compose, and how Docker is implemented using Linux kernel features like namespaces and cgroups.