This document provides information on distal humerus fractures, including:
- Anatomy of the distal humerus and surrounding structures
- Common causes and presentations of distal humerus fractures
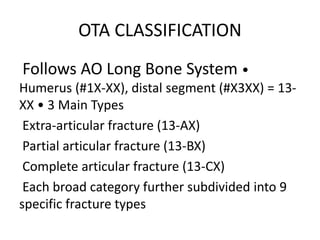
- Classification systems including the OTA system
- Imaging techniques including x-rays and CT scans
- Surgical and non-surgical treatment options depending on the fracture type
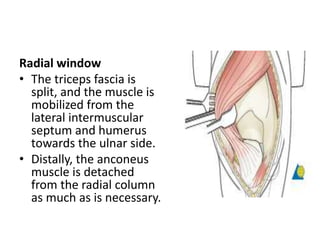
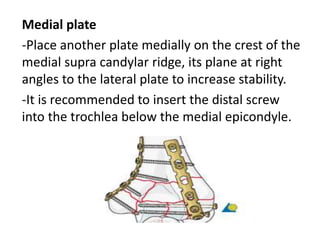
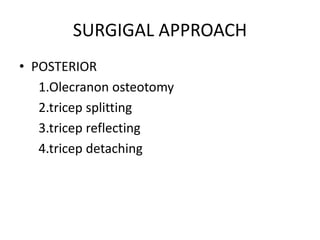
- Details of posterior, anterior, medial and lateral surgical approaches for fixing distal humerus fractures


![PARA-TRICIPITAL (TRICEPS
PRESERVING) APPROACH [ALONSO-
LLAMES ]
Skin incision
• Make a straight incision beginning level with the
junction of the middle and distal thirds of, and
centered on, the humeral shaft. Some surgeons
make a straight incision, whereas others prefer to
curve the incision around the olecranon to the
radial side. The incision ends over the ulnar
diaphysis.
• An ulnar-based subcutaneous flap is developed.](https://image.slidesharecdn.com/distalhumerusfracture-180105154014/85/Distal-humerus-fracture-42-320.jpg)