Download to read offline

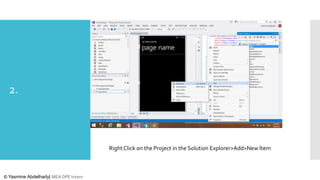
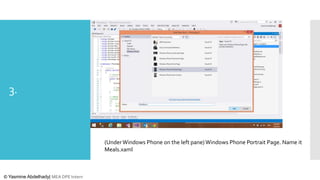
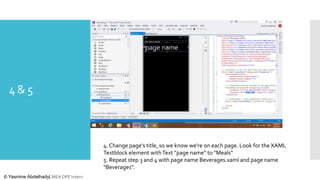
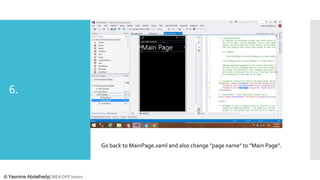
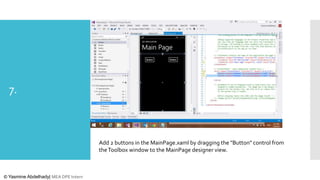
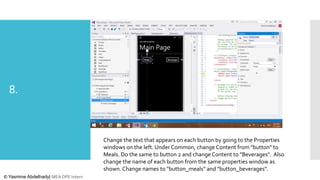
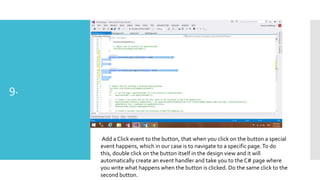
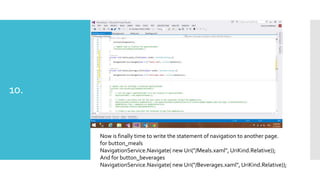


This document provides instructions for setting up simple page navigation in a Windows Phone application. It describes adding new pages called "Meals.xaml" and "Beverages.xaml" and changing their titles. It also covers adding buttons to the main page and linking each button to navigate to a different page using the NavigationService. The document is authored by Yasmine Abdelhady and provides a 10 step guide to implementing basic page navigation in a Windows Phone app.


