Digital storytelling combines images, drawings, and voice narration to create stories that can be shared. The document provides guidance on using digital storytelling to support comprehension of central themes, details, and text structure. It discusses how digital stories can be used in the classroom, provides examples addressing Common Core standards, and gives step-by-step instructions for creating digital stories using VoiceThread, an online tool. Sample student projects created with VoiceThread are also shared.


![Step 7: Watch the Informational Video
Athttps://ed.voicethread.com/products
/k12 , watch an overview video to learn
more and familiarize yourself with the
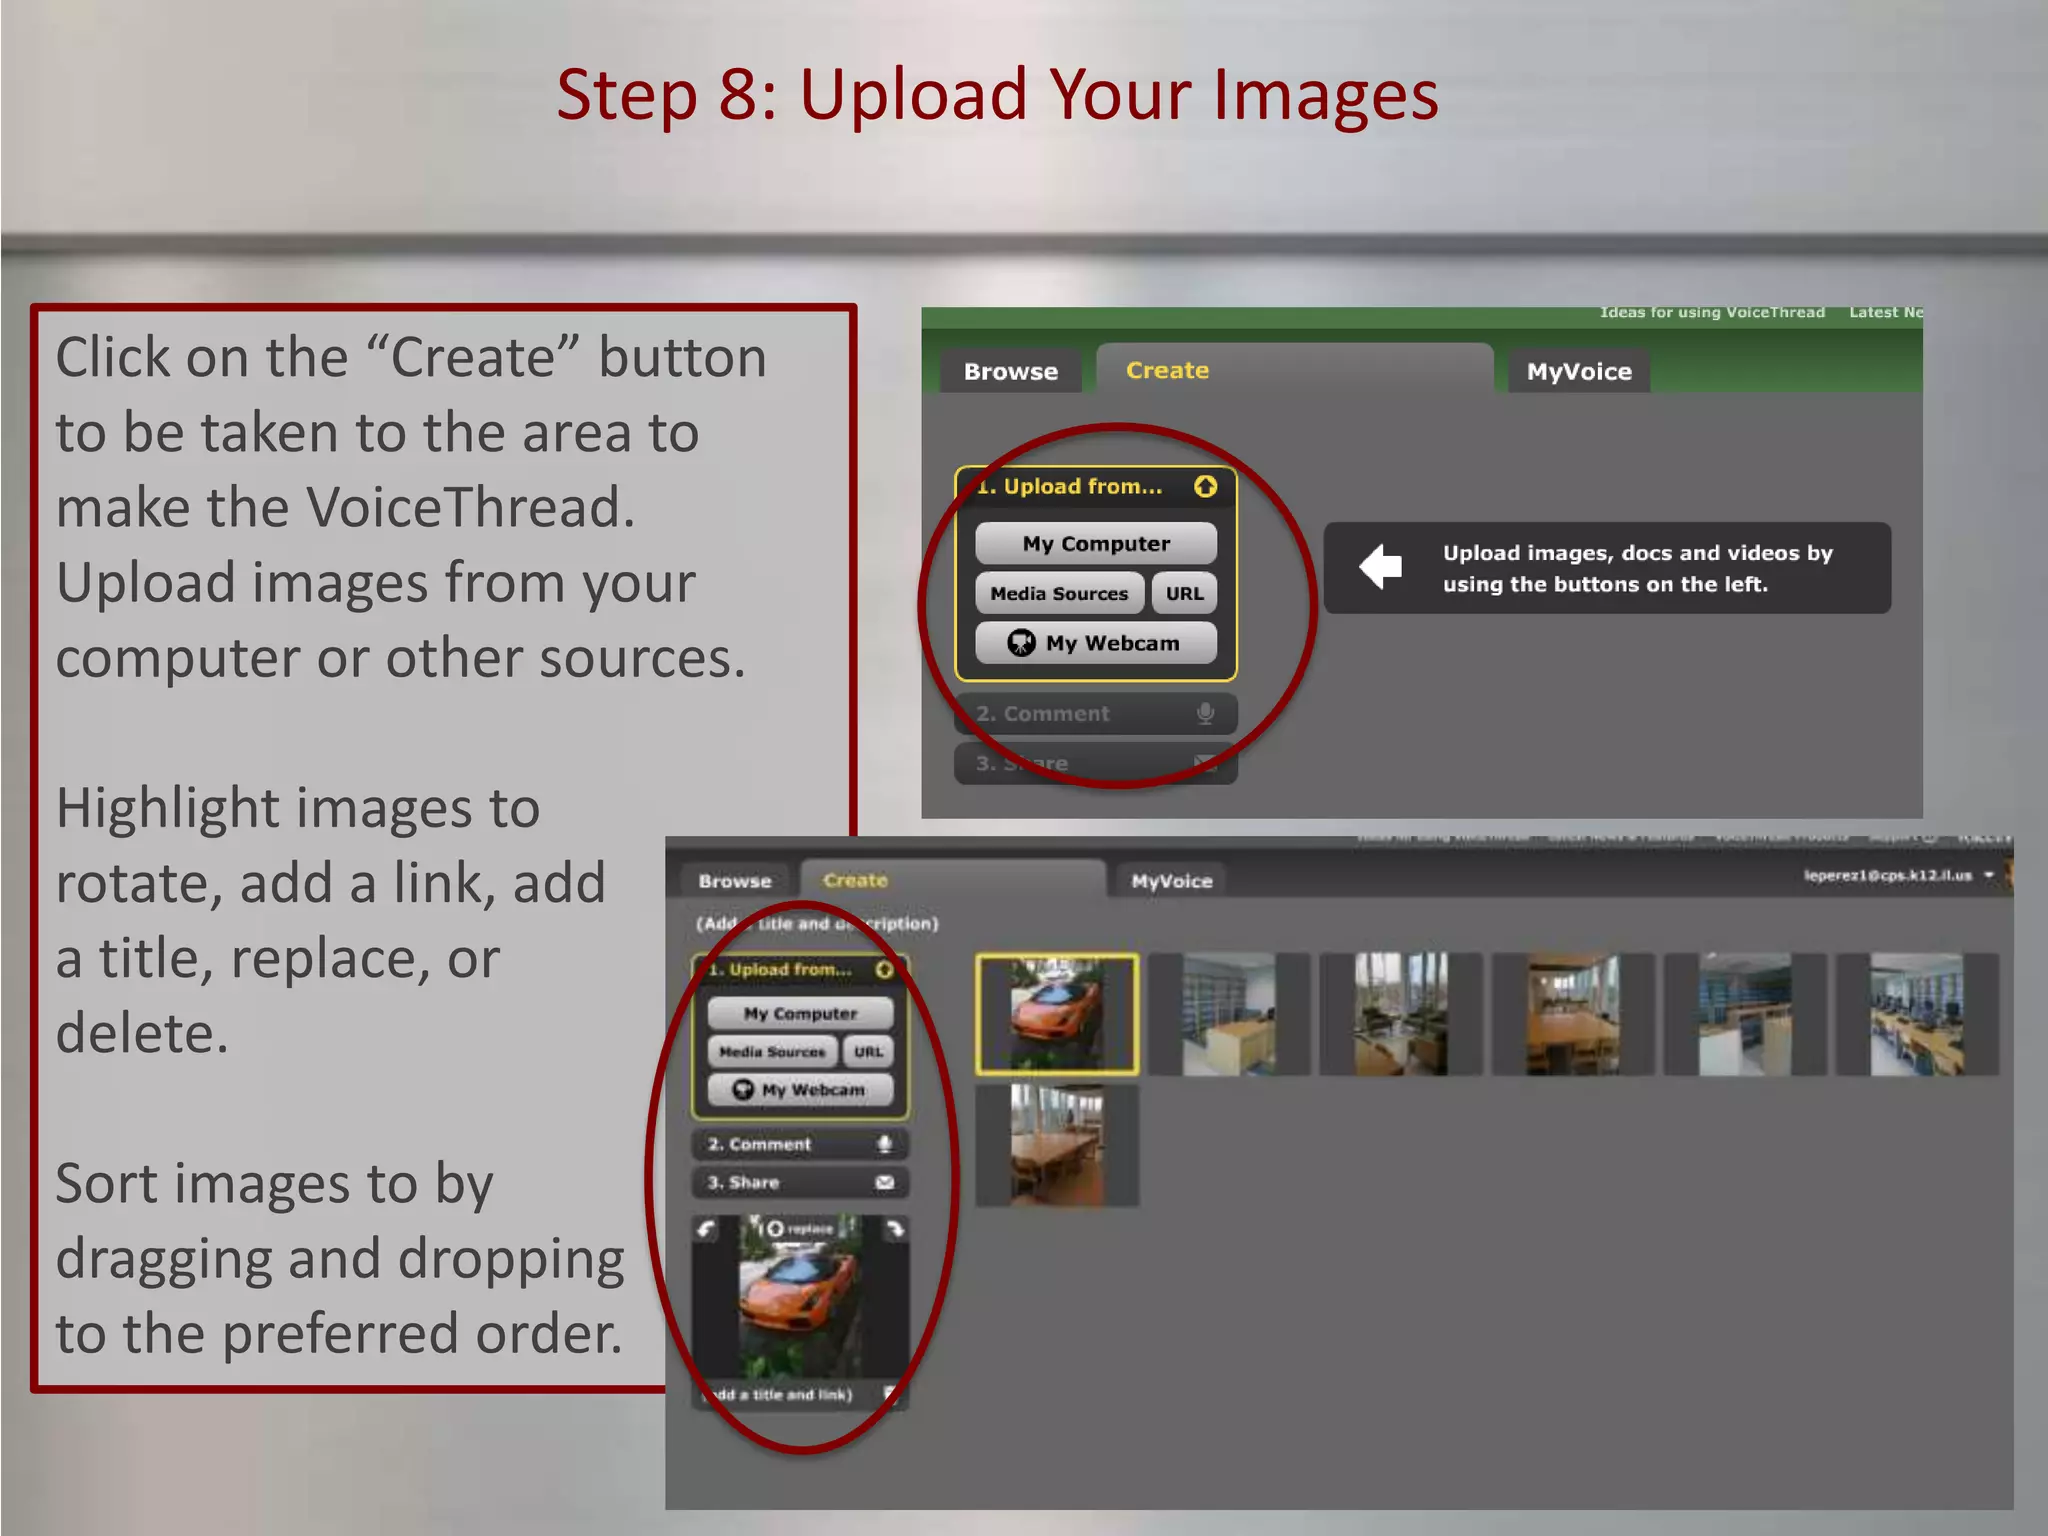
support portal. Click on the “Browse”
link to see VoiceThreads created by
others. When ready, go to
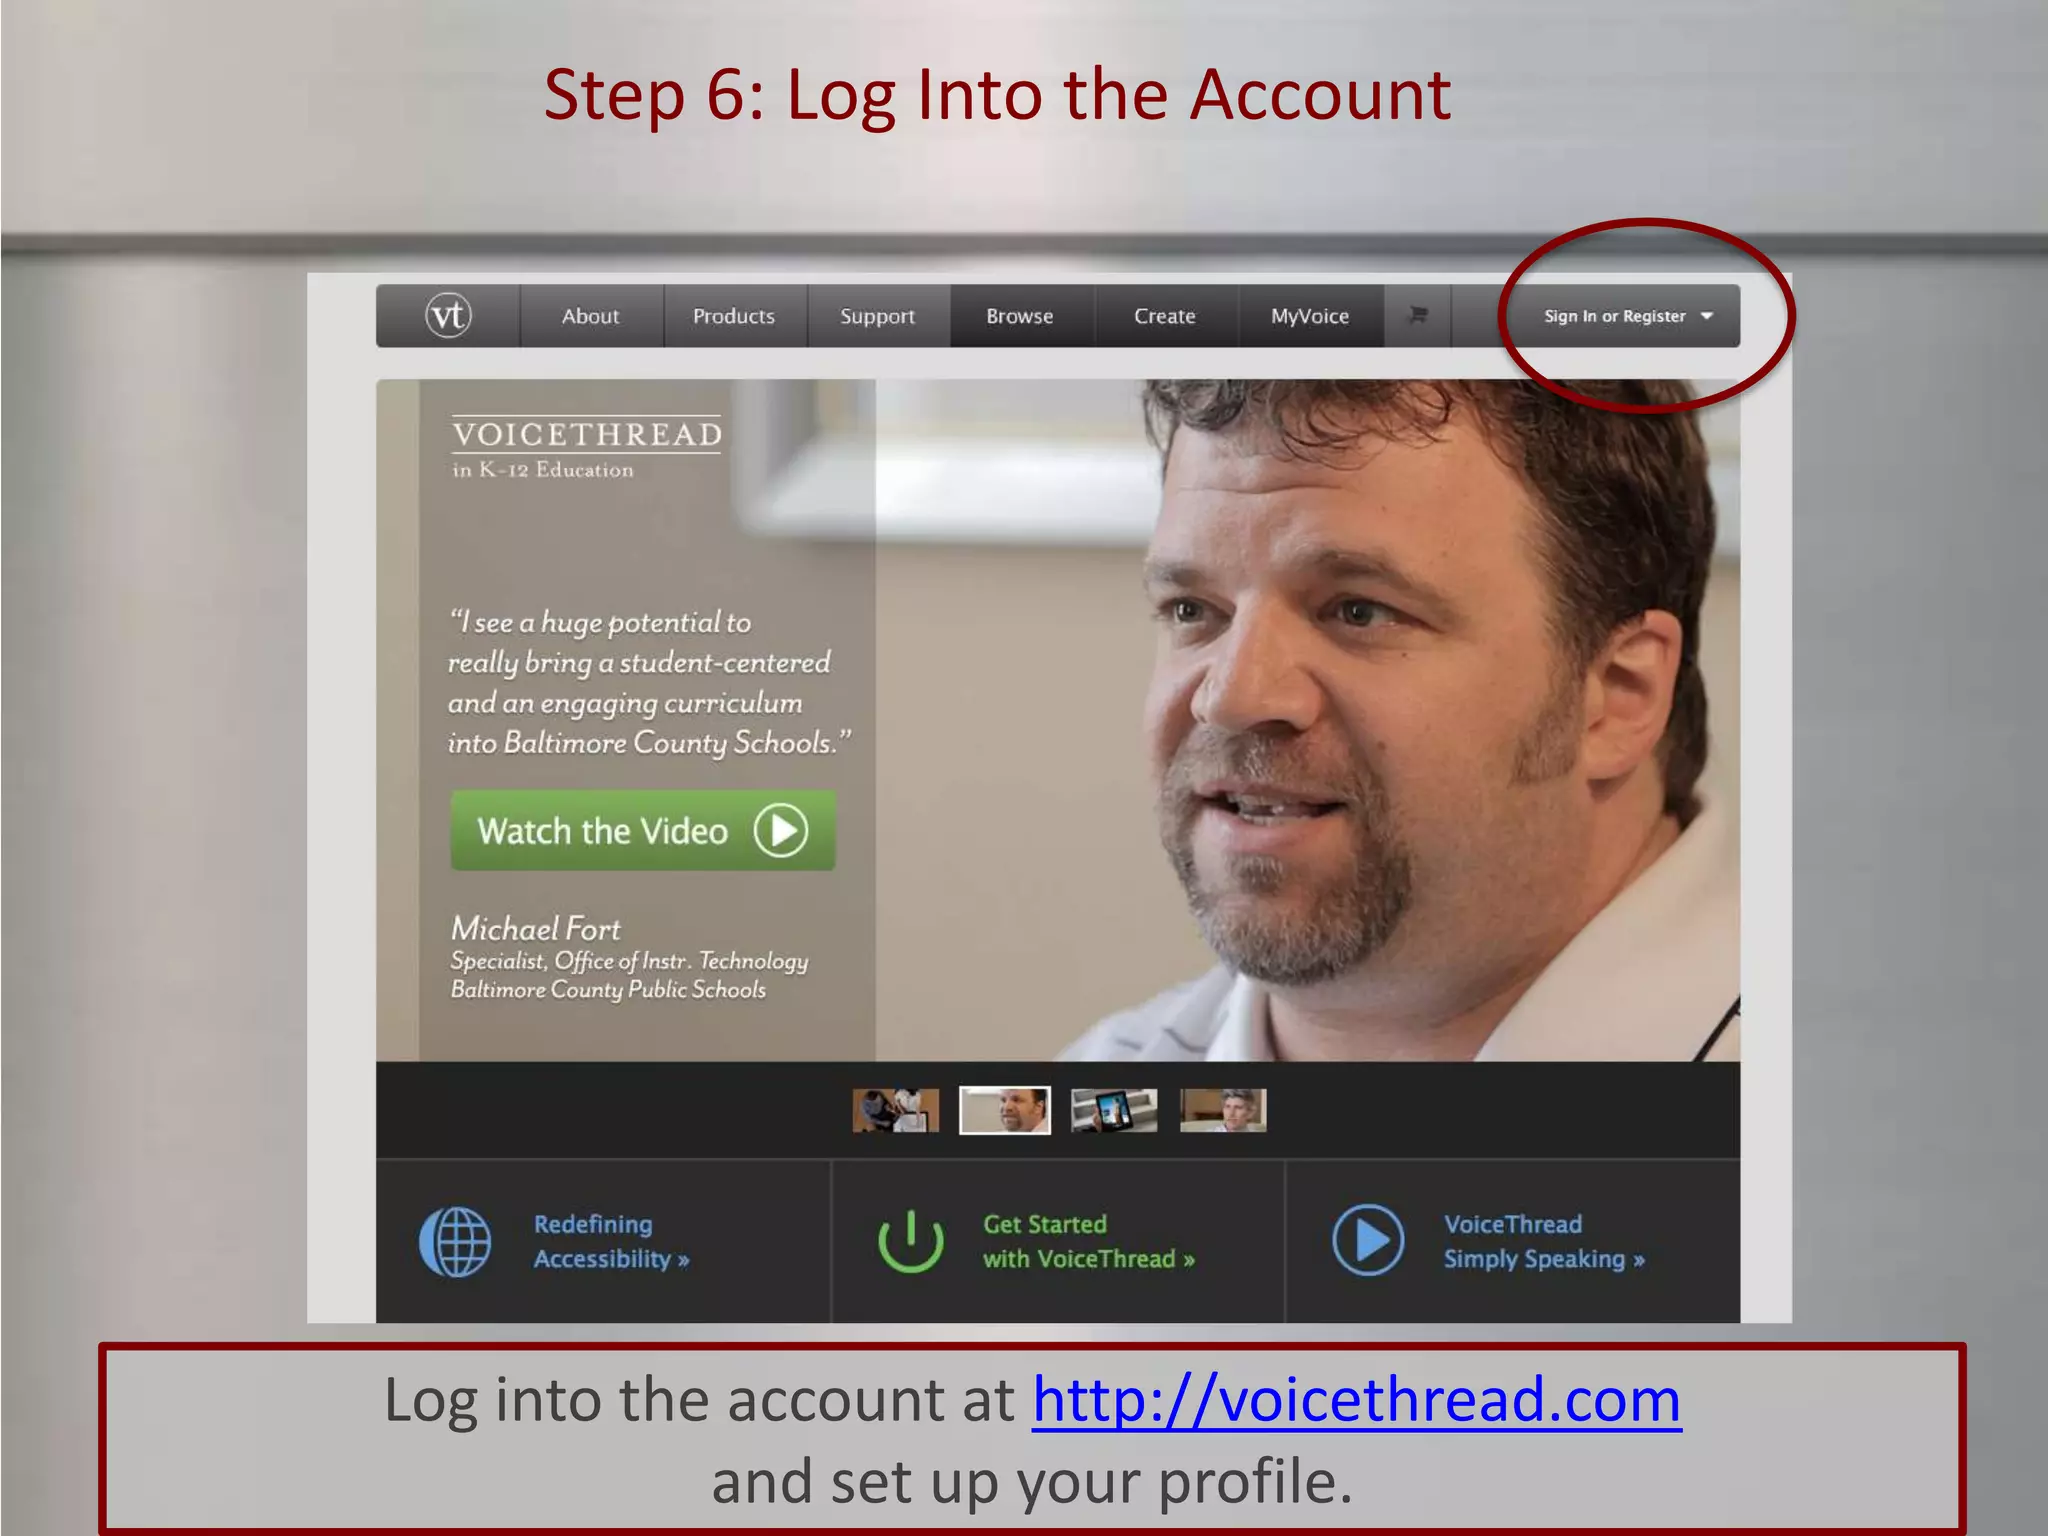
http://voicethread.com and click on
the “Create” button. [Note: Only paid
accounts work under the
ed.voicethread.com website.]](https://image.slidesharecdn.com/detailvoicethreadtraining-120116071052-phpapp02/75/DETAIL-Digital-Storytelling-with-VoiceThread-23-2048.jpg)


![Is 201 presentation_2_moore's_law[1]](https://cdn.slidesharecdn.com/ss_thumbnails/is201presentation2mooreslaw1-120308103411-phpapp02-thumbnail.jpg?width=640&height=640&fit=bounds)


