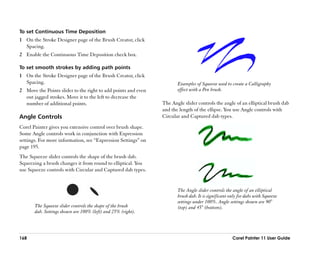
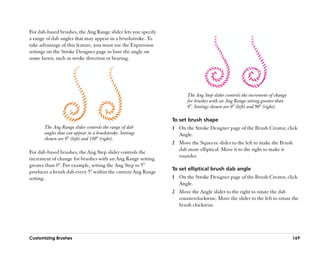
This document provides an overview and table of contents for the Corel Painter 11 user guide. It introduces the software and highlights new and enhanced features, such as improved color management, realistic Hard Media variants that mimic traditional tools, faster brush performance, and centralized transformation tools. The guide is intended to help users learn to use Painter 11 through step-by-step instructions and demonstrations of common tasks.


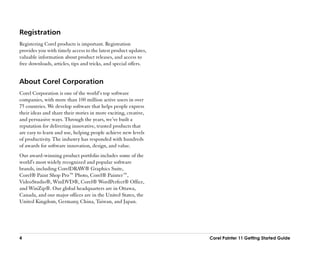
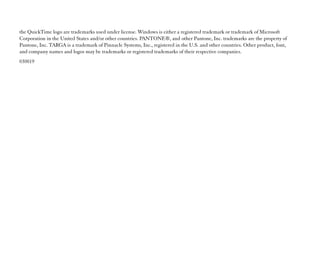
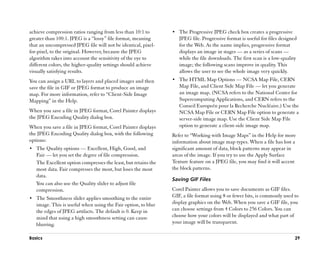
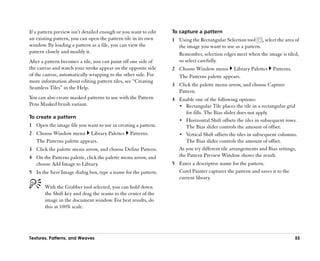
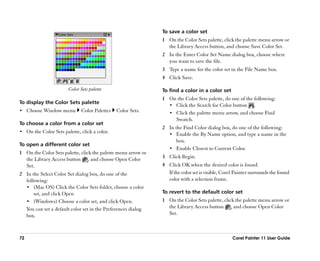
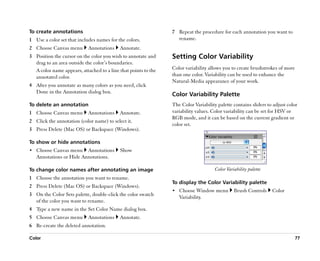
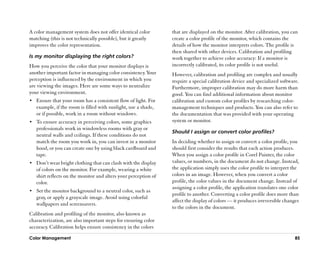
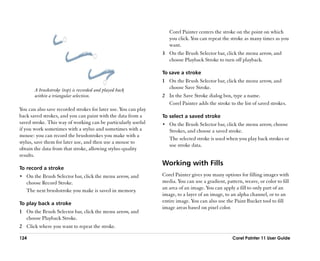
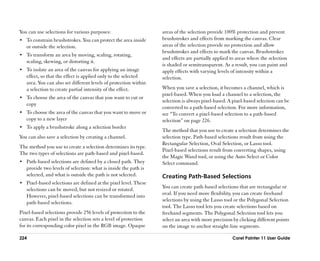
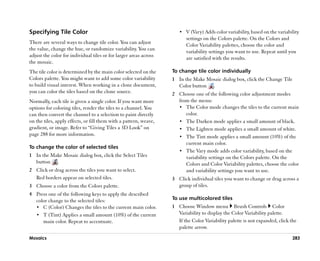
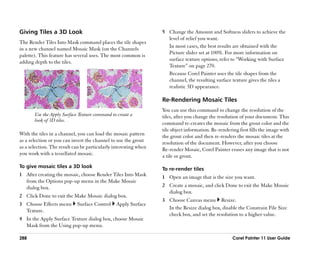
![To create a new workspace •• To reorder media variants, drag each media variant to
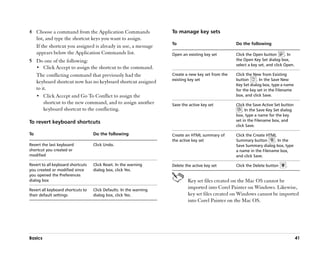
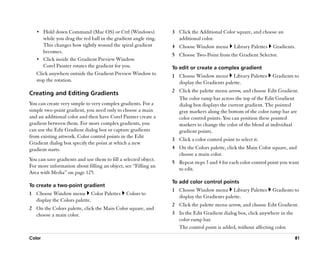
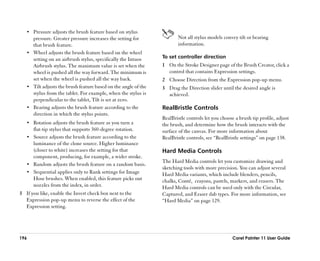
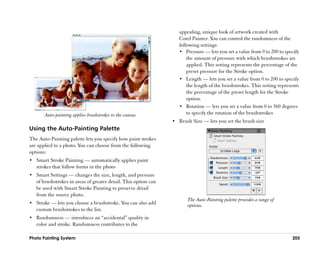
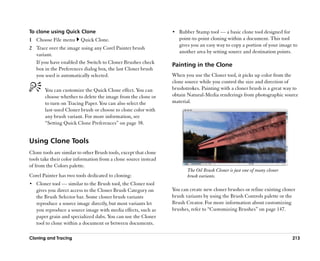
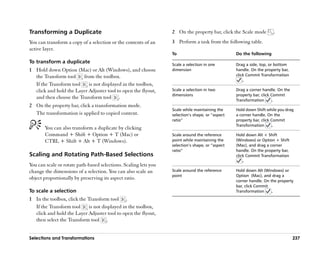
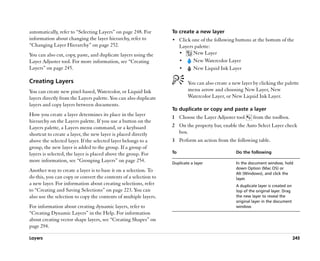
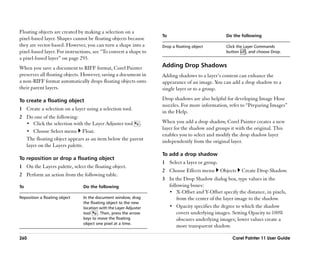
1 From the Window menu, choose Workspace New a new location in the list.
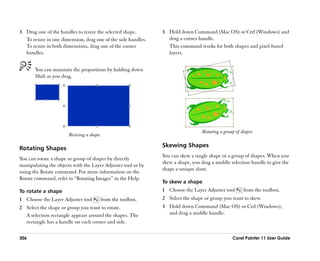
Workspace. 5 Click Done.
2 In the New Workspace dialog box, type the name of the
new workspace. To switch to a different workspace
3 From the Based On pop-up menu, choose the workspace •• From the Window menu, choose Workspace
on which you want to base the new workspace. [Workspace Name].
4 Click Save.
To import a workspace
To customize a workspace 1 To import a workspace, do one of the following:
•• From the Window menu, choose Workspace Import
1 From the Window menu, choose Workspace
Workspace.
Customize Workspace.
•• From the Window menu, choose Workspace
2 From the Workspace pop-up menu, choose the
Customize Workspace and click Import Workspace.
workspace you want to customize.
2 Choose the workspace file you want to import, and click
3 In the Media list, expand the folders for any of the media
Open.
categories you want to customize by clicking on the folder
name or the + icon. To export a workspace
4 Click on the eye icon that appears next to the name of 1 To export a workspace, do one of the following:
each media variant you want to show or hide. •• From the Window menu, choose Workspace Export
A closed eye indicates that the media variant is not visible Workspace.
in the specified workspace. An open eye indicates that the •• From the Window menu, choose Workspace
media variant is visible in the specified workspace. Note Customize Workspace and click Export Workspace.
that you cannot hide every media variant within a media
category. At least one media variant appears for each 2 Choose the workspace you want to export, and click
media category. Open.
•• To rename a media variant, click on the variant, and 3 Choose a destination for the workspace, and click Save.
type its new name in the Preview text box.
18 Corel Painter 11 User Guide](https://image.slidesharecdn.com/corelpainterug-100421130354-phpapp01/85/Corel-painter-38-320.jpg)


![Corel Painter may need to rebuild the brush after you
resize it. Automatic rebuilding of modified brushes is the
default in Corel Painter. Expect a short delay while
Corel Painter is rebuilding the brush.
To use the resize shortcut
•• To increase brush size incrementally, click the right
square bracket ( ] ) key. To decrease brush size
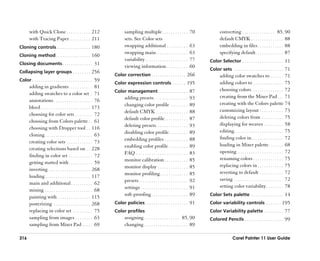
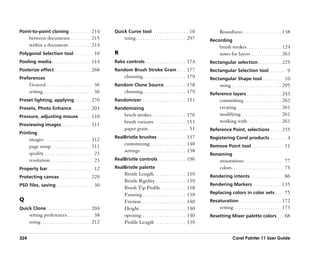
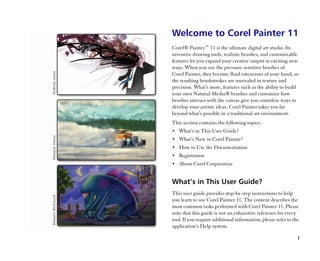
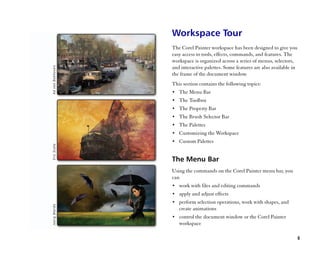
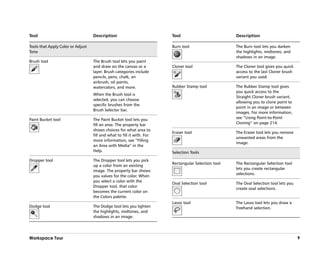
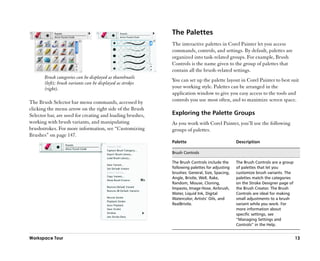
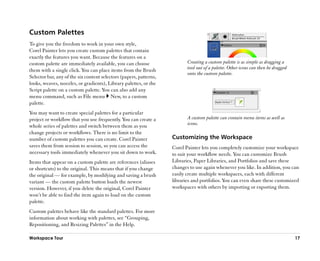
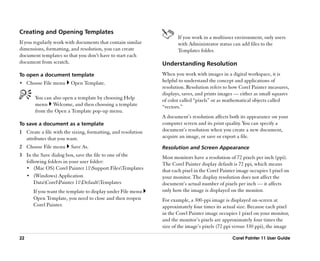
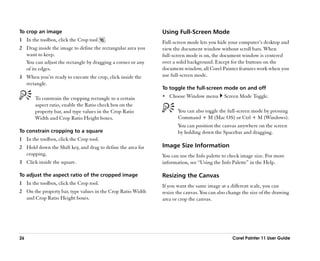
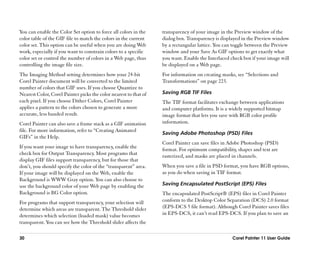
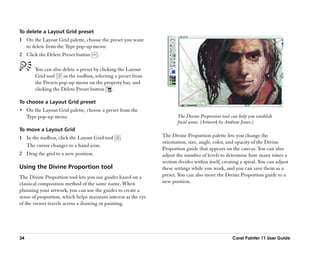
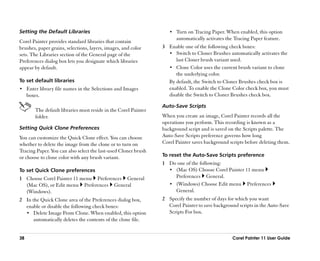
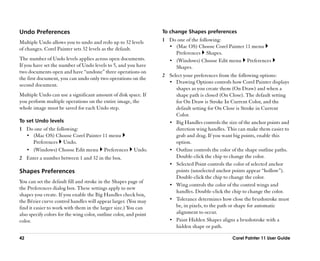
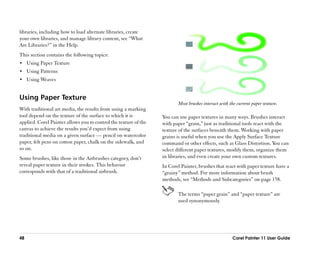
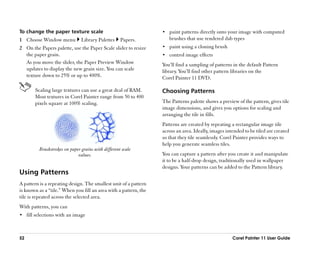
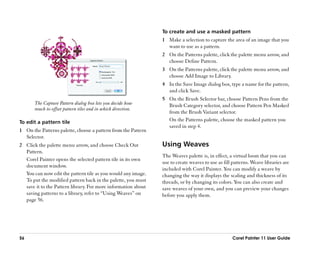
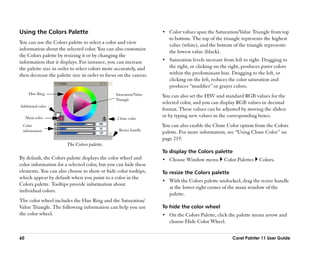
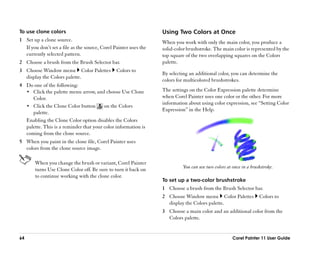
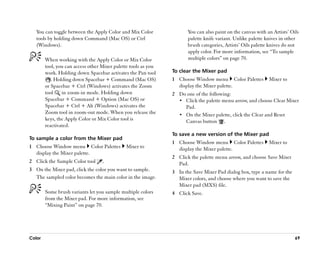
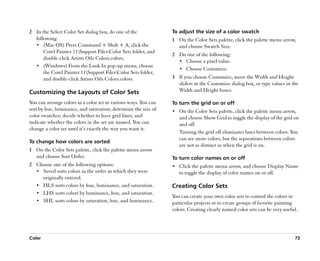
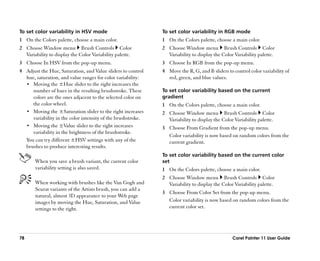
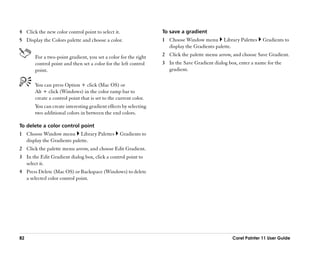
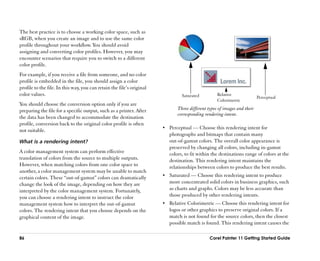
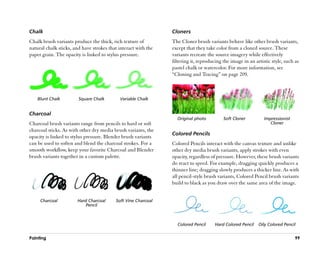
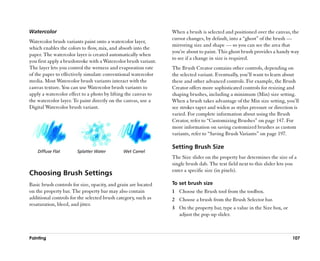
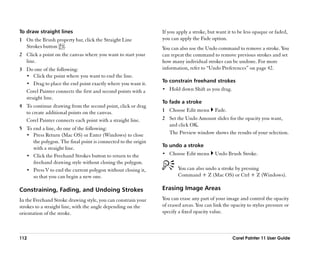
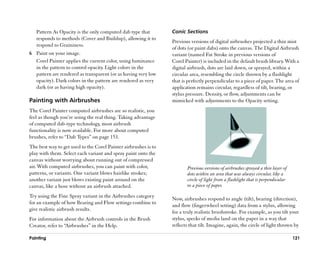
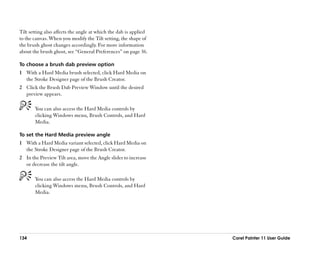
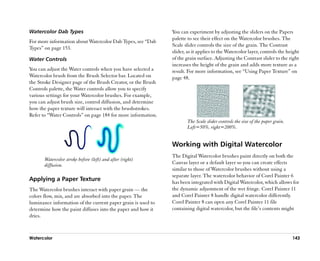
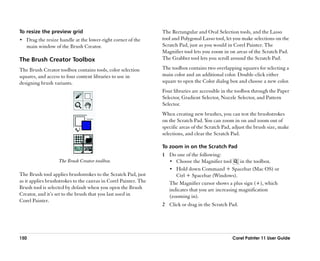
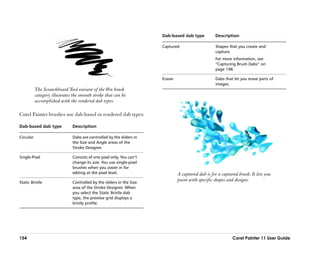
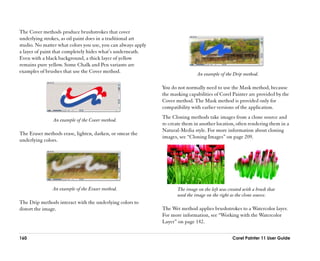
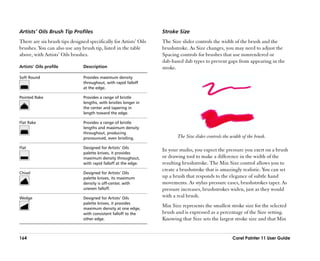
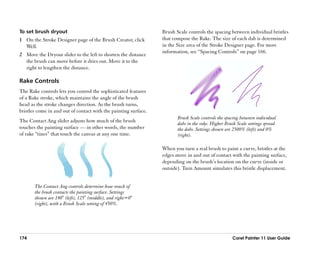
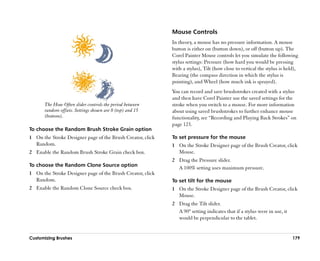
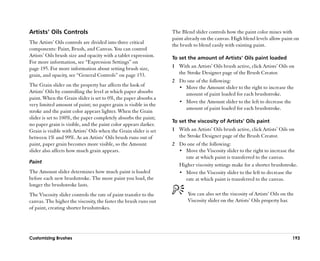
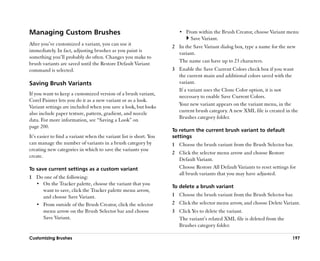
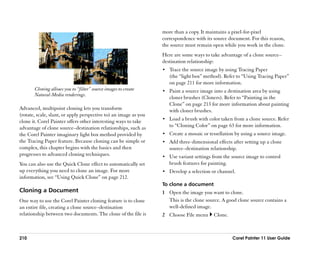
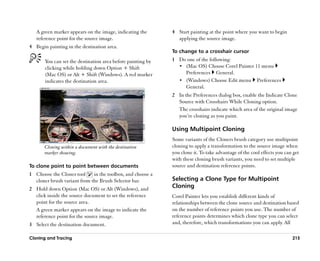
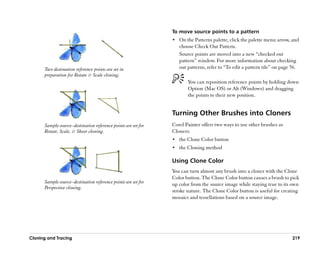
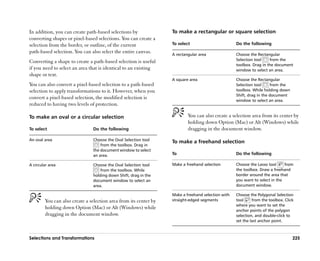
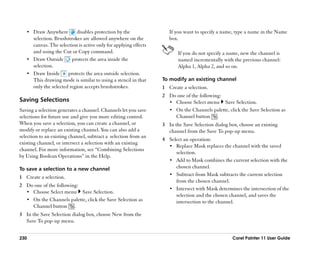
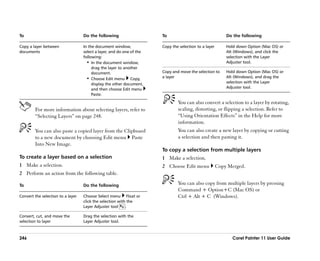
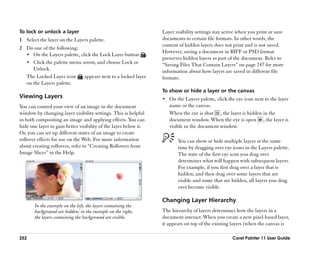
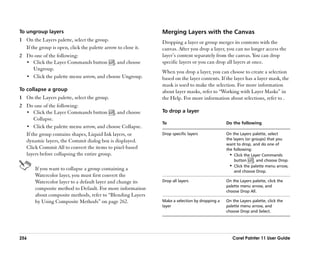
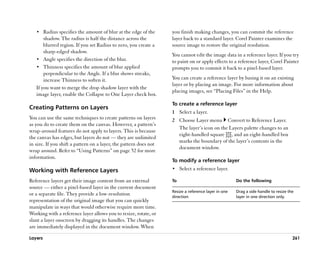
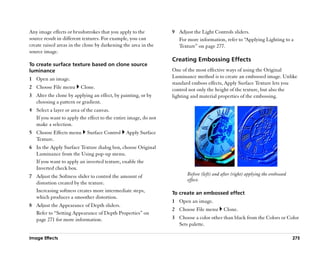
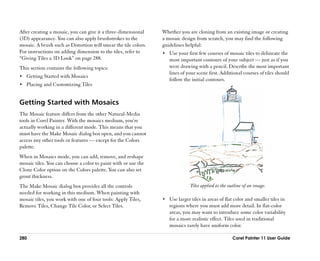
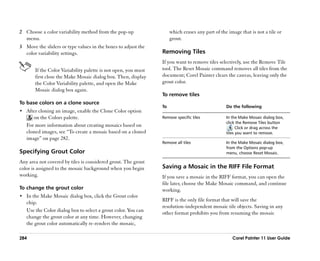
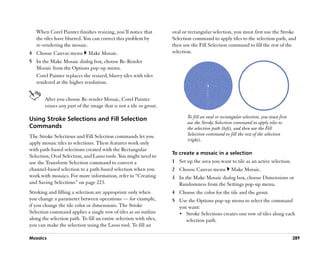
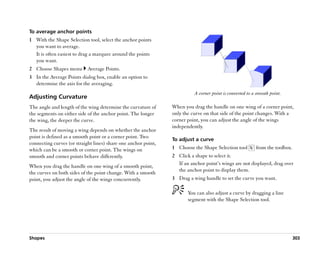
incrementally, click the left square bracket ( [ ) key. 89% grain (top), and 12% grain (bottom).
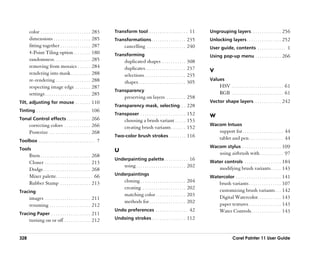
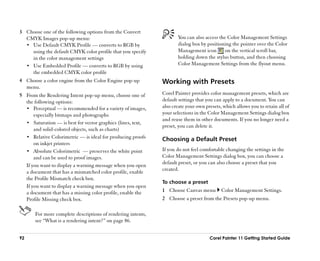
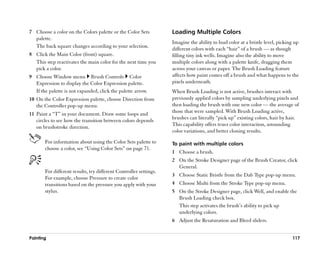
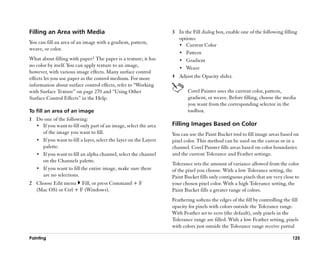
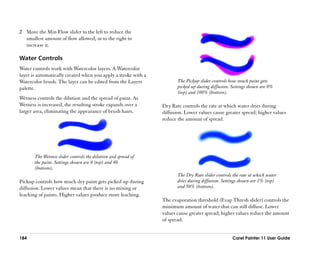
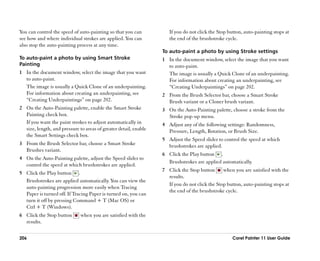
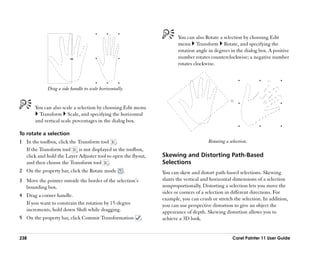
Adjusting Opacity and Grain To set opacity
The Opacity slider controls the degree to which a stroke 1 Choose the Brush tool from the toolbox.
covers or builds up on the underlying pixels. 2 Choose a brush from the Brush Selector bar.
3 On the property bar, type a percentage in the Opacity box,
or adjust the pop-up slider.
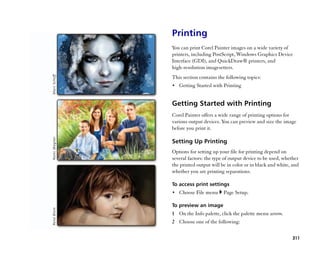
When Opacity setting is low, the applied color is thin,
allowing you to see through to the underlying colors.
When the setting is high, the applied color covers
underlying pixels more completely.
Some methods and dab types do not allow for
80% opacity (top) and 20% opacity (bottom). adjustments in opacity.
The Grain slider controls how much color penetrates into
When the Brush tool is active, you can set opacity by
the paper texture. Lower settings show more of the grain.
pressing a number key. Each number key is mapped
to a fixed percentage. For example, 1 equals 10%
opacity, 5 equals 50% opacity, and 0 equals 100%
opacity.
108 Corel Painter 11 User Guide](https://image.slidesharecdn.com/corelpainterug-100421130354-phpapp01/85/Corel-painter-128-320.jpg)


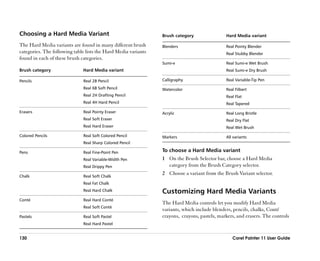


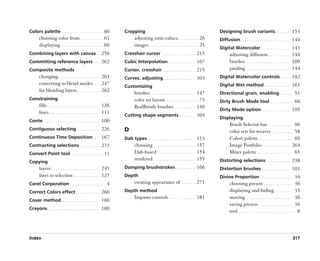
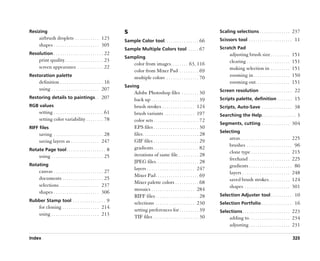
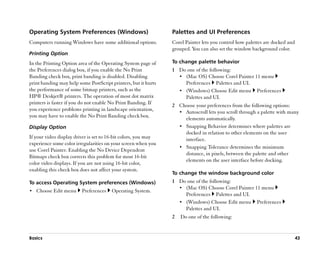
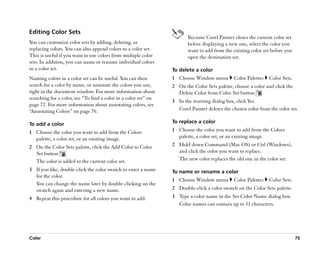
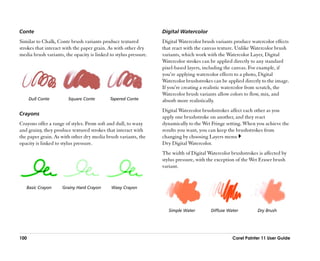
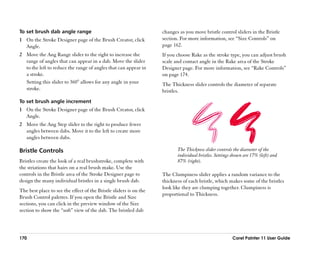
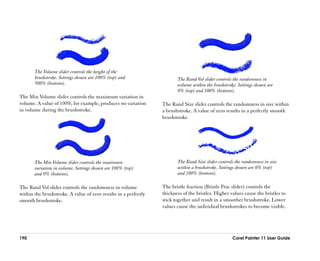
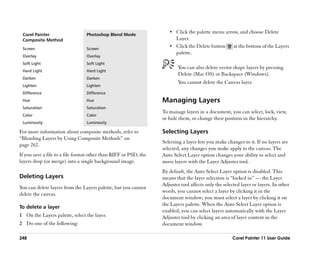
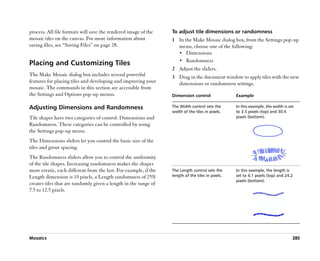
![Size sets the smallest stroke size (in relationship to the Size For brushes that use rendered dab types, the Feature slider
setting), you can easily control the overall variation in stroke determines the size of the dabs of paint applied.
size.
To set brush size in the Stroke Designer
1 On the Stroke Designer page of the Brush Creator, click
Size.
2 Move the Size slider to the right to make the brush larger,
or to the left to make it smaller.
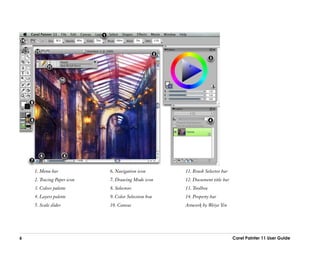
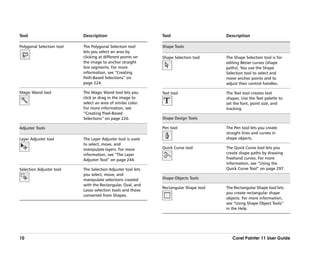
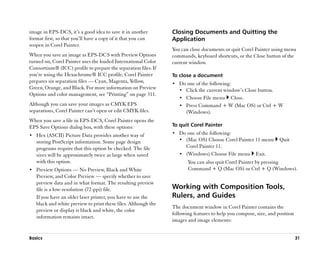
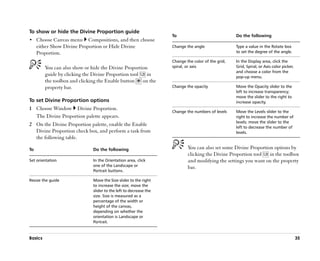
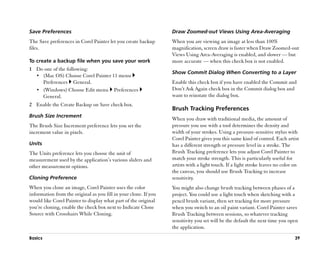
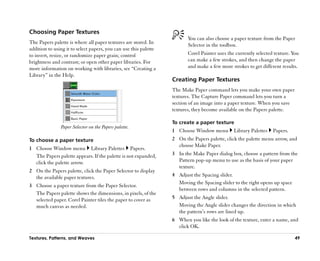
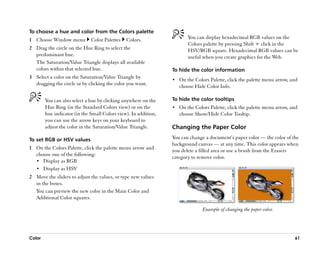
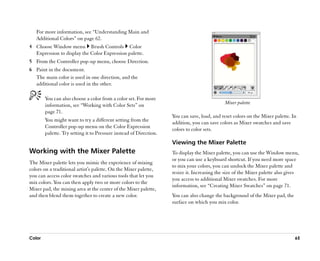
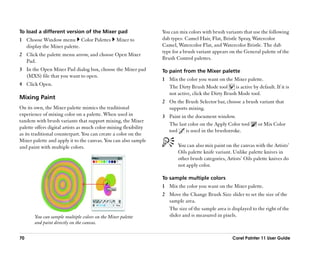
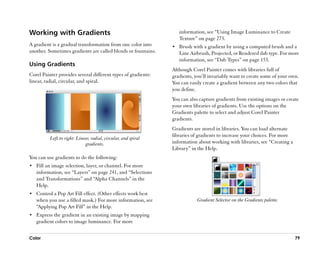
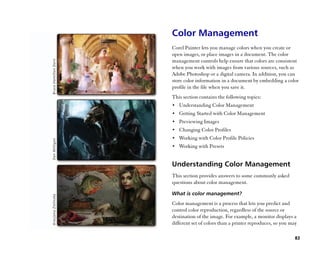
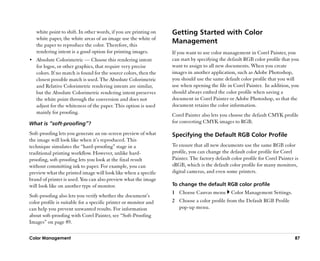
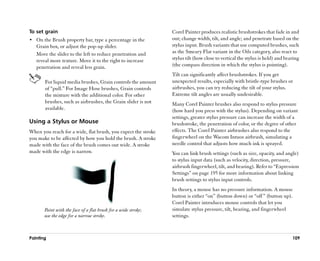
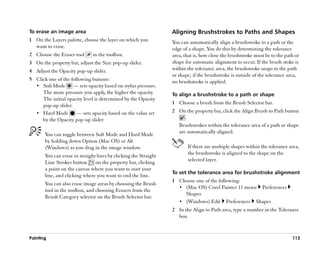
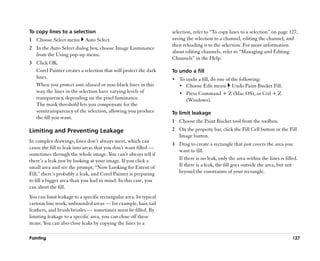
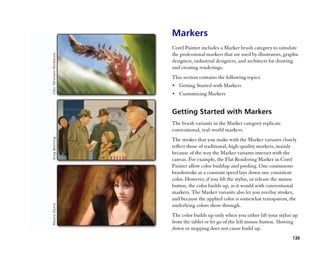
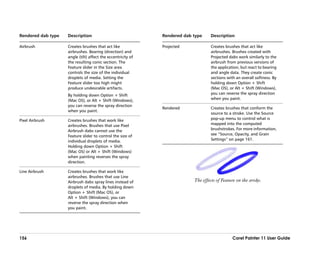
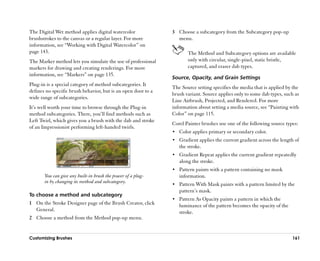
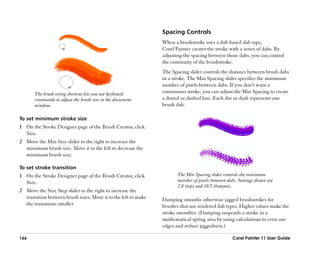
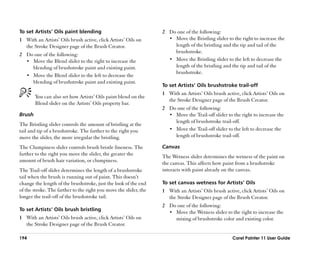
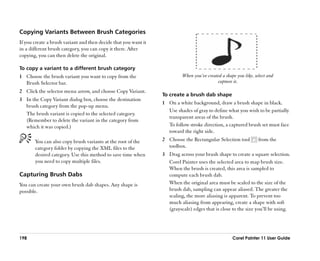
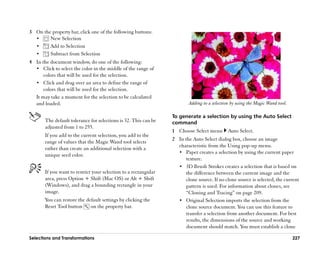
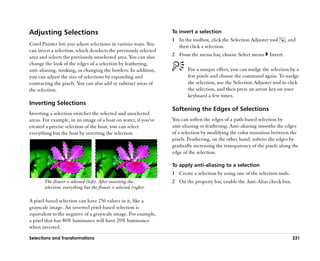
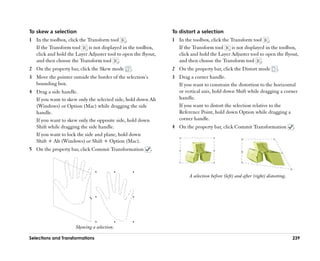
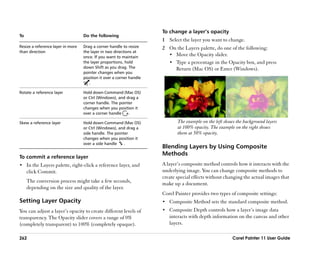
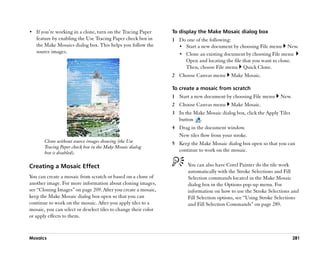
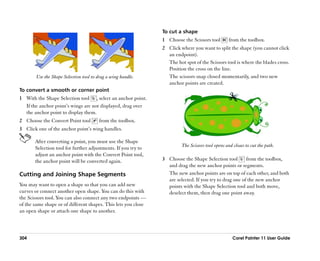
The minimum and maximum sizes of a stroke can be
linked to stylus settings, such as pressure or velocity. You don’’t need to open the Size area of the Stroke
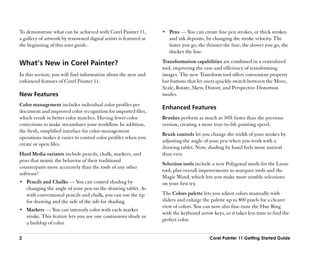
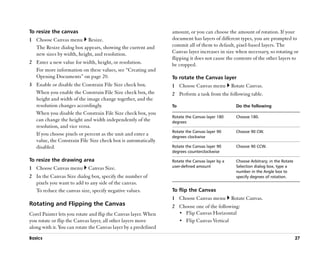
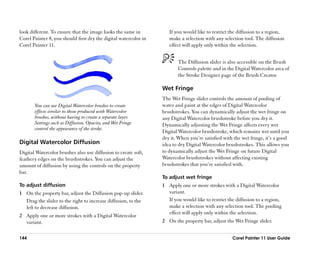
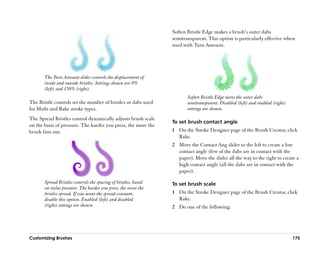
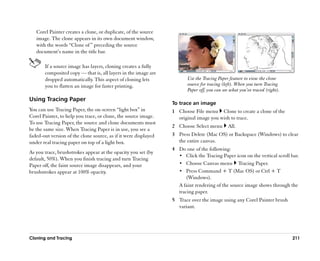
The small black circle shows the minimum stroke Designer page to adjust the size of a brush. You can
size, and the gray circle shows the maximum stroke type a value in the Size box on the property bar, or
size. you can adjust the slider on the property bar. For
more information, see ““Property Bar Basics”” in the
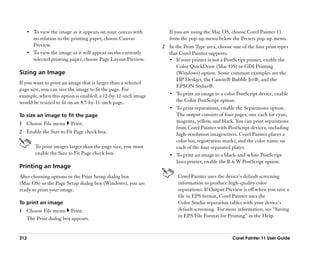
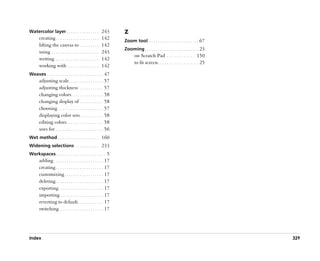
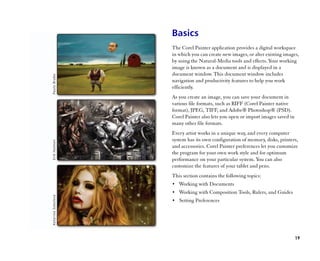
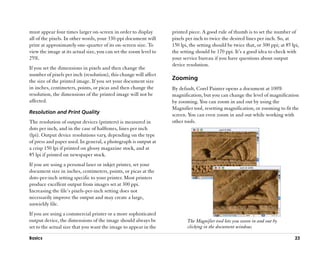
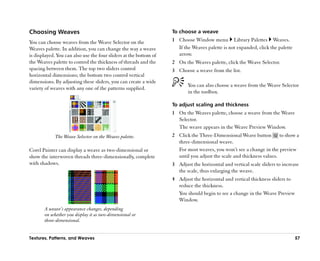
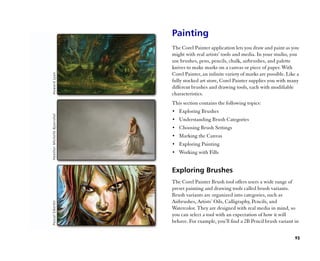
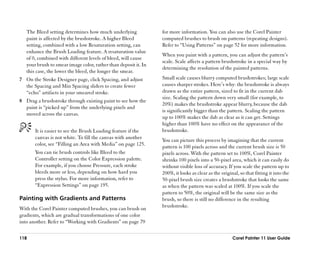
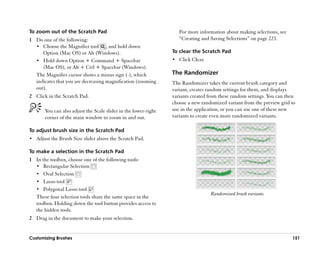
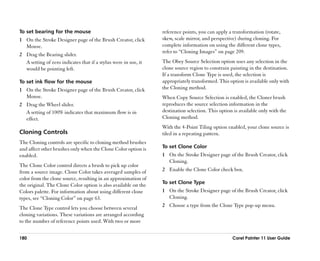
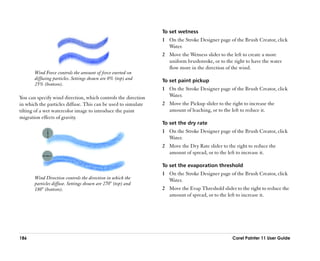
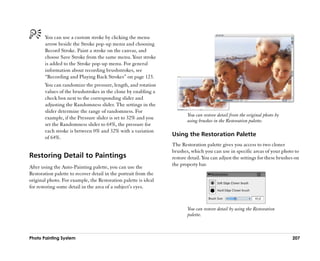
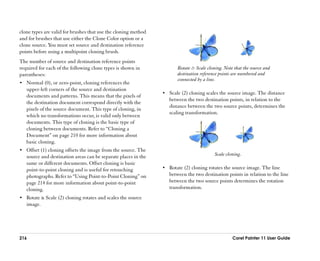
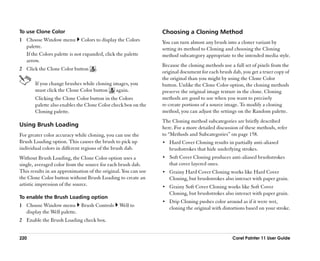
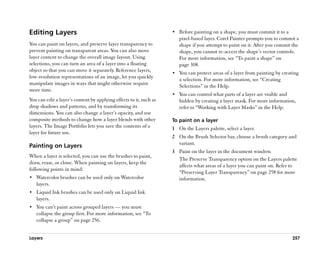
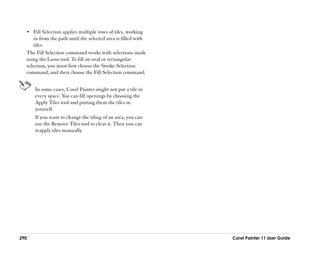
The Size Step slider controls the transition between narrow Help.
and wide sections of a stroke. Moving the slider to the right You can also press the square brackets, ( [ or ] ), to
makes the transition appear more abrupt. Moving it to the decrease and increase the brush size according to the
left makes the transition smoother. Size step is applicable value specified in General Preferences. For more
only to dab-based brushes. information, see ““General Preferences”” on page 36.
To use the brush sizing shortcut
1 Hold down Command + Option (Mac OS) or Ctrl + Alt
(Windows), and drag in the image window.
A circle that represents the brush diameter appears
beneath the cursor.
2 When you’’ve dragged the circle to the size you want,
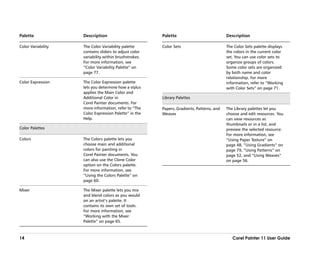
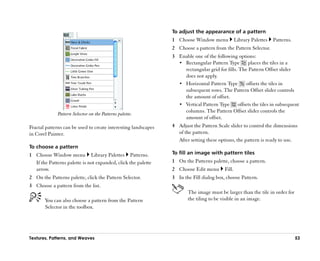
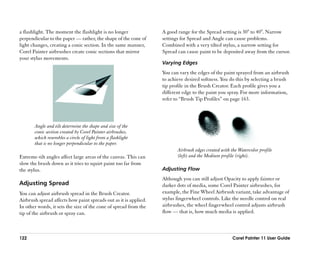
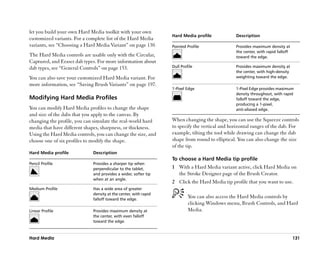
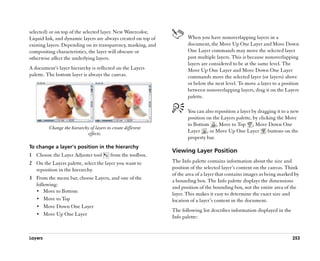
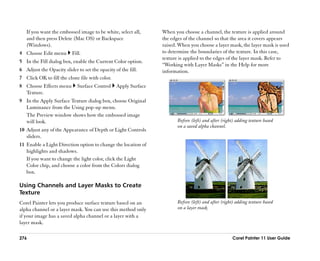
The Size Step slider controls the transition between
the narrow and wide sections of a stroke. Settings release the mouse button.
shown are 1% (top) and 100% (bottom).
Customizing Brushes 165](https://image.slidesharecdn.com/corelpainterug-100421130354-phpapp01/85/Corel-painter-185-320.jpg)


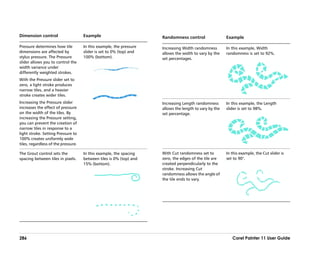


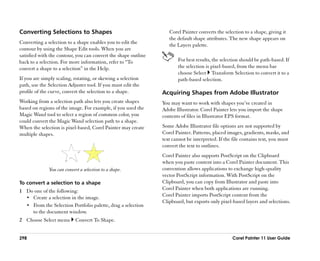
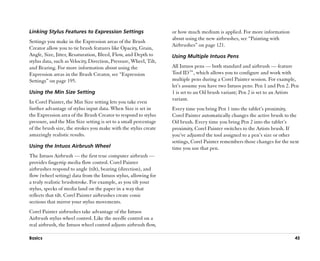
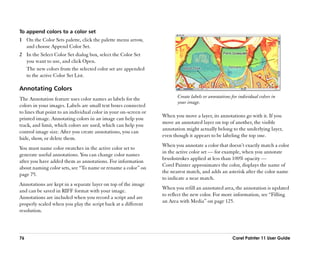
![•• Constrain Aspect Ratio maintains the aspect ratio of
the shape. If you want to create distorted duplicates,
disable this option and specify different percentages
for horizontal and vertical scaling.
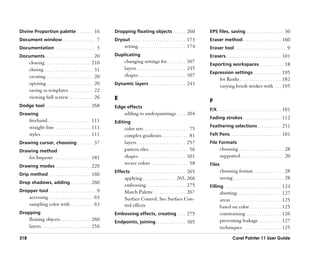
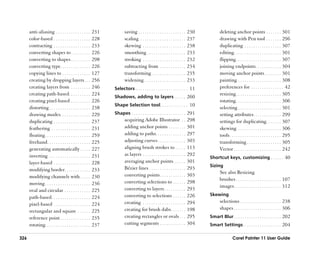
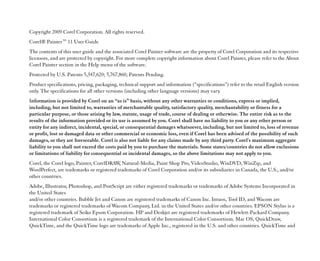
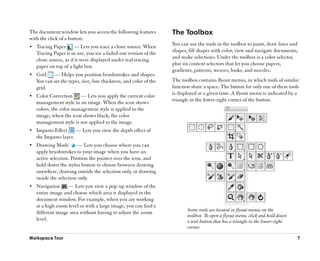
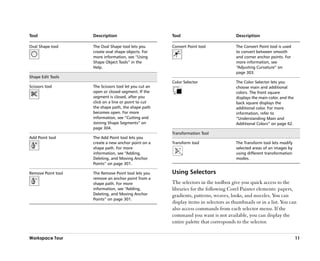
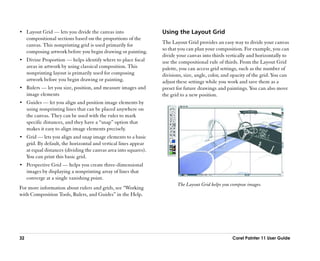
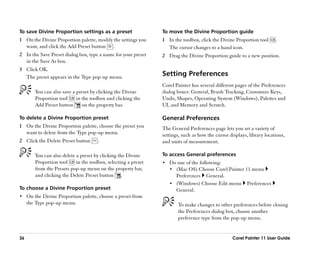
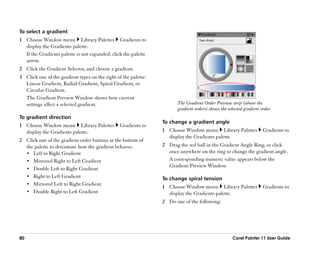
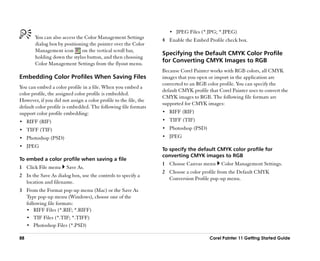
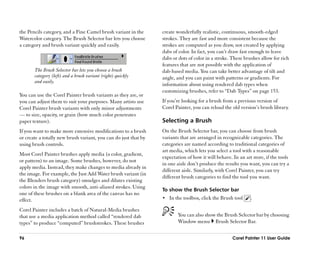
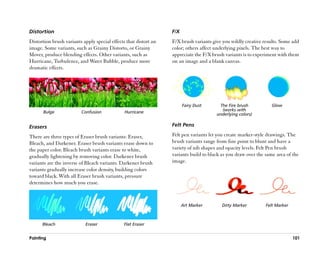
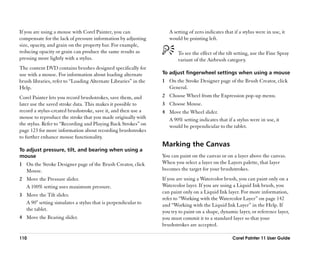
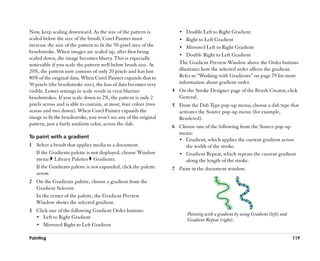
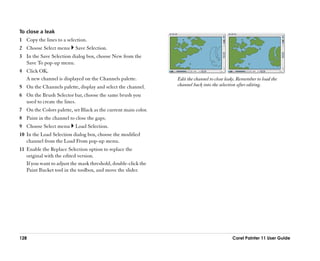
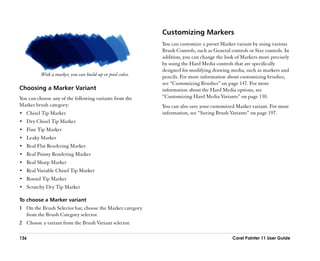
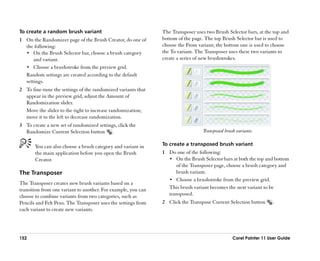
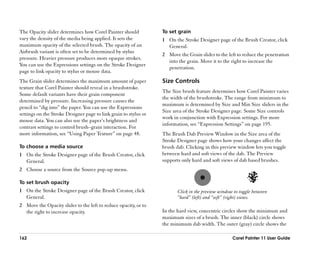
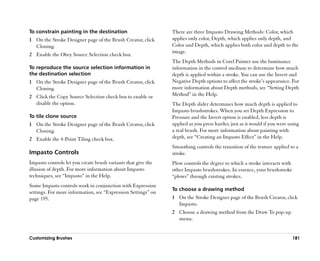
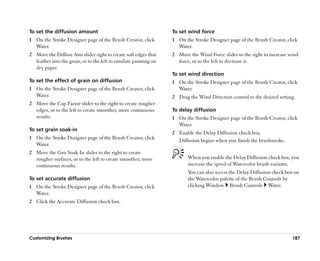
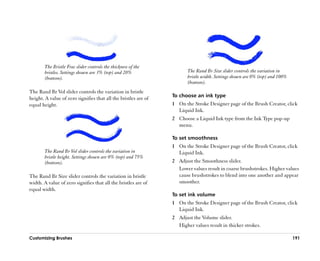
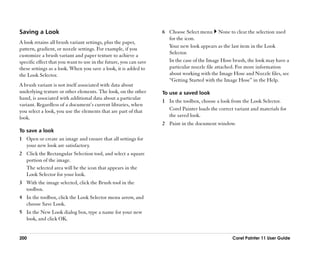
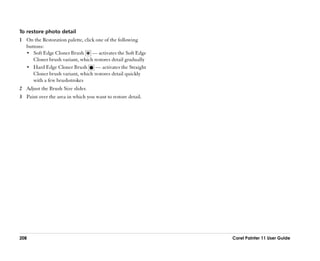
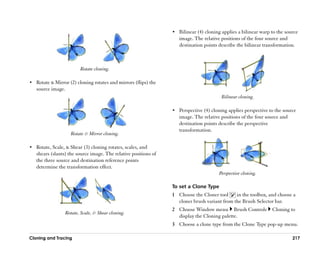
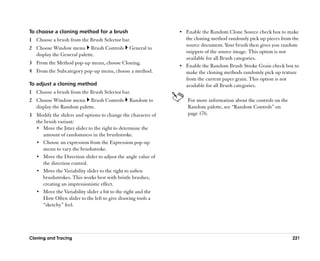
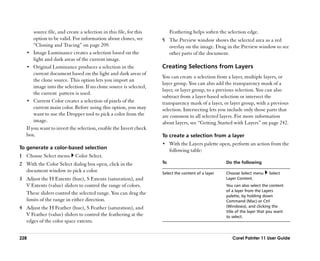
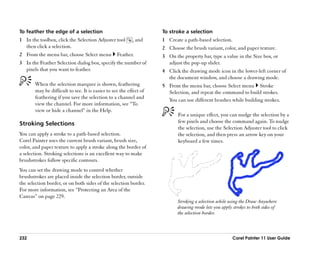
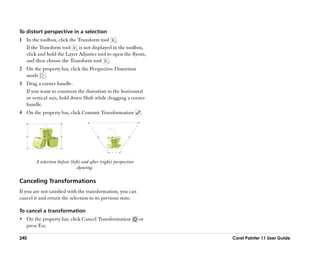
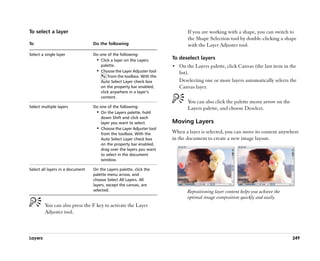
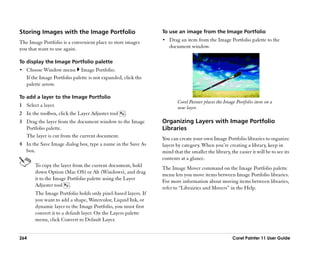
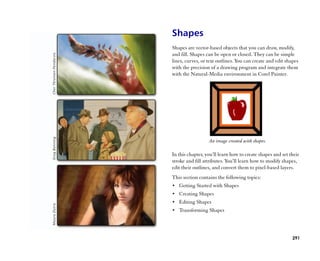
•• Rotation lets you specify a number of degrees to rotate
duplicates. Positive values rotate counterclockwise,
and negative values rotate clockwise.
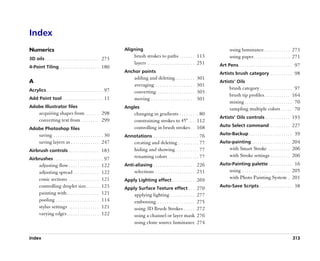
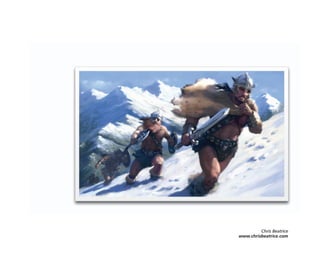
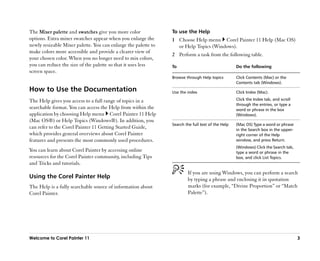
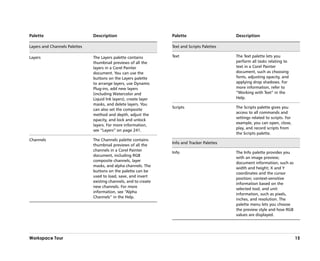
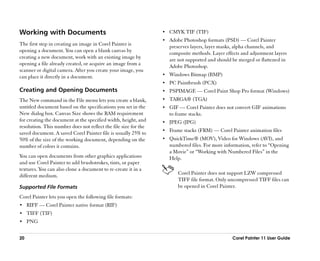
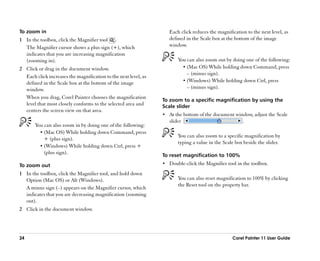
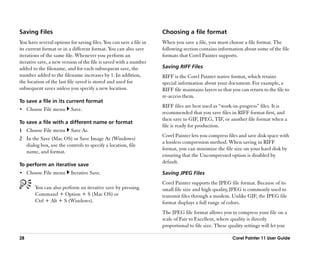
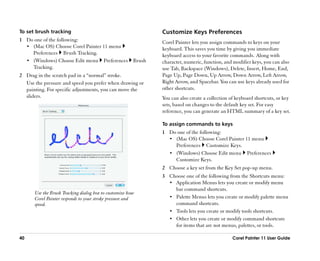
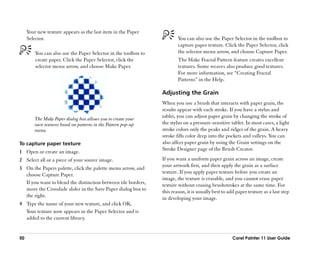
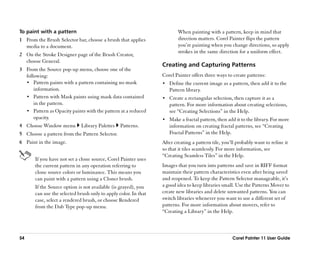
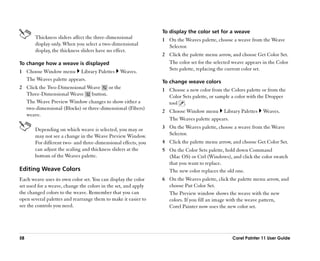
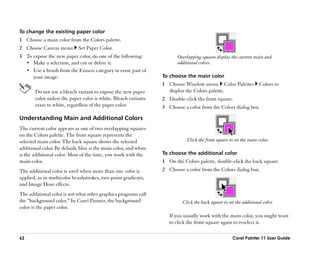
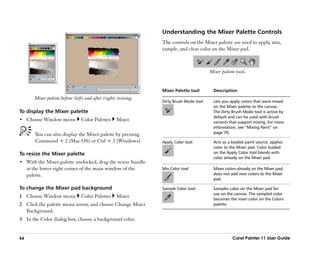
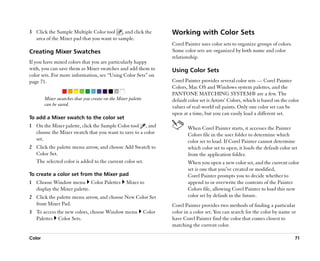
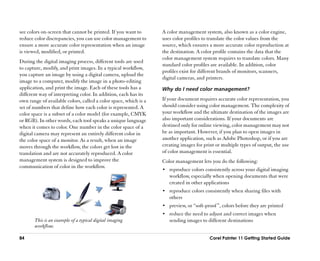
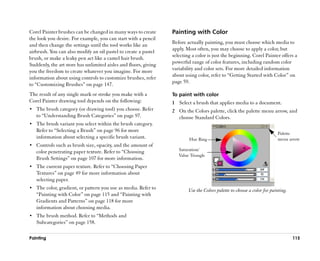
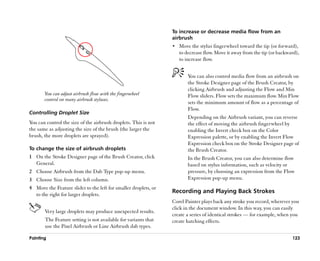
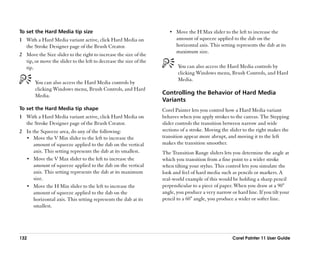
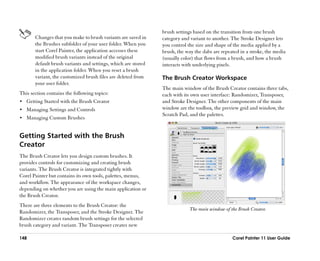
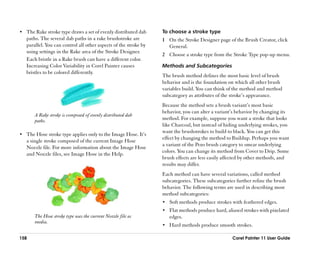
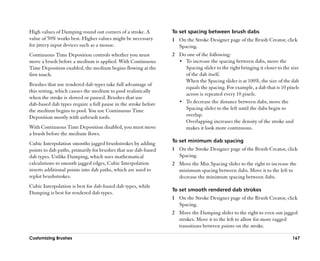
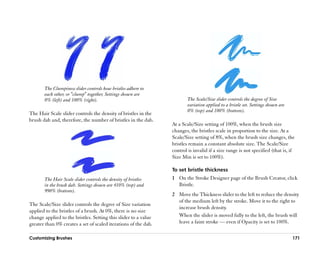
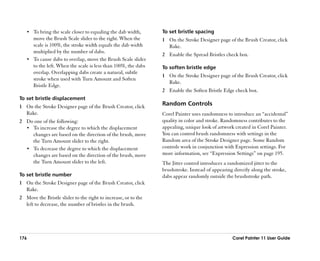
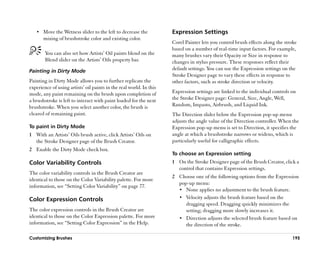
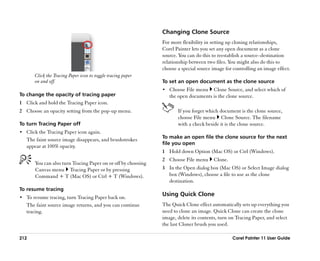
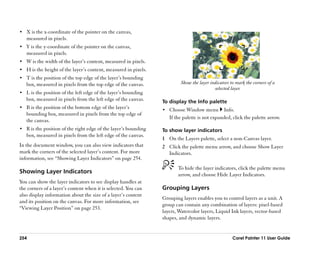
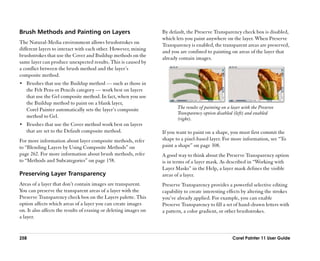
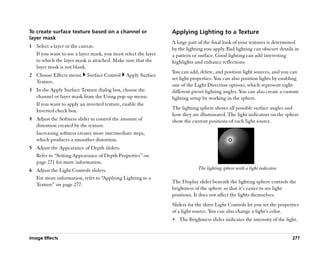
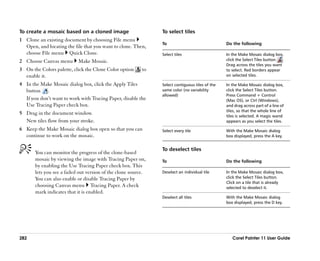
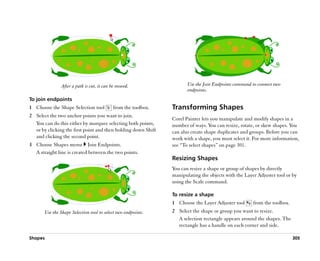
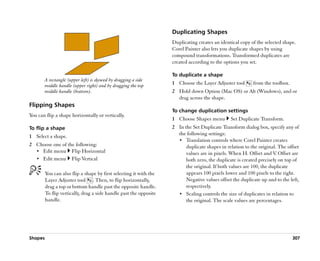
•• Slant controls the degree of slant applied to The oval shape was duplicated by using rotation only
duplicates. Positive values slant duplicates to the right. (left). The number 5 shape was duplicated by using
Negative values slant them to the left. Slant accepts translation, scaling, and rotation (right).
values between ––90° and 90°. However, as values
approach the extremes, the duplicate shape becomes a Painting Shapes
streak.
You can paint on a shape, but you must commit it to a
To create a transformed duplicate pixel-based layer. After you commit the shape, you cannot
re-access the shape’’s vector controls.
1 Select the shape you want to transform.
2 Choose Shapes menu Duplicate. To paint a shape
Corel Painter creates a duplicate shape according to the 1 Choose a brush category and variant from the Brush
specifications you’’ve set. Selector bar.
This duplicate is now the selected shape. You can choose You cannot use Watercolor or Liquid Ink brushes to paint
the Duplicate command again, or press Command + ] a shape.
(Mac OS) or Ctrl + ] (Windows), to repeat the
2 Click the shape on the Layers palette.
transformation on the new shape.
3 Click the palette menu arrow, and choose Convert To
Default Layer.
The shape is committed to a pixel-based layer.
308 Corel Painter 11 User Guide](https://image.slidesharecdn.com/corelpainterug-100421130354-phpapp01/85/Corel-painter-328-320.jpg)